Transcripts
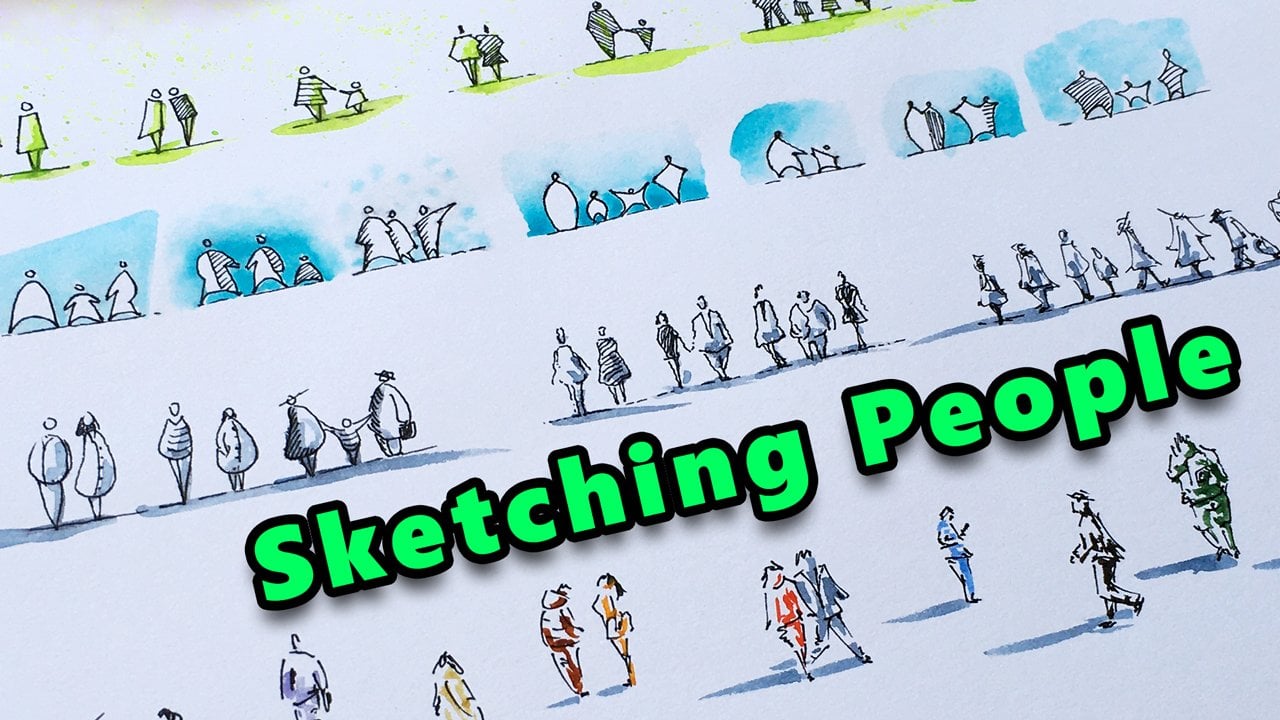
1. What's in This Class?: Welcome to my Fun With
Figures in watercolor class. My name is Tomas, and
we are here to learn to paint some simple but
expressive watercolor figures. Drawing, especially painting
figures can be intimidating. I thought it would be a good idea to break
this topic down to the very basic level and
build up your figure painting skills step by
step in a playful way. I'll be drawing and painting slowly so you can
follow along easily. This class can also be
a good start if you always wanted to add figures
to your urban sketches, but somehow you were
afraid to do so. I'm about to show you painting figures can be so much fun. The tools you need
for this session are nothing really special. I'll be using two sheets
of inexpensive 120 GSM, A four size or US letter
size, sketchbook paper, a graphite pencil for
making the sketches, a size eight round brush, three different colors
of watercolor paints. You can use whatever
color you like, and some common accessories like a water container and
some paper towels. I hope you are excited. Whenever you are ready, I'll
see you in the first video.
2. Warm-Up: I'm so glad you are
taking this class. Let's get to work. I have
my schedule paper, 120 GSM. I like to practice on
relatively cheap material, so I don't have that fear of ruining some pricey paper,
if you know what I mean. The primary goal is
to have some fun. So in this session, you don't have to be
afraid of anything. There is no good or
bad technique today. We are just practicing. You can make mistakes. We'll be painting
lots of figures, and I'm sure there will be plenty of those that
you will like a lot. Now, let's get into.
Painting figures directly with a brush is
daunting, so we won't do that. We are going to use a pencil to form the outline for our
simple figures first, then we will paint them. The pencil grade
doesn't really matter. I have an HB pencil at hand. Use whatever grade you like. I'm going to place my
figures into three rows. Four or five figures
in each row. One figure will be about 5
centimeters or 2 " tall, but feel free to use any other distribution or
size for your figures. Whatever you are
comfortable with. In drawing, when we are
dealing with a complex object, it's always a good idea to find a simple shape that can
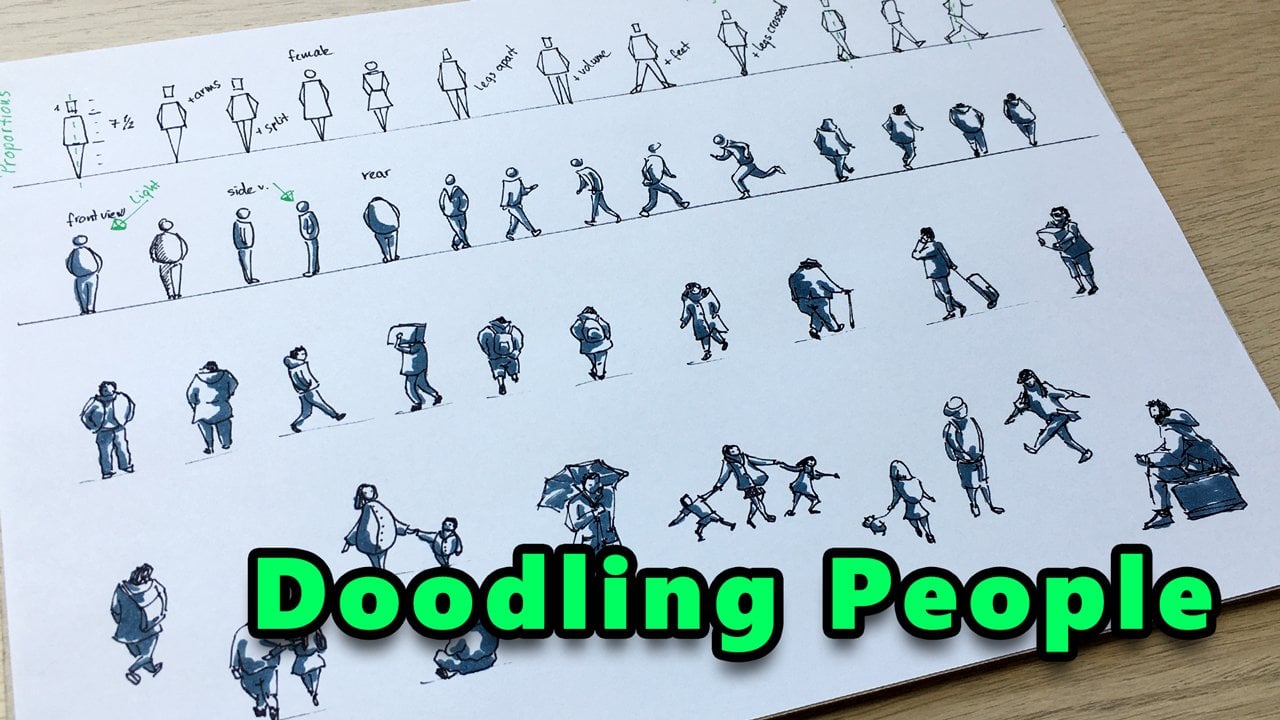
represent the complex object, it becomes less intimidating. For figures, there is a so called carat method where we identify a
figure as a carrot. Drawing a carrot doesn't seem
difficult, let's do that. This is a carat or weight. This can also illustrate
a standing figure. Proportion wise, let's
take the head as one unit now let's count three for the upper body and the other three
for the legs. An adult figure is
about seven heads tall, but this is just a guide. We won't care about it too much. What's important to
note here is that the upper body and the legs
have roughly the same size. If you pay attention to this, you won't be out of
proportions noticeably. Now let's paint
our first figure. We are going to use a simple
three color color scheme. This will help us
focusing on the figures themselves and not on
the painting process. I'm showing you quickly
what colors I'll be using. Then you can decide on
your own color choice. I'll be painting the body with
my cobalt turquoise paint, just a few brush strokes. I don't care too much about filling in the
outline precisely. Now I'm cleaning my brush on the paper towel and rinsing
it in my water bowl. This way, I can keep the
water relatively clean. My paint consistency is
something around milk. You know, there are the
tea, coffee, milk, cream, and butter consistencies
describing how much water you add
to your dry paint. Milk is somewhere in the
middle of the range. For the legs, I'm
using my indigo paint. This seems a bit more diluted than I wanted, but that's okay. I already have a bleeding from the turquoise area,
but that's just fine. We don't worry about it today. It may create some
interesting effect. I'll be happy to see that. I'm cleaning my brush. And for the head, I'm
using my golden paint, which is a bright light orange. For our figures,
we'll be trying to keep the size of the
head relatively small. A big head usually
doesn't look right in this type of illustration.
Smaller the better. Anyway, if you don't have these exact colors or if
you prefer different ones, here are some tips for you. For the head, some kind
of yellow orange, orange, orange red, light brown, or even some reddish
paint can work great. Something from the warm
side of the color wheel. For the legs, use a dark color. It can be some cool blue, paints gray, or some
dark brown, if you like. For the upper body, use a lighter color
than for the legs. It's also important
that the color of the upper body should differ noticeably from
the color of the head, so they are not close to each
other on the color wheel. You can try a light
green, some light blue, serlem blue, for example, or some violet paint
for the upper body. If you want to learn
more about how to choose engaging
color schemes, check out my color
harmony series. My students who
passed the classes, love them and came up with wonderful mini painting
ideas using color theory. Anyway, let's draw
another figure. You can try to follow
along real time, or you can post the video once
I finish my pencil sketch, draw your own figure, and continue playing,
whatever works best for you. Now watch that I'm making very loose and quick
pancy strokes here. I'm not trying to do
anything perfect. Quick and loose
movements can result some interesting looking
shapes. Now let's paint it. First, I'll be painting the upper body with
cobalt turquoise, then the legs with indigo, and finally, the head
with the orange paint. This sequence will
apply for all figures. Three quick brush strokes
for the upper body. I'm cleaning my brush. Okay. Taking some indigo paint. That's it for the legs. The cobot turquoise is
nicely bleeding in taking my orange paint and one or two small
touches for the head. And let's mark the
hands to this time. Very simple, very quick, very expressive looking figure. Now, let's draw a
similar figure. But this time, I'm placing the head inside the
upper body shape. Notice that this
simple little change results a totally
different body gesture. He may be an older person
or in a depressing mood. Let's paint it. First, the upper body with
cobalt turquoise. Now with indigo paint, a few brush strokes for the
legs. The fewer the better. Now some orange paint
into the brush. It's bleeding in, but
that's just fine. It may represent the
case shadow of the head. Remember, we can't
make mistakes here. Very good. Now let's
see another one. This figure will
be in side view. And this time, he
will be wearing a T shirt so we can show
his lower arm over here. That's it. Now, let's paint. You can leave some paper
writes here and there. They can serve as
highlights on his dress. Okay. You may notice that we don't draw or paint any facial features on the head. That is intentional.
On one hand, there is no need for that. Our figures will work perfectly fine without
facial features. On the other hand, it requires a sophisticated skill to make it look right on
such a small figure. Let's just enjoy the
process instead. Though we are going to add
some hair volume very soon. We just need to
wait for the paint to dry a little
bit on the heads. Anyway, let's draw a
figure showing his back. This is kind of simple. For the head, actually, we are just painting
some hair like this. Let's not forget the hands using some orange paint. Wonderful. I guess we can start painting the hair for the
rest of our figures. Here, I'm painting
with the tip of my brush using very thick paint, creamy and notice
that I'm holding the brush almost in vertical position
relative to the paper. This way, I can make very
precise brush strokes. The hairline is a very important
part of the character. It's a tiny detail, but it matters a lot. Very good. We have completed
our first few figures. One thing has left, which is to anchor our figures to the
ground with some case shadows, so they are not just
floating around. When we paint the case
shadow for any object, we need to decide on the
lie direction first. Let's assume the sun
somewhere in the top middle. So the light rays
hit our figures in different angles depending
on their relative position. We are going to paint the
case shadows accordingly. You will see it in a
minute what I mean. For the case shadow, I'm using my indigo paint in a
very well diluted state. It's worth to prepare
some mixture on your mixing palette that you can use for
all your figures. This way, the shadow painting
process will be faster and your shadows will be more consistent in terms
of tonal value. Yeah. Maybe I'm taking
it a bit darker. I don't pay too much
attention to these shadows. They will just suggest
the form of the figure. Don't worry too much
about their shapes. However, I'm changing
its direction figure by figure as we discussed. I don't want to create
too long shadows either because we need
space for the rest of our figures below.
Something like that. M. All right. This was kind of a
warm up session. I hope you are
enjoying the process. You don't find it difficult, and you are ready
to paint some more. See you in the next video. And,
3. Altered Standing Poses: Welcome back. Now,
let's where he deposes. We are taking this
one as a base. So drawing an almost
identical figure. But this time, I'm placing
the head like this. So he's turning his upper
body toward the viewer. Very small change again, but it creates a different
body posture. Let's paint it. How Good. You see, you can easily draw and paint a figure like this in
just a minute or so. Now, let's rotate
the body even more. So we can see his
other arm partially. And the two legs
accordingly. Like so. His hands are in his
pockets. Now we can paint. You can experiment with
different paint consistency, less watery or
more water paints. Find the consistency that
you are comfortable with. Now, let's show a figure in three quarter
view from the back. Okay Notice that his arm on the other side a little bit smaller than
the one on the left. This compression comes from
the rules of perspective. Perspective is a topic that most beginning artists
like to avoid, but I encourage you to
learn the fundamentals. These principles are used almost everywhere if you draw or
paint in the three D space. Who can start painting now. His left arm seems
a bit too long. Let me fix that somehow. Maybe some additional
muscle volume could help. He's a big guy anyway. Now, let's show a figure in a similar viewing Gango with one of his hand grabbing the other
wrist in his back. He's leaning slightly
to the left with his upper body and showing a bit less
of his right leg. That suggests he's walking
very slowly, kind of hobbling. Looks very good. It's time to paint. Oops, too much
water in the paint. You can fix a situation
like this by using a try brush to soak
up the excess paint. I'm using my paper towel to remove the water and
paint from the brush. Now I can go over again with
a thicker orange paint. Good. I guess you can
paint a hair now. A different style
for each figure. Finally, let's paint
the cas shadows. This time I'm taking
them a bit shorter. Let's assume that the sun is
located higher on the sky. Very good. I think we are ready to move on to some more walking figures. See you in the next video. M,
4. Walking Figures: Now, let's make our next catch. You can illustrate a
walking for in front of you by taking one of his leg a bit shorter
than the other. Remember that carrot
shape we started with. It's like the legs
converge at the bottom. Something like this. The opposite arm comes forward. While the one on the
left swings backward. This looks good to
me. Now we can paint. The arm on the left is
further away from us, so it seems shorter. And that's it. We have a
walking figure painted. Now, let's draw
one from the back. Here, we can see the
shoe sole on the right. While on the left, we
barely see the feet, and the left leg is
noticeably shorter. Let's paint it real quick. Good. Now, let's show a
similar figure. Just flipping the legs position, and it will be maybe a slightly different
viewing angle. Hmm. Looking great. Now, let's take those
linked arms again. And showing a different
walking style. Where the knee is pointing
slightly to the side. You might recall people
walking like this. Maybe this is not
the best pose ever because it may be difficult
for the viewer to translate. I don't know. You tell me. Finally, let's see a figure in three quarter
view from the front. This seems like a naked man in t shirt. We don't want that. So let's paint some clothes
for him real quick. Okay, it's much better now. Though I don't really
like the portions here. Let me fix that by making
his T shirt a bit longer. I don't know. He's not my
favorite figure, either. Anyway, let's paint
the cash halos. Oops, I'm running out of
space, but that's okay. Great. So we have
painted walking poses. I hope you are having
success with yours. By now, you have
the basic skills, so we can take our figure painting session
to the next level. I'll see you in the next video.
5. Expressive Gestures: Welcome back. Let's fill up this
second page with figures showing
expressive gestures. Try to copy my pens sketch,
and in the painting part, let your instinct drive your brush strokes in order to get your own
unique appearance. Let's start off by drawing a figure who is
spreading his arms, showing that he's in doubt. Notice that my pensive
strokes are quick. It's easier to draw
expressive poses this way. His head overlaps his body. So it seems he's lifting his shoulders. Now,
let's paint it. Remember, first, we paint
a t shirt with turquoise, then the pants with indigo, and finally, the head and
the arms with orange paint. Really just a few brush strokes. Oops. I need to fix this
with a dry brush. Good. Now, let's show figure as
he's scratching his head. I pause again, that shows
some kind of uncertainty. Now, that's show a man
who looks frightened. His arms are bent in the elbow. His head pointing toward the threat and his knees are also bent being
ready for a sudden move. Notice that I don't
worry too much about anatomy and drawing the
limbs realistically. I just want to suggest a gesture with some
very simple shapes. The viewer's brain
will be able to translate these shapes
as human legs and arms. Now, let's see, man,
weakness something bad. Uh. And pointing to the direction of the perpetrator
with one of his arms. Suppose a thief is fleeing
over here with big steps. Something like this. Very good. Now, let's add some
hair to our figures. Remember, for small
details like this, we use relatively thick paint, laying it down with the
pointy tip of the brush. The way you lay down the
small amount of dark paint, we define in what direction
your figure looks. This dark spot is kind
of disturbing here. So let me remove it
with a dry brush. Good. Now, let's paint
the cast shadows. I'm trying to imagine
what shadow shape this particular figure posture would cast on the
ground in reality, taking the light direction
into consideration. But don't worry too much about these shapes if you find
this part difficult. Now, this shadow will be different as the
guy is in the air, so the shadow doesn't
connect to the body. Awesome. Now we can move on.
6. Adding Personality: Now let's draw and paint some
figures with personality. This will be an
aging man walking. I'll be suggesting
his age with a hat. With his thin arms. And with a suspender like this. He's in the age, but his
work is pretty energetic. Maybe he's a farmer in good
strength. Let's painting. I'm leaving a little wide
gap between the two legs, so their positions are
clear for the viewer. He's turning his head sideways. Now that's Joe even older man, someone who is somewhat
limited in his walking. He will be in front of you. Let's support the gesture
with a cane in his hand. Now, let's paint it. What I forgot the beret he's wearing. Wonderful. Now, let's add a long coat to our next figure. Something like this and a dynamic walking
gesture to the legs. And a cane into his right hand. The way I see, it's more like
a style element for him. He seems very determined
in his gesture. Good. Now, let's re man who has drunk a bit more
than he should have? In a pose like this, it's important how you
position the body parts. He is about to lose his balance. We can't tell for sure if he stands or falls in
the next moment. I guess this gesture
looks just great. Here, I'm leaving
some paper white, illustrating some
highlights on the arms. And I'm adding a
kind of shape to the face and putting
the ear over here. Just a few more details, so the figure starts to
look a bit more realistic. Now, let's draw our man
a few minutes later. Finally, he needed some rest. I give this drawing a nice
perspective to make it more interesting.
Something like this. His body parts are
like cylinders in this ready space
oriented like this. Nice sketch. Now,
let's paint it. He doesn't seem okay. Anyway, I guess we
can paint his hair. That's it. I like how it turned out from painting
perspective, of course.
7. Angry at Someone: Let's draw a figure who
is angry at someone. He is kind of lecturing
somebody with temper. The guy next to him
did something wrong. And now he is ashamed. So let me try to convey this emotional state
through his body posture. Something like that. Now, let's give them colors. Placing the hairline like this, we can show that he's staring at the ground right
in front of him. We forgot the cast shadows, so let's work on
them real quick. I'm creating relatively
short shadows this time. Okay. We can move on. Now, that's true. Another
expressive gesture. Someone is very
happy at the moment. Feel free to change the gesture drawn
with the pencil. Maybe you have a better
idea in the painting phase. We haven't drawn figures
in sitting poses. So let's do that now. This man is sitting
on the floor. He seems exhausted. Notice that we have
a great example here again for perspective. The leg on the left
is shorter than the one on the right because
of the viewing angle. Your brain might
want to draw and paint two legs
with equal length, but that would look
odd, far from natural. That's why it's useful to think
in abstract shapes rather than body parts that our brain has some kind
of preconception about. Good. Now let him try a bit. No.
8. The Boss: Finally, let's draw a
man sitting on a chair. He has a big belly. He will have a bald head
wearing sunglasses. Holding a cigarette in
his right hand like this. Drawing a sitting
position is challenging, especially if the figure
is in three quarter. If you can deal with this one, it's a very good sign. If the result is not so
satisfying, don't be upset. You will improve over time. I'm drawing the chair over here. All right. Now let's paint. But this time, I'm illustrating a strong sunlight
from the top left. Something like this. We can paint the entire
head with orange. We are going to
paint the sunglasses once the orange layer has dried. The arm on the other side
holding the cigarette Okay. And let's paint the chair
with very thin brush strokes. Oops, this leg of the chair is a bit longer than it
should, but that's okay. The casheo at the end
may help to fix this. Now let's paint the tiny details with very thick dark paint. This looks good. Let's not forget the hair
for these other two guys. Good. If you want to add some further realistic effects
to our figures, we can paint a second layer of paint with some
extra details. It all depends on how far
we want to go with it. So taking some burnt sienna, which is darker than the orange
I used for the skin tone, and I'm painting some
form shadow on the arm. Uh, on the face. On the other arm. Maybe
on the fingers, too. I'm mixing my cobalt turquoise
with a touch of indigo, and I'm painting some
shadows on his T shirt. Like so. Finally, let's paint
the guest shadow. Similarly, for our tired man. And for the happy fellow, a Awesome. At this point, to be honest, I feel the desire to add more details to some
of these figures. So let me do that real quick. I don't want to
go overboard with them a few final touches. All right. Let's go it done. The
9. Final Thoughts: I'm so glad you got to
the end of this class. I really hope you found joy
in painting these figures. It would be so great
to see your work, so please don't
forget to upload it in the project section
right below the video. While the experience
is still fresh, please don't forget
to leave a review. Your feedback is
important to me and it will also help others
to find this class. If you like my teaching style, I definitely have
some more figure drawing and painting
sessions for you. Make sure you check them
out on my profile page. I hope you had a
good time with me. See you in another class.
 Tamas Benko, Drawing & Painting Classes