Transcripts
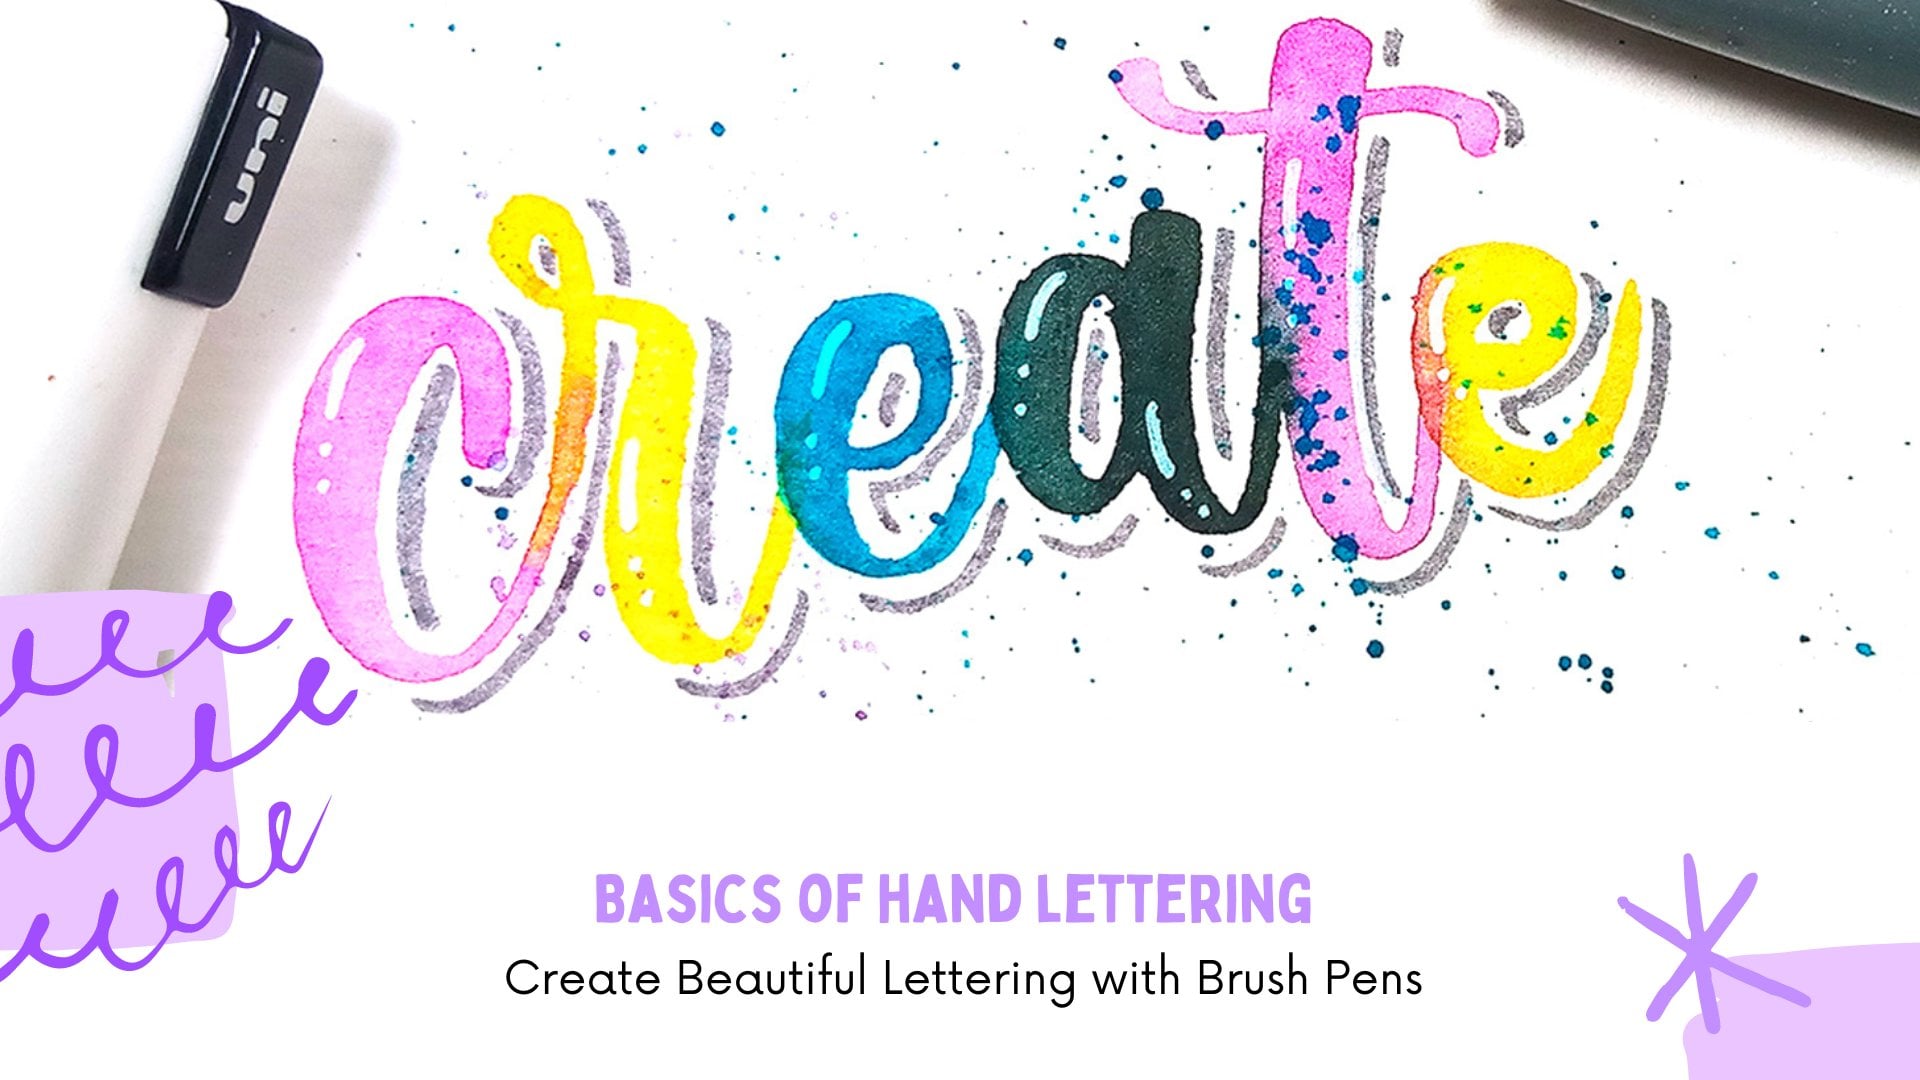
1. Welcome : Creating and gifting
Christmas cards is a great way to show
your friends and family just how much
they mean to you, because you took the
time to make them a card rather than by a generic
one from the store. I've been lettering
for over six years and some of my favorite things
to make our Christmas cards. In this class, I'll show you how to letter a different
car designs, each inspired by a
different aspect of this wonderful season and created with different
lettering techniques. Together we will
do blending and it outlines using masking tape and even incorporated metallic tools like pens and ink
into our projects. The latter you'll
learn in this class doesn't only have to be
used for greeting cards. They can be used in other a holiday creations
like gift tags, wrapping paper, or
even holiday wall art. This class is beginner friendly, so no lateral and experience
is needed to follow along. As I'll be sharing a
template that you can use for each project if you
are more experienced that, or you can definitely use your own lettering as a base
for each of these projects. So I hope you're ready
because we're going to paint some fun and festive
hand lettered cards together. See you in the first lesson.
2. Materials: So keeping the sub
playlist very simple. You'll need some
water-based brush pens. These can be any
color that you want. The main colors that
I'm using will be Christmas colors
like red and green. And I'm also going to be
used in some blue and some cold and gray
for the shadows. You'll need some
watercolor paper or even mixed media
or Bristol paper. And if these can be used, we're gonna be doing a
little bit of blending. So having a thicker
paper or really help your card to withstand
these techniques, I'm using to nine by
12 sheets of paper. So I've cut them in four and each card
measures six by 4.5 ". You'll also need a paintbrush
and a bit of water. You'll need some
permanent fine liners. I'm using different
sizes depending on the type of details
that I'm adding. And I have some silver and gold glitter pens to add
some shimmer to my cards. This is optional, but this
is the holiday season. So why not make your
cars sparkle of it? I've also provided
a PDF template with all the designs that I'm going
to be doing in this class. So you can download
and trace them onto your paper and follow
along with me. So now that we've covered
everything that you will need, we can dive into
our first project.
3. Red and Green Calligraphy Card: Sketch out your letters very
lightly with the pencil. If you're not
comfortable sketching out your own calligraphy
and lettering, you can use the sketch
in the project section. Then using a green brush pen, you can write out the
first word in your phrase. I'm all about customizing. So you can definitely stick
to maybe one color or try different color
combinations for maybe alternate the color of
each letter if you'd like. So I'm alternating the colors of these words and writing
the second word in bread. But then I'm going
to switch back to green for the rest
of the phrase. And when you're done
retinal ear freeze. You can then use a
light gray marker to add a shadow on the right
side of each letter. Then when you're done
with your shadow, you can add some highlights
using a white paint pen or a white gel pen in the upper
left side of each letter. And that is it for my lettering. I'm now going to complete
the card by using those same red and green
markers to add some dots and some abstract snowflake
shapes all around the page just to help fill in some of that negative space
around the lottery. And once you're finished
with these little doodles, you are super simple. Calligraphy card is complete. So I'll see you in
the next lesson, which is kind of
similar to this, but we're going to
take it a little bit further and add some
texture to our letters.
4. Foliage and Lights Card: So for this card, we're going to start in the
same way that we started our previous one by writing out our phrase, any
calligraphy style. And you'll need to use
light green for the step. I'm using this Taylor
brush pen because it has a dual tip and I'm using that bullet tip to add some thin sharp lines to create that firm late texture of
the Christmas tree branch. I'm doing this in
both light green and then I'm gonna go
in with a darker green. Just to add a little
bit of contrast. If you want to blend that darker color into
the later letters, you can use your
light green marker, the brush tip, and just go over those letters to just blend
everything together a bit. Once you've finished
adding a texture to the letters now you
can add some lights. So use a black fine liner pen to draw a string of lights that's wrapped
around your letters. And you can do this in pencil to sketch out the lights
if you'd need to first, and then go in with your friend
learner to ink the line. And then you're going to also
add your tear drop shapes. For the light bulbs. You can add as many or
as little as you'd like. Before I added color
to these leaves, I decided to use my green
marker to add a shadow to all of my letters like I did for the first
calligraphy card. To paint the lights, I'm going to loosely
add some color to the center of the
bulbs and then use a paintbrush with a
little bit of water to spread that color or boned and create a bit of a
glowing effect. And you can add as many
colors as you'd like. Then to fill up the
negative space, I added some tiny dots all
around the background. And I went back in
and decided to add a little bit more texture
to these letters by using a sulfur and a gold glitter pen to add
some more thin lines. And it also went back
in with a very thin, fine liner just to add some black lines as well to
create the look of a shadow. And here is the final look. It's super shimmery and super
sparkly and just a really fun technique that you can use to give your electorate
a bit of texture. I hope you're ready
for even more sparkle, because in the next lesson, we are going to paint is
frosty Christmas card.
5. Frosty Snowflakes Card: I have my phrase already sketched onto my
watercolor paper. And I've used some
masking tape to mask a border all around the
edges of the paper. For this card, we're
going to start by painting the background first. So I am going to start
with a shade of blue, and I'm going to
use my marker to add some of that
color onto the paper. Then I'm going to use
a paintbrush to help blend and push that color
around on the paper. And once they have
finished printing it out, I'm going to add
another shade of blue and blend those
colors together. Then you're going to
continue adding colors, blending them until you have covered the
entire background. To add some texture, you can add some
splatters using water or even white gouache or
acrylic or watercolor paint. Once your paper is still wet, then you're going to
allow your background to dry completely and then go in with a cellphone metallic
marker to add in your lateral. Then I'm going to use
myself or glitter pen to add a shadow on the auteur
right side of each letter. I'm doing this shadow with
a little bit of space in-between the shadow
itself and the letters. To complete the design, I am going to use that same
silver glitter pen to add a few snowflake doodles and some dots to fill up the negative space
around the laddering. And when you're done, you're going to remove fat tip and you're super sparkly fast, the card is complete. If you want even more sparkle. I'll see you in the
next lesson where we make a really shimmery
ornament card.
6. Shimmery Ornaments Card: I'm going to start by using two or three shades of blue to add color to my first ornament, you can leave some
white spaces to get even more color variation. Then you're going to
use your paint brush and some water to blend those colors and just to fill out the
shape of the ornament. For my second ornament, I'm going to use a
yellowish gold marker to add some color to a
part of the ornament. I'm just using my paintbrush
to spread that color a bit. You can add more than
one sheet of gold for a little bit more
contrast, if you'd like. While that is drying, I'm then going to paint
my next ornament in those three shades of blue
that I used for the first one. And for my final ornament, I'm going to add a few
patches of my gold color. Those areas that we did an add n equal two and there
are still wait, are going to be the areas that we're going to add blue to. In the next step, I am using blue and gold for my ornaments, but you can definitely use whatever color
combination you'd like. Once those gold
colors are dried, I'm then going to use
some metallic gold ink. And I'm going to
add it on top of those gold patches that I
painted with my marker. Like to add a
yellowish gold color first because it helps to make that metallic paint
look even more vibrant than when it is placed
directly onto white paper. When you're done
adding in your goal, you can then add in your Bluetooth the remaining
parts of the ornament. And as you add the color, you're not trying to
blend these two together. You want that sharp edge. So you can just add
the color and then use your paintbrush to very
lightly push them together. Once you're done,
you're going to allow these ornaments to dry. And you can go back in with a gold glitter pen and just add some decoration on
top of the ornaments. So I'm adding some
simple lines and dots and even a snowflake. You can add whatever
doodles you want. For the top of these ornaments, you can use a gray marker and a fine line pen to just add in the string and
the details at the top. I personally am
also going to add a messy outline all
around these ornaments. I really love adding
this really rough, messy look to my pieces. Now for our lettering, I'm using a small brush pen to just write in the
phrase, Best wishes. You can customize this with
whatever phrase you want. You can use any color marker, you don't have to use black. And then to fill in
the negative space, I added, if you abstract
thoughts and doodles. So we're taking a very sharp
break from all the shipper. In the next lesson we're making a candy cane striped card. So I'll see you there.
7. Candy Cane Stripped Card: You're going to start
with your phrase lightly sketched onto the paper, then placed thin pieces of tape diagonally
across the paper. I haven't measured anything. I'm just eyeballing
it for this one. Then you're going to use
a pencil to Ladies catch a negative space of land
all around the letters. Once I finished
creating that border, I'm then going to
use a red marker to add color to the background. I'm going to go for a
more watercolor look. So I'm going to use another
darker shade of red, and I'm going to blend them together using water
and a paintbrush. And as you are painting, you don't want to get any
color on the inside of that border that you
just added because you want the area around your
lettering to remain white. Was her background
is completely dry. You are going to remove
the tape and then write out your lettering using
a marker of your choice. So I'm going to use the same two colors so that my lettering matches
the background. So I wrote out the word
in the lighter color and then I'm adding darker color to a few areas and blending them together
with a wet paint brush. To complete this card, you can add highlights and shadows and outlines
if you want. And that is it for your
candy cane striped card. In the next lesson,
we're going to take some inspiration from
another Christmas tree, and we're going to make a
gingerbread inspired card.
8. Gingerbread Cookie Card: So I have my Lateran already
sketched onto my paper. And then I'm going to
fill in the bottom of the letters using
two shades of brown, a later one, and
a very dark one. Then I'm just going to use that lighter color marker to blend those two colors together. When you are finished adding
the bottom of these letters. You can then use a fine line pen to outline the ACL as
well as the lahars. And for both of them, I'm going to use a
messy outline because that is just a type of
bubbling that I like to add. But you can definitely try
a different type of elaine, one that fits your style better. And to add a little bit of
a 3D effect to the ice, and I am going to use a
very light gray marker. Add a little bit of shadowing
along the bottom and the right side of the ice
and part of the letters. I am also going to add a shadow on the outside
of these letters. So I'm using a gray marker. This one is a little
darker than the one I used for the shadow on the ice. And then I wanted to add
a bit of a double shadow. So I went back in with
a black brush pen and added a black shadow in-between the Lateran
and the gray shadow. To create that really
cool Gingerbread effects, you can use a weight gel pen or paint pen to add some white lays on the
inside of the letters. So the first line then I'm adding is sort of
like an outline, but it's on inside. So it's an inline. And I'm adding it to
all of the letters. And then I'm just going to
add some lines and dots and some other doodles just to create that Gingerbread effect. To complete this piece, you can fill in the
negative space on the outside of these lockers with a few doodles
of your choice.
9. Santa Suit Card: So I have my lettering already
sketched onto the paper. This current is
pretty much similar to a budget that
we've done before. So I'm going to
use two shades of red to add color to my letters. For letters that are going
to need some details like this shirt inspired
letter that has a belt. I'm just going to add my red parts and then I'm going to come back
and add my details later. So just continue
adding your colors. I'm using two shades
of red and then I'm blending them together
with my paintbrush. And once I've finished
blending in these colors, I'm then going to use a black fine liner to go
back in and add my details. And I'm also going to
add a messy outline to all of these letters. Then you can add in the gold
details for the belt buckle. So I use my yellow goo marker to add that first
layer of color. And then I moved back in with my gold glitter pen to
add the glitter on top. Plan. To complete this, I added a shadow to
each of these letters, as well as a highlight. And then to kind of fill in some of that negative space
around the piece, I added a few dots
and circles as well as a little bit of
cross hatching. Here's a look at how
this all turns out. We're almost at the end. We have one more card left. And I'll see you in the
next lesson where we make our elf shoe inspired lettering.
10. Elf Shoe Card: So once you have your design
already sketched out, we can then start to work
on creating the card. So the first thing that
I'm going to do is use my monoline pen to ink the letters that won't have
any color added to them. Then I am going to outline my surf letters
and my elf shoes. I'm using a very
simple, basic outline. No messy outlay for this one. I want to show you
the difference that the outlines can make. Of course, if you want to try a messy old lady
with this technique, you are free to do that as well. Once you've finished
outlining everything, you can then start to add color. I'm using a red marker to
add color to the stripes. Then I am going to paint
the shoes by adding some of my darker green around
the edges and then using a light green to fill
in the remaining space, as well as to blend those
two colors together. So for these socks, I'm going to start with my dark green and I'm going to
paint in my stripes. And once I'm finished adding
in those darker stripes, I'm going to go back in with
my light green and fill in the space in-between
those green stripes. And for these Jews, I'm going to paint them in red. So to add depth
to these letters, I am going to add
a double shadow. So I'm starting with a
black brush pen and I did my shadow on the bottom and the right side
of each letter. Then I'm going to
go back in with a gray marker and add a
shadow right next to it. Like some of the other
cards that I did, I'm going to add some dots using my red marker to fill in
some of the negative space. And then rather than using
white to add my highlights, I used my gold glitter pen to add some glitter highlights
to these letters, as well as some dots to the fold of tissue and
to the background. And here's a look at how
this car turned out.
11. Wrap up & Project: So we've made it to the
end of this class and together we've painted
a different designs. And I hope you
were able to learn new techniques
that you can apply to your own work in the future. Your project for this class
is to create and share your old set of Christmas cards using the
techniques that we've covered. I'm so excited to
see your cards, so be sure to upload them
to the project section. If you share them on Instagram, you can definitely tag me. If you enjoyed this class. Don't forget to leave a review and also be
sure to follow me on my Skillshare page so
that you don't miss any updates or new classes
that are coming up. Thanks so much for joining
me and I'll see you soon.
 Shannon Layne, Lettering, Procreate & Art