Transcripts
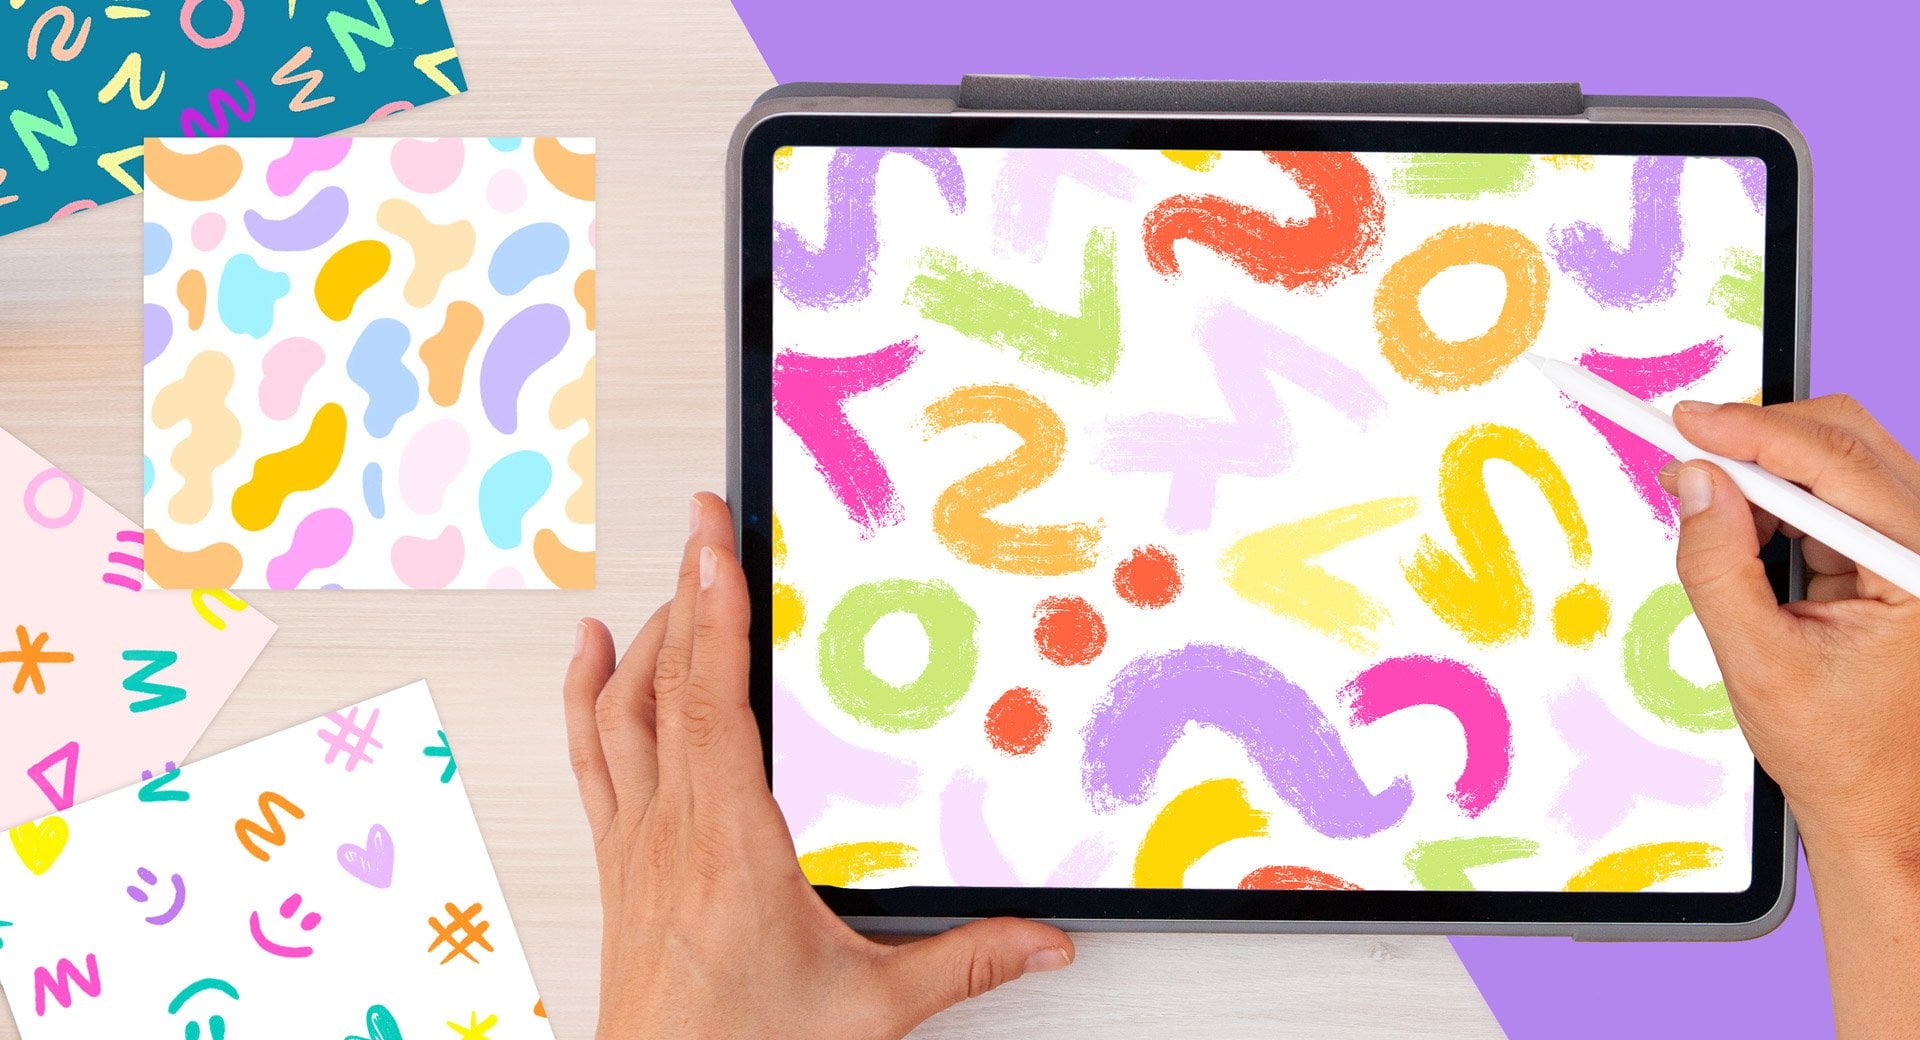
1. Welcome! : Let me guess. If you're here
is because you probably have drawings and paintings
scattered across sketchbooks, notebooks, and random papers. What if you could actually use what you've already created, turning it into
wall art patterns, greeting cards, or content
for your social media. In this class, I'm going
to show you how to digitize your traditional
artwork, adjust colors, remove backgrounds, and get
everything ready so that you can reuse it across any project that
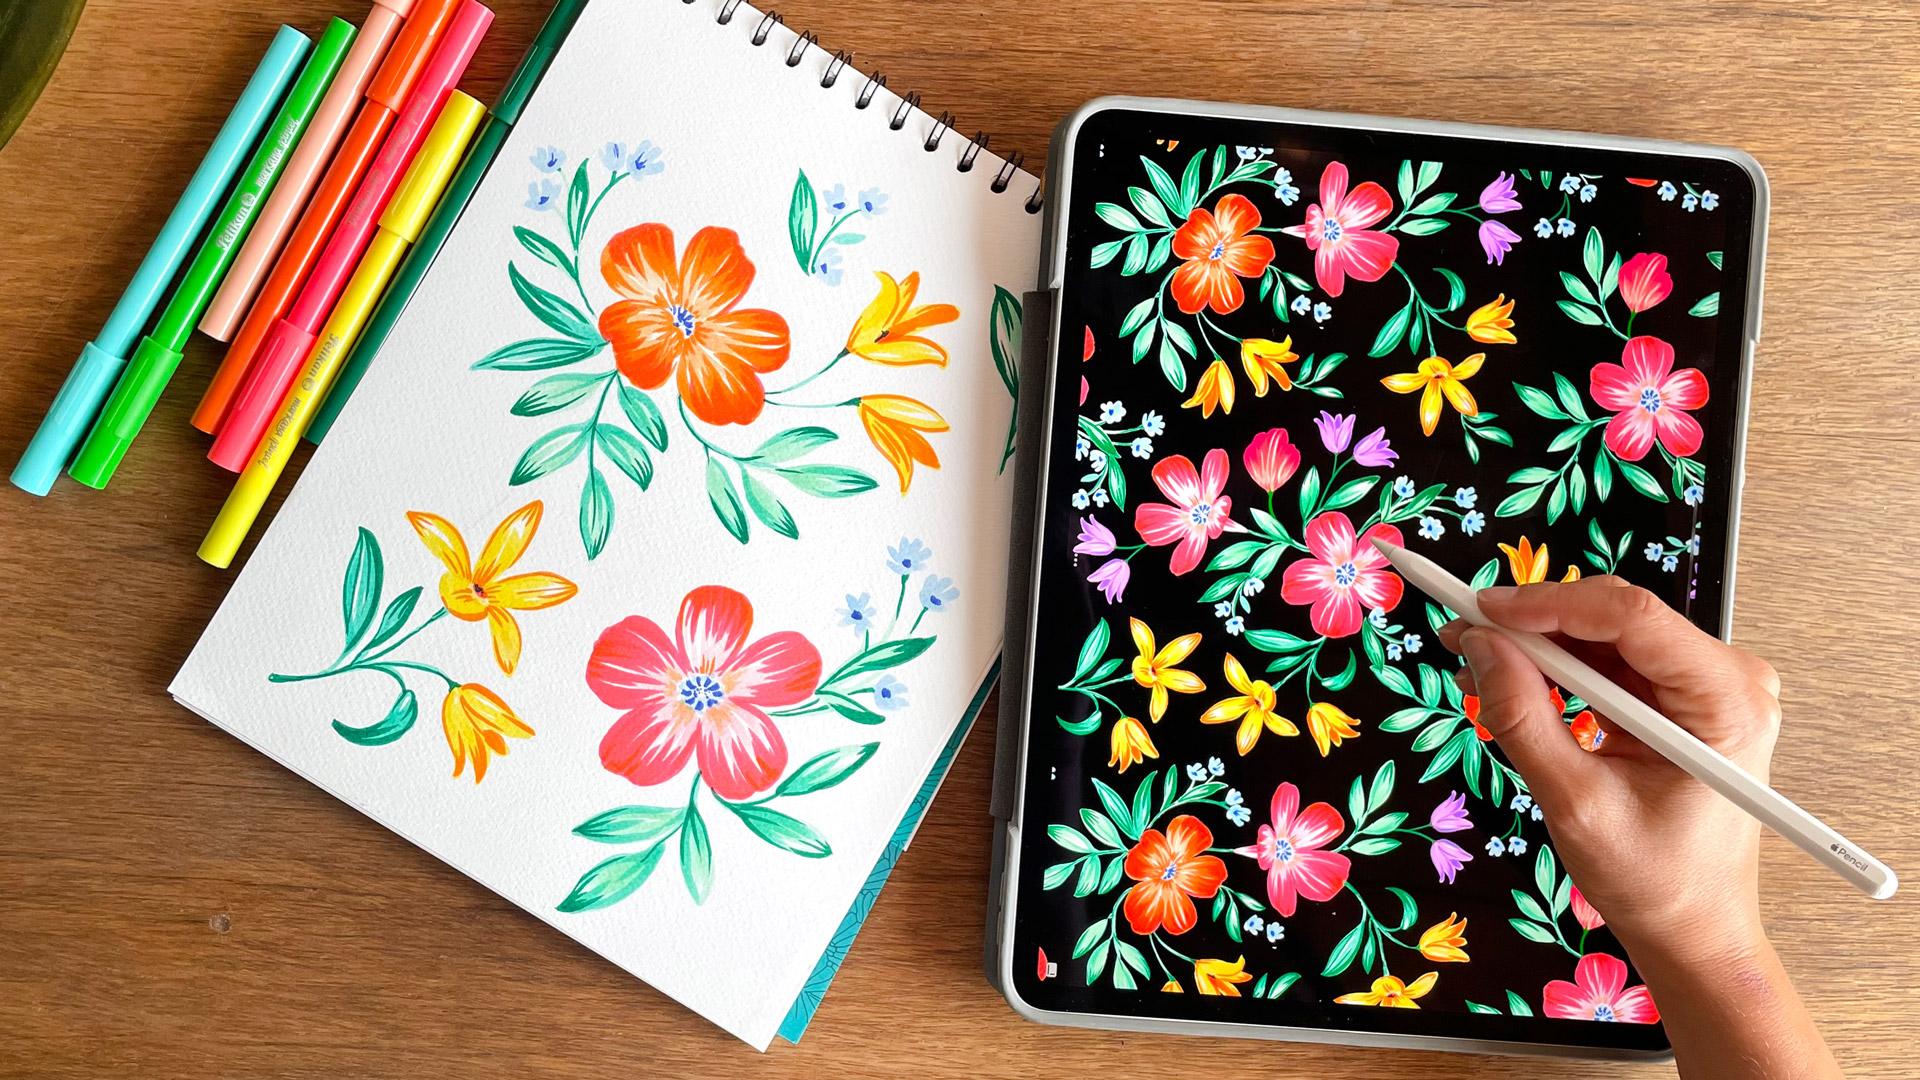
you have in mind. We're going to use Procreate, an app for iPad that's
affordable, powerful, and honestly one of my
favorite art tools. Hi, I'm Sylvia. I'm an
artist and designer, and I've been
combining traditional and digital art for years. I've used my
illustrations to create album covers, wedding
invitations, wallprints, textil patterns,
some of which ended up in collections for
brands like Zara, Mango, and some UK brands. Most of these projects
start with paint, ink or whatever medium I
feel like using on paper. Like painting without pressure, sometimes to practice something or just carrying a
sketchbook with me, filling it with ideas, and
then coming back later to digitize a few pieces and expand what I
can do with them. This is a great opportunity
to look into your archive of images and gather
one or two images that you want to
digitize using Procrit. I will show you the
exact process that I go through for
digitizing my assets, cleaning them using procreate, and export them into
my image library. You don't need to master
Procrit to take this class, but having a basic
understanding of the app will help you follow along
more easily. Before we start Make sure to follow me
here on Skillshare to stay updated on new
classes, giveaways, and freebies and
check the links in the class description for behind the scenes contents
and more tutorials. So get your artworks ready
and see you in class.
2. Your Project: Your class project is to
take one of your hand painted artworks and
digitize it using procreate. The main goal is to create
a clean, usable asset. So ideally, you will choose
an element like a flower, object or illustration and
remove the background, so it's ready to use
in different projects. But feel free to adapt
this to your own work. If you're working with
a full illustration or something like landscape, you can focus on enhancing
your artwork using the adjustment tools
that I will cover on the import and enhance
your artwork lesson. If you're working
with assets that have clear high
contrast borders, you will find that the selections
are easier and cleaner. This is because
clearer edges allow Procrite selection tools to differentiate better the
elements from the background. However, it's not
all about the edges. The texture of the paper
also plays a big role, especially when using the
color selection tool. More textured paper can make
it more challenging for the software to isolate
the artworks precisely. In my case, I'm using color pencils on a
medium textured paper, which means that my selection won't be super crisp or tidy. So to refine my selections, I'm going to use masks and a soft brush to tidy the edges. You will need to judge
for yourself how polished or soft you want
your selection edges to be. Some assets might be trickier
to isolate than others, but with a little
patient and brush work, you will achieve the clean, beautiful edges
you're looking for. In my case, my elements
are full of color, but if you're going to be
digitizing elements where only the silhouette is
visible like these ones, maybe it's better if
you make sure that the border of your drawings is well contrasted
and has no gaps. And what I mean with no gaps is if you have a
drawing that is like this, and then you're going
to use the magic wand to select this white, then this selection is going to slip through this hole
and select this as well. So if you want to select the objects and
their backgrounds, just make sure to
close your assets. Really love to see
what you create, so don't forget to
share your project. Start with a photo of
your original artwork, then add a screenshot of your digitized version so that we can all
see your process. And if you create
something with it, I would love to see that, too. I will include a toad
Back mockup so that you can try your designs on
a real life product.
3. Digitize Your Assets: Alright, let's dive in and let's get started
with the first step. So first of all, to
digitize your assets, you have several options. You can take a photograph with a good camera or a good phone. It is important to make
sure that your phone is capable of getting
high risk photographs. But since this is
not always the case, I advise to use a scanner. Why? Because a
scanner is going to grab everything is
not going to create any shadow you're not going to have any problems
with perspective. A lot of people have
asked me in the past, what scanners shall they use? And the truth is that I've used a lot of scanners
throughout my life, including a lot of second hand
ones that were not fancy, were not something special, and they all worked fine. All those prints that made it to sara and Mango were made with acids that scanned in a very cheap secondhand scanner
whilst I live in London. What really matters isn't
the scanner itself, but the resolution you scan at. So the most important thing
is to control the resolution. 300 DPI is great for most uses, especially if you plan
to print your work. And then 600 DPI gives
you more flexibility and allows you to scale your artwork up without
losing quality. For example, in this collection, I painted these shells on an A four page and ended
up scanning them at 600 DPI to be able
to use them on patterns made for
tablecloths or Duva covers. Okay, so I'm going to
scan my illustrations. Please go ahead and scan yours. Important thing is
that you scan at at least 300 TPI because this will give you enough resolution
for them printing it. I'm actually going to
put 600 in this box, so my assets scan
twice their size. Each scanner works differently, so you should check
how yours work. I'm going to select the
area that I want to scan that's going to be
saved on my desktop. And from this drop down menu, you'll probably get JPEG. But if you can select PNG or TV, it's better because your scan won't deteriorate over time. So I'm going to tap
on scan and wait. So here's my scan.
It's a bit dirty. And when you scan things, they're always going
to look a little bit like flat without
contrast and stuff. So that's why we're
going to pass this image onto our iPad and fix it there. There are many ways
in which you can transfer an image to an iPad, and you should
find your own way. I have an iMac, and
I love using AirDrop to transfer images from
one device to another. So I'm just going to send
the image to my iPad. Send your image to your iPad using AirDrop, email or dropbox. Once you're ready, I'll see
you in the next lesson.
4. Import & Enhance Your Artwork: So now my image is in my iPad. I'm going to rotate
it here because why not? There you go. And I'm going to open
it in Procreate. I'm going to open my image
library and tap on Import. Actually, I'm going
to tap on photo. There's my photo.
The first thing I'm going to do is duplicate this image just in
case I damage it. I have the original one. As you can see, this image
is a little bit yellow here. I don't know if you
can see it in camera, but it is a tiny bit yellow. For some reason, it
has scanned like that or maybe it's because
of paper has a bit of, like, a warm tone to it. The first thing we're going
to do is improve the look of our scanned assets using
the adjustment tools. So I'm going to tap on
the adjustment tools, and I'm going to tap on curves. The first thing we want to do is bring the contrast
of this image back. So with the top blue node, you can modify the brightness
by moving it to the left. You will get rid of
the paper texture. So you move it slightly until you can see that the
background has been cleaned. With a bottom blue node, you can increase the contrast. So if you move it to the right, then you can see
that the contrast of my image is brought back. And then if you see that your image is too
light or something, you can create new
nodes in the middle. And start bringing them up and
down to see how your image changes and decide on what type of style you want.
I'm going to leave it there. And now my image is
looking contrasted and the white paper of
the background is white. Once you've adjusted
the background, you can also open the
hue saturation and brightness and modify
the saturation in here and the brightness. And one thing that
sometimes I like to increase a little
bit is the sharpness. So in the adjustment tools, you can tap on
sharp and by moving your pen slightly to
the right and the left, you can increase
the sharpness of your image and bring
that crisp look back. So those are the
main tools I use for fixing the image before I
start erasing the background.
5. Remove the Background: Now, we're going to isolate our images by erasing
their background. Now, there are various
ways of doing this. One would be to use the eraser to erase
all the background, but I'm going to show you how to select the background first, using the selection tools
available in Procrit, and then I'm going to
show you how to use a mask to polish this selection. I said at the beginning
of this tutorial, this method will
vary depending on the technique of the painting or drawing that
you're digitizing. I'm going to use color pencils on a medium textured paper, and my selection is going
to look very untidy. This is going to be great
because it will serve me as an example on how to manage
challenging situations. To display the selection tools, you have to tap
on the third icon on the top left of your screen, and this will display
this bottom menu. We're going to use
the automatic option, but you're welcome
to play around with the other options to
understand what they do. With the automatic option, you can select the
colors of your canvas. This case, we want to get
rid of the white background, so I'm going to tap anywhere on the white
background paper. See how if I leave my pen on the screen and move it to
the right and the left, I can control the threshold. Now, the color threshold
adjusts how much of the surrounding
area is included in the selection based
on color similarity. Higher thresholds include
more similar colors while lower thresholds keep
the selection tighter. I thought I had erased the
texture of the paper of my image by adjusting the brightness and contrast
of the illustration, but clearly the paper
texture remains in here. This might not always be
the case and varies a lot depending on the type of paper and technique that you're using. I'm going to tap on the
different areas of my artwork and increase the threshold until the background
is selected. You can tap on
different areas and control the threshold
by moving your pen. You can also add areas to your selection
by tapping on them. Take your time refining your selection and
judge when to stop. You should only select
your background. Don't worry about the borders. I know that in this case, they look very untidy, but that's why I'm going
to show you how to use a mask to tidy this selection. This has been added
to the selection, but it doesn't matter because
I'm going to remove it. So I'm going to show you how to create a
mask in procreate. I'm going to tap on
the layer panel, tap on my layer and tap on mask. You can see a mask has
appeared on top of our layer, which means that now we
can discard the selection. To do that, tap on the
selection icon again. Now it's impossible to see the mask because the
background is white, and the mask has been
applied to the objects. But if you open the layer panel and change the background color, you will be able to see it. It has been applied
to the objects, and we need to invert it so that it's applied
on the paper. So open the layer panel, tap on the mask layer and tap on invert, which is down here. I'm going to change the
background color back to black to see my mask clearly. And now we're going to
fix this selection. I'm going to tap
on the brush icon. I'm going to search for
the ink collection, and I'm going to be using the studio pen to polish my mask, but you can use any other
brush that you want. I invite you to
experiment and judge for yourself what's
better for your drawings. Always make sure that you are
working on the layer mask. Otherwise, you're going to
be painting with white or black over your drawings,
and you don't want that. Now, select the
whitest color that you can and you'll be able
to erase the mask. If you want to add areas
to your selection, you will have to
use the eraser too. If you tap your pen twice, you will be able
to swap in between the brush and the
eraser very easily. I am aware that this
doesn't work on every iPad. So depending on your iPad,
it might not work for you, and you would have
to do it manually, which will consume
a bit more of time, but it works as well. Depending on the
technique that you are trying to
digitize this process of polishing the mask might take longer or it might
be super easy. Try to focus on the
borders and don't worry too much about the pixels
you see lying around. Since I can draw
directly in procrete, there are some cases like
these very thin stems, where I rather discard the
mask and redraw them by hand. Now, it's difficult to guess
where these stems are. So something that I find
very helpful is to grab the initial layer which contains the acid with the background, put the layer on top,
lower its opacity. And this will serve
me as reference of where to erase or add
areas to my mask. You might actually want to lock this layer and always
make sure that you are drawing on top of your mask and not on
top of your acids. Take your time
polishing your mask. This part is really key
to the whole process. The cleaner and more
precise your borders are, the more versatile your
assets will be later on. If you're happy with how the
edges of your images look, you'll have these
artworks ready to be used in all sorts
of future projects, whether that's
creating patterns, incorporating them
into larger designs or any other creative
ideas you might have. So think of this as an investment in your
creative toolkit. A little extra care
here goes a long way in making your assets usable
for many possibilities. There are some cases
where I actually like the texture of the borders. You know, I don't mind this texture here,
which is quite rough. It might be a little bit different than this
one, but that's okay. Here, I decided to grab the dry ink brush and actually
draw a little bit on top. In the end, these are meant
to be flowers, so, you know, a bit of white texture is actually going to
enhance the whole thing. And that's the cool
thing about procreate. You can just, like, draw on
top of your live drawings. Okay. So I'm happy with
how this is looking. So now I'm going to apply
this mask to my drawing. I'm going to change the
color of my background to this pink because otherwise,
it can get confusing. And basically, I'm
just going to pinch these layers to apply the mask
and erase the background. Now these images have been
isolated, which is awesome.
6. Organize Your Assets into Layers: Now these images have been
isolated, which is awesome. Finally, I'm going to show
you how to place each of these images on its own layer and export them as PNG files. I'm going to tap on
the selection tools and tap on free hand this time. And I'm going to start
selecting each of these items, swiping three fingers down
and tapping on cut and paste. You can see that now
this drawing has been isolated onto
its own layer. So to tap on here, three fingers down,
cut and paste. Just go to put this background black to make sure that I'm
doing the right selection. When possible, I advise
you to try to create a selection near to the
borders of your drawing. By doing so, you
will be discarding any unwated pixels
that are lying around. You will have to probably
use a eraser tool later on, but this will help
you in the process. And if your items are too large, you can divide the
selection into two phases. In this case, for example, I can start by
selecting the flowers. This will allow me to have more control over the selection, tap on the ad button,
select the bottom part. And then tap on add again. So I three fingers make sure
that I'm in the right layer. So I have three fingers down, tap on cut and paste, and now it's on its own layer. Take your time separating your images into
different layers. Okay, now that I have
isolated all of my assets, I'm going to go ahead and change the background color
back to green, and I have spotted this problem. In this case, clearly, I was not drawing on top of my mask but in top of my acids. So I'm going to erase
this black area and zoom in to see if I can spot any
unwanted pixels lying around. You can discard them with the eraser two or
you can discard them with the free
hand option to select multiple pixels
at the same time. Once you have separated your images into
different layers, I'm going to show you
how to export them as PNG files with a
transparent background.
7. Export Your Assets: O Once you've separated your images into
different layers, I'm going to show you
how to export them as PNG files with a
transparent background. First, I'm going to turn off the background layer and quickly check that
everything looks right, making sure all the
layers I want to export are visible and the
background is hidden. Then I'm going to tap
on the wrench icon, go to share and
under share layers, I will tap on PNG files. This will export each
layer as a separate image. I will tap safe images, and they will all be saved directly into my photo gallery. Now, one thing to keep in mind is that when you
export this way, the full canvas is
included in the image. So what I usually do
is tap on edit, go in, crop each image directly
on the photo gallery, adjusting the bounding box so it fits nicely around the artwork. This also helps me get rid of any extra pixels
around the edges. It does takes a bit of time, but I prefer doing it right
after exporting my images. This way, everything looks neat and clear in
my photo gallery. Now I am going to
tap on select choose all my images and drag them
onto my image library folder. If you've taken previous
classes of mine, I really like to
keep a folder on my iPad called Image Library. This is where I store all
the images that I create, whether for specific
projects or just for fun in a clean and organized way or with transparent backgrounds. That way, I can easily reuse them across
different projects, whether I'm working
in Canva, procreate, or any other design
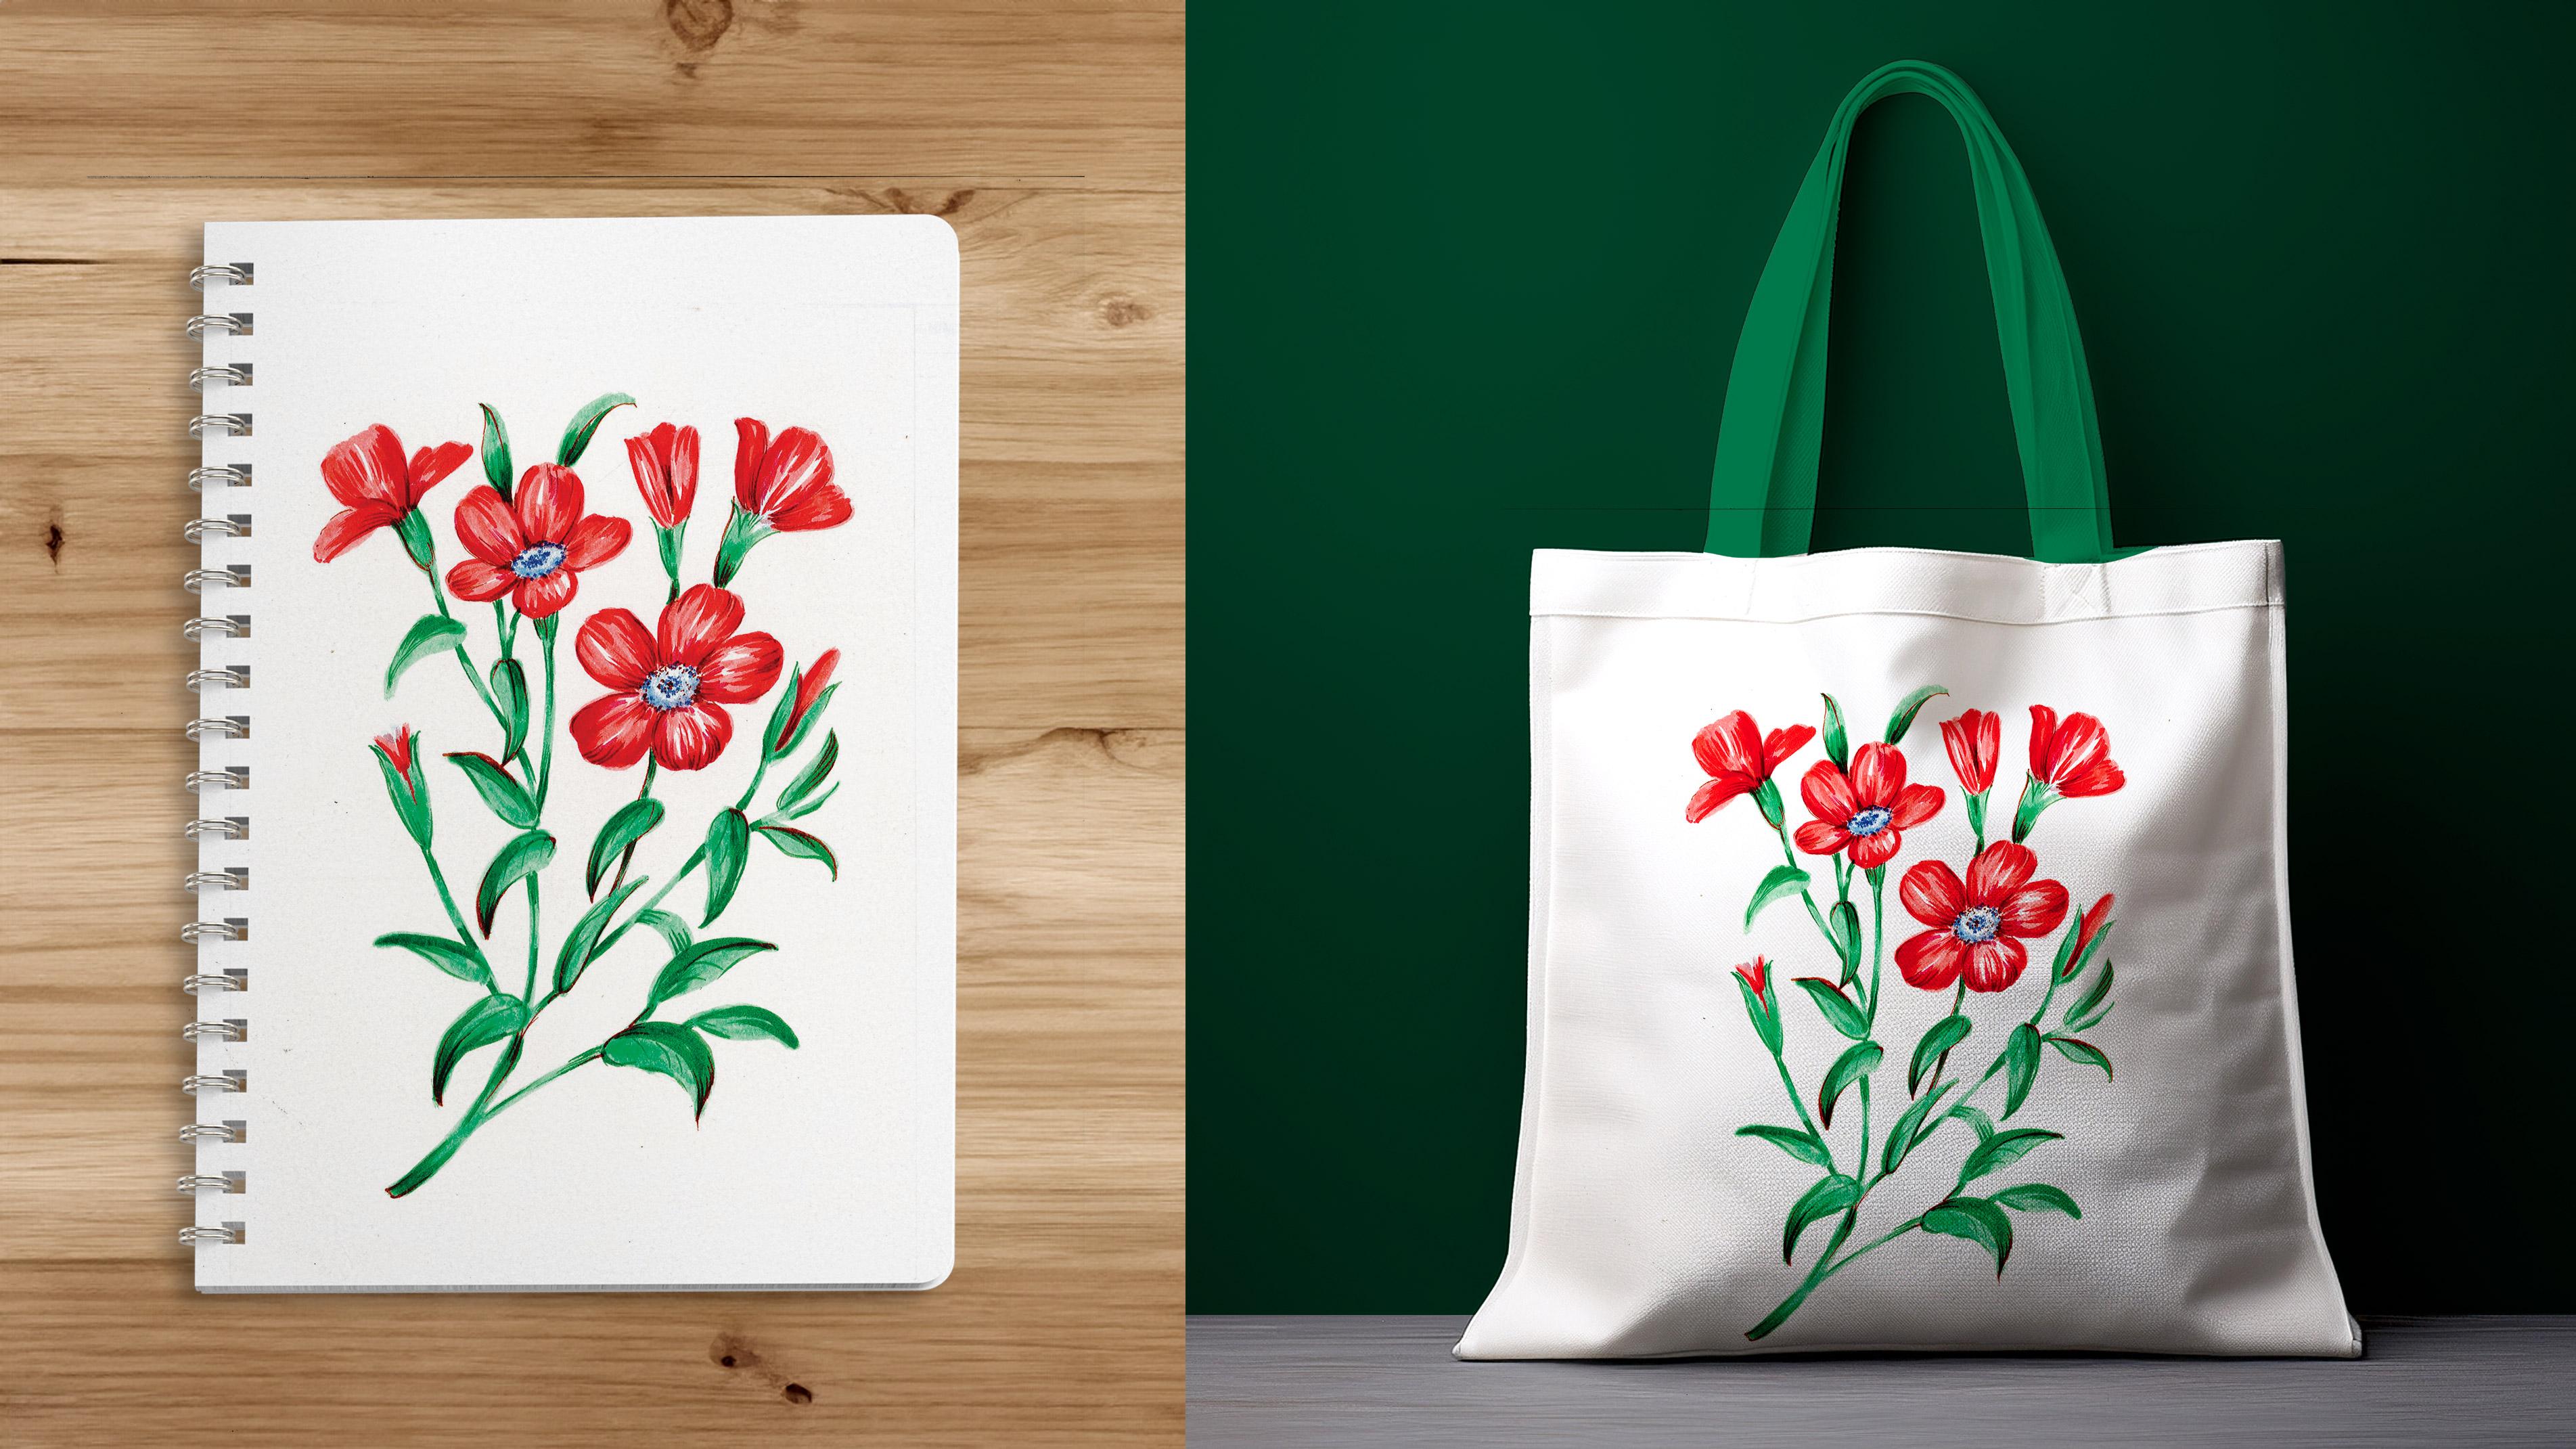
tool. And that's it. Your images are now clean, organized, and ready to use. Digitizing your artwork
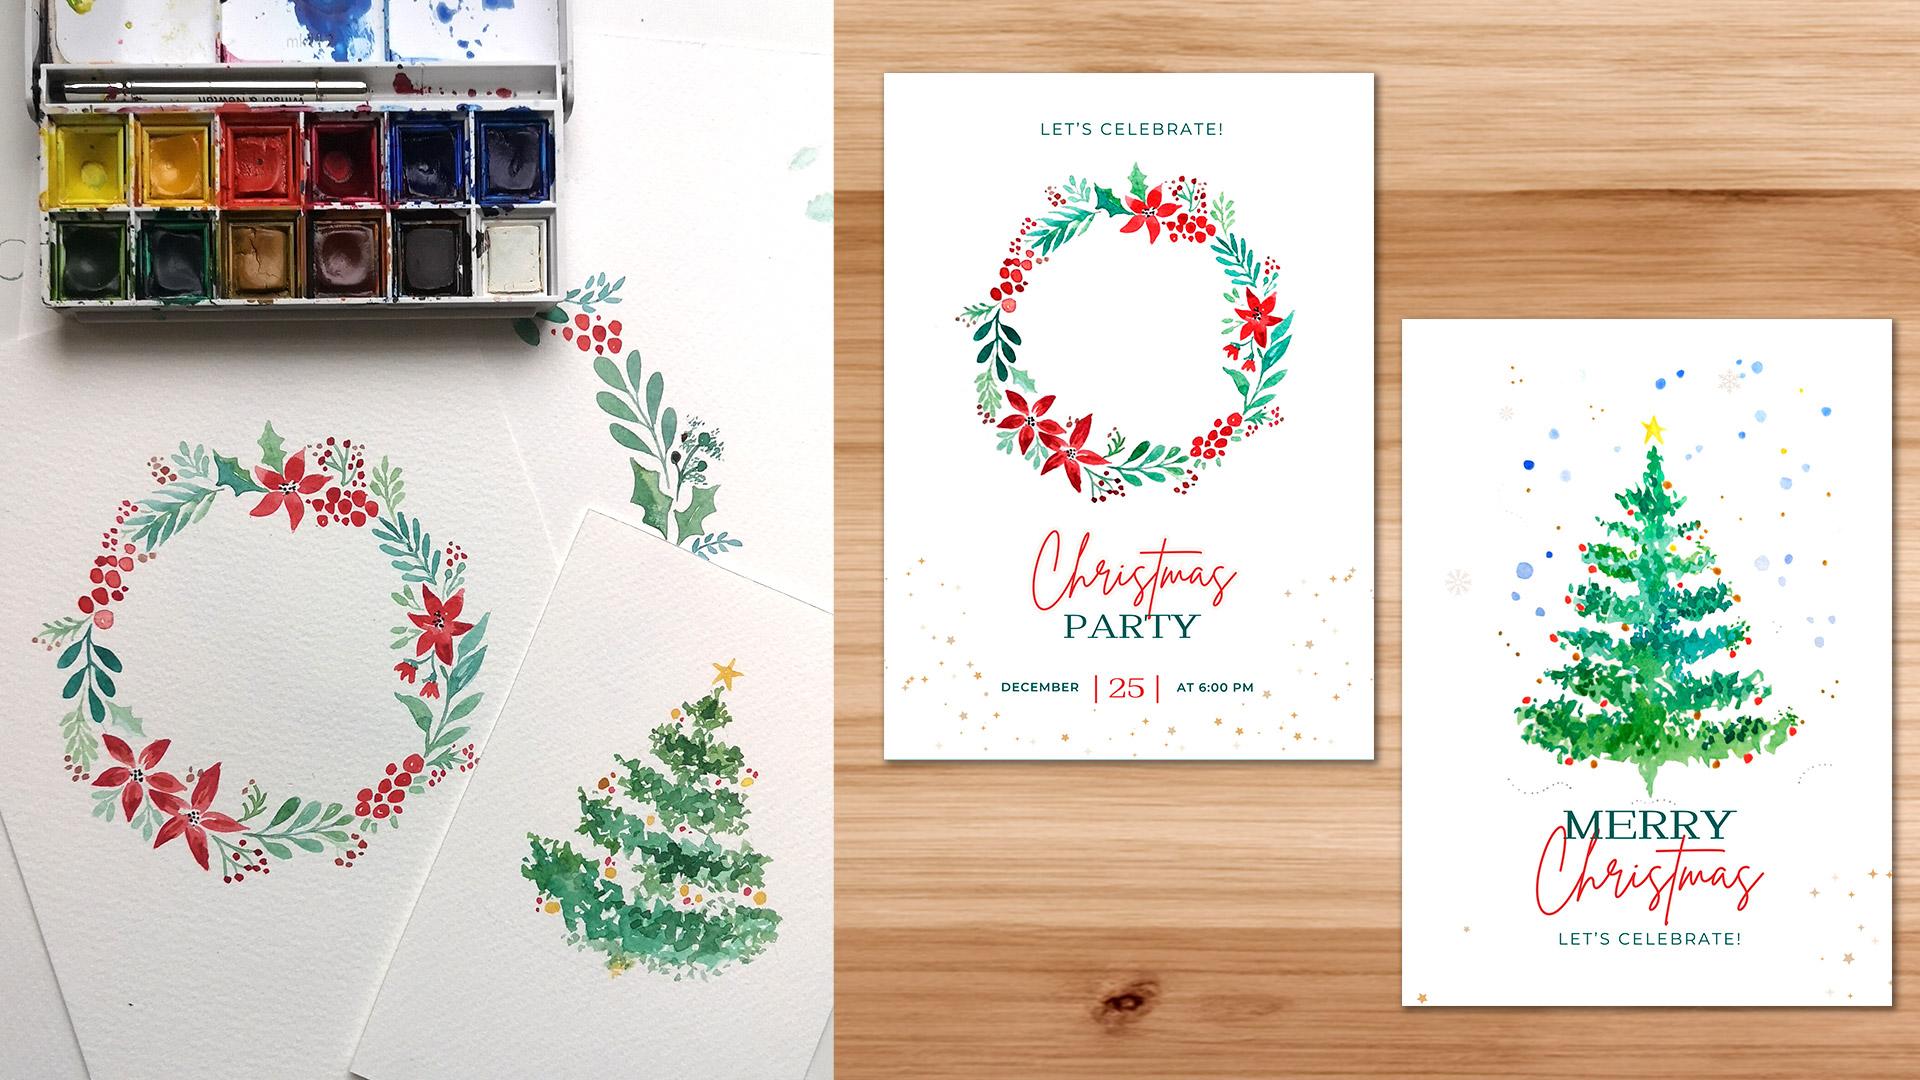
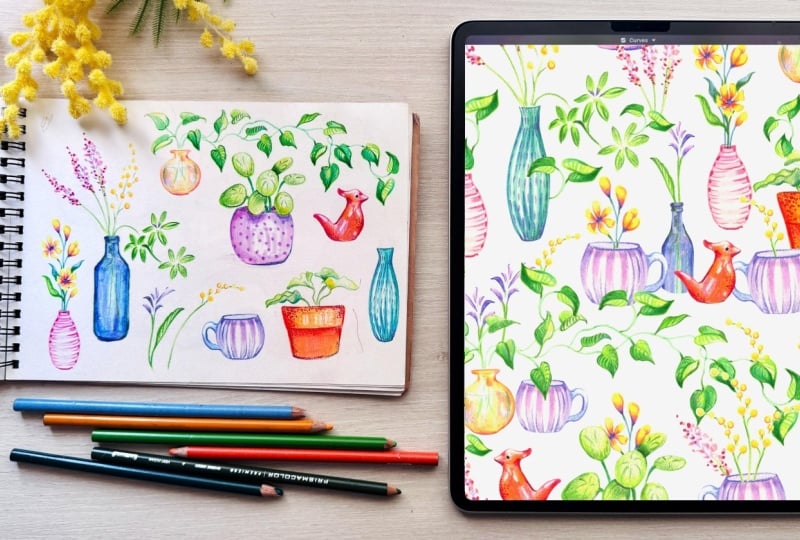
is such a powerful step. It allows you to reuse
your illustrations across different projects,
create patterns, experiment with
colors, and build a library of assets that it can come back to
again and again. In the next lesson,
I'll show you how to use your
digitised assets, share a few helpful resources,
and wrap things up.
8. Final Thoughts: Before you go, I want to
quickly share a few ways you can keep building on what you've learned
in this class. Now that you have your
digitized assets, you can start using them
to create patterns, build compositions, or develop your own image library that you can reuse
across projects. This is where things really
start to get exciting. If you like to go
deeper into that, I have another class
where we'll explore the concept of having
an image library of reusable assets that
you can turn into beautiful patterns and take your designs further
using tools like Canva. I also have a few analog
classes where I teach how to create these kind of assets
using techniques like quash, watercolors, and brush markers. So if you're interested
in learning how to paint your own assets and then digitize them to
create patterns, you can think of my classes
here on Skillshare as a full ecosystem that
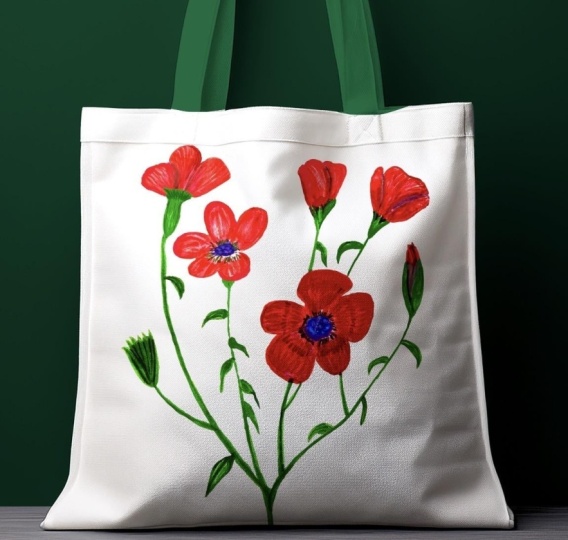
supports the entire process. I've also included this tot
Back mockup so that you can test your designs and see how your artwork could look
on real life products. If you enjoy this class
and found it helpful, I would really appreciate if
you could leave a review. It helps me improve my classes and also helps other
students find them. If you'd like to stay in touch, make sure to follow me here on Skillshare to stay
updated on new classes, giveaways and freebies,
and check the links in the class description for behind the scenes contents
and more tutorials. Thank you so much
for staying until the end and see you
in my next class.
 Silvia Ospina, Artist and Graphic Designer