Transcripts
1. Introduction: Thank you for taking this class. In this class, I
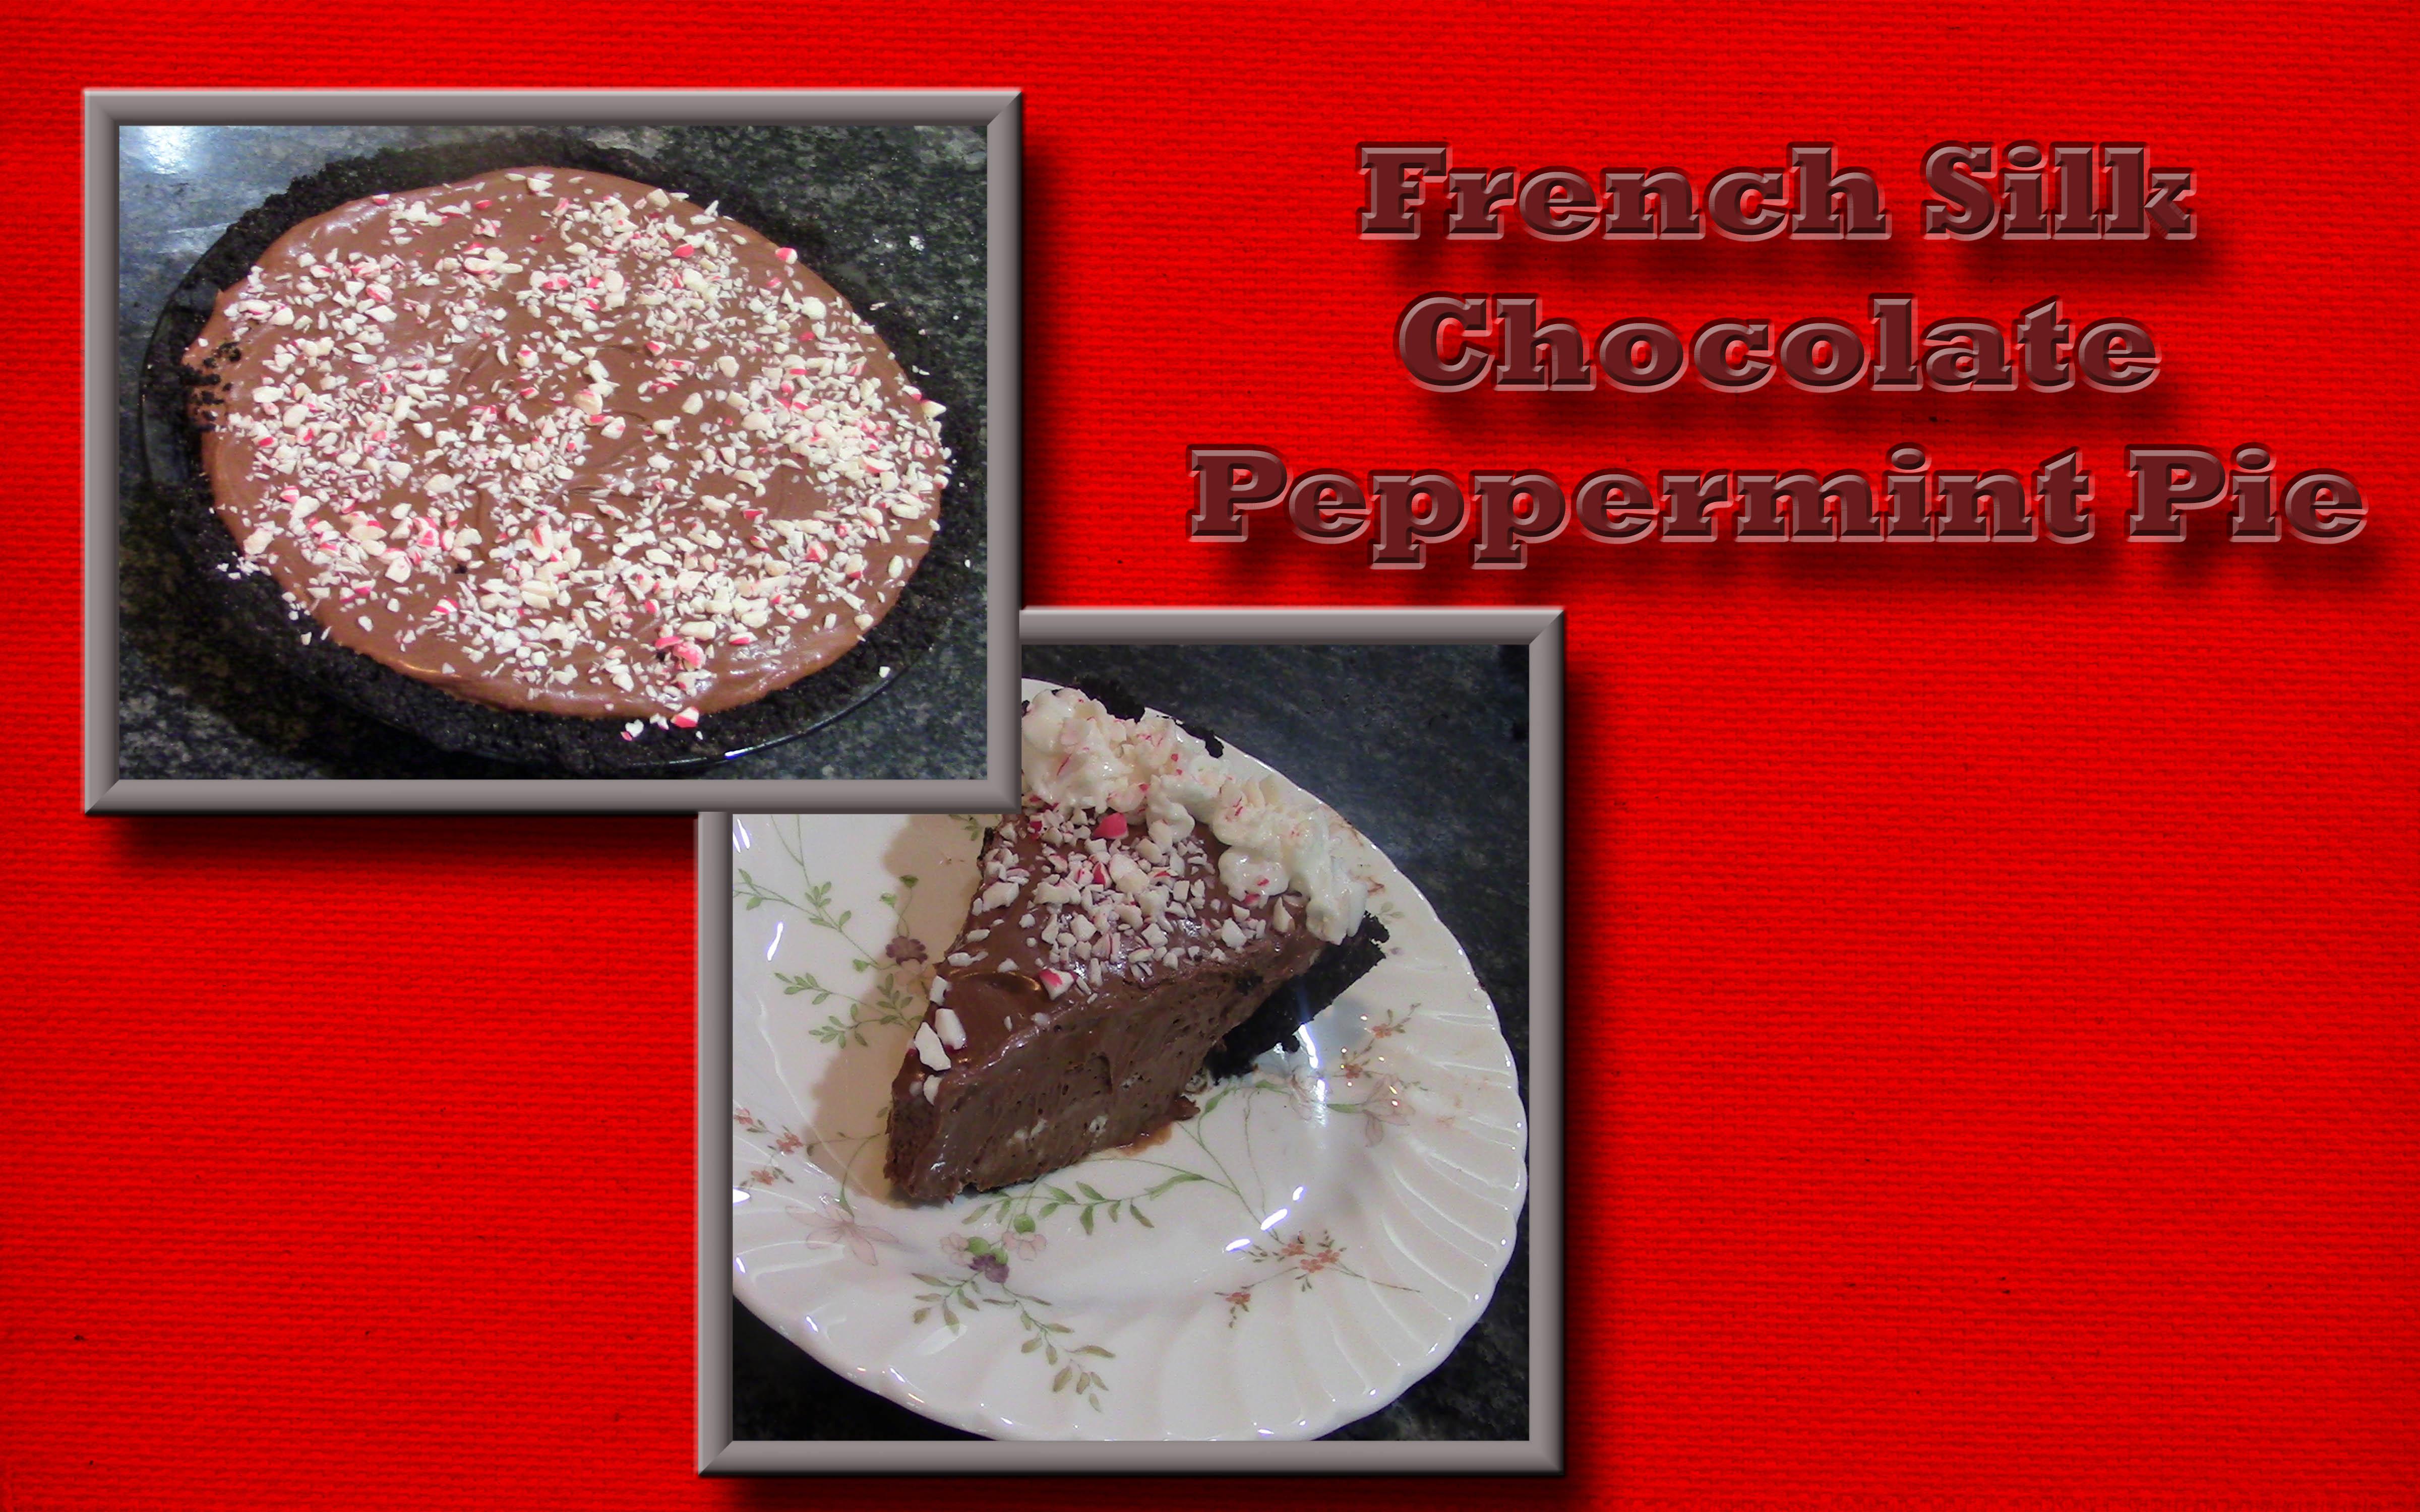
will teach you how to make this peppermint friends. First, I will teach you how to make the chocolate
cookie pie crusts. And next, I will teach you how to make the chocolate
mixture for the filling. I will teach you how to cream the butter and chocolate
mixture to the butter. Next, I will show you how to
whip up the whipping cream. And then we will follow the chart that mixture
into the whipping cream. With the filling made. We will fill up the pie crust, the crust peppermint, and then let it chill
for several hours. I am a self taught Baker
and cake decorator. Many years ago, I decided I wanted to open up
my own home bakery. So I read a lot of books,
take some classes, watched a lot of videos, and of course, did
a lot of practice. Until I felt like my
cake decorating skills, which you the level
that I could make stunning cakes for other
people, for special occasions. I then opened up my
own home bakery, and I had this business
for several years until my husband got a job
offer in New York City. We felt like this was
a good move for us. And so I close down my bakery and we moved across
the country to New York. Now here in New York, I do not want to go through the steps to open
up another bakery, but I still love
baking and cooking. And as a retired teacher,
I love teaching. So I have decided to share my skills with you
on Skillshare. This class is aimed at the Baker who would like
to learn how to make a delicious high that they can
serve for a party or dinner. I am excited to teach you
the skills in this class. Let's move on to lesson
number one, making the pipe.
2. The Crust: We're ready to make the
crust for our pile. The first thing we need
to do is melt the butter. I like to cut them up into about one tablespoon in action so
that it will melt faster. I'm now going to put this in the microwave at 50%
power for 1 min. This has been in for 1 min. Now I'm going to stir it. And I'm hoping the
butter will melt without having to put it
back in the microwave. You can say the
butter pretty much. So I'm going to set that aside. In this food processor. I have quite a bit of the
chocolate with for cookies. I personally like to use these famous
chocolate with first. You can also use chocolate
Graham crackers. I disliked the slave
of these better. Now, I just want to grind this. Stop and look and say, nope, still up to
bigger jumps in there. I'm gonna do a
little bit longer. Let's look and see. It's looking better. There's still a few chunks
that are bigger than others. I'm gonna do it
just a little bit. All right, that's
looking much better. Now I'm going to take that out and I need one and
two-thirds cup. I'm going to spoon. This is a one cup. Tilt this so that I can
get more out feeling this. One more in there. And then we need two-thirds. Hoping I've got
two-thirds cup here. If not, all grind up
just a little bit more. It's going to be close. A little bit shy. I'm going
to put my blank back in. Just a few more cookies and
I don't need a whole lot more. This one's not quite as fine because it's
a lot harder to get it fine when you do in
such a small amount, but it's going to
be good enough. I want to just fill
this to two-thirds. Well, I'm looking at this as almost a two-thirds is
just tiny bit left. So I'm going to go ahead
and Ali has that amount, so I'm not going to matter. Then I want
one-fourth cup sugar. Now we're just going to stir. This is well-mixed
and blend it in well. Anything you see that it's dry, make sure you mix it in
with that, That's moist. This is now ready to
go in the pipette tip. It's dump the same. And I'm going to
spread it around, bring it up the sides where it's not coming up
sides, get it up there. Now that I have it up the sides, I'm going to use my
hand to press that in all the way up the side. I'm not too worried
about the bottom yet. Working at Preston
this up the side. Once I have that all
the way up the side, I'm going to come back,
press the bottom. I really want to with my spoon. Go along the side to make sure that's really going in. And I'm now going to
put this in the oven at 350 degrees and bake
it for five-minutes. The suspect the five-minutes. We're now ready for it to cool.
3. Making The Chocolate Mixture: We're now ready to
make the filling. And we're gonna do the
chocolate part first, which is done on the stove. But before I get to I need to take my
chocolate that's going to be stirred in and break it up into smaller pieces so that it will melt
when I'm to that point. Now let's go over to the stove and make our chocolate
feeling part. In this pan. We're going to combine
the sugar, eggs. And we're going to stir them
until they are well blended. We have not yet
turned the heat on. You want to blend these first? That looks very well blended. We're now going to
turn the heat on to a low heat because we don't
want to kick those eggs. And we're going to
put some ometer n because we want to kick these until the mixture
reaches 160 degrees. Storing constantly. My arms get tired during this, so I have a few minutes. I arms, give the other one
a vast and I keep adjusting the candy thermometer
because this is a thick sauce and it likes to knock the candy
thermometer over. This is going to take awhile
because we're on a low heat. So don't get
discouraged if you're stirring and you're not really seeing the candy thermometer go up quickly because it's
not going to go up, but it's not going
to go up quickly. But you don't want
to turn the heat up because you don't
want scrambled eggs. It has reached 100 degrees. It's got 60 more degrees to go. Again. I am stirring it constantly, but it is over halfway there. It is at 150 degrees. It is almost they're
getting up there and be watching the
temperature very closely now. Till it reaches 160. It has reached 160. So now I'm going to
turn the heat off. We're going to put our
chocolate in there. We also want to get
her extracts in, but I want to store
this in a little bit. While that's cooling. Let's get our extract him to add the one to
spirit of vanilla, the one-half teaspoon
of Peppermint. Now we just want to
stir this all up. We want to stir it until
it's completely smooth. The chocolates
completely melted. As you can see, chocolate is pretty
much melted and smooth. Now we're going to come back
and stir this occasionally, but we needed to drop to
90 while this has cooling. Let's do the butter
in the whip top.
4. Adding The Chocolate To The Butter: I just noticed I did not
turn to be quarter-inch. Let me tell you what I did. I put the butter end to this bowl until I was light and fluffy and
it doesn't take very long to get it to be light and fluffy because this was
already at room temperature. If you were to start it at refrigerator temperature,
it would take a lot longer. We've created. We're ready to set it aside until the
chocolate has cooled. Our chocolates is
basically down there. It's cool. So I'm gonna take the candy, someone else will go into pit this chocolate into
our first started being an ongoing to scrape the bowl that but it down into the mixture and then
we're going to beat them. Don't have it on about another minute, minute-and-a-half. Just want to make sure I
get all of its script down. There. We have that nice.
5. Whipping The Cream: In this bowl, we're going to
add one and a third cups. Heavy whipping cream. And we're going to start in a little bit low because we don't want
it to squash it up. And we're going to take this
until it starts to thicken. Let's turn it back down. We can turn it up to be the
battle. Started to sit in my night lifting through my God, it's great to put it in here. I did not let it come to
room temperature because I wanted it to be as close
as possible to help you. Now I wanted to grow
up enough for that. And I'm gonna go ahead
and add how the shoot. But now we want this to be, is while this is going, we will be better, but we're still waiting to come down to 90 degree. Almost. Not quite. I turned this off because it looks like it's
getting pretty thick. I'm going to scrape it down. And I think we're going to
let this sit until we have the butter and chocolate done. We may give it one WIP
before we fold it in. That's going to sick
because it is whipped up.
6. Folding The Chocolate Into The Cream: We're now ready to fold the whip topping into the chocolates, scraping off the beautiful. Then I'm going to
scrape that topping. Scrape around the bowl. And then we're
just going to fold that chocolate and
whip topping together. It's not ambiguous. Sure. It's turning out the bottom falling in
that whip topping. Once we see it's all
combined all the same color. Then we'll be ready to
put it into our py shell. That's just folded
in quite nicely. Let's bring our PowerShell over.
7. Finishing Up: Here is our past
shell and it's cool. Now we're just going
to take our feeling, dump it in to the py shell. And once we get it all down, we can smooth this. And it's okay if it's a little
bit taller than the crust. You don't mind maps. Once we
have that smooth like that. I'm going to just sprinkle
some over the top. You can decide how much
crushed peppermint you want. Now I'm going to put
this in the fridge for at least 6 h and then
we'll be ready to serve it.
8. Final Thoughts: Thank you for taking this class. Have fun making our
peppermint, French silk high. We first learned how
to make the crust. We then made the chocolate
portion of our pie filling. Next, we whipped up some
butter and then mix that chocolate filling
into the butter. We whipped up some whip topping
and with the stiff peaks, we folded to our
chocolate mixture. We then import this
into our pie crusts, spread it out, and then sprinkle the peppermint
candies on top. We lead this Chu overnight and now we have this
pi ready to serve. I hope you pi turned out the
way that you wanted it to. Your project for this
class is to make this pie. Make sure you take a
picture of it and posted on our project page and
tell us how it went. I look forward to seeing
and hearing from you. Recipe for this pie is
in the project section. From my kitchen to your kitchen. Happy.
 Nadine Thomas