Transcripts
1. Introduction: I think a lot of people describe my style as like. But, it's more just emotional and your kinetic energy and being intuitive with the camera and your surroundings, and that's the most important quality is just the emotion of your piece. In my last class, we did an entire piece based off of a single emotion. In this class, we actually going to go in-depth and actually look at a process of how each beautiful emotion goes from one to the next and actually makes that in a fluidity of your piece. Today, we're going to be walking around Brooklyn and trying to film as many different types of transitions as possible. Then, bring them back and edit them with you guys and just show you guys how to do many different kinds of them, so then hopefully you can have one or two in your next pieces. I think it's really important to do projects like these and exercises like these just because I think as a filmmaker, everyone should know every aspect of the medium. If you're wanting to be the captain of the ship, I think you should understand every little aspect of it, from the editing to the shooting to the sound design to the writing to every aspect. Even if you're not masterful, you should understand it because all these little tedious things are going to go into making your whole new painting shine. If you don't understand certain aspects, it's going to be harder to direct them. So I think being able to do little things like this can just make all the world the difference in your pieces in the future.
2. Getting Started with Transitions: This is where we talk about the glue that holds together each feeling or each shot. You may have two completely different shots that don't make sense together, but once you have this little finesse, this little element in between them, that connects them, then that's when you have this fluid like emotion, that they're both in the same boat. They're both in the same world, in the same place with each other, and I think that creates this sense of that emotional roller coaster. If you keep doing it, if you keep going, that's when you're going to have this entire piece that is one single emotion, that like an arc and twist and turn just like a roller coaster. A lot of people think that transitions are an editor's job, but it's actually the responsibility in most cases of the shooter. You need to shoot for the edit to make sure that you have the movements down, the composition ready, everything right for the editor. Because if you just shoot slight static shots, or stuff like that, you're not going to get a transitional out of them at all. It's up to you as the shooter to really mould it into what it is. Because, like I said, every aspect is related to one another, and if one is off doing its own thing, the other ones cannot connect, and then it just derails like a train. In a little while we're going to go outside and try a bunch of these different types of techniques. A few of them that I've kind of named them all myself. There's one that I called the whoosh, which is basically just like whipping your camera left and right, up and down, diagonal, and you have to do the next shot the same way, and then we go from one shot to the next through that. Then there's a seamless reveal, which is moving behind an object to fill the frame, and then coming out from behind it like another object to make these two shots feel like one. Then there's the earthquake which is more kind of exactly what it says. It's just like jolting the camera violently until there's a blurred image, and then you kind of morph into another shot. Then there's into black, which is just moving into an object until your camera is like filled with a single color, or like a certain kind of texture, and then starting on the same texture or color and coming out of that, and then you feel like it was one shot, but you're actually coming out in a different place. Then we have the match cut which is stopping the shot on a specific object or movement, and then cutting it to another one that actually has the same shape or same movement so it feels like they're both connected in that one thing. Whether you cut it or you dissolve, it will have the same feeling. Tiny puny backpack. What? It's a beautiful day, and we were walking along at the beach. We were not on the beach. We were on the trail. What are you talking about? We were at the beach. We haven't been to the beach in years. We were on the trail. The beach. The trail. The beach. Trail. Beach. Trail. These are just a few of many different ways to actually approach this, and like you're going to do it. These are just kind of the more simple ones that I've come across over the years and just kind of experimenting with to help me along in like telling my emotional stories, and they're actually way more easier than you think. It doesn't take a lot of craziness and technical abilities and equipment and stuff like that to do them. You can do them on your iPhone. The feeling that you try to convey with these, that I try to convey with these are, I want people to go on this roller coaster, this visual roller coaster, so that they're experiencing what is inside my head, and how I feel when I'm seeing the world. That's why I think a lot of filmmakers are trying to do. I think with a lot of these techniques you can really pull people into people's memory banks as if they're looking through people's memories. You really can't tell a story with just an emotion. The different types of emotions that you create can depend on the different types of techniques you use. If you're doing something more, thrilling or intense, like a horror film, or just a very moody piece, you're going to need lots of juring stuff, lots of earthquake stuff, lots of whooshing and different stuff. It's going to be unstable, and have like a bit of anxiety. If you want to do more like uplifting piece, it can be extremely smooth and seamless, and these like different shots. Learning at this point, don't worry too much about the darker piece, the uplifting piece, in which your type of technique goes best with which emotion. I think you just go out there and shoot everything you can, and try to map things out loosely of what you kind of are looking for, and just kind of play around like a kid. Anything that looks interesting to you, just try to see with new eyes, and just shoot it from different perspectives and stuff, and you can see it for the first time again. Look cool guys. Let's go outside and start shooting some of these transitions.
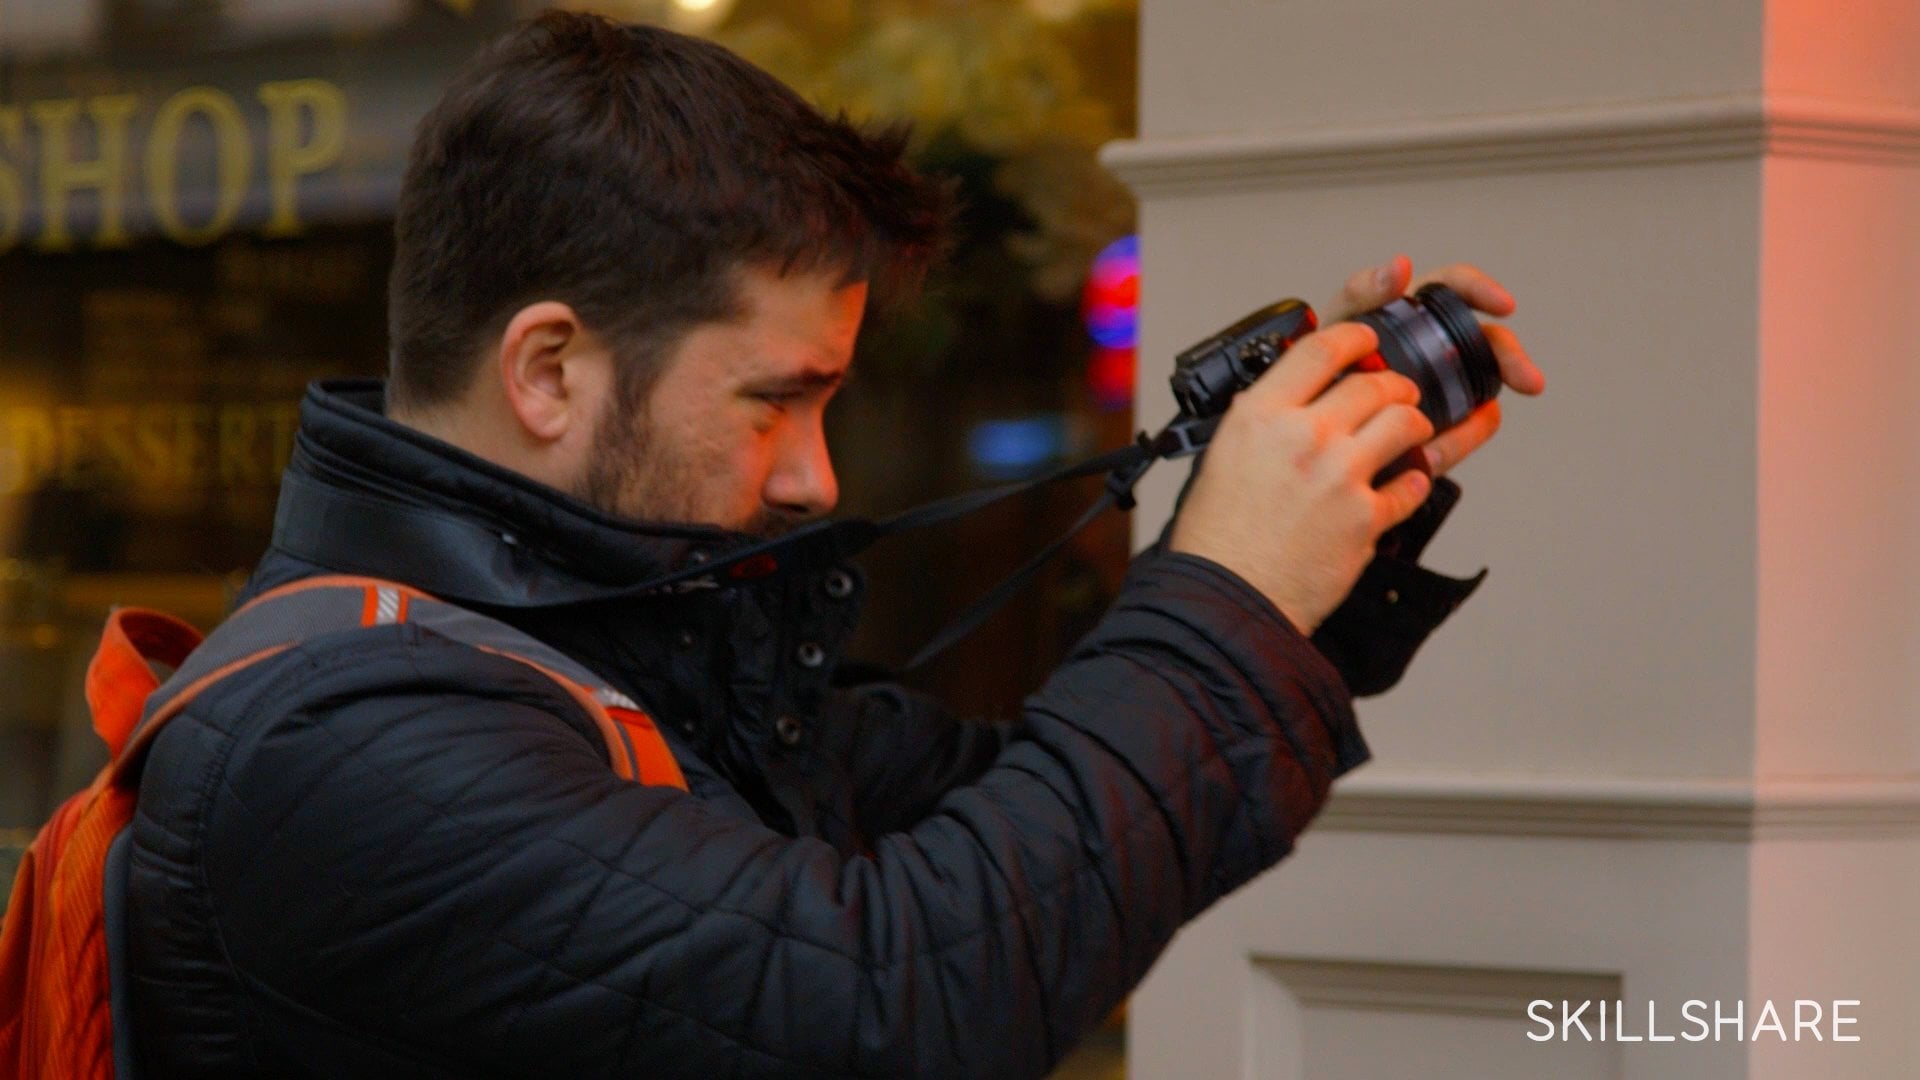
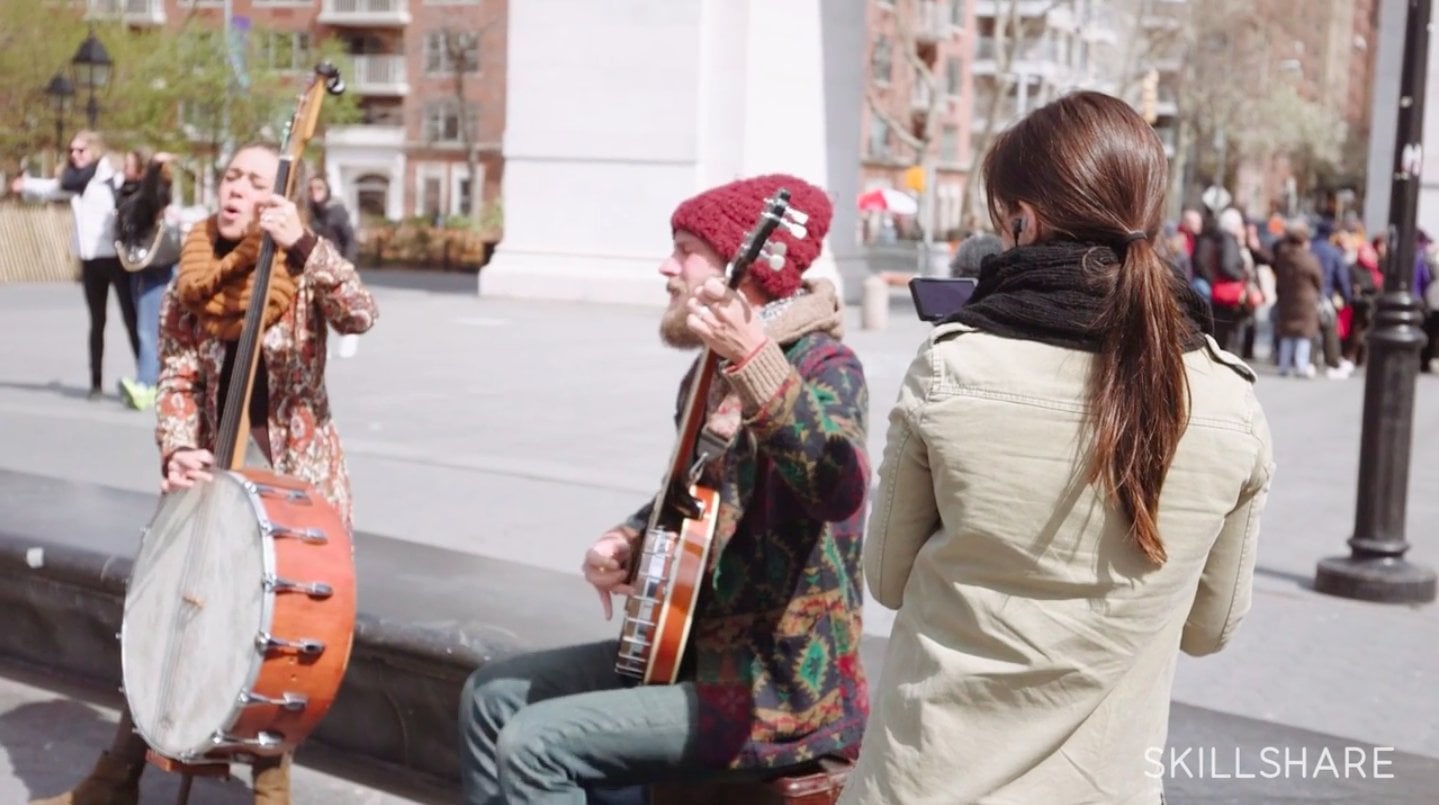
3. Shooting Transitions : People should just go out and anything that draws their eye, just film it, and just film it as if they were a child from many different perspectives; out of focus, macro, really far away, moving around it, doing as many different things as you can do to just explore whatever this thing is. For me, I really like movement. I like things that have a lot of movement or a lot of character to them. It's like this leaf blower is really, really catching my eye right now, because it's a lot of movement in leaves in life, I guess. I just look for life and stuff that is unusual to me, I guess. There's some technique I call the whoosh. It's one of the easiest ones to do, and you're basically just quickly panning your camera left or right, or up and down, or diagonal. It doesn't really matter what it is, just as long as there's a fluid movement so that it creates a blur, so that the blur of your next shot can be dissolved into the other one, and then it just seems like the same thing is flipping and flipping almost like a rolodex. I think it's the easiest one to do, just because there isn't a lot of planning involved in it. It's just moving, it doesn't matter about speed or anything really, it's just making sure your camera's going up and down, left or right. What I did for this one is, I just started on my feet, and I just moved up and so the feet won't be in the shot, it'll be the movement up into it that'll be in the shot. There'll be that motion blur coming up into that beautiful scene, and then at the end of the shot, if you want it keep going, you just tilt your camera up, or left, or right, or whatever, to move into the next scene. What I do is, I move up into the scene and then I come up again so that I can have an option of having another one come if I want to. A lot of times when I shoot, I really want a lot of movement in layers in between each subject and the actual transitional elements. In this case, it's like a fence that goes from bars, to grated bars, to just a solid black thing. This is cool that it gradients out into darkness and you can do a lot with that. I would try to shoot things in as many different ways as you can just because you don't know. Most of the times, you probably won't know how you're going to use it in the edit, and then I think in the end, you might come and say, "Oh, man I wish I did this way, it would have been really cool and really worked well." Then you don't have the option anymore. Just to shoot it in many different ways. I did a whoosh with this, and I did a seamless one with this just to see if it would work in some other shot in the edit. For seeing these ones are ones that I want to do a certain type of whoosh or whatever, I usually keep my camera strap as tight around my neck as I can, just to keep it as smooth as I can. It's like a really cheap stabilizer basically. Just with the movement of your legs and stuff, you can keep it smooth and move around and it's just a really quick run and gun way to have a trick to keep your camera really steady. This is my poor man's version, it's just press it as hard as you can, and then just do everything with your legs, and see your whole top of your body is very smooth, and the rest of you is moving around like crazy. For the match cut technique, it's also a pretty easy one, but, you have to line things up pretty perfectly in order for it to work really well. This beautiful park behind me, I'm choosing to film the ugly trash cans, because they all look the same. What I'm doing for the match cut which makes it way easier, is I usually just put a little piece of tape on wherever in the frame I want the object to be just so I have a reference point of where it was. That just one simple thing in the shot creates a transition that is fluid into the next one regardless if it's just a straight cut to the next. For the seamless shot, I decided to use a tree as the element that moves from one shot to the next, as kind of that seamless aspect to it. Well, you could use any type of object, really. It could be your hand, it could be a tree, a car, a blimp, anything in the world really, just as long as it cover up the frame, so that when you move into the next object, that they become one thing. Because if one is not really covering up the frame enough, and you're trying to blend in the next one, people might notice this little flaw in it, and they can see that it's not as seamless as you were trying to get. If you know what kind of shots you want to get, just try to make sure that your speed of going into them, and whatever's moving, or whatever's going on, that speed matches it in some way. Because if you have to slow down too much, you're going to get that jittery movement into the next and it's not going to feel right. Just this movement of you going from behind one object to the next is important as well. This technique is called into black. Just move into a thing that's one color or the same tones, and when you move into it, it'll create a blur or just a full frame of that texture or that color. So when you pull out of the same one in coming out, it'll look like you came out of that same exact thing and everything's different now and you keep going in and out, and it keeps changing the subject, but you feel like it's the same exact shot just going in and out of it. Hitchcock I think was the first one to actually do this into black thing. Because he did a film called Rope, and he wanted to do the entire film in one shot. But back then, film can only be half an hour long. He would move into people's backs and reload and come out of their backs, and make you feel like you're still watching the same shot. I think that's how it got started. Because of necessity rather than technique and fun stuff. For this, I think all these faces on the walls are really cool, and so, moving in and out of them would be really an awesome way to transition into them all. Rather than just showing them all on a wall in one shot, it'd be cool to move in and out to show them all in a different way. It's very up close, personal, creepy moving in and out of them. It's more intimate than just showing them all on the wall in a wide shot.
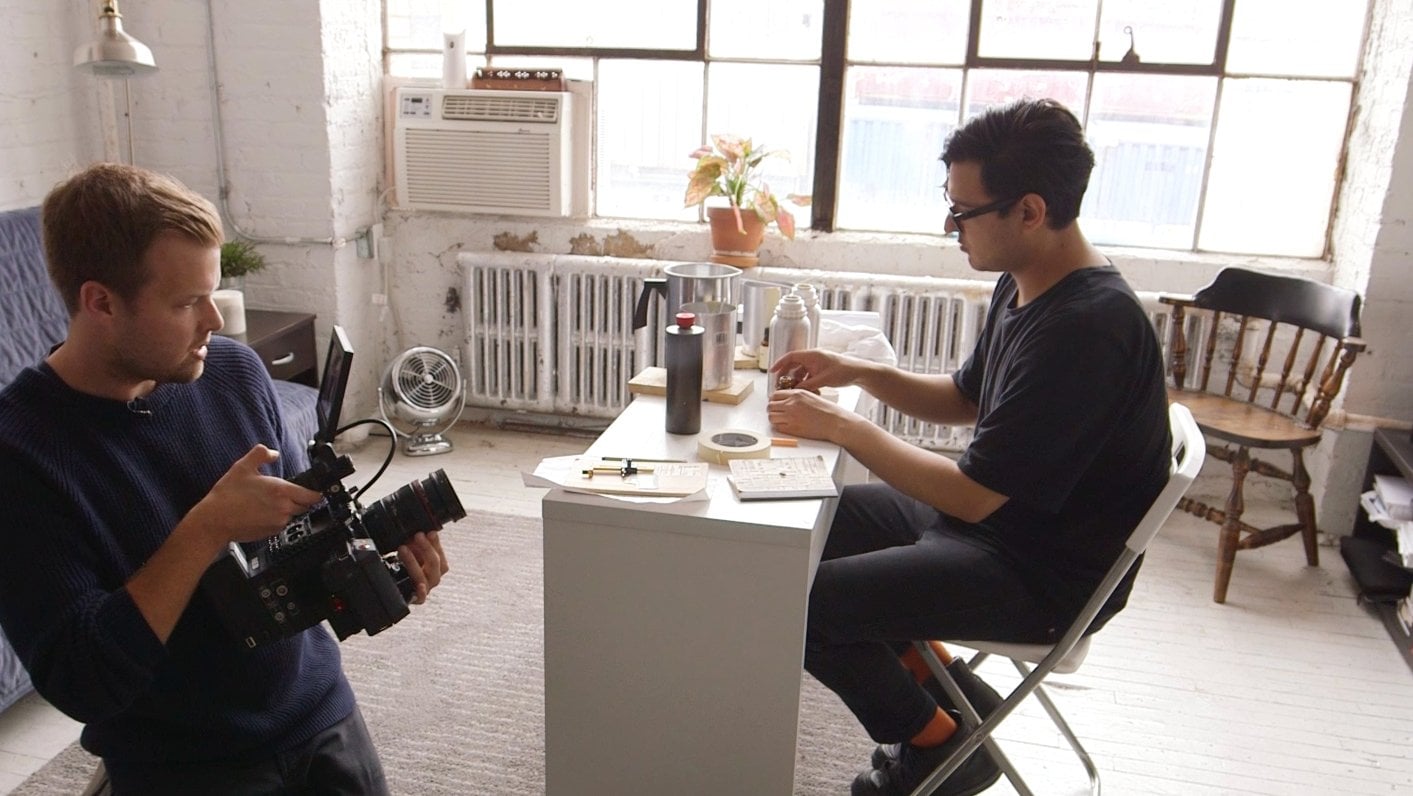
4. Editing: The Seamless Reveal: Now we're going to be editing these clips we've shot out there, trying to make these transitions work. What I do is, I actually I'm not in a conventional in the way of editing, because I bring everything into the timeline. Because for me, I don't know if it will work or not, and I think even shots that look like it's a flaw, like you drop your camera, or move it around and it's still recording, that can be this like sweet spot that really makes a golden moment in your piece. I just bring everything on the timeline because at this point I feel like everything is like a possibility. As I'm watching it, with the music and putting sound in, that's when I'm like,"Wow! That actually feels well in the piece. "And then I start to organize the little groupings of like, these two shots or plan work with each other like the two buses. I have those two together then I edited they're raw still but, now I have those together, and then the faces together, and then so on and so and all the whooshes, and stuff like that, I just kind of group them all with each other, and then I move everything else off to the side. Because I want to keep that for later, because it may work with each other to actually have a connection between those groupings. It's all kind of like a puzzle piece in the end. I'm going to start with one of the easier ones first, which is the seamless reveal. I shot two buses earlier. I mentioned that I would use a white bus as the reveal shot, but, in the editing I'm realizing it doesn't work, and see that's when you need to get that exact motion down. Because if you don't, and you come down or you go look in a different way, it's not going to feel fluid, it's not going to feel right. After I shot that I realized there wasn't going to work, and so I went and I shot another bus. There was a stop school bus. What I'm going to try to do is attempt to have the moving school bus go behind a tree and come out of a tree, and now we're seeing this like short school bus that is parked. That's what we're trying to do for this sequence here. I've cut it down to where the tree in the first shot is at the very end of the clip, and it's covering the entire frame. Then the very next shot, you cover the entire frame in this shot. And then the very next shot it's also covering the frame. Since the trees look very different, I'm going to dissolve them a little bit into each other, so that when we come in the middle here, they start blending into each other like this. They become a whole different. They become the same exact thing, basically. See it kind of looks like the same thing in a way, it just kind of dissolves into another tree, and now we're at the parked bus. I'll go a bit slower here so you can see how this school bus slowly transitions into this one. Even those textures the like difference of them actually don't make a difference, because when you actually go into it, and then I'll just play back the clip of the bus coming and going into the next shot. If you want it that last though a longer, to make it come a little bit after. It's even more blended at this point. The longer here like behind an object moving with it, the more you blend them together. Here's what it looks like in the end, where it moves from this school bus to the other bus. Then it just becomes a nice fluid motion, and it just feels like you're in the same space and time. Here's the shot with the white bus that I was originally wanting to do. I first shot the white bus and then I wanted to have a yellow school bus bring it in. Then I realized that I shot the white school bus diagonally down. Even though it still kind of works, it's a little bit off. You can see how it comes down. The bus is too close, it doesn't work right. It still is pretty fluid, but is not as fluid as I wanted, you can see me coming down on it. It doesn't work as well. It doesn't feel like like the same shot anymore. It feels like I'm coming out of another shot. Even though it like works, that's kind of going back to what I said about people who are saying,"It's just good enough. "," It's just okay." Those little tiny things like that you like don't think about are everything in your piece. If you had a roller coaster and there's a hiccup in it, the rider is going to notice it, it may not be a fun experience for them anymore. It may not be this fun, fluid, awesome motion. What I would do differently for this in particular one is, I would hang out there for another 20 minutes because I think there'd be another bus going by. There'd be another car or maybe you'll need two cars or two dogs walking by, or whatever, and just practice with the same motion, the same movement. Because even just going like that may affect the smoothness of your transition. I think it'll be really cool to see you guys go out and try this technique of coming out from behind stuff, and magically turning one moving object into another, or another scene into another scene. I think that's such a fun camera trick and it's such a simple thing to do with just a quick movement of the look and camera, and just kind of playing around with the objects in your space around you.
5. Editing: The Whoosh: There was a tourism piece that I did for Spain. That's was very difficult to shoot, because I was in a car a lot of the time. So, I was not able to get close up to a lot of things. So, there's a lot of landscape, but shots in there-. So, whiles in the car, I was experimenting with how do I move this camera around. So, that these landscape shots are not just these big, wide landscape shots that people see in any kind of tourism film. So, what I did was, I sort of flipping the camera. I sort of flipping it down and then up, and then, over and all these different things. So, it just created this beautiful emotion. In the sound design you'll hear it, it's like I'm cranking up a toy and then, flinging it up again then, shooting it off. So, you actually feel it, rather than just seeing it. With the sound, as I'm involved with this movement of the camera and stuff, you really have this beautiful experience. These landscapes are now like- you're like a part of this actual roller coaster and you're not bored with the same old landscape shots that you see in every other tourism film. So, this next one that we're going to be talking about is the whoosh. This one is the last one, the seamless reveal, except for, you don't have an object that you're moving behind. You actually is just the motion blur of the camera. So, you're flipping it or you moving it to the right, but you're constantly turning it in some way. Quickly enough to create that blur, that I can blend into the next blur of it. What you need to do is, you need to make sure that the second shot starts with the same exact upward or downward movement of that previous one, in order to make it blend right. There needs to be like enough turn and blur for it, to actually have that ability to that space to blend into each other. So, it's not so abrupt that you can see all the colors and everything change like that. It's got to be this like- and it's only two frames worth in a lot of instances. But there's two frames worth make a lot of difference and just one frames worth, which sounds technical. But, when she start to get the hang of it, it really is much easier than you think. For this one, there's multiple shots being in the same sequence. So, it'll be a flip, a flip, a flip. So, that's what's little more interesting about this one, is that you can keep flipping forever like a roll of decks. So, what I'm doing is just getting the shots to be a little bit closer to each other, and they're not fully blended in right. As you can see there, I haven't dissolved yet, but they're like getting closer and closer into each other. So then, there's a little bit of a cut, you can see that there's an abrupt color change obviously here. So, what I'm going to do is, pull them into each other. So, it actually- when you look at your frame, you see that light pole coming in, it's on this side of the frame and there's the woman wearing black over here. Stuff like that would be really cool if you flipped the shot and actually made the light pole on the other side. But if the light poles on the other side of the frame, it might be easier for the eye when you come in. So, your eyes on the same side of the frame is the woman. So, what I did, was I basically like the seamless one, I made the clips come into each other. So, even though the colors are very different, they're very different scenes, they still slowly come in from the sky to the concrete and it still feels like a seamless motion here. Then, just to stay on with that, I made sure that the end of the shot in the middle has comes in up. We look at it for a second then, we flip it up again, so, we're able to do it again and you can keep doing that as long as you want. So, then, we have the moving up like this and then, we drag this one into here. You see it's already in frame, so, I have to drag it out. Then, just right after the feet there and then, because I don't really want my subject to be obscured too much from the blur. So, let me have these two, there's these three shots that come in from. Then, you can just keep flipping your shot over and over again. This is just a really obviously, a really quick experimental example of it. So, if I were out there for a little bit longer, we were just out there for like a few minutes. So, if I were out there for just little bit longer, I could really perfect the smoothness of the ups and downs. So, this is just the very kind of crude example of how it works. You can move from just the craziest things. But if you're doing like a travel piece, you can definitely show so many beautiful monuments, instead of just those typical static shots of tourists images. If you flip into them and just like almost this insane Rolodex of imagery of these monuments and these statues, and all these different things, you can create a way more like amazing emotion just by flipping on them like that for your piece. Because most people see postcards and Facebook photos of these images all the time online. So, people get bored of seeing them, but if they see them in a different way, that's exciting. This could be really exciting with the right music, the right sound, would make them stand out more and make them more emotional. A lot of songs that work in this kind of unique technique, whoosh songs are a lot of really like in popular things. But I think people who like do a lot of sound, they like stop at the whoosh sounds. But for me, I like to add more things to it. So, if it's spinning, it's me cranking something up, so, you can hear the click, click, click, click, click. As if it's getting ready to launch itself off and so, I do stuff like that. I like experiment with adding more than just the whoosh. So, there's a whoosh and then, another layer of something else on top of it. So, it adds more of a like, what's about to happen, kind of a feeling. So, that's what I did with the Spain piece. So, I go out and just make some whooshes with your camera. The only thing I have to say is, even though you want to just keep trying in every different, which way to move your camera and then turn it, just make sure to be turning it on its axis. So, it has a really big motion blur, and just to make sure that there's enough space and time to blended in the next shot. But also, if you're like wanting to plan stuff out, just make sure that if you're doing a shot that like this seamless reveal one. If you're panning to the right, just make sure that the next shot is not panning down or up, or anything. It's like the same exact motion as the last one, if you want it to be as fluid as possible.
6. Editing: Into Black: Okay. So, this technique is called End of Black. That's what I call it. What it is, it's basically pretty simple. It's like, you want to go from one shot to the next and make it feel it's the same fluid shot. Originally, you would just go into something black. So, your entire frame is full of black, and then you come out of another shot that starts with blackness. So, when you put them together, it looks like you went on and came out and said, "Oh my God, I'm now in another place. It's magical, like Eden." You can use different textures and different colors and so it doesn't need to be black. It just needs to fill up the entire frame. So right now, just to experiment, to make it a little more challenging, what we did was we moved in on these like a goggle faces, and so it wasn't completely full of black, but we wanted to get back that texture of those kind of browns and the black mixture and just see how it works. I've never done this before, so this is part of the fun of it, it is just experimenting. What I'm doing right now is I'm just slowly trimming them down to where each of their noses line up. I was going to show this quickly so their noses probably won't line up in some of them, so I might have to toss some of them. Well, without doing any sort of dissolving it, I just want to have their noses line up, and so that when we come into each of them were getting ready for the little dissolves, the little tedious that it's involved. So, right now, we have five different faces. I mean, just move in and out. These are just direct cuts, so we don't actually have really dissolves it yet. And this is a little bit a harder one because there's so many textures involved and so many different things going on that dissolving usually works. So, now, we're going to go in after we've trimmed them down a little bit just to try to dissolve them in and see if they work. If they don't, we might move the pieces around and see if they were better with other faces and if not, we'll just kick them out. I have a keyboard shortcuts that I use. I use Sony Vegas and that's just my preferred one. I know a lot of people use Premiere, or Final Cuts, or even Windows Movie Maker. There's so many different options to use, and I think you should just try a few of them out and see which ones make you feel best. I use Sony Vegas and I know a lot of people dog on the cheaper editing software or programs, but I don't care. This one is just so much more intuitive for me, that it just works for me. But other people, Premiere works better for them or even Windows Movie Maker, even their iPhone. Now, I'm moving around like puzzle pieces to see which ones work better and more aligned with each other. This guy, his nose is just so far off the center for me that I almost don't like it. So, I'm going to actually toss this out and just use the four that I have here because I think they're more centered for me. I don't think his nose will work anywhere. A lot of times, if it doesn't line up perfectly, I'll just crop. I think for this one, it would help a lot to have the speeding up because my camera's flying into a piece of stone. I don't want to scratch my lens too much. So, I had to slow down with them, it's just part of the experimental aspect of it. Some of this work, some of them don't, but I think that's part of the learning process. Now, that I've seen how they play with each other, I would know now how to do them. Maybe I like doing it in their eyes so I can get closer up without the nose poking out to hit my lens. Because if we do the eye, it's just going to hit the rim of your camera since the eye is sunken in. So, I would probably do that more and the eyes mostly have the same shape and all these noses have different shapes, and so that's what I'm learning from this aspect. Now that I know this, I go out and shoot probably everyone's eyes, or their mouths, or something, whatever lines up more into the shape that is the same of one another. I think just to have a backup, just to move into your subject and just feeling the frame, just to have that option in my post. Like I said before, Hitchcock did it out of necessity. But having that option now is also really awesome because you don't know if you're going to have to end on the shot of your whole piece since you want to go into black, or you want to move into something else, or you want to come out of something else. You don't know how to use the shot. So, I would just moving into a wall or into whatever that's around you or even put your hand right over it. It could be cool. This one turned out pretty well, but I would definitely want to go out and reshoot it. I don't think if this footage I would want for one of my pieces. That's just coming down to those detail things where if you wanted as fluid as you possibly can and make it as beautiful and something like that. Because for these kinds of things, it's not like when the camera is being wrong. You're flipping it around and there's all kind of blooper looking things that you can use in my post. This one, you can tell that the director is trying to do something that's not working well. When you have a shot in your piece that is very unstable, there's no tripod, there's lots of blur in it, it's unfocused, the lens has a smear on it, you can make that really look like it's intentional and really make it work well. With these kinds of edits, you can tell that the director is trying to do something specific as to go into the nose and come out of the nose, and you can tell that flaw in there, that little kind of hiccup is not what the director wanted and the audience can see that it's like an eyelash in your eye in a way as you're going through this bit of a fluid thing. When you come in and it's off a little bit, you can tell that it wasn't intentional, that they didn't do it in the way that they correctly wanted to do it. So, that's why these little detail things matter. I've seen it a lot in pieces, something that people trying to learn and that's great. The next one, if they keep doing that and it's just okay, all their pieces are just going to be okay if they don't try to go out there and really smooth it out, really make it work.
7. Editing: Match Cut: So, this one is called the match cut, and we just see that very basic one and so what you're basically doing is taking an object from one shot that you line up in your frame and then you cut it to another shot of another object that's in the exact same spot and almost as if they never left the frame, but the scene has changed. So, that's the next transition in there is to try to line up these four trash cans in this park, so that when we're moving from one shot to the next, it looks like the trash can hasn't moved, that it's still in the same frame. So, I'm just tightening them up a little bit here and so have them lined up, but they're not like they're in different angles at this point or different distances. So, what I will do is I want this one to match up with this one and if you look closely, if I moved them into each other, you can see that's one is not the same size as the others. So, when you cut from one to the next, it definitely does not feel like it's the same size. So, what we're going to do is find the one that is smaller, which is going to be this one and make it, and then crop it in so it reaches the size of the big one. Right here, a little bit bigger. Just moving around a little bit, you can find it. You can see it blends a little bit better here. But, if you notice there's a bunch of shade on this one and on this one. So, what I would do is get this last one that has less shade on it to move into this first one. So, these ones do pretty well. They are a little bit off, but there are two frames that are two pixels off it looks. So, that makes all the difference really. Well, one transition worked out of the four. So, having a bunch of options is good because many of them won't work because there's so many different elements of the shade of the trash can. The distance you are from the trash can to be key crop or not. All these different things. But, once you line them up, you can actually like these two shots are now connected in this exact way. I think one of the things that I do most is shoot everything like I shoot as much as I can from as many different angles as I can because that's how I usually find my new techniques and my new motions, my new different things and just happy accidents as by shooting like that. If I only just have a shot was going out and deliberate, I may not find that. Even on shoots where I have to have actual planned list of shots that I had to do, I still take another little camera out and do a bunch of textured shots, a bunch of things which I will most likely add in post. But, this one you have, it works pretty well. This was just as running out to a park and just doing this really quickly I just ran up to four trash cans and took just quick images of them and then these two ended up actually working pretty well together. You see, this is a pretty simple one. It's nothing so special because we just did it just to show it as an example. It seems pretty basic to take up from one trash can to the other. But, when you start thinking more complex shots and scenarios like in my film, my tangents there was a married couple arguing in a really lush green forest, and all of a sudden like that, it just isn't cutting and there was no dissolving or anything. We just cut straight to them at the beach arguing, but it had to look like they were in the same world in the same exact space, and that only the scenery around them was changing and they're still in there, in this exact same scene. So, we have them arguing back and forth and trying to keep them perfectly still and we have tape and everything lined up around them to make sure that they're in the same exact spot. So, when we cut back and forth from the woods to the beach, back and forth, back and forth, it looks like they're just having a normal conversation while everything around them is changing and it's all done in camera and that was just an experiment as well. We didn't really know if it would work really well or not because it's just us playing around and trying new things and that's the whole point of it. Whether you're shooting a simple shot of a trash can to another trash can regardless if it's such a simple shot, the two shots that are not really connected. Those two trash cans now become this single thing and those two shots you don't really think of them as two shots because these two trash cans line up with each other and it feels like one thing, so you don't even need a bunch of textured blurs and stuff like that to create a transition like that.
8. Final Thoughts: Hey, guys, I just wanted to thank you for joining my class, and going on this little journey of you can try and do experiment with different techniques with me, and I'm really excited to see what you guys come up with. One thing I've always said multiple times, I say all the time to myself and everyone else around me is that just staying curious and just stay in look at experimenting with every piece you make, and you might even show me some new amazing techniques on your pieces if you like and come up with something new way of thinking about how the camera moves and how it does certain things as there's so many different things we haven't even tried yet, and I think with that experimental thing, it's going to be like looking through the eyes of a child where you're curious about everything and you move through all of your shots with this childlike wonder. I think doing that, you could come up with these different kinds of techniques, and me, I mean, a lot of my techniques I thought were stupid and ridiculous. When I started putting them together, people would say things like, get a tripod, your shots aren't stable, and stuff like that. But, there's actually a technique in all these different things and things may look like they're by accident, but they're but they're not. People do them for a reason, for emotion, and if you play everything too safely, your audience isn't going to get that thrilled. So, it's just important to just completely be free with your camera, be free with stuff. Don't be roped down by your equipment, your lenses, your whatever these things are. I don't even know what lens I use on my camera, and I just want to let the people know who don't have the great equipment in the world, not be afraid of it because I don't know anything about it either, and I still have just felt out my camera and in doing that, all these new techniques came out of me. It made my style unconventional. It made my style unusual for people, and I think that's one of the coolest things about not really hunkering down with all these different kinds of high end cameras and rigs and all these different things that come out there. So, just stay being a child, and I think that's going to be the biggest benefit to you in the world. One thing I would love to see is just people showing me their favorite kinds of transitions whether from movies or from the thing that you already shot. But, I'm definitely trying to encourage people who are beginners and like intermediate pros, everyone, go out there and just try all these different things and just compile them into a really cool piece, and just show it off, and even if you're not confident with it. That's the whole process of it and I would really love to see every every aspect of that. I just want to thank you guys again and looking forward to seeing all of your pieces.
9. What's Next?:
 Matty Brown, Filmmaker