Transcripts
1. Introduction: Most illustrations and faster the journey as a rough
sketch on paper, inspiration can take you
from anywhere on the go. We're traveling in a coffee shop or in your garden in the summer. But on this journey from
sketch to final product, you need to first
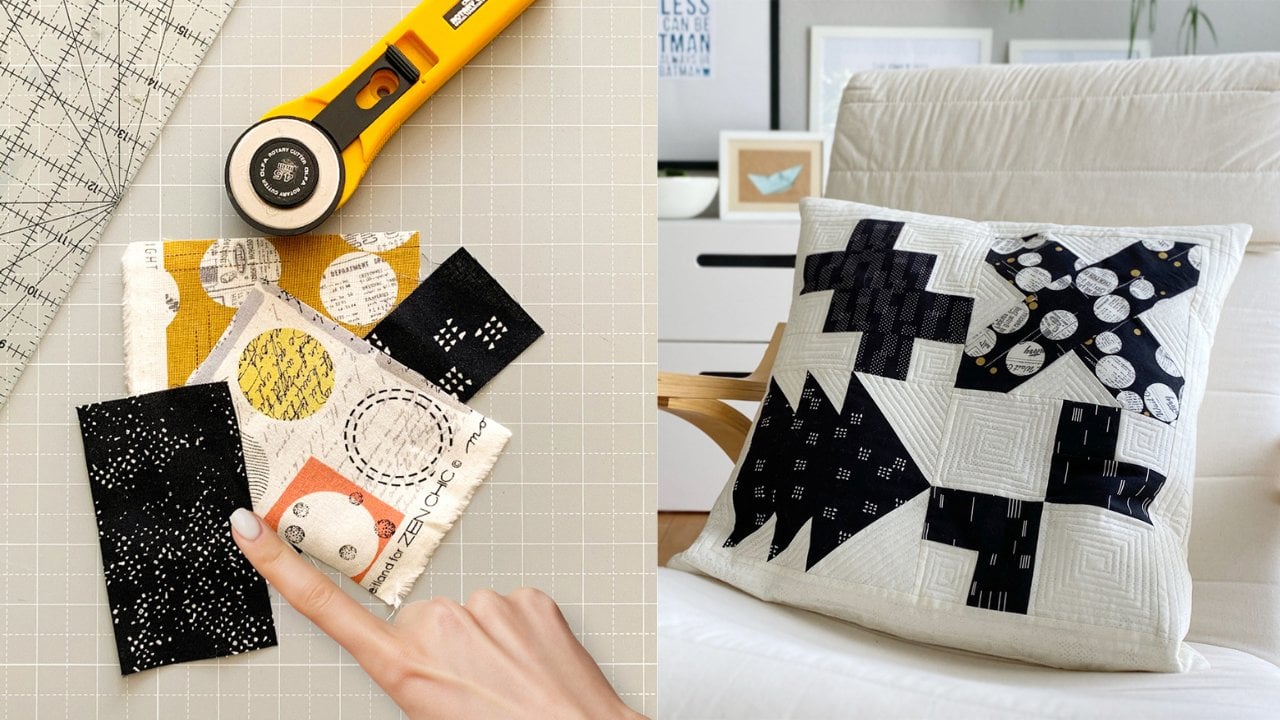
digitize your sketch. And nothing makes this process easier than working on the IC. Hello, I think it's a high standard surface designer living in a small town syndrome and working with the
leading company in the quilting fabric
needs based in the USA. Fabrics, I have created more than 25 fabric
collections to be sold in stores
all over the board. I'm mostly Adobe Illustrator. And on the way from sketch
to the finished design, using an iPad makes it not only comfortable,
but also pleasant. And in this class, you can accompany
me on this journey. Look over my shoulder
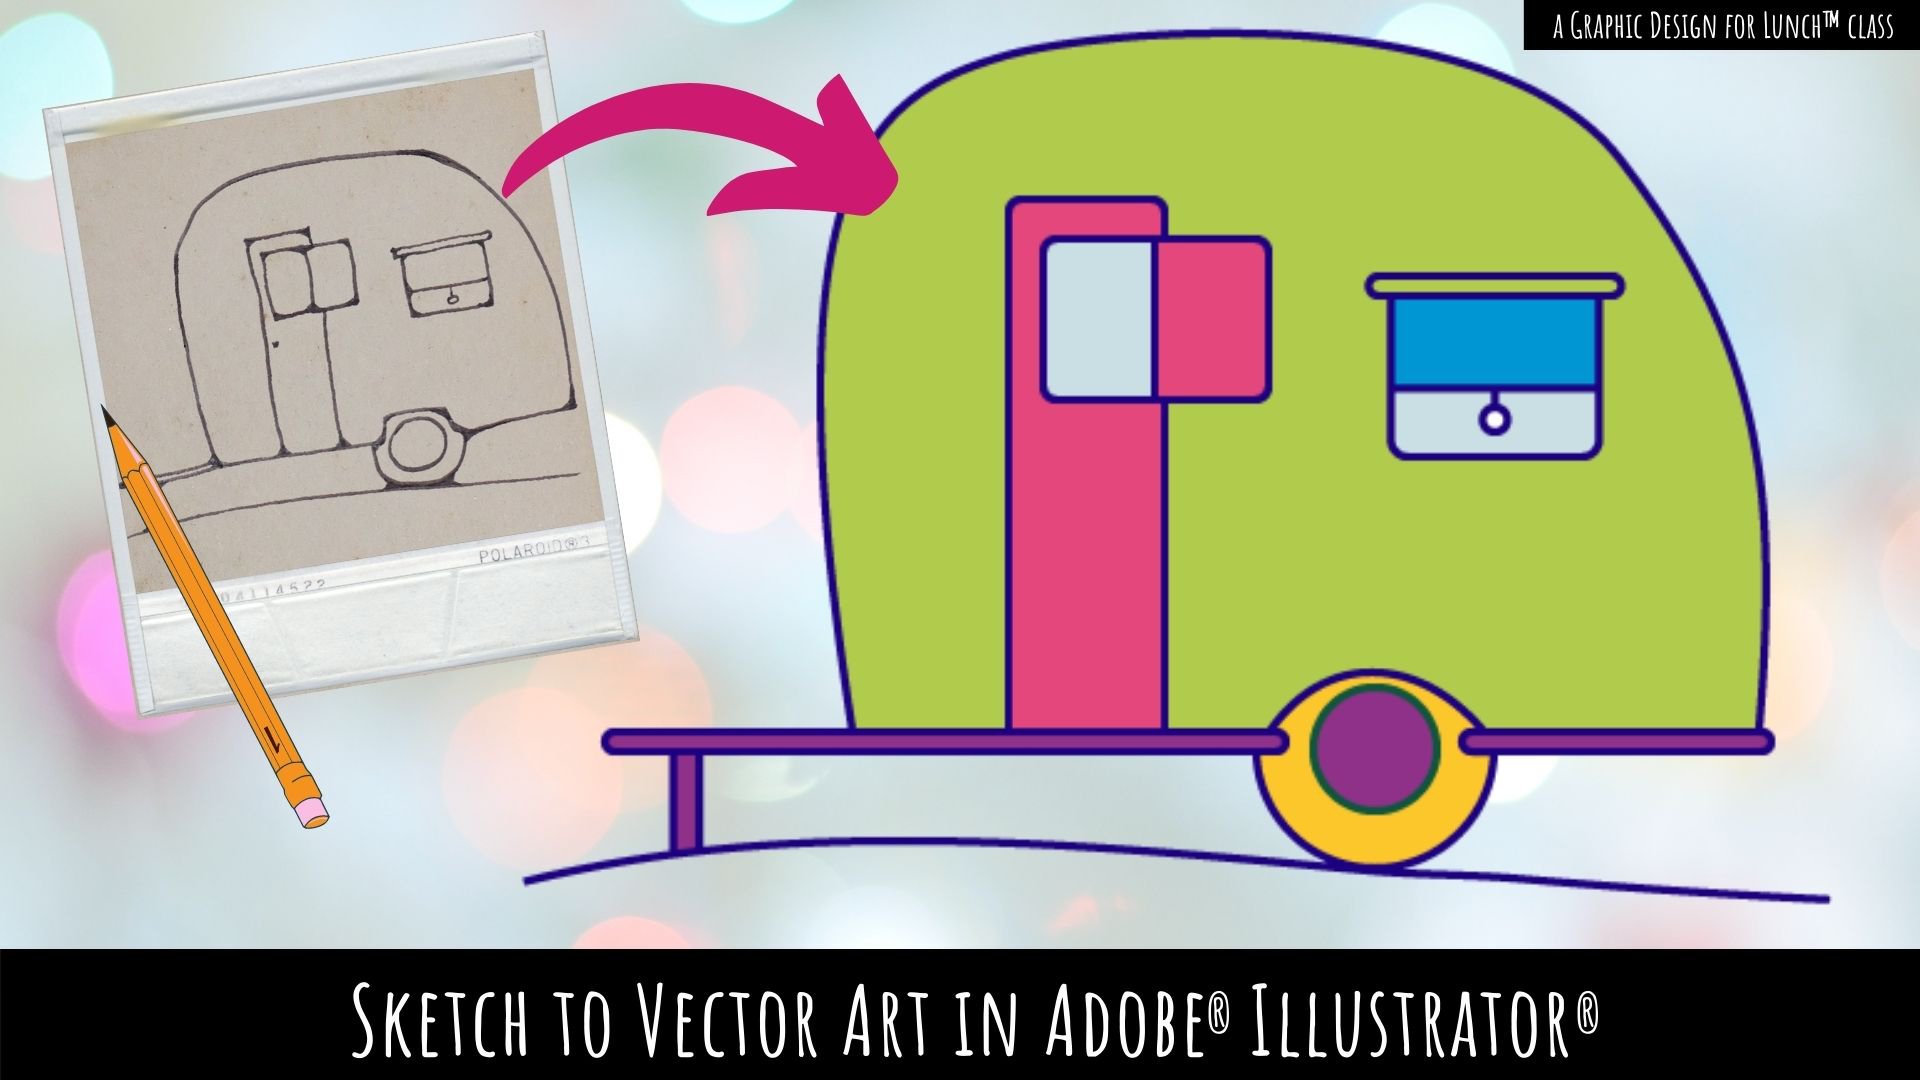
in trial for yourself, how to convert a paper sketch
into a vector graphic. For your class project, we will create a simple
fabric repeat on the iPad. You'll learn how to import and trace your handmade sketches
into a vector graphic. Refine the line art for a consistent flow of
cross your motifs. Create a color scheme,
color two illustrations. Assembly motifs
into a simple grid. Repeat, ready to be
exported for print. This class is not only
for beginners who have never worked with
Illustrator before, but also for
experienced designers who are already familiar with is the desktop version
and want to take advantage after convenience
of working on it. By the end of it, you'll
not only have a beautiful, simple repeat pattern that you can use for fabrics
or wrapping paper. But also a complete workflow you can use
for any design rhotic, you can sync up branding,
posters, greeting cards. The possibilities are endless. I am looking forward to
our journey together. Let's get started.
2. Project: The project for this class will be to create a couple
of hand sketches and transform them on your iPad into a simple vectorized repeat. Why would we go for vectorizing? There are basically two
different types of images. One type is a pixel based. These are mainly photos and any graphics that have a
fine detailed structured. The graphics are composed
of countless tiny colors. Quiz two pixels. Since each square can
have a different color, this graphic is
ideal for photos. Single, for example,
for what structure or the exquisitely
calibrations of a shadow. However, the disadvantage
of these graphics is that the pixels
result in a large file. For example, filtering
poster format can quickly read a file
size of 200 MB. Or those there is a limit to how large a pixel-based
file can grow. The more you enlarge it, the more you see the pixels
and get a blurry effect. Popular pixel graphic eps are, for example, Procreate
or Photoshop. In a vector graphic,
on the other hand, the shapes and lines are defined by a
mathematical statement. Much like points would be
defined in a coordinate system. A coordinate system could be scaled infinitely
larger or smaller. The defined point would, relatively speaking, always
be in the same place. For image file. That means that vector graphics can be enlarged infinitely. This out, losing image
sharpness in quality. And at the same time they
have a small file size. Therefore, vector
graphics, or preferably used in the illustrations
and popular apps here, illustrator or Affinity Design. Let me show you the difference. I created a sweet
little postcard and saved it as a pixel, and there's a
vector-based graphic. Now I'd like to enlarge it
to make a cool poster out of the design and see how the butt's graphic formats
would work for my intention. As a surface designer, I use mostly Illustrator for
developing my collections. Very often, my favorite design starts by 90 and hence
sketched on paper. The idea hits me, maybe on a train
during shopping, or we're sitting on the
couch and sipping my coffee. I make quick sketches in my notebook and
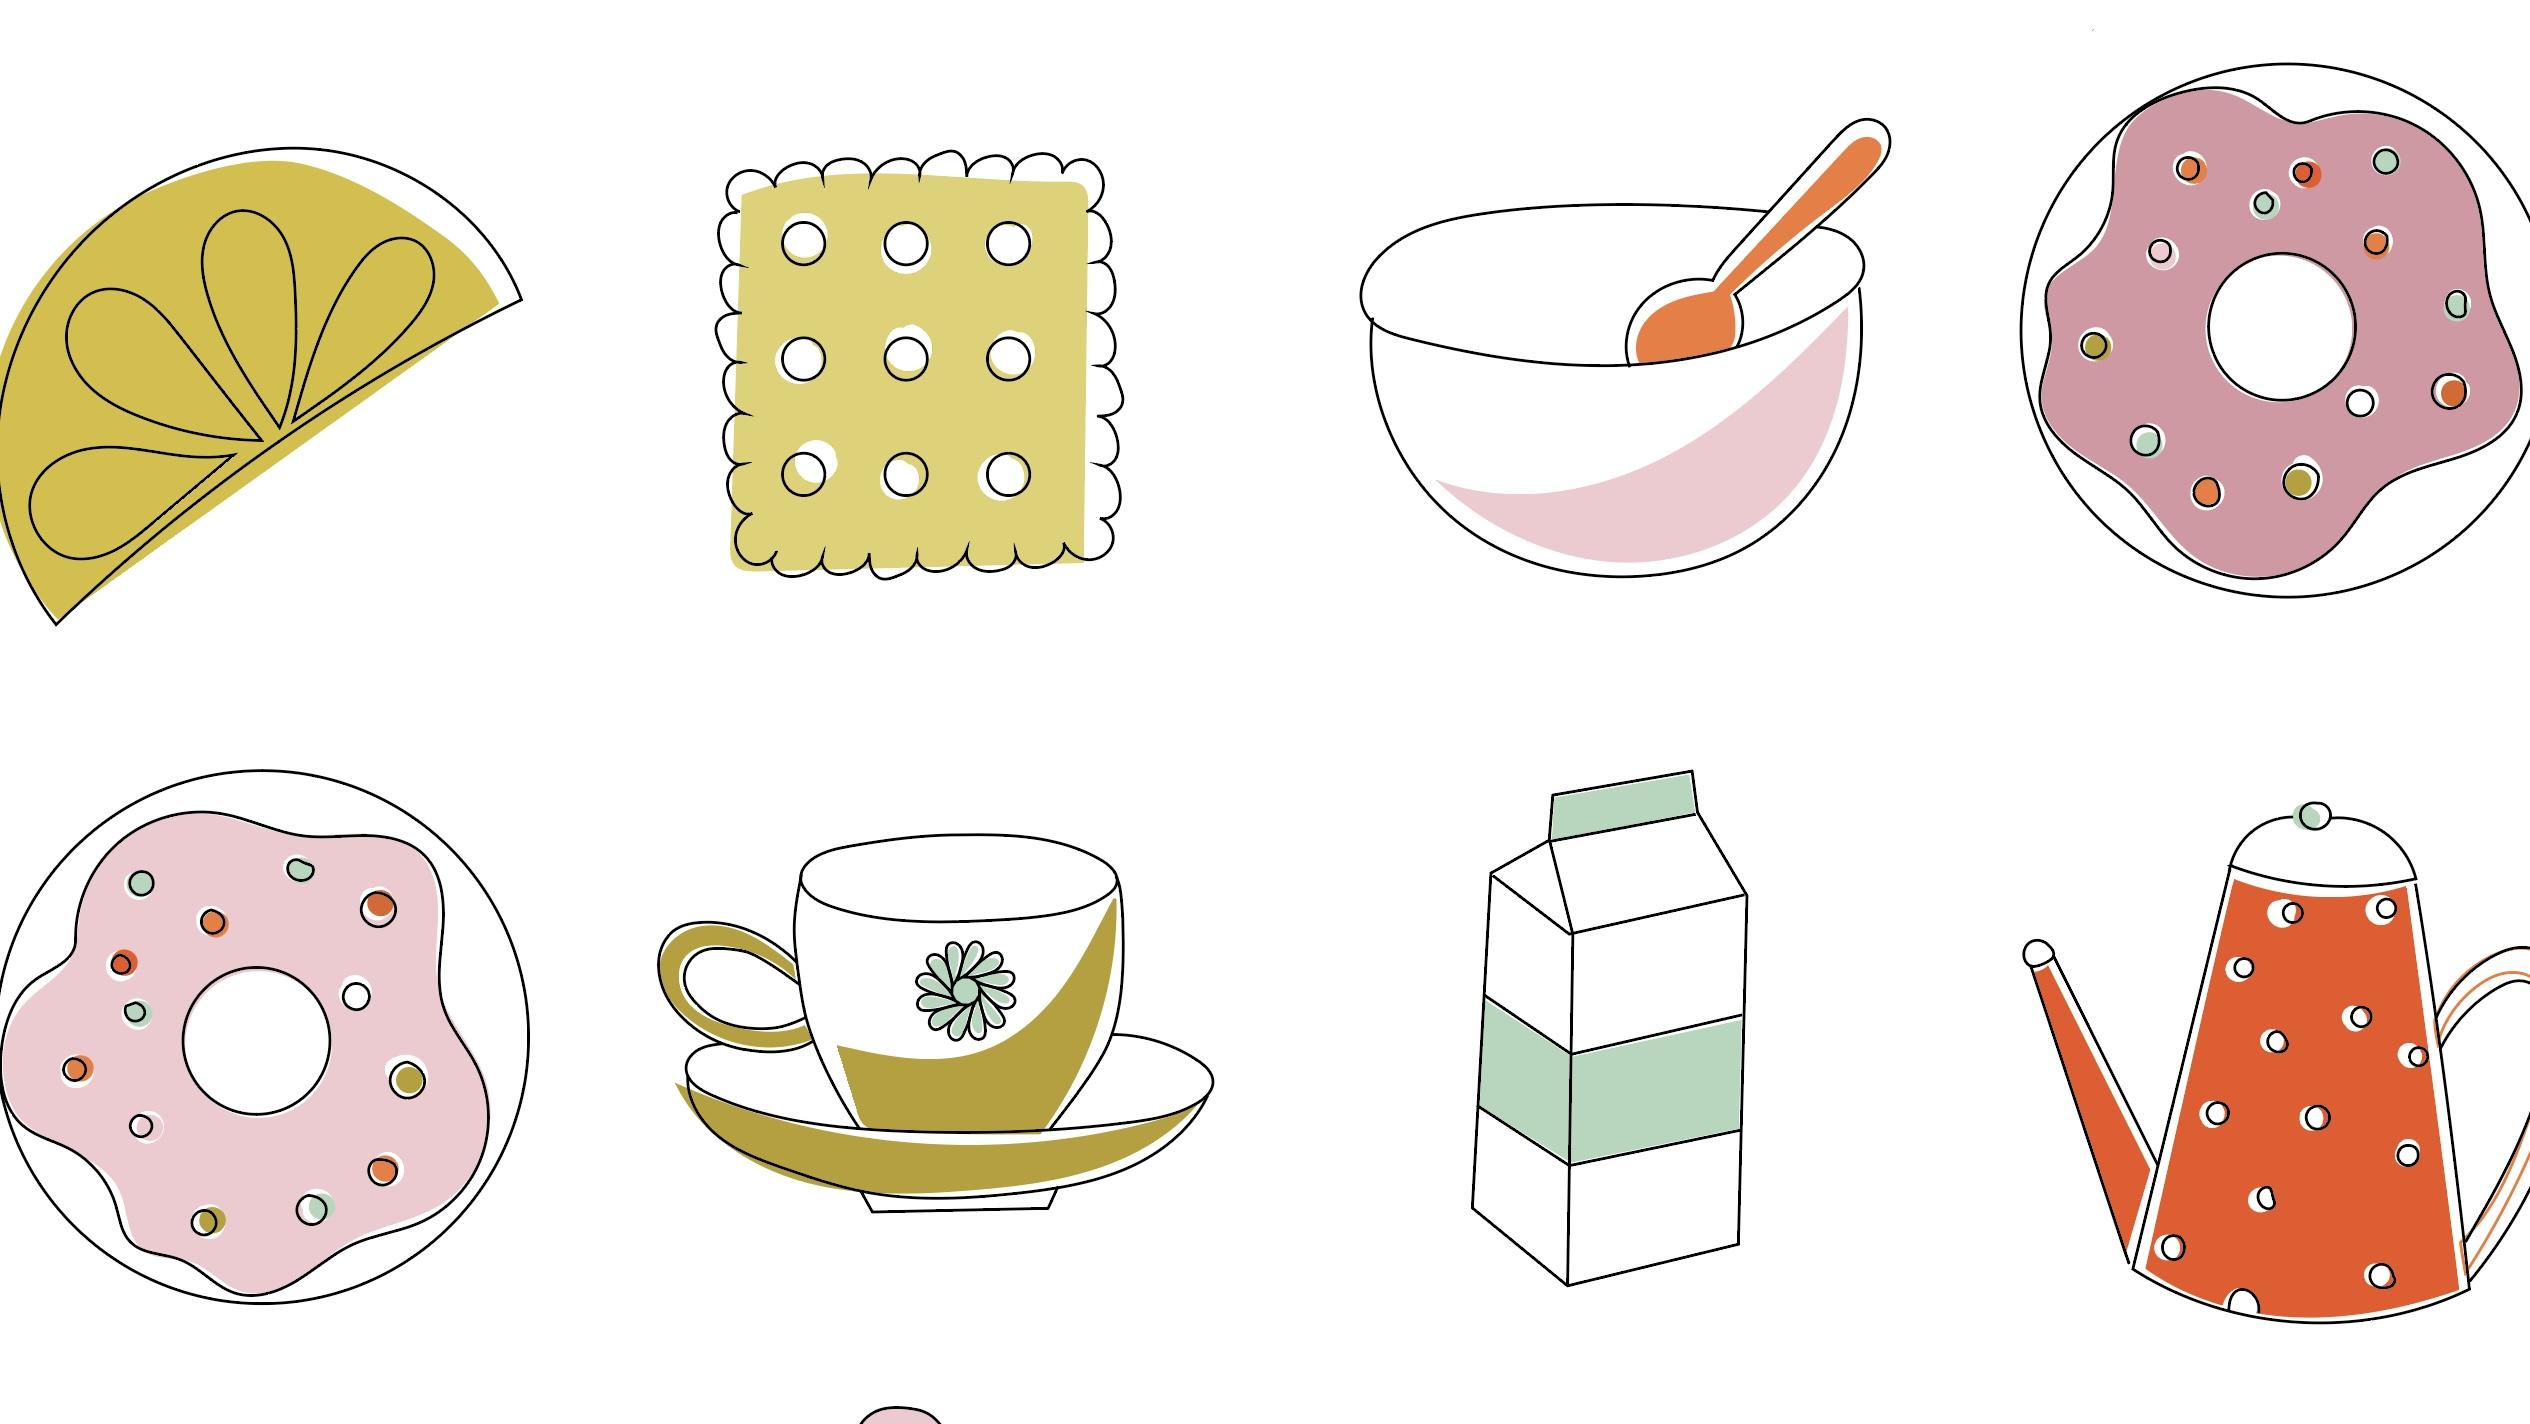
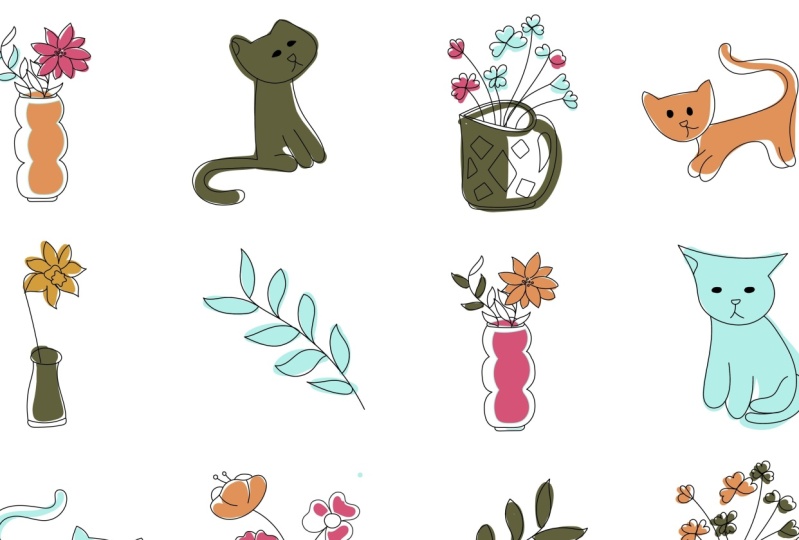
develop them later. For our project, I sketched
out some breakfast, relate it to motifs, and you'll do the same. You sketch out a few
very simple motives of your favorite
seem beat cocaine, knitting pads for flowers. You name it something
you really like. On our way to approach
the final project, our winter ice,
every group heat. We will explore some features
on the iPad version of Illustrator and get some of the basic techniques
under the belt. At the end of this class, you are armed with arsenal
of tools to create easily vectorized design
assets from your sketches. Those vectorized as
it can be used for future projects like
repeats on fabrics, rapping or wallpaper,
but also for other graphic tests
like the striations, branding or surface design. We're going to abroad the
project in stages so you can build on the techniques you'll be learning
in each lesson. You only need to share your
final project in the gallery. However, I strongly
encourage you to post each project phase for
feedback along the way. Step one will be to draw some
elements for your project. In step two, I show you a wide range of iPad
illustrator tools. Some basic guests
choose the pencil tool. An exercise sheet will train you through all these features. In step three, we get to know some more advanced
tools like mirroring, radial repeat,
pattern and blending. In step four, we will import
your hand sketch elements, vectorized them, arrange,
send to a repeat, and finally add some
color to your art. From here, you can use
your knowledge for creating any kind of illustrative elements
for calligraphic tasks, like for example,
greeting cards, wall art, or logos. To share your project. Scroll down below the class View and go to the Projects
and Resources tab. And click on the
Class Project button. Name your project
and upload as many images as you would like by
clicking the image icon here, where it says add more content. You can also take notes or ask questions within
the project area. Don't forget to
upload a cover image because that's what will
appear in the gallery view. If you have any
questions for me, you can type some year
and a discussion area. I'm really looking forward to seeing your creations
in the project gallery. Up next, we'll grab our pencil sketch book
to draw some sketches. So let's get started.
3. Sketching: Legal create a few
hand sketches is our starting point
for this project. Craft a sketchpad,
pencil, find learner. Ideally a pencil, They'd provides good contrast
on the paper, like it to be pencil. You want to achieve
drawing lines which are easy to recognize, wants to import your
sketch into Illustrator. For our protect, a
very simple fabric. Repeat, we will have at least eight different
motifs related to each other. You are a passionate nature. Think about knitting needles, wool balls, something
needed on your needles, knitted sweater,
cap and Mittens, but also scissors or
a knitting basket. Do love coffee. Sync
of different cups, spoons, coffee paths
is preselected. Cookies, muffins, etc. In Christmas Christmas motifs,
Christmas trees, stars, Kendall's wrapped gifts, missile tos, gingerbread,
cookies, etc. Finding those motifs
alone is fun. And if you need
some inspiration, you can search the Internet or Pinterest for such
simple illustrations. For our project, very
simple illustrations. Line drawings is out
too much detail, or any additional
shadow will work best. This point, the size of your sketch motive
doesn't matter. So the motifs don't have to proportionally
related to each other. Always keep in mind, is a vector graphic. It can later be scaled in any size without losing quality. To go of this lesson
is to have a clear, hence care of at least
eight simple motives related to each other. In the next lesson, I
will introduce you to some basic gestures into the pencil tool of
Illustrator on the iPad.
4. Basic Tools: Illustrator on the iPad is
of course, mainly operated. This guest tourists
and the Apple Pencil open your app
and open a new file. So if you do anything here on Illustrator and your tip is a two fingertip, it is undone. If you tap, this is
three fingertip. It's redone again. Also, if you want to
enlarge your art board, you zoom out with two fingers and in the same men as men
or you make it smaller, invisible, quick
two-finger pinch. You'll make it fit to screen. You will find this dot in the corner and this
is called shortcut. The shortcut gives
you additional towards behind every other tool. So for example, this
is the rectangle tool. And I draw a simple
rectangle here. And it could be any ratio. Now, when I go with the prime minister
shortcut and tip it, and now I draw this rectangle, it becomes
automatically a square. This is called a
primary shortcut. You'll get right is also
a secondary shortcut. You tip it in your drag it
in the ring, becomes a dot. Now when you draw the square, it starts from the center. You can explore all
these shortcuts and gestures by tapping
on the Help icon. And then you'll find
guest just here. And you will find shortcut here. And I have also made some
PDFs for you to download in the resource library
printed out laid next to your iPad as a reference
when you start drawing. Now, we want to bring
in our exercise sheet, which you found also in
the resource library, by tipping on the
image here and bring it out from our folder. It's a little bit
larger than I needed. So I make my screen smaller. I hold the shortcut button
to keep ratio of my drawing. And now I can make it matching
my art board, like it. Okay. Two-finger pinch, I have
it fit to size again. Now my image is
on this layer and I want to make it a
little less dark. So I change transparency here and I drag the
slider down to 50%. Now, I also want to lock
it in place so I don't accidentally move it
around or distort it in, in my actual drawing goes on another layer which I
add by tapping the Plus. I use my pencil tool here in this is for stroke
and fill during shows the stroke
color in the dot is fulfilled and it is now no fill, which I like to have. This little wave here shows
the smoothness of my curve. It goes from 0 to ten. So if I go with 0, then I can do re, HE lines. If I go with ten, my line will automatically
be smoothed out. I find it most helpful for
my drawings and tracings, going with number six, now I will start to
trace those lines. The first one is a free fall. So I go along that line. The next test, little
corners in it. So when I start a next line, they will automatically be a connection between
that Todd and Ted, one, which I don't want to have. So I first unselect my
last drawing it in, go to the pen tool again. And now I draw in stop and
hold and a blue dot appears, which means now I
create a corner. So for the next line, I have only street segments. And I can do that by tapping the first and the last
part of the segment. And then the last row. This is a 45-degree in
a 90 degree angle line. So I hold my shortcut button, then I tip end. It automatically makes
45-degree angled lines or 90 degree angle. Let's see if I go a
little bit underneath, it, automatically hops
into the right spot. So you can use
that for drawings, for interior design
and stuff like that. If you want to modify a line, maybe you did something wrong. Like I didn't match this corner. So you go to deselect
tool to select your line and then to
your direct select tool. And now you can move this dot around wherever
you want it to have. For example, if I
want to remove a dot, I tap a little bit longer
and it will be removed. Also, you can use your little contextual
menu here and say, okay, this is a corner dot. I want to make it a rounded
one and it will be changed. For example, if your wave line here has rough h's and you
want to have rounded edges. You go to the Properties
panel and you can change the edges and
give them another shape. Also, you can change
the width of your line. For example, you go
with four or 0.5. You can change the appearance
by tapping on the pencil. And for example, I could go with chalk or with a
calligraphy pen like that. If I want to draw a
C, a close cheap, I just asked, end here next to my
starting point like that. And it automatically,
automatically closes. And if I change stroke and fill, you can see it's a
completed shape. So sets for our exercise sheet, you see it is so much
easier to use your iPad, been tracing a sketch. Then the desktop version there, you could either
go with the mouse, which is really a pain, or you use your way com
tablet but then still your eyes have to watch the screen while your
hands are on the tablet. Instead in the iPad, the eyes and the hand
on the same spot, and that makes it
so much easier. In the next lesson, we will learn a couple of more advanced techniques
for very smart.
5. Turning Your Sketch Into a Vector: For digitizing our
files are sketches. Be, want to create a new file by tapping on the plus button here. We choose Print. We want to have
inches in the size of an inch of the artboard is
four inch by four inch. We want to have eight artboards
is our starting point. End. Our color mode
should be CMYK. Remember, anything
printed should be CMYK. Anything for screen
should be RGB. Okay, Now we create our file. Why will we have
eight artboards? Because we have eight
elements which relate to bring into our grid and
put each of the elements, we want to have
our own art board. So I bring in my sketches by tapping
on the image icon here. And then I could use my camera and make a snapshot
of the sketch, which I have already done. So I find mine now in
the camera roll here. And I imported. So I now want to trace each single motif on
our own art board. So therefore, I want to
enlarge my image to a size where approximately one of my motifs fits into one art board to be a little
bit larger like that. Still. Actually, the size is not
so important at this point, we still can make it
larger or smaller data. So now we want to make the image a little
bit less visible. So we go to the
Properties panel and shutdown transparency
to only 50 per cent. Then we go to the Layers panel into log our image in place. So we don't accidentally
move it around. Distorted ingredient a new
layer for our sketch here, induce a new layer selected. We go to the pencil tool. You go here for a black stroke. In, we have our
smooth panel on 6th. I think that is a good fit in
and I enlarge my sketch in, start drawing or tracing here. When you want to
make a corner point, the stop per second. And this gives you that point. Now I want to modify
these both edges a bit. So I select this line and go to the direct
selection tool. And I click on the dog in, I can move it exactly where
I wanted to like that. So I am fine with
my drawing here. So I select everything. I just draw a sheep about everything in then with this
little contextual menu, I grew my drawing. I double tap on the layer in, I call the LEA bowl. Now I can go back and I trace
my donut is my next thing. So I have to unlock my image first and I can select my image, move it around so that the doughnut is now in
the middle of mine. Next art board. Enlarge it a bit like that, and lock it again in place
and create a new layer. Now, for the doughnut, I can use my circle tool here. And do you remember you tap
your secondary shortcut so you can draw an exact circle
from the middle like that. In, I want another one. For the center point out, what I didn't do is I haven't
made the stroke color. So another one from
the center point. Like that. And for my shirt, sugar glaze, I can now
go visa free line. Also. I will do the
little dots here. You see all the little dots get closed by chest ending here before
the starting point. When a shape is closed, then it doesn't create a
connection to the next one. I'm happy. Visit all I with
my selection tool, I select everything
off the artboard, group ID, name that one donor. And if I move my image
or make it visible, I can see how it looks. I'm happy with search.
In the same manner. I will go for award in
draw my lemon slice, my milk bottle, my
coffee pot, not my milk. Package, my coffee pot. And enable leave the
bottle into cookie, into cup for the more
advanced towards later. So I'm just going forward now. So for this nugget package, I can now go with my
straight line technique, just getting this tree finds out to sea. I called the orange
juice package because we have already a month before my starting point. Now, my five elements I have in the simple
drawing lesson. In, for the other ones, I will show you a couple
of more advanced tools in the next lesson. It's a stage. You know how to create
simple outlines of all your sketches by
tracing your elements. I've left my milk
bottle, the cup, and the butter biscuits to vectorize them the next lesson, some smart tools for efficiency. You can consider these tools
as ways to help sketching. So you don't have to
draw everything out. You can trace a part
of the illustration and let Illustrator
do the work for you.
6. Smart Tools: There are a couple of
smart tools which can help you with quick
in precise results. And you want to explore those
with our different objects. By now, you should be
already quite familiar. This tracing us catch
with Apple pencil in, I want to show you a
couple of shortcuts, smart tools and tricks. So we start by tracing the
milk bottle in a broad, the milk bottle already into
my art board like that. I created a new layer and I want to have a symmetric
shape for the battle. And I will use a tool called mirroring tool
to achieve that. So first, I give
myself a guideline. We add a guideline, a vertical guideline,
like it. In. I bring the guideline
with my selection tool, grab it and bring it approximately to the
middle of my drawing. I go back to my actual drawing layer
and go for my pencil tool. And I have black as my line, no feeling like they're in now can start to draw my shape. So make sure you have
fewer smoothing on the right setting
and you can stir. So now when I have
my left half ready, we tip on the smart tool and
choose mirroring into town. You can see the shape is now
mirrored. That is great. So whenever you now move
something on the left half, this movement or editing will be reflected
on the right half. To, for example, I would like
to have that more straight. I go to my direct
selection tool, tip on it. Use it a little bit to you. Made it a little
bit more straight. Now, this is reflected
on that part two. Or for example, if I would use that dot and move
that one around, you see everything I do is mirrored on the
other side too. So this also means that you are kind of restricted to your
complete editing options. Because if you want to edit on this part alone,
it wouldn't work. To leave the mirroring mode. You have to select your drawing. And then you tap on x part. And now you have flipped the
mirroring mode and you can edit each dot on the right side or left
side individually like so. If you go on that one
and I move it around, you see it's only it doesn't behave on the other
side in the same manner. This is how we draw any shape
which has to be symmetric. Next, I want you polish, show you another cool smart tool when we draw the screw
cap off our milk bottle. So I already started
by only drawing the left and the right
side of the screw cap. I use my mirroring tool here. I have already expanded
both elements. Now, I select them. What I do is I tap on
the smart tool lending. Now it looks like it
would be only black, but that's because all
the blending steps are by default 60. We need only about ten here. So see how it now comes
together that it was equal. Repeat goes from
the left to right. You can change the steps here, make it more or less. You could do that
with a slide or two. So let's go for about ten years. Now we have ten. We want to expand it to make
it individually editable. Tipping here, expand. And I'm done. So to finish up my cup, I use my pencil tool here. Okay. Well, I prefer to
smooth it out better. So go with ten. Okay. Life it this is now the
cap of my-mult possible. So also, I want to draw the latest milk and a little
bit of a shadow here. So I go with smoothing of four. In that right-of-way would milk. I'm done. I group everything together. And it's now on my
layer milk bottle. So next I want to show you how I draw the coffee cup here. So I already started
with the coffee cup itself in a now want to add the little flower on top of it. So I start with a single pedal. I create a new layer. And I started with a
single petal here. Likes it. In with the petals selected. I go now to the radiating tool. By default, it makes eight
symmetrical petals around. So now I want to
have 12th of sym. So I can adjust the
number of petals here. And also I can move them around. For example, if I
move them like this, or I can create very
different appearances. You can play around and figure out which
one you like best. I always said on, for example, if I would like only
11 or ten because my petals already fall
down couple of stems or I could move the slider, add or delete some
of them like that. I'm fine. Research with them
all. Selected. I go on, expand in. I also want to make it a
little bit smaller mindset in, move it into the middle. And this is now my little
flower on the cup. And I select a racing group it and have it on my
layer coffee cup. And this can now be deleted. Okay, so last I want to
show you the cookie. So for my cookie, I already have created the outer edge and
I lock it in place. So now I want to make nine
little holes into the cookie. And C's should be arranged
on a regular grid. So for any sink, regular, like a pattern, you can use another smart tool that's
called a pigeon tool. So this is my first hollow here. And I use now depends on Tool. And automatically it creates a pattern out of this hollow. So you know, I want to have
nine by nine in there. Wants him to be a little bit
based to space my hollows. I can go with this tool. I think this looks good. And also here I need a little
bit more space, likes it. Now, I can use this
slider here and this one to get it in a
three-by-three shape like that. If I want to expand it to make it editable per
single dots, so to say. So I can click on one dot in, could edit this single
one if I want to. That was this is now my
cookie group ID. Okay? So these are our
final eight elements. And in the next lesson, I will show you how we bring
them together into a fabric. Repeat. By now, you should have all
the needed elements created and organized
as a group. In the next step, we will use all these elements to
create a very simple grid. Repeat.
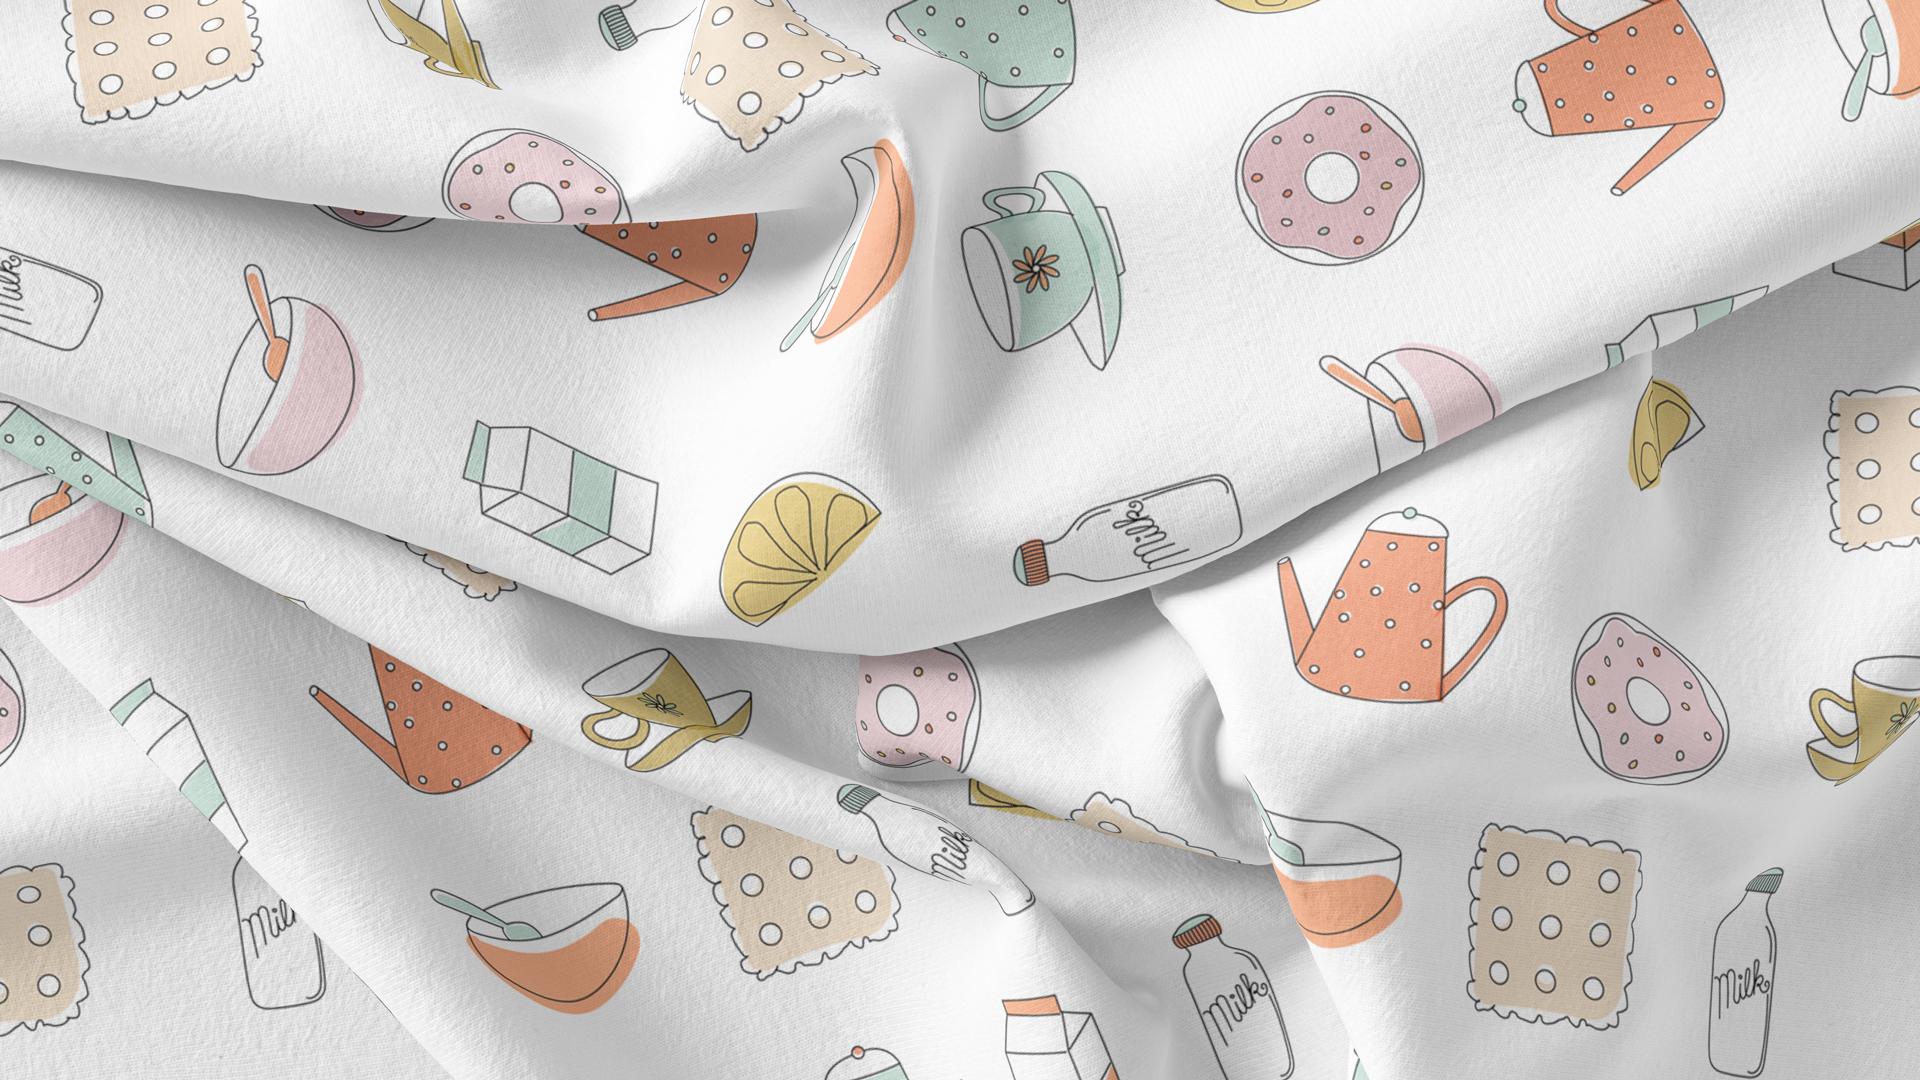
7. Assembling Repeat: In this lesson, we will
bring our elements finally together into a fabric. Repeat, perfect brick repeat. I want to have as 16 by
16 inch finished size, which is called as large
key repeat why 16 inches? When you lead to get your
design printed by a meal, the mill brings them on
rotating screen roles. In those roles have a fixed diameter and you have to bring your measurement met, matching the roads measurements. So best is you go for a
multiple of four inches, maybe four inch,
repeat eight inch, 12 inch, and so on. And for a large print, repeat the goal with 16 inches. So I start by turning on my grid and making
a new art board. So I'll just draw a rectangle and with
the Properties panel, I determine it should be 16
by 16 in that also can bring it matching the grid like that. Or I can exactly
determinate here. So now it's direct and agree. Then next, we want to
have some guidelines. So we have guidelines. I add a horizontal one on this horizontal
guideline should be about four inch apart
from the left edge. Another one is eight inch apart. And honest, 12 inch about in the same for the
horizontal guidelines. Likes it, so that
we can do that. We end up with 16 tiles
each four by four inch, and we can now
turn off our grid. So this is our guideline
for the fabric repeat. So I have now all my
guidelines, a new layer. And I lock this layer in place so I don't accidentally
move my guidelines around. And I create a new layer
to bring on my elements. So first, I go to the
bowl and I select a bowl, and I go on copy. And on my new layer, I paste it in. It is now on top of my
original element in. I can move it over to my new art board and I
move it to this tile. I can still enlarge
it or make it smaller and turn it a
little bit to my policing. So I like it like sit. We have eight different
elements and we have 16 tiles. Means for each element, I have to duplicate it and
bring it to another child. So I select my bowl
and I duplicate it. And I can now move to
duplicate element around. Keep in mind that
this is a repeat. So if you move your
bowl over here, this first row in a repeat will then appear
underneath our art board. Means, so suppose balls would be neighborhood
and you want to avoid that one element is neighborhood to the
exact same one. That means this is not
an option for our bowl. The same is right for that one. So if I move it here in the first column will
then appear here. Both sports would
be neighborhood. So this is something you
have to keep in mind. I choose this little
tail year in. Also to get more variety, I want to flip this element. I flip it horizontally and it is a little bit
different from the other. Then next is my donut element. I pick it, I copy it, go to my layer 12 in. Then I place it in a
one to have my donut. Yeah. I want to enlarge
it a little bit. So I tap and hold my secondary shortcut to
keep ratio after circle. Likes it. Ain't I
duplicate it in, bring it over to
this little tile. In the same manner. I will now please every element, duplicate it, flip it if
necessary to make a policing. Repeat, I do that in my own pace and you will
see each other in a minute. Now when I have placed all
my elements to my pleasing, there is a last little
finishing step. Namely, I want to make the
lines look consistent. By default, you're
drawn line is 1. But when you start to enlarge our element like my lemon slice, then automatically you align stroke with will
also be enlarged. Now I have 1.176 here. So what I do for a
consistent look, I select everything and
then I type in 1 in, in all the lines have
the same stroke width. I will group them. And now my repeat
would be finished. Here's a little bonus tip. If you want to change the
appearance of fuel line, we will create, duplicate this art board
and I show you how. So, click onto the art board
and then duplicate that one. And on this art board,
we select everything. And then we look for
a different stroke. I go for a sick pen here. And now let's see what happened. See now your stroke looks a
little bit more hand-crafted. You can play around with this option and figure
out what you like best. We can also turn out degree in see how our
final result looks. I'm happy with said in, we'll see you in the
next lesson when I talk a little bit
more about color. In the next lesson, let's
talk about coloring.
8. Creating a Color Scheme: Before I start to
color my repeat, I want to have a nice and
pleasing color scheme in place. The illustrator iPad version
comes with a handful of bright colors swatches in
the fill and stroke tool, but these are not what I
want in my fabric repeat. So I have to create
my own color scheme. Basically two ways to
put a pellet together. So I have basically
two options here. One of the option is I go to the Camera tool in
that tape on it. And from the picture I take, I create a color
scheme, likes it. Camera opens. Now I can make a picture of a nice color scheme
I want to add. On the left side
you have a slider. In this slider determines how much swatches
will be created. So right now they
are two swatches, but I can go up to ten. I also could deliberately
move the dots around in decide which
color I want I have. When I'm happy with my result
in they capture the photo. Then you see there's
automatically created a new pallet and edit
tool, my existing one. Now when I've created
the color scheme or Illustrator has created
automatically for me, I can also go this
second basic option, and this is I import pictures
so I tap on my image, I can go to my camera
roll important what I like in
from this picture. I can now with the color
picker, create a scheme. So you see the string
was the crosshair, which I can move around. If it's a plus sign, I create a new color,
color picker again, move it around to the plus sign, new color, and so on. So in this manner, I will go and create myself a color scheme and we
will see each other in the next lesson when I show you how it says color
scheme to your design. In the next lesson, we will then add a bit of color
to our artwork.
9. Applying the Color Scheme: In this lesson, if
you want to apply some color to our outlines. So therefore we create a new layer underneath
our outline layer. So this is my Layers panel. I lock the outlines in place so I don't
accidentally disturbed in. And then I create a
new layer underneath. This is my coloring layer. I have already
created for myself a nice color scheme which
I have placed here. So now I want to add color
on this coloring layer in. They start with the stroke
is colored in, fill to none. Why do I do that? Because I have more control about the shape
which I will draw. So I start, this is
pole over here and eyes fill in a bit of
color in the color shape, doesn't have to match. My outline exactly, can
be just a little bit off. Now when I switch
off stroke and fill. Now this is how my fill
looks in next mice, spoon. So I change year to orange
and a little bit color. You like that. Now when I've hit
already, have this group, I can select the
bows and group it in duplicate it and move it to
my already existing bowl. Have to flip it here and move it exactly where I wanted
to have like that. And when I ungroup it, I can now change the
colors individually. You want to keep in mind
that you want to randomly display your colors
so that they are not necessarily new but
next to each other. So we sees more pale pink. We don't want to bring
it in the doughnut here. But on the other hand, you also want to change the colors for the same motif
so we have more variety. It's kind of a pseudo code to figure out which
color belongs where. Unless a hint which I
want to give you is when you want to remove
color for those holes, you can do it like that. So let's first gift a
cookie or fill. Also. I am not really exactly
in that shape like that, and change color and fill in. Now I go to my eraser tool and I can remove the color here. It's a little bit,
as in a comic. Don't want to be too
exactly matching on my outline. Like that. This is my cookie. Last thing I would like to
mention is now when behave, all these coloring done, I will do that in a
minute in my own piece. But for now, I want to show
you a tip for shadowing. So you can now complete
layers select. And then you say you want a transparency of only
75 per cent like that. Then you add another
layer on top of it. You lock that one and add
another layer on top of it. In. Now, this layer, you can add a little bit of a shadow
to your shape by x, it gives it a little bit more dimension. In this manner, you can now
color you a complete fabric, which I will do now. We see you then in the next lesson when I will
show you how to export your fabric design for printing off of first desktop editing. Now when we have to
compute repeat colored, let's see how we can export our artwork for
further purposes.
10. Exporting and Printing: Just a word about saving. Your Illustrator document is automatically saved along the
process of working on it. So you guys will never to
worry about unsaved changes. Now let's see how you
can export it to get your artwork printed in your navigation
bar tip on export, and again on export and
print purplish like that. Now you are asked in a dialogue box how
you want to export. You open the dialog box
and just say the name. So we call that fabric repeat. Even separate,
repeat, break fast because we have more
than one. Okay? And now we want to
export it as a JPEG in CMYK, high-quality,
high resolution. Next time asked if I want to
export all my art boards. No, I want only one of them. So I click this
one and see nine. Now I tip on export. And when I'm asked
where I see export to files and export
it to my desktop. And now I tap on
Export and it will automatically exported
to my desktop. In the desktop is a
mutual file which I have as well on my iPad,
on my computer. So I can go to my computer and open it from there and
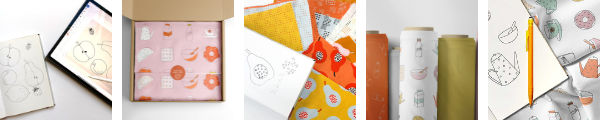
printed forms here, whatever I want do next. The cool thing is you can
actually get a real fabric. Your Skillshare project here, an online separate printing
service like Spoonflower.com. We'll do that for you. Head to the website
and check out the requested file
specification is DPI in size. Then export your
file accordingly. Upload it to
Spoonflower and older the desired yards of
fabric you'd like. Now let's see what we can do with our desktop application. Another option would be
to export your file to the Desktop Illustrator
application for editing. So again, you go to export. From export, you decide for Quick Export as a
file like this. And now that it
prepares for exporting. And then you can send it via
air for up to your desktop. How easy he said, that's just a piece of cake. I don't do that right now because I will show
you that by default. I opened my Illustrator. It already has the
file synchronized in. I can open it from here. So that's the next
step I want to do. Now I've opened my file on the desktop Illustrator
application, and I show you a couple
of things I do here. More. Antoine sings, this is
not part of our class, but just to give you
an introduction to my daily work as a
fabric designer. So I could take an element
out like the milk bottle in, throw it a randomly over
a coordinated fabric. I prepared it so you can see it. So this is how the milk
puddles look randomly thrown. And now I can even add a
little bit of color here. And I could also do the
milk bottles in white. In this manner, I create
coordinates in a smallest scale, matching my large scale print. This is part of
developing a collection. Also, I can create different variations of
my large-scale print in other colors, stories. Usually when you
have a collection, you have this spring
on a white background, then you bring it on a pink background and on the
yellow or mint backgrounds. So I will do that here. I've already prepared
my background, and then I copy my print and bring it
on the big round in, I select my color layer. And from there with
the recoloring tool, I can now I have to add the weight and then
we can shuffle the colors around
to my policing. And when I'm happy with the new coloring,
I like that one. Then I have done in
the same manner. I would create more
color stories of the same print to make a
complete collection out of it. So that's what we would
do in the next step. On the desktop version.
11. Conclusion: Wonderful. You completed this class
and can be very proud of yourself going
through this training. As argue is an arsenal
of tools to create, design acids for
any foods of work. In fact, in addition
to fabric repeats, That's all men uses, such as, for example, greeting cards,
posters, or branding. I hope you enjoyed this class as much as I enjoyed
creating it. During this class, gift
gained a lot of skills. You have learned. How to import in trace your hand meets catches
into vector graphics. How to create a consistent look across your fine line motifs. How to create a color scheme and add color to
your illustrations. And how to assemble your
motifs into a simple grid. Repeat, ready to be
exported for print. The iPad and Apple
pencil really are the best tools for dressing
hand drawings for digitizing. Any questions. Feel free to ask me on
the discussion page, the class, and if you
liked this class, follow me by hitting the
button by my name in please leave a review I'd love to hear but just
sink after class. And most of all, I love to see your finished fabric repeat in the project
gallery of the class. You can find it in the
class project tab below. I can't wait to see
what you create.
 Brigitte Heitland, Surface Pattern and Quilt Designer