Transcripts
1. Welcome Series: Intro & Klaviyo Overview: All right, guys. Thanks for joining me here again today. We're gonna talk about how to increase your revenue on your shop. If I store with the power of automated email marketing, we're gonna focus on using one of the industry standard email service providers called Claudio. And we're gonna go through how to set up and the psychology behind setting up ah, Siris of automated email flows that customers who visit your store will receive based on specific actions they take. So we'll dive into what exactly that means and what that looks like. Um, but super excited to get started here, So let's dive right in. Okay? And so the first thing we're gonna do is we're gonna head over to the APP store, and we're gonna install Claudio, so visit your Shopify app store and, um, search Claudio. That's K l a v i y o um, it will pop up. It's free to install, um, and then based on however many e mails you're sending out per month, um will dictate how much you're paying per month on on this application. So the system integration eyes pretty quick. It's straightforward. It's gonna ask you a few questions on, and it's gonna connect directly into your shop if I store, which is great, um, and then once were set up and connected, you'll you'll see this home screen. Um And so what we're gonna take a look at first is there's a lot going on in this, um, in this application. So if you've never been ah, inside of the app, Claudio, you might get a little little timid on on where to start. So let me just give you a quick run down of what we're looking at. Our dashboard here is gonna be overall, um, analytics that we can look at email performance. We've we've got analytics, we've got lists and segments and we've got activity feed. So this is a new account. Actually, one of my clients that I'm building a storefront four was nice enough to give me permission to use their, um, their set up a zone example for all of you. Um and so they're an awesome company based out of New York City called Strong. They make premium jewelry out of recycled guitar strings and guitar strings from famous musicians. Um, and every every piece of jewelry is correlated to a popular song, so they're super cool. I'll leave a link in the description and possibly a coupon code that you can use, um, specific to people who watch this video if you're interested in checking out anything they got, but it's www dot get strung dot com and check it out in the description here. Um, so again, this is our dashboard. We're gonna have all of our analytic overview here. We can take a look at how things are performing. Um, what are water flows? Air doing what revenue is being generated by these campaigns? We've got a campaign section which is essentially weaken set up, um, individual campaigns to send to certain people that will gather in our account. We've got our automated flows, which is where we're gonna be focusing today. Um, and these are automated systems that we put in place to send Siris of emails to people based on specific actions they take. And then we've got our templates that we can pick from. In order to build these emails, we've got our lists and segments, which is going to be how we categorize people based on ah, what emails we want to send them eso again. Either in action they've taken or something that they've done on our website. And you can create these here and then we've got our profiles. Um, which is gonna be anybody who is on your website and enters their email and is active. Ah. Will be dropped in here. Um, and then we've got some other things, like metrics and integrations. Data feeds. You can set up dynamic coupon codes in these emails. Um, you can place specific Claudio sign up forms on your website and in emails. Um, your preference pages is gonna be your overall preferences of how you want your emails toe . Look, your image library is where you can upload creative to design out emails. And let's see your folders is how you're gonna organize everything that's up here. Um, so that's a brief overview. Let's dive into the flow
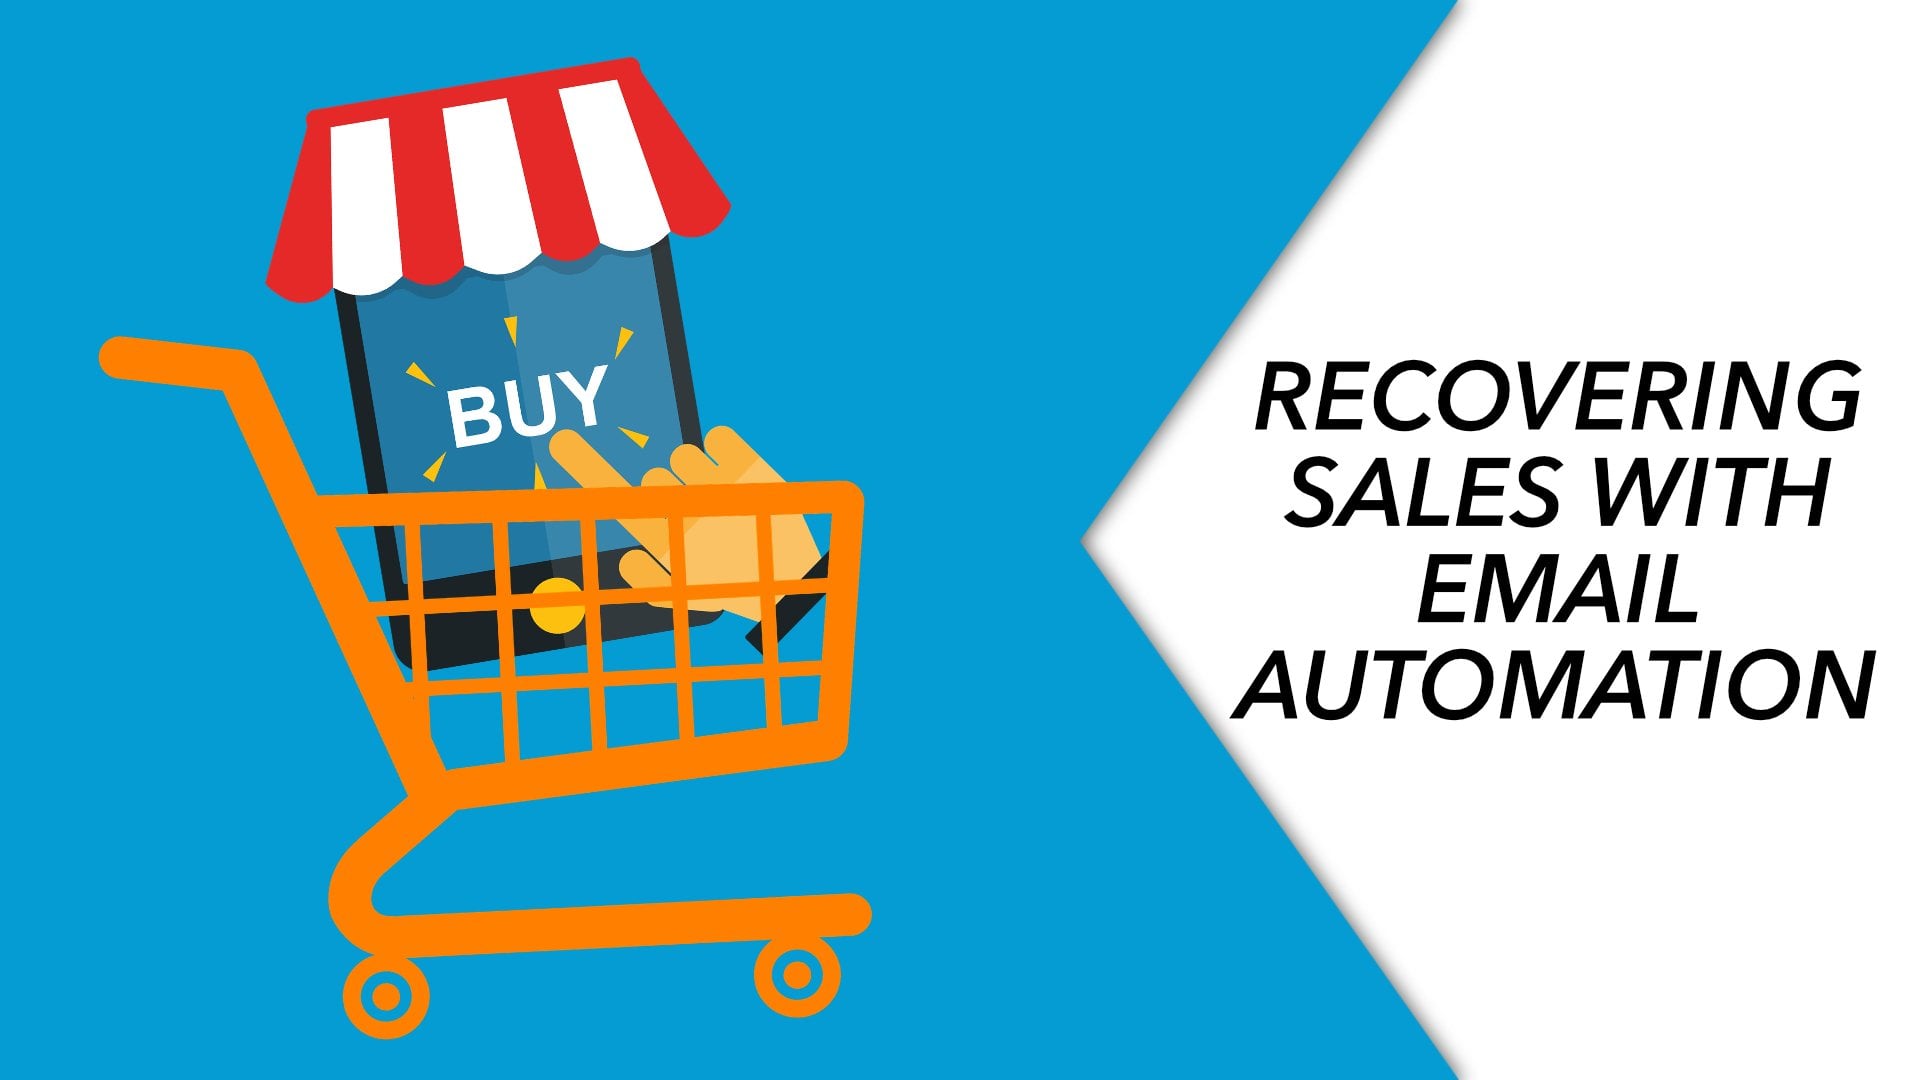
2. Welcome Series: Flow Settings Overview: we're gonna be working on three specific flows that are pretty rudimentary toe any e commerce site and pretty rudimentary Teoh generating more revenue for your for your e commerce store and, um, capturing lost revenue as well. So the three flows that we're gonna be focusing on is a welcome Siri's, Um, a customer, Thank you, are Post Purchase Siri's and then abandoned cart Siri's. And so we'll start with the welcome Siri's. We'll click down here. Essentially. What a welcome Siri's is gonna do is we're gonna send, um, a specific list of e mails, um, to people who sign up to our newsletter on our website. So integrating Claudio into your newsletter sign up. Um, that will be a whole other video. Depending on how you're doing it, you may need to connect in a p I key. Um, or you may need to put a little bit of code on your site so that the sign up form from Claudio is connected. But today we're gonna be focused on specifically the emails and the flows and the psychology behind what we're doing here. So when you click on your welcome serious flow, um, this is already built out. You'll see some. Um, You'll see some content in here That is auto generated by Claudio. Um and they do a pretty good job of getting you started in the right direction. But so essentially, we're gonna walk through what these emails are, how we structure them, Um and, ah, what they look like. We'll go into the design a little bit and kind of just the settings we set. Um, so you can see at the top of the first atop of this flow will see a trigger, and that triggers set when someone subscribes to newsletter. So when we properly connect Claudio to our email subscription on our website, anybody who inputs their email into that sign up form on our website they will be dropped into our list newsletter in our Claudio back end. And whenever somebody is added to that list, they will then begin to get thes set of emails. So the trigger is very important. We want to make sure that we're setting that Teoh to, um to correlate with the people that we want to receive these emails. The next thing we'll see is the actual email here. Okay, so I'm gonna run through a few things before we actually get into the email. Just basic overview. Here. You can see some basic analytics of Of this email, of course, is a new account. So we don't have any right now. Um, and we've got some basic settings to So, um, with the newsletter are the welcome Siri's, um, flow. I typically leave smart sending off. And what smart sending is in Claudio's. It's basically, um it'll tell Claudio that if somebody has received an email from us in the past X amount of hours, and that's something you'll set in your settings on Claudio, don't send them another email. Um, so I don't want to do that with this flow. When somebody signs up for our newsletter, I want them to get, um, get our first email going to them. Um, you tm tracking. I'm gonna keep on effectively. That will let us know on the back end of our conversions in Shopify whether or not um whether or not the sale if any sales come through from this email, whether or not that sale is at reputed to this emails, that's really cool. Um, and then additional filters. You can add additional filters for the specific email. Um, on who you want to send it to based on certain conditions or, um, actions somebody has taken. So we're gonna leave that off for now.
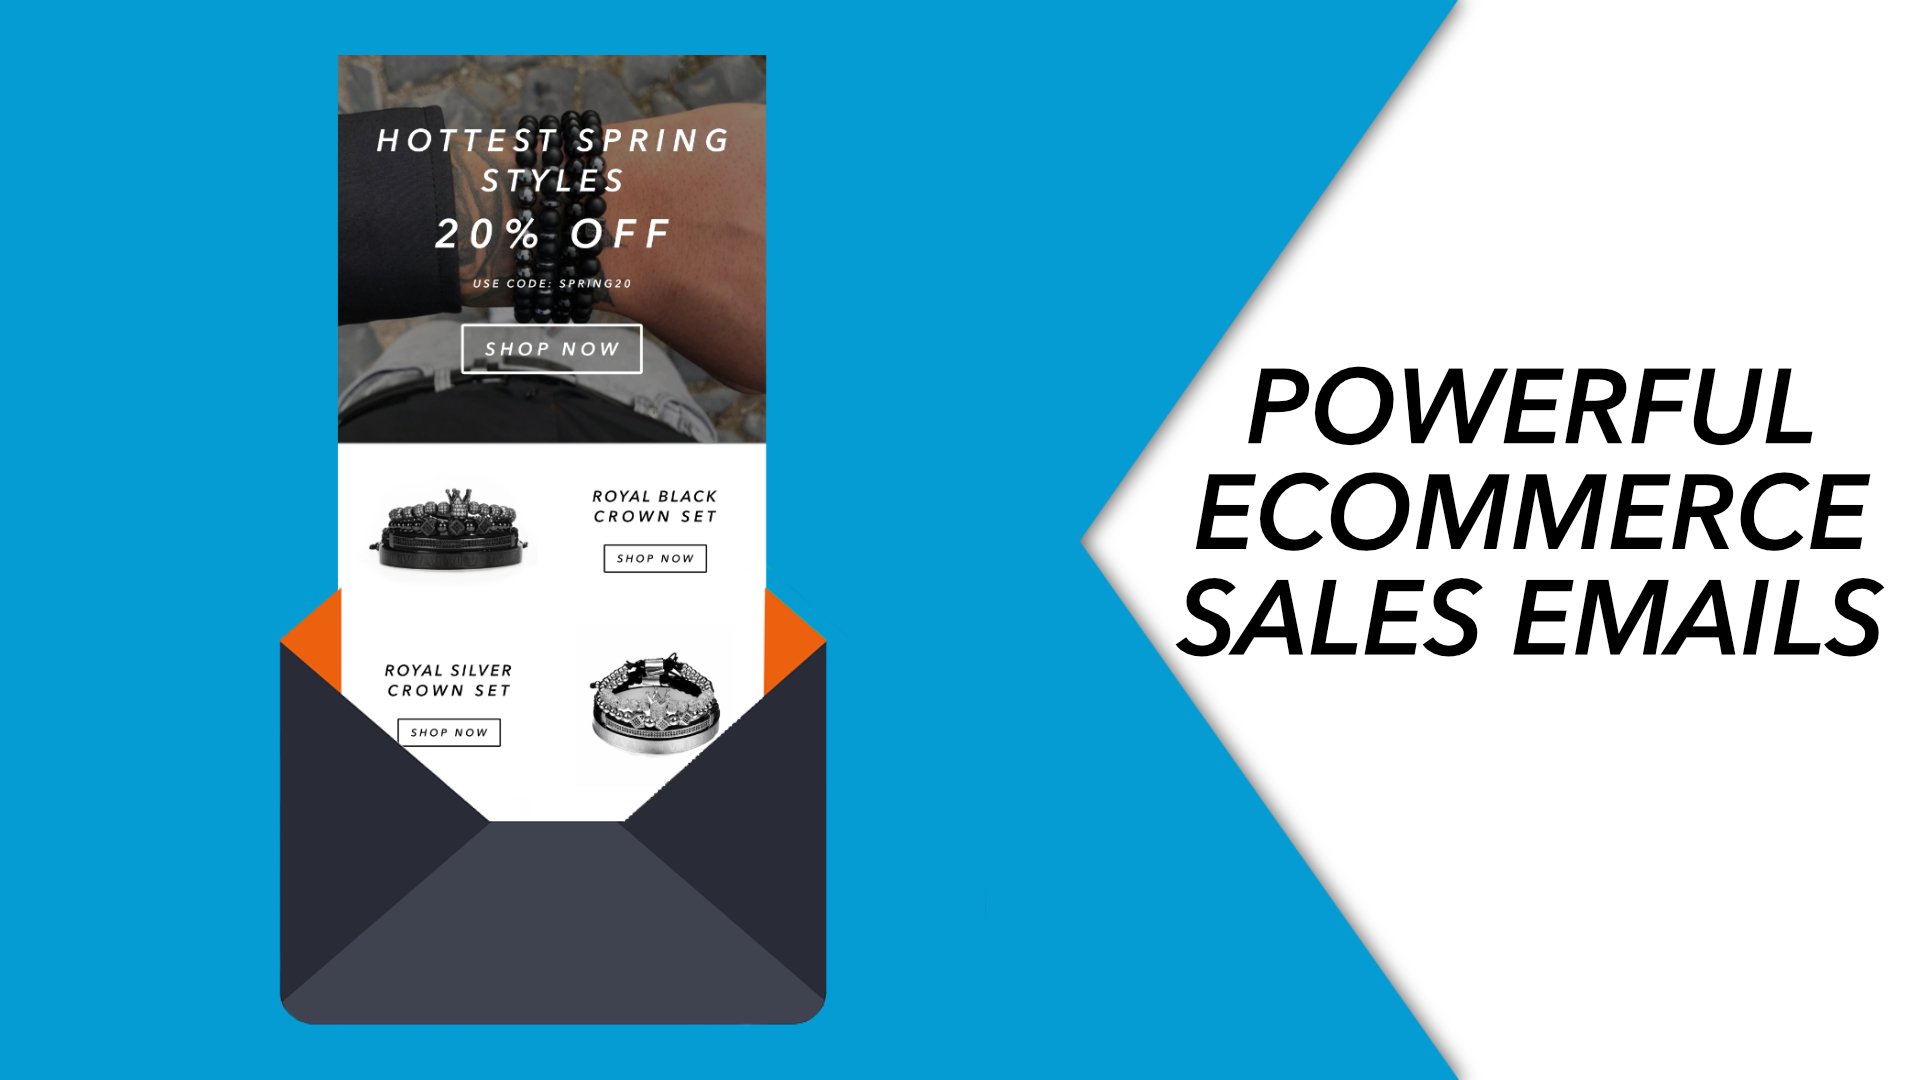
3. Welcome Series: Email #1 (Engage Your Customer): and we're gonna start diving into the to the order and psychology of these e mails. So the first email we're gonna send once somebody signs up to our email newsletter is thanks for signing up. Right. So let's take a preview at this. This is pretty basic. This is the way I like to structure. Um, all the emails that I build out, um, I start with the company logo at the top. I put a nice piece of creative, um, saying thanks for signing up. I put the body message, and then I input some products in there, and we'll go in and and I'll show you how all this works. Um, And then at the bottom, I put some buyer benefits, um, and a contact information. OK, so the main focus of this email is just to introduce them. Say thank you for signing up. Um, you know, you're you're now subscribe to our newsletter. You'll be the first to know about sales special offers and coupons. Um, and then we talk a little bit about the brand, our brand mission of what we're trying to do, how were partnered with charities to give back to the music community. Um, and that's part of the company brand, right? And so that's really all this email is It's pretty straightforward. Just welcome that welcome welcoming new, um, new consumers to our newsletter, Um, and and saying, basically, we look forward to, you know, keeping in touch with you. Um, and you can add some products because you never know Somebody might see something they like and purchase from there. And so we'll go in tow, edit, and you can see kind of how this is all set up. Ah, how the for miss set up. We've got our from section So we want to put our company name. We want to put our from slash reply email to. So for us it's info. It gets strung. Ah, we want to put our email title and our preview text in the email. Um, once he's once he said, all that you can hit, save changes and then you go into edit content and they'll have automatically. Claudio will design out something pretty rudimentary. And so obviously this is custom done, and we've done a little bit of design work here, but I'm going to go through all of the blocks here so that we can understand what they are before we move on. So effectively, um, the tax block is gonna be what you see here. So this is kind of a dragon drop style editor, which is great. You can add any kind of text there. Um, which is really awesome. It's super convenient. Um, same with the image. All these the header here, Um, the logo down here. The buyer benefits. These are all images that I've created and uploaded. Typically, the dimensions for emails air 650 pixels wide. And then this image itself is 157 pixels tall. So if you're trying to design something out, that's kind of gives you a good idea of where to start. And within this this text image are in this image block. It's really important that you put in your alternate text. And what the alternate text will do is if, for some reason somebody can't load that image in the email, it'll still populate what you're trying to communicate within that image. Um, so for this one, we're calling out that we have worldwide shipping 24 7 service, 100% secure shopping. And so we want to make sure we call that out in case somebody's Internet connection cannot load. This image will still know what it is. And then we always want to link an image. Always, always, always. Lincoln Image. Um, otherwise, it'll it'll appear as a downloadable image in the email. So always Lincoln image back to your website somewhere on your website. Um, that way, if anybody clicks on it by accident, they end up back in your website, so that's a good thing as well. Um, and a few little quick tips here, um, with this image specifically will do it. I like to align it in the center, and I like to fill the image to area. You can see that there will be some white space on the side, and I like to make that the full the full length of the email and then block styles automatically. Claudio will put padding around this, and it'll look like this, which still also leaves a little bit of white. So I just like to get rid of that. So it goes all the way to the edge. So every single block that you're editing, um whether it's a text block or whatever. You can go to block styles and edit all of the content in there. The padding, the margins, the color of text. Um, all these things so just important to be aware of, um, and let's see split, you'll be able to make multi multiple columns within your email, which is great, but in is pretty self explanatory. We drag and drop that There we label are button what we wanted to say, and then we link it to somewhere, which is really cool. Ah, header slash link bar. You can put up top Um, and you can basically put several links and your logo. Um, so if you kind of want to put a navigation bar at the top, your email, that's pretty cool as well. Ah, social links is self explanatory. That's gonna be all your, um, your social, you know, Instagram, facebook, twitter, All these things table you can insert tables into your into your emails products is what we're going to see here. And you can add, you know, several several lines of products. Eso if you want to feature other products in your emails, that's an awesome Ah block to pull in horizontal rule. It's kind of just a split. It's a design effect. You've got some controls here. You can change the color, Um, and just kind of organize your emails a little bit, which is nice. Spacer is just It's gonna be a spacer. It's gonna create white space. And you can set the pixel length all these things, and drop shadow is gonna be exactly what it sounds like. It's gonna at at a little bit of three D effect to your emails, which is actually kind of nice. I don't use that a lot, but actually looks pretty cool. Sweet. So, yeah, just a quick overview into what all these controls actually do inside the email editor. I know. When I first got into this, nobody really told me how to use these things effectively. Um, so I wanted to go over that real quick for everybody watching this. Um, just cause it helps. Um, if you've got any questions or get stuck on anything, just feel free to drop me a message. Um, and so, yeah, again, this first email primarily is just gonna be welcoming them to our newsletter. So let's go back and move on.
4. Welcome Series: Email #3 (Drive Sales Part 1): um, And then we're gonna drag another time to lay in, and we're gonna wait another two days and so on as effectively. On day four, after four days of signing up, we're gonna send 1/3 email, Teoh our new potential consumer, and we're gonna offer them a discount. So, um, again, we've got our header and our logo up top, and we're gonna say, you know, thanks for joining our mission we wanted to give you, um, you know, a special offer to take 10% off your first order with us. Ah, use code Mission 10 at check out and join our mission and creating the future rock stars of tomorrow. Um, and then we've put a button in here shop all products. Um, we've listed some more products, and we've got our buyer benefits and our contact information. It's a very simple we've introduced them, um, or we've said, thank you for signing up. We've introduced them to our brand, and then we've offered them a special offer. Um, which is really awesome. These emails emails tend to convert the best because everybody likes a special offer. Typically, when it's personalized, um, you feel a little more connected to the company, and it's a great way to engage your potential consumers
5. Welcome Series: Email #4 (Drive Sales Part 2): So the next thing we're gonna do is drag in another time. DeLay. I'm gonna wait 36 hours this time. Um and then here's a fun thing we're gonna talk about next is adding a conditional split. Okay, so the conditional split here, you can see him over here, and we'll drag him in and you can set the conditional split off of all these properties. And so what? We said it, too, is what someone has done or not done. And we have said it to a person has placed order with our little Shopify integration icon zero times since starting this flow. And so, if that is true, they will receive this next email. If they have placed in order zero times since getting to this part in the email flow, they will receive this next email if they have placed in order more than zero time. So if they've placed in order, they won't receive anything. And the reason we're going to do this is because the fourth email in our welcome Siri's is gonna be an email reminding them of this special offer. So, for example, say John subscribes to our newsletter he gets are things for signing up email he then gets are Joyner mission email. He likes the brand. He's taking a look at it. We send him a special offer and he buys the product, right? We don't really want to send John another email saying, Did you forget about your special offer we want? We don't want to contact John in this flow again at all. So John would hit this. It would. Claudia would realize that he made a purchase, and it would send him down this path, which is no more emails from this flow. Okay, But if John got here and he opened this email and he said, You know what? I'm not ready to buy yet. Um, and he got here in Claudio would say, Okay, this person hasn't placed in order yet. Then we would remind him that we gave him a special special offer and he would get this email. Some conditional splits are very effective because you'll end up strategically sending the right amount of emails. You don't want to send out a bunch of emails to people. Um, that shouldn't be getting a certain email, you know, if John had taken advantage of this offer and then got this email again. It kind of wouldn't make sense and be redundant. Um, and it might actually frustrate him. So this is important place in strategically into your flows. And so we'll go over the last email here. We'll take a peek at it, right? So, again, the repetition is happening here. We've got our nice logo in our header, and we're going to say her your one time offer intro offer is expiring. Uh, used the code Mission 10 at check out, take 10% off her order and join our mission and creating the future rock stars in tomorrow . So we had a bit of, um, scarcity to the fact that we offer them a discount. We want to incentivize them to buy sooner rather than later. Um, so it's just a friendly reminder. It's not too aggressive. Um, but it's a friendly reminder to see if we can acquire that new customer. Um and so we've put a shop all but and we've listed a few more products, and we've got our buyer bar and our contact information, and so that's about it. Guys, for this, this welcome email flow
6. Welcome Series: Recap: effectively. Just a quick overview. Again, We're going to set the trigger. Thio, Thio, send these emails to anybody who subscribes to our newsletter. Remember, we've got to set this up properly on our Shopify store. Um, that's not feet that's not shown in this video. So if there's any questions about that, you can either contact shop for I support you can send me a message. You can even possibly contact Claudio about how to set that up properly. Um, I'm happy to answer any questions as well, though, so we're going to set that trigger, and immediately we're going to send them a thanks for signing up e mail. Um, let them know that they'll get special offers and they'll hear from us soon. We're gonna wait a few days and we're gonna talk about our brand. Let them know what we're up to. Get them involved, get them intrigued and what we're doing. We're gonna wait another couple days and then we're going to send them a special intro offer to take a discount off the first order. Then we're gonna wait a little bit of time, and we're gonna place a conditional split based on any actions. They've taken off of this previous email and we're gonna if they haven't ordered, we're going to send them another email reminding them that their intro offers expiring. That a little bit of scarcity to this offer and see if we can't acquire that customer. If they have ordered from email number three, then they'll, uh they'll enter another flow that we're gonna talk about. Talk about next. Alright, guys, that's Ah, that's it for this. This one. If you guys have any questions at all, feel free toe. Feel free to reach out and, ah, head over to my page and we'll be talking about the other flows here. Ah, the post purchase and the abandoned car.
 Alex Huston, Coach