Transcripts
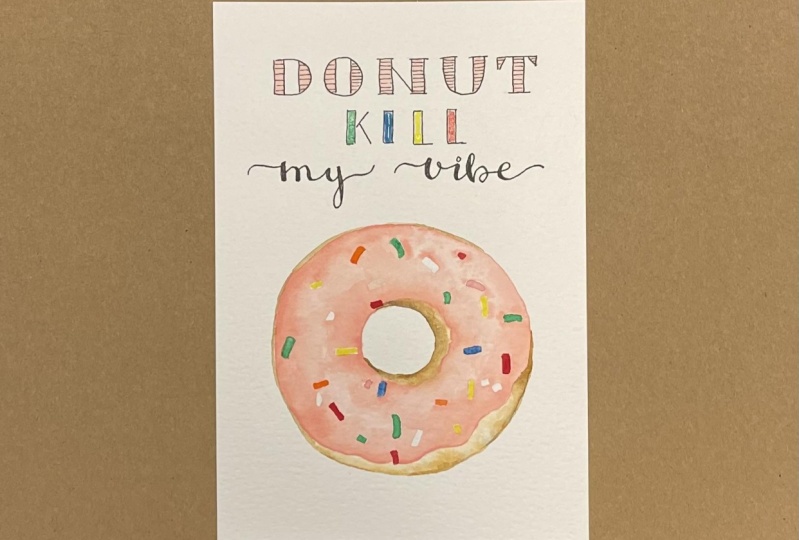
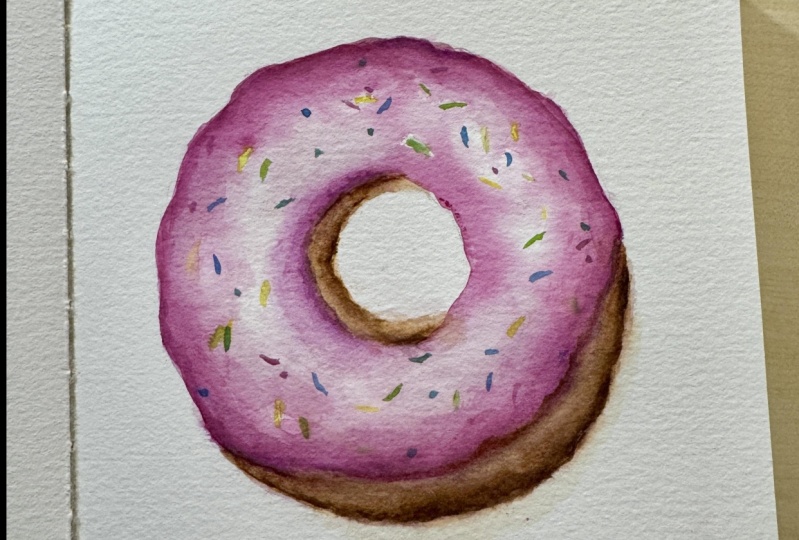
1. Hello & Welcome!: Hi, my name is Alexandra and I'm very happy to see in my class. And today we're going to try very simple, actually easy practice with watercolor. And we will paint and donuts. And this illustrations looks actually per pool and professional and fun. And you can even use it for postcard for like birthday cards for your friend. And so it will be really great to practice and at the same time to make something unique, cool, and something that you can even use as the gift. So I will show you all the supplies you will need and I will guide you step-by-step. So don't worry, it's going to be a very fun and easy. So take your brush and let's begin.
2. Materials You'll Need: I will start our glass with quick supplier and down, I'm using cold press paper is on block, which means all pages are glued together. And it's really nice for painting on. I'm using whites want 150 gram, but you can get Canson budget, but good-quality. You will also need a few brushes in different sizes. I'm using professional paints, but depends where you are located. If you're in Europe or US, you can get nice. Winsor and Newton said. And also on students quality watercolors will be good enough. You will need pencil and eraser, a color palette for watercolors. And please don't forget to glasses of clean water and some paper towels for blotting.
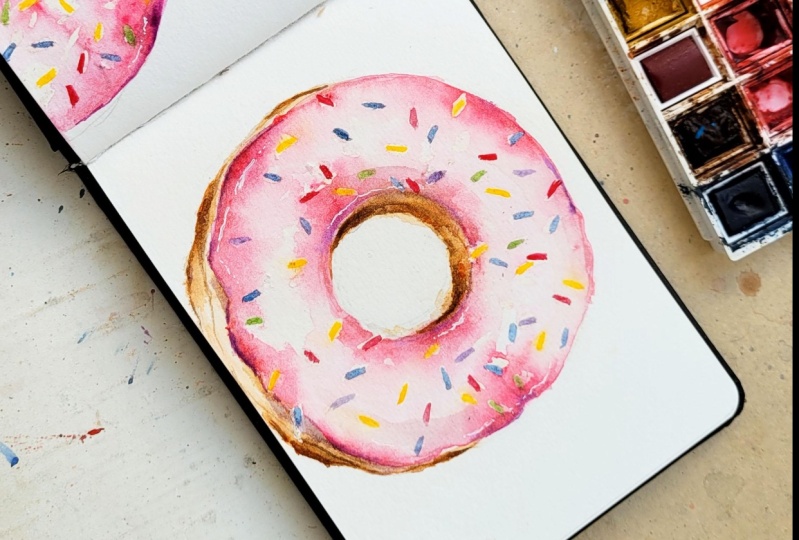
3. Donut Drawing - Pencil Sketch: Let's start by drawing a circle. So I'm going to make, to help line one horizontal and one vertical. And then we can make very nice round and actual circle. It's very good practice for an artist. After 10 or 15 circles like that. There will be much nicer and more owned. So don't worry if it doesn't work out for the first time. And then I'm making very small circle inside for our donor. But also don't worry, it doesn't have to be super straight. And then we can start painting cream with very wavy line right inside. And I'm going to offer that circle. And then I'm just defining the pastry part. And also don't forget about the volume. So I'm painting up some volume inside the Donald. And I'm trying to make those lines more curvy. So they will look more realistic right? On the reference photo. And some of them will be closer to each other and some of them will be quite far from each other. Also, you can put like free together than one separate. So this way it's going to be just like the real Donald. I try not to press too hard with your pencil because afterwards you will need so erase it. I'm doing it because I'm showing it to you. And also don't forget to erase everything. At least tried to make it much lighter. So before you start to paint with watercolors, because afterwards it will be impossible to remove pencil drawing and watercolor is very simple, so it won't be very visible. So yet just take your time and just leave some lines that will be helpful for you. All the extra lines you should definitely remove or make lighter. As you see, it's very easy and simple to draw this. So, yeah, you can also use this technique to remove extra pencil drawing. You just make those lines next to each other. So in a way you have still the drawing, but it's not that bright.
4. Donut Painting Part 1 - Wet on Wet: Okay, so now we can start with watercolors. First of all, let's get all the pains so it will be easier to use them afterwards. And I'm taking some sienna color. Also. Some can take some brown color and mix it with water. And let's paint them pastry. My first layer is very light, and then I'm going to add up some more paint on it. So basically you just filled it up with quarter and then we're adding up some paint. I'm putting it all the way around. And it's next to the our age. And I'm leaving some white space in the middle. Also have some based on the inside circle. So I'm also feel ended up with the same colors. And now I'm adding some violet color because it's, this part is in the shadow. So you can add up a bit of cold paint. And also I'm adding apps and violet on the pastry. That because part on the right side as you've seen. So again, this way we will get the right volume. And also because watercolor is a very interesting medium, and it might slightly disappear, but it gets dry. So I'm trained to add up some more paint. So intensity will be much stronger. And we can start with frosting with cream. First of all, I'm just taking some clean water and I'm trying to fill up all the space. Just avoiding sprinkles. Thanks. Sure you use in quite a lot of water. Also don't touch those corners where you have Europe. Like wet paint. I mean the pastry part. As you see, try to look from the side this way you will see where you missed maybe some parts that are not quite yet. And then you can mix pink color or cream cell with water and start filling up. But start with your edges all around the circle. And you go all the way around. You also could wait a little bit until your previous layer of base 3 won't get dry. Or just make sure now that you don't touch it. And you live in like small white gap in between. Then I'll go in with the inside circle. Exactly the same. I'm going all the way around with this pink color. And in general, to make the right volume, as you understand now, in the middle click, middle part should be much wider. So I'm adding some more paint. But I definitely want to leave some parts untouched right in the middle. And also of course, I'm living a spring course. Unpainted. Most important, if you will understand this concept, then you won't be able to paint almost anything. And it's all about the right volume and the right contrast between the lightest parts and the darkest parts and the parts that are in the shadow. You see already now you can see that it is Donald is like crowned. And just because they're wide parts, right in the middle are left. And then of course I'm going to add some more contrast. Cannot live with just white and instill it's like light pink. But you can guess that afterwards I'm going to hand out more layers and it will be much darker on the corners, unlike older round doughnut. So mainly like it's inner circle and main circle where you get this lake darkest colors. If you imagine a circle in the middle, it would be quiet life until be very light pink. And some parts could even be wide because it has very glossy surface. So yes, some parts we're gonna leave just white. We can also remove an to paint or extra water with your brush and then you can help with the tissue to remove extra paint from your brush. And you can work on it and make it quite dedicate. And I'm painting up some more pink color. And then I'm adding some purple or blue color, mixing it with pink. And also putting in there so you will see it will give even more, even more volume to our cream part. And I'm going to own the way around. You see now the paint is by getting dry slightly and it's getting lighter. So definitely we're going to add some more intensity to it. And also you see that I'm not using very bright colors and I'm like using layers.
5. Donut Painting Part 2 - Frosting: So now I'm taking some more sienna paint and bookends right on top also to add more shadow and to show where the darkest parts are. Gradually I'm making them darker and darker. And this way, it's easy to avoid all the mistakes with watercolors because it's pretty difficult to fix water colors. So you can always just try in the beginning with the lighter color and the lead up some more layers on top. I'm also like defining the ages. And also it will be useful if you're going to use like small brush for this purpose. So you can control it easily. In general is very helpful with this sort of illustrations. By, for food illustration, you would always need one small, tiny brush for like small details to your paintings, given more professional. And then I'm taking some yellow paint and I'm going to paint the sprinkles. I'm not using too much water. This time. It's like more dry and wet on dry technique. And also you can wait until your pink part will be dry. I'm just adding some yellow color. Like almost all of them. All not all of them, but like some of them. It's very random and chaotic, so it's entirely up to you. But I figured that the yellow is very fun colors, so it would be nice for many sprinklers, yellow, and I'm adding some green color to yellow. Still it's quite bright. Green color. We get here and you can make some sprinkles for this. As you see, I'm not using light green color as it is in the paints and mix it with yellow, which will remind brighter and fun color. And I'm clearing up on the screen pause. And you're going to be like screw precise with that. Still it's watercolor and it can be quite loose painting. But you see now it's much more fun. And then we can add some blue sprinkles. And this time, it's really not important where you can hand them because this blue color is so much stronger than the pink. So you can even paint something on top. As we do not know. It's still, it will be super visible. And it covers thin color anyway. So this yellow color would never cover pink. So this way we are making it even more delicious and fun, exciting Luke. And some of them around and summing them on mainly books like small sticks. And again, you just painted where you feel like it. So it's not like exactly as a pattern is just random places. And then I'm taking some green paint and mix it with again yellow and just using the same palette. And I'm just adding up some more sprinkles, but those ones are darker. It's like strong green color. Once again and get some violet color. Mixing with them. Pink. You go hearing some purple sprinkles. I'm making some round ones. I think it looks much more of different shapes, different sizes. And you just edit where you feel like. Or of course you can use the reference photo and just repeat from there an amazing even more. And you can also break the edges in some parts. And those who will be nice and quite an intro. Now I'm adding some contrast and I'm taking the same purple color using it all the way around the inside of the cross thing. So mainly it's on the left side of our inner circle.
6. Donut Painting Part 3 - Final Touches: And I'm making bigger brush and I'm just making this nice and smooth transition. And also on the right side of the first thing, I'm ending up some purple color. So get some more volume. It's not everywhere. I'm just trying to make it in some parts and some parts, I'm just leaving untouched. With this dominant. We just imagine that our light is coming from the left side. So it means that the right side will be much darker. And that's where the shadow is also making more intense. So the doughnut hole looked round afterwards. I'm gonna also remove some pink color from that part because I think that it's going to be much better if we can make it slightly lighter. You see, I put too much color there. So now I'm like trying to light it up a bit by using clean water. And now it's still possible because it's quite dry. And also we can use tissue to help and remove an extra paint. And then I'm continuing with purple color and light bright pink all the way around. And we like heading and adding layers right on top. Sometimes you can actually use white paint as well for white gouache for example. But I'm trying to avoid it. And I think it's pretty cool to paint with watercolors without any white paint. And you just leave light and white parts untouched. This way it shows that you really know what you're doing and you're quite experienced as well. Then again, it's nice like watercolor. Why would you mix it with anything else? It's very cool medium. Once you get more practice and you will start feeling it's right, times will be super easy for you and fun. It's really nice to feel that you can control this paint and use it the way you need it. So just works for you. Okay. And I'm adding up some more color all around them. That's what we did before, but now we're adding up some more color. Now you don't need to be scared. You can be sure you're doing the right thing. On the left side or inner circle. Adding some shadow by applying purple color. Now remind you that we can get purple by just mixing blue and pink or crimson together. In general, you don't need too many pains and the queer big palette, you can always get the right color you need. But mixing. Prime colors, main colors. So you can also experiment with it. Okay, I'm trying to make those more defined. And I'm mixing some CNO with purple color. I'm going all the way around the frosting because there is actually That's to say dropping shadow. So I'm just trying to show it. Also making paste three, slightly darker and the middle part and living quite light. So again, because it's very round, so we're getting the right volume. And look again on the reference photo. And we're going to add some more shadow right in the middle as it is there. So it's very helpful to check and compare with the reference photo. And I love to use actually purple color on this. Brownish is it gets very nice for shadows. And I'm removing some paints and maybe too dark. I'm doing pretty much the same with the inner circle. Because we also have some pastry. They're definitely much darker. And you can make some parts moves just by taking some water, trying to mix it all together, swimming this nice transition. Both tried to make a slightly lighter and some parts. And you see now it's like has this very nice and smooth transition between colors. I quite like it this way more. And I'm making slightly lighter this on the inside these tree and also removing some pink color on top. Yeah, I'm applying some water on top of the tree. So we're also removing some extra paint. Now we are working with the light parts. And you can just double-check and make sure that all your light parts are really light. And actually this technique is also quite helpful. You can always mean some places much wider. If you notice that it is a whole new reference photo. I'm very happy that you paint with your donors. I hope you had fun and you managed faint as well. And I'll see you in my next class. I'm sure it looks yummy and delicious. And you can actually make a postcard like birthday cards and just write Happy birthday or something like that. And it will be super nice present hand mains, quite original and unique, made by you. So congratulations.
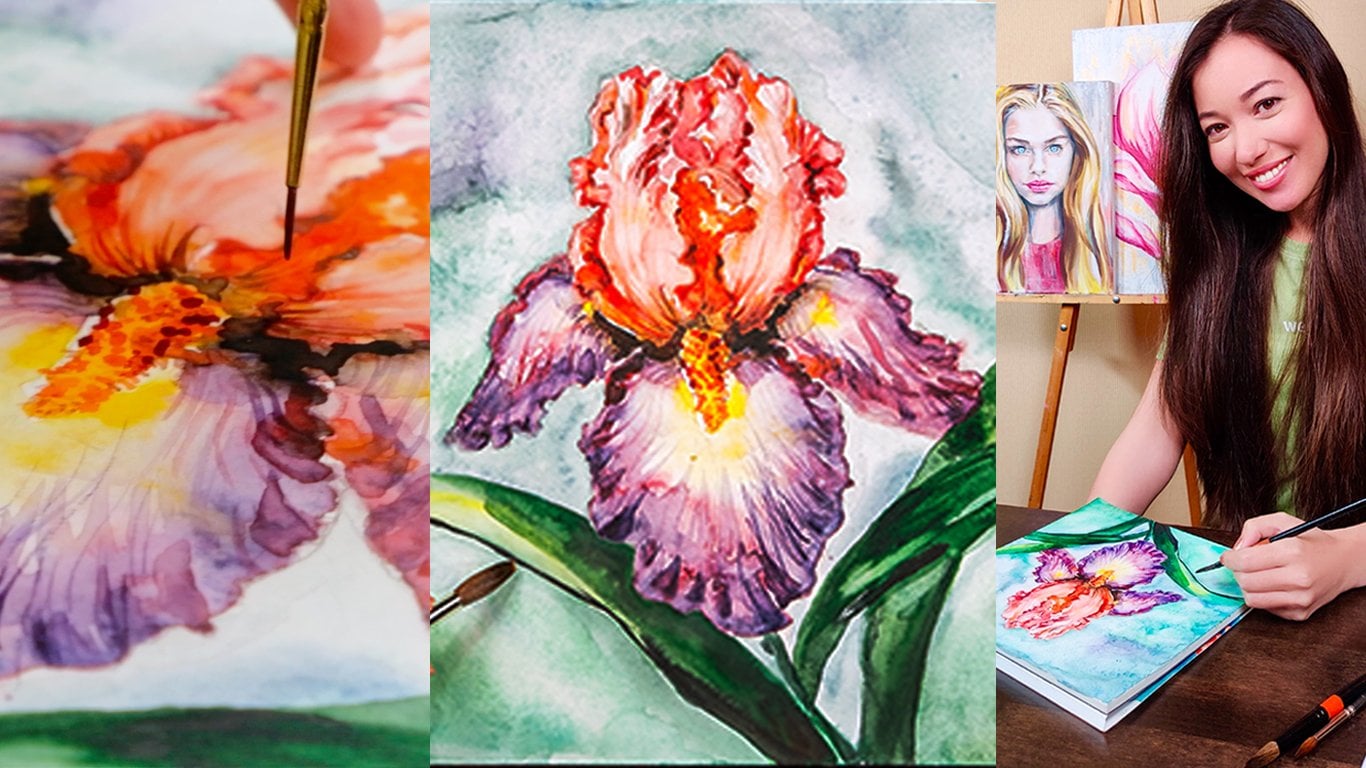
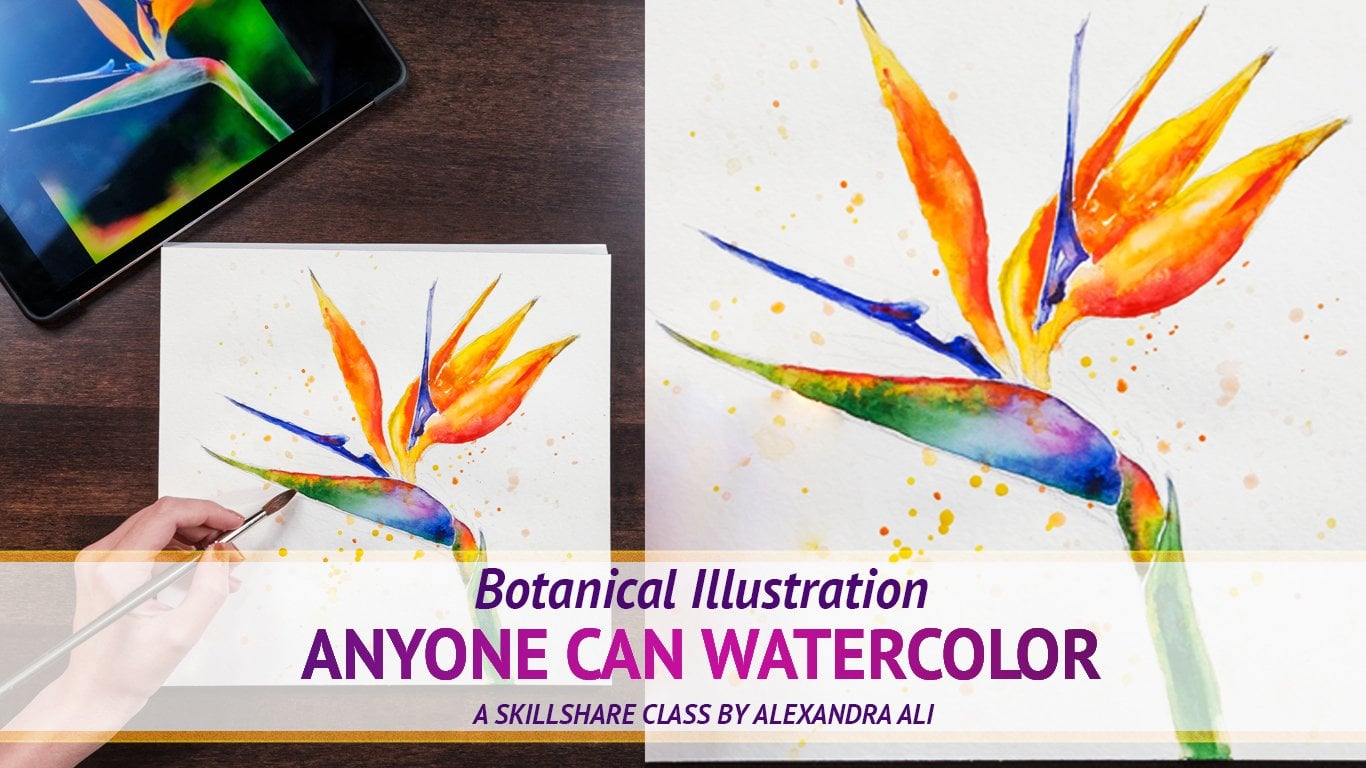
 Alexandra Ali, ARTIST, ILLUSTRATOR, ART DIRECTOR