Transcripts
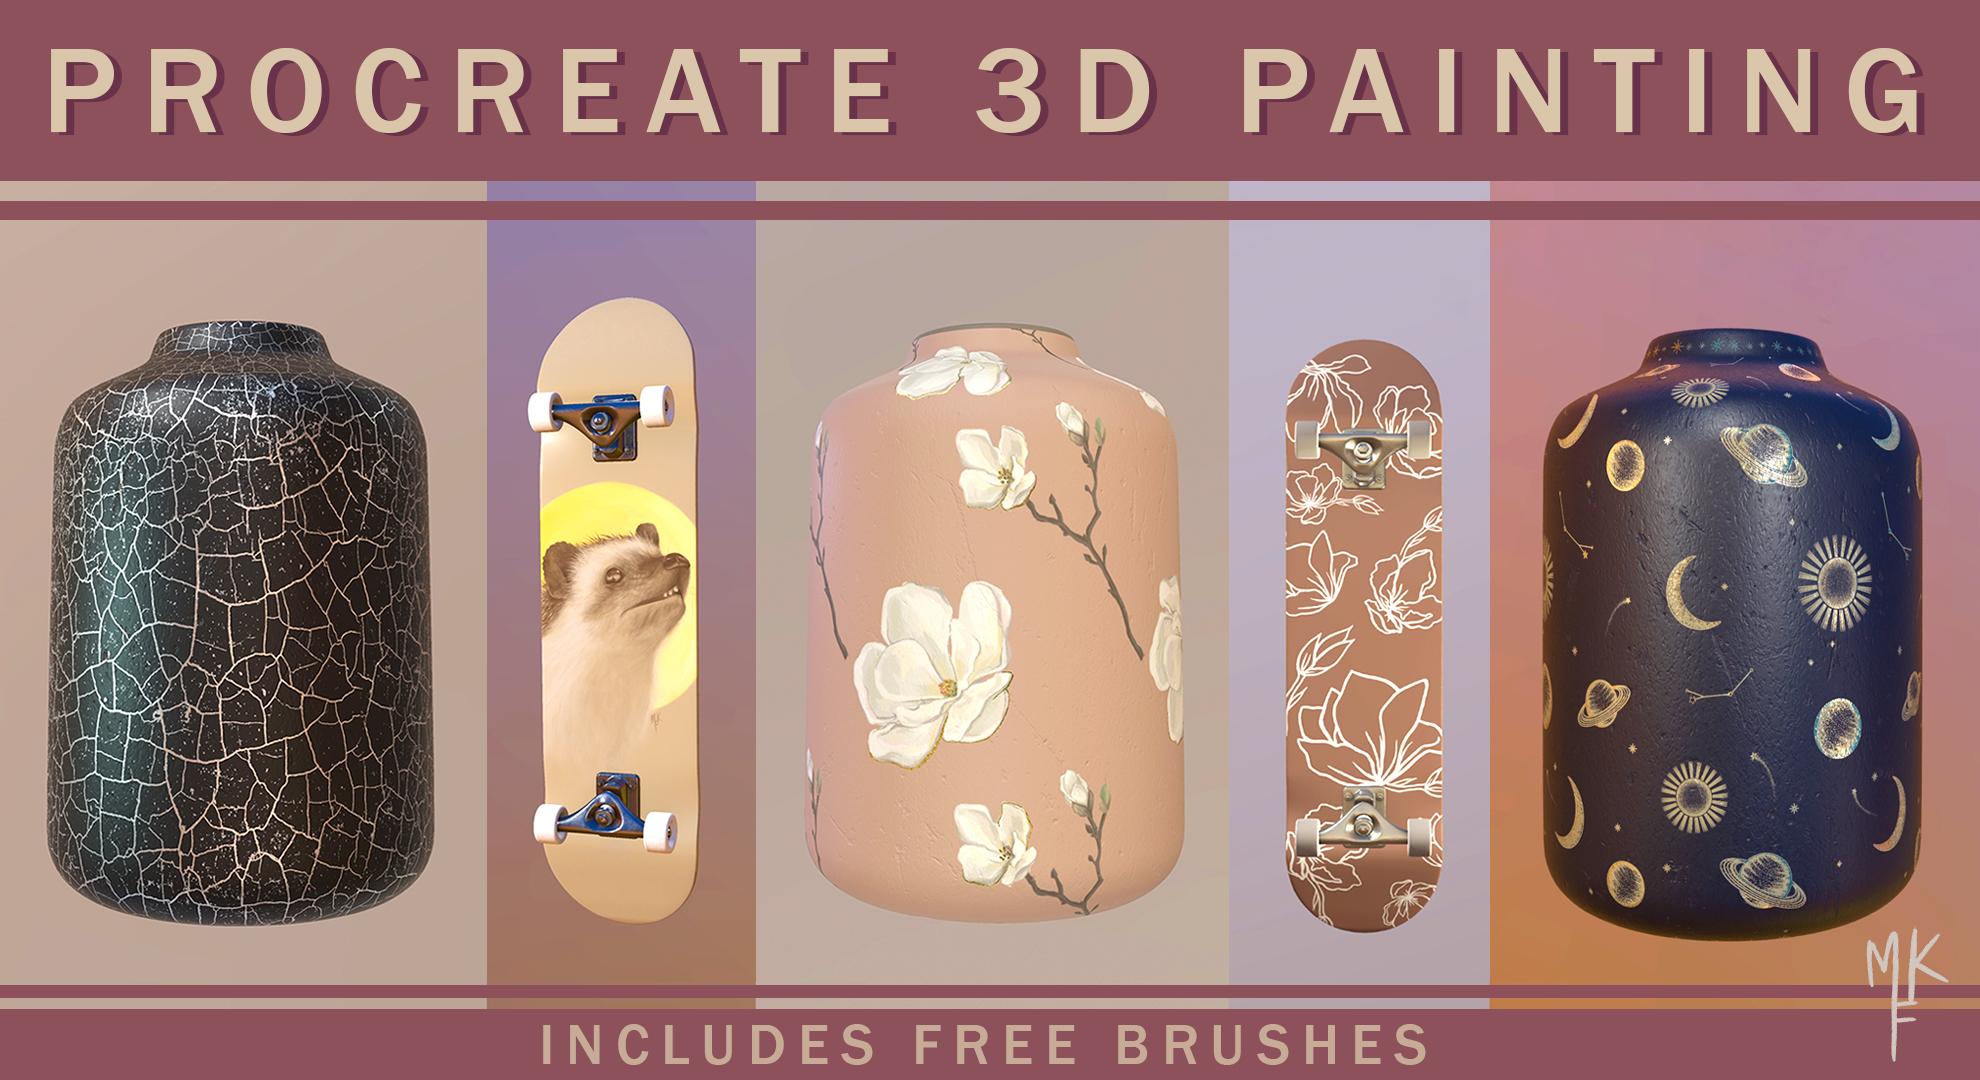
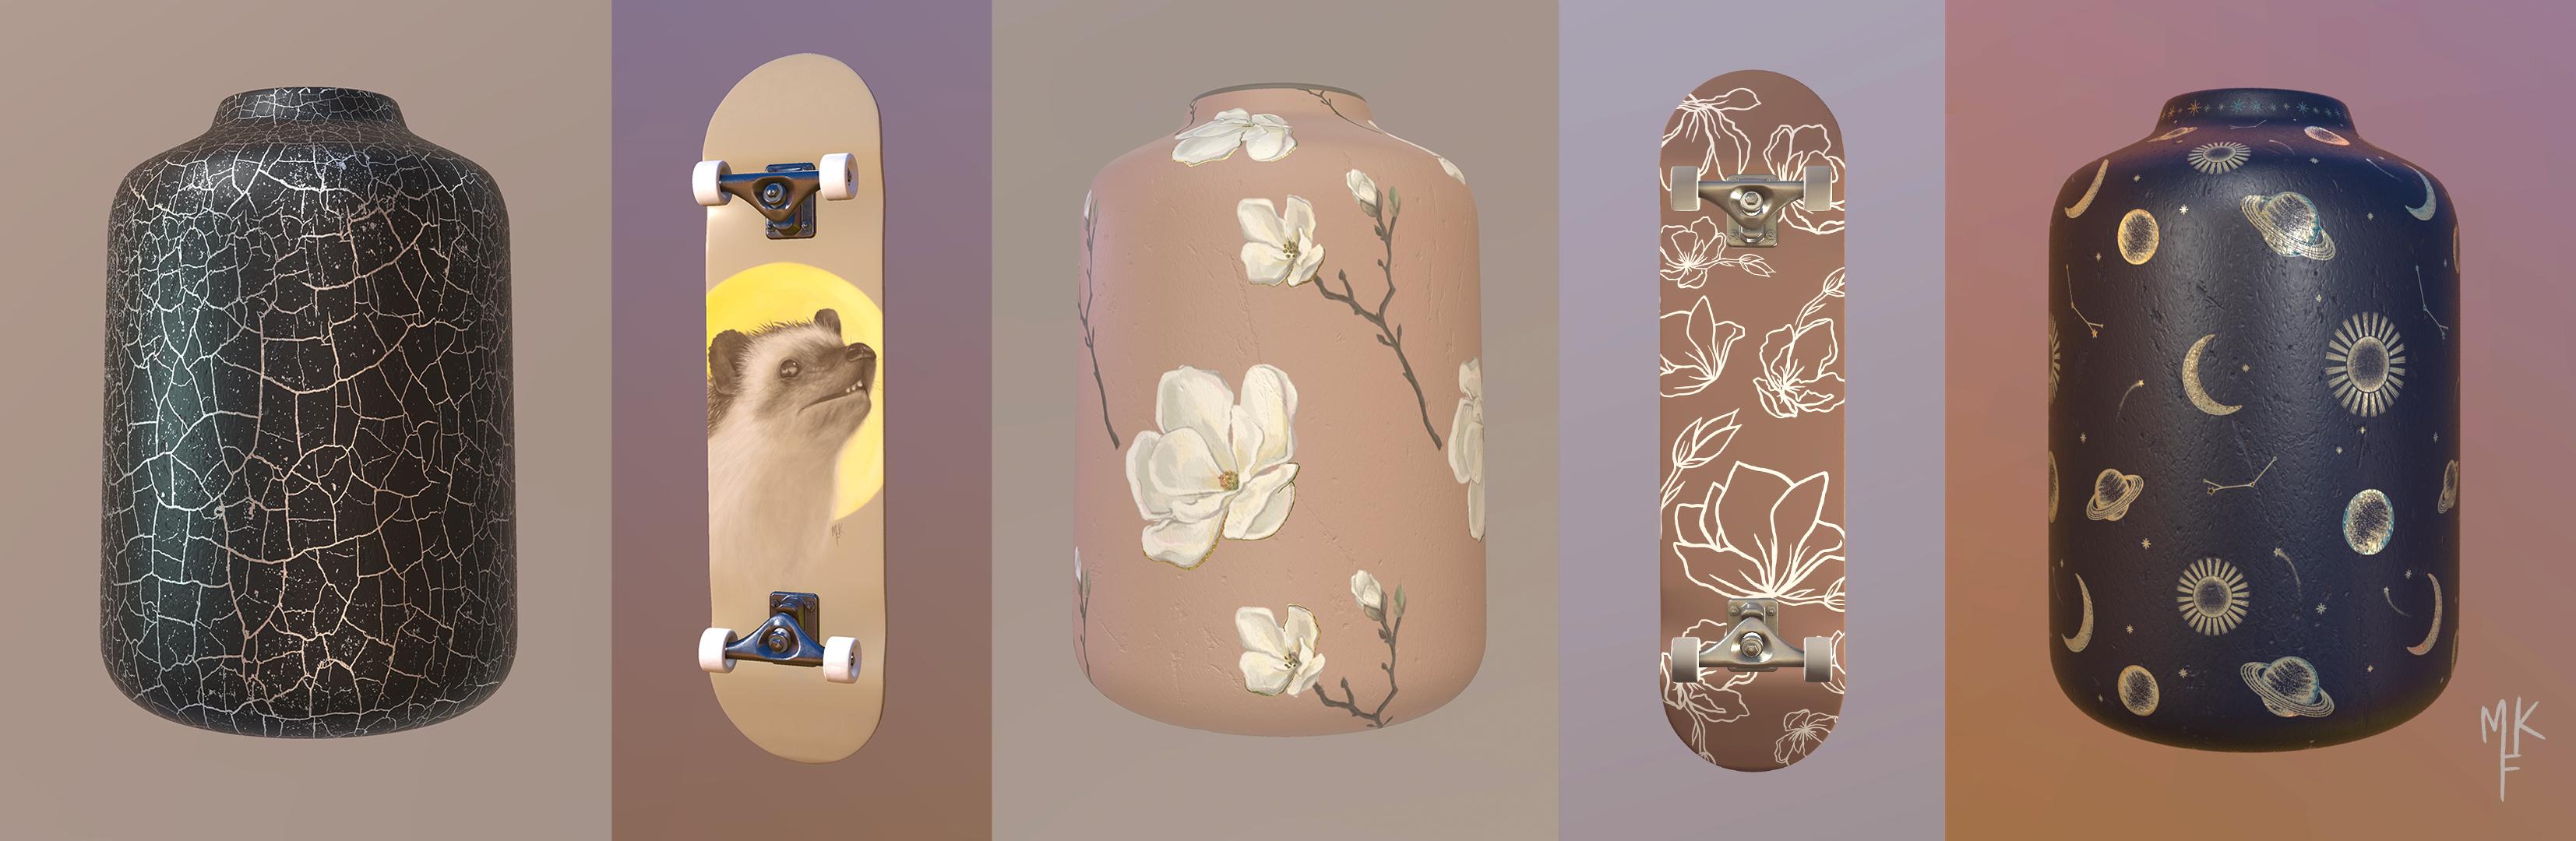
1. Intro: [MUSIC] With the arrival of Procreate 5.2, comes an exciting new feature, 3D painting. If you happen to be a pro designer, a pattern artist, or you someone who wants to give 3D painting a go, then this will be the class for you. Hi, my name is Maria Fe, and in this lesson, I'll teach you everything there is to know about this new way of painting which is sure to blow your mind. You will be learning how to import models, where to find more of them, painting with different metallic effects, and even displaying your models in natural environments with AR technology, and that's just to name a few. Best part is, I'll be explaining everything in easy to follow steps so no previous knowledge is required. For this class, you'll need an iPad that supports 3D painting, Procreate 5.2, and an Apple Pencil. I'll also include a couple of 3D texture brushes for my latest set so you can create awesome designs with just a swipe of a brush. Join me and make your designs come to life with Procreate's new 3D painting.
2. Class Project: [MUSIC] For your class project, you'll dive into 3D painting and create a design of your own. You can use the default Procreate models, download one from the web, or even paint one of your own if you already know 3D. Use one of the brushes I've included to create a quick texture design on your model, or paint one in your own style. Feel free to share it down below in the project gallery as a gif or an image. [MUSIC]
3. Importing 3D Models: Before updating, always remember to backup your iPad as well as saving your most important artworks on the file's app. Also, make sure to have the latest iOS available. Now, let's begin updating our app. Go to the App Store and search for Procreate, then click on ''Update'' and wait. Let's now open the app. You should now see the gallery. We follow your files as before. Now, let's head over to the What's New tab to download them all back click here. Now, we have followed these three models to choose from. If you no longer have the What's New tab, let's, open an Artwork and let's head over to the actions panel. Let's click on ''Help'' and ''What's New''. Now, you're able to access that intro again. If you're looking to import 3D models, there are some things you should know. The only supported file at the moment, are OBJ and USDZ. Also UV mapping is essential for models to work in the app. This is basically a 2D texture that corresponds to our 3D molecule geometry. Think of it as a texture layer erupt. Unfortunately, this isn't something that all models have. Let's keep in mind that this is a 2D app so it's expected that there will be some limitations. Other thing to keep in mind is as a free model that we might find won't be the same quality as the ones Procreate has provided for us. For example, most of them won't be as detailed or have their parts separated within layers, which can make things a little bit harder when painting. Now, with all that said, I found three websites where you can download 3D models free and paid. The first one is called free 3D.com. The second one is called Sketchfab. Problem with these two, is that it is hard to find the designs that have few mapping. But if you look hard enough, you will be able to find them. For example, I found that apple. The last website which he still wanted I recommend the most, is called TurboSquid by Shutterstock. You'll need to create an account to start downloading. Here you can see for free and paid ones. You can also filter them through formats. For example, these shark caught my attention. It says it has an OBJ file, an UV mapped. This one should work. Click on ''Download'' and then click on the ''OBJ file''. This will store it in the files app. To import it just drag and drop it. Then just click on the file and the model will load. Got to say downloading models is pure trial and error. If they are in configured right. You won't be able to import them and get all kind of errors. Hopefully in the future, more file types are supported. Now let's begin painting our models.
4. Painting in 3D: [MUSIC] Finally, it's time to paint in 3-D. Choose your model and duplicate. You'll always have the uranyl when needed. Let's now open our module. Painting in 3-D is actually very similar to 2-D. I will explain all of the differences. One of them is this 3-D tab, which I'll explain later on. When it comes to painting, we now have these materials brush set. The brushes are optimized to work with 3-D. They'll have different effects, such as metallic or glossy textures. Feel free to post a video and try them out. Another new thing in their brush studio is brush memory. This helps safest specific brush size. Let's say I want to remember these one. To save it, just click here and on the plus icon. To remove, use still the same. That's it. We can easily go back to the size we were using. To start painting our model, let's head over to its layers. As you can see, this model has its parts separated between them, which will help us when painting. Let's say we want to start painting the wheels. Go to your model and tap them. Once they turn blue, it means that the layer has been selected. Select a brush and start painting. I'll go with glover. Now you start painting like so. Since we're working in a 3-D workspace, we'll have to rotate our model with one or two fingers and start painting in between areas. If you want to color the whole thing, you can do so by color dropping. Just drag and drop the color. The same goes for the skateboard. Select the color and drop it. Don't be like me. Remember to select the skateboard layer beforehand. If you prefer painting in a 2-D Canvas, you can do so by going to actions 3-D and show 2-D texture. This will show our 3-D model within a 2-D texture layer. I believe this is the so-called UV mapping. Each of these will have its own 2-D layer. For example, the trucks go with the wheels and the rest of the board goes here. These are the layers where you can start painting. There is one thing to note though. When painting with the material brushes on a 2-D canvas, unfortunately, their metallic effect, won't show. I'm going to do some painting so you can see for yourselves. Now, if I go back to my 3-D canvas, as you can tell, there's nothing going on on the texture. But if I was to paint here directly, see how the brush changes. [MUSIC] It has a metallic effect. You may have noticed that when I painted, some of the board wasn't colored. This happens because the wheels' side trucks of the skateboard, were covering that part. To avoid that, we simply hide all of those layers. You can do so by typing each of their scores manually or you can also long press the board group so the rest will remain hidden. Now we can keep on painting the whole board. [inaudible] set somewhere random splotches. [MUSIC] Once I'm done, I can go on and hide the rest of the layers. You can see I no longer have unpainted areas. Now I'm going to explain the new material effects. The way this thing is created is by reacting to the environment. On 3-D canvasses, you can adjust the lighting and the environment. This will affect how our model looks. Unfortunately, this also means that this effect only worked in 3-D. To see more of the lighting and environment go to that part of the class. Each brush has a different setting when it comes to its material. This is what makes each one unique. For example, let's analyze these brush, go to materials and see their settings. It is currently set at 84 percent. The highest it is, the more metallic it looks. The lowest the more non-metallic. For roughness it's the same. Everything we tweak around here will be reflected in real time on this model on your right. The highest equals to the more matte. If you turn that down, they'll have a glossy effect. You can play with these settings, figure out the effect you're looking for and start creating your own brushes. If you're going to change its settings, I recommend making a duplicate beforehand just in case it doesn't turn out as expected. Another way to control the materials on our modes is by doing this. Head over to the layer you have painted on and click on this sign. As in the brush studio we'll see the roughness and metallic effects displayed on their own. The way this works is by adjusting their percentage by using grayscale values. Black will be the equivalent to zero percent, while white will be a 100 percent. Let's see it in action. [MUSIC] Since I painted this roughness layer with black, it is now at zero percent, which has made it to close it. Just like we're reducing each percentage in the brush studio, so the same goes with a metallic. Remember how zero percent was the equivalent to a nonmetallic surface? That same will happen here. We now have a nonmetallic surface. To undo any other changes just tap with two fingers as usual. While painting in 3-D, you can also change the colors as you will normally do with hue, saturation and brightness. This is a great way to see which color may be a better match. To see them before and after tap the canvass and select ''Preview''. Now, you can choose to save or undo. Now we have a better understanding of painting. I'll explain the rest of the 3-D tab. The paint through mesh option is exactly what its names refers to. It allows you to bend your various meshes with one stroke. At the moment the developers have to say we [inaudible].It seems that they are still working on these features. Their lighting, environment and AR, will be covered later on. Let's see the other tabs. One thing you'll notice is that there is no time lapse recording. Since this is a 3-D model we're working on, it is always rotating, which makes it impossible to generate a time-lapse. But you could always exclude [inaudible] designs. Another thing you'll notice is that when we're working in 3-D, there's no symmetry tool nor a [inaudible], even when working within 2-D texture. Hopefully, this will be developed in the nearby feature. If you really need these tools, you could always work on that design on a regular 2-D canvas and then paste it on a 3-D workspace. Now, let's talk references.
5. The Reference Tool: [MUSIC] References will help us see any changes we make in real time. They work both in 2D or 3D. To start using them, go to Actions, Canvas, and turn the Reference on. You can also increase the size of your reference and move it around. This will allow you to have a better view of the changes you're making. Working in 2D might be easier depending on the design. This is a great tool to have. Use it however suits you best. Let's now learn how to add images.
6. Adding Images: To add an image to our model, go to "Actions" "Add" and select, "Insert a photo or file." I'm going to select this drawing. As you can see, we're in automatic mode. In this mode, the image will be pasted to fit your model. Use two fingers to place the image however you like it. Down below, we have the usual motions such as vertical, horizontal flip, or rotation. Let's go to the advanced mode. Here, we will now have more options for each placement. We now have a circle around our image. If we pull it like this, we'll increase its size. If you were to turn it, the image will rotate. To move our image, find the middle of the circle and drag it around. These blue cubes will allow us to stretch our image from either side. The blue from the middle will determine the tilt. When we're taking the skateboard, you'll notice that the circle is stuck to our model. You can choose to attach or detach it by tapping here. When attached, it is stuck to it. When detached, the image is pre-acted to our model. I'm going to leave it attached. When clicking on "Projection" we'll have the option to this player image on both sides. If we were to work on a bigger model, we will have to adjust the depth by dragging this slider until it fits on this on this cube. Toggle by directional to achieve this effect. To turn it off, just do the same. Here, we're going to adjust the interpolation. It is set automatically according to your image. As you saw, I had it on bicubic. Interpolation is how Procreate, adjust up pixels in your content when transforming it for best results. I usually use just the automatic setting. But if you want to adjust yours, you can learn more about each option here. Then we also have the reset option. To undo, just tap with two fingers. Now that I'm happy with my placement, I'm going to go and save it by clicking here. To fill the whole board, sample the color, add a new layer, select the board and drag and drop that color. I'm going to make some more adjustments, and we are done.
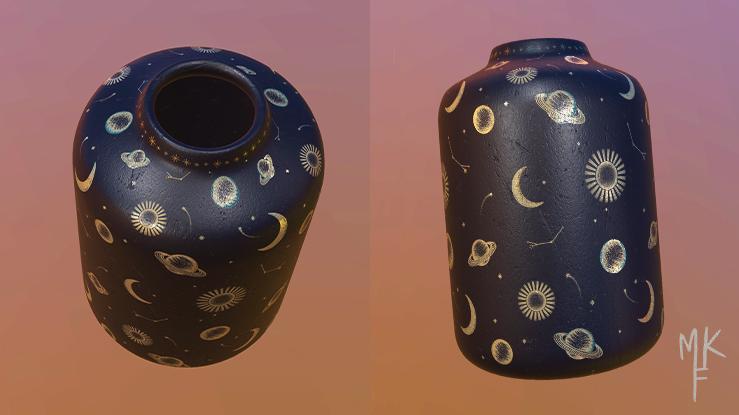
7. Adding Patterns: [MUSIC] To show you how to add a seamless pattern using a texture brush, I've included some from my personal collection. You can find them under resources. Click on the "name file" to download, then drag it from the Files app to Procreate. You'll find a set at the top of your library. To start, add a base color, I'll be using black. We'll be using this layer as a guide. Then go to 2D texture and rotate the canvas. I'm doing this because this is the orientation on this model. Select a color, I'll be using a golden yellow. We'll be using the crackle brush. Add a new layer and fill the whole thing. Now, if we go back to 3D, we'll have somewhat of a seamless texture. Problem is, it is a reflective as it will be by applying it directly with a brush. Not to worry because I have found a fix. Go to your layers and copy a texture by swiping three fingers down. Then head over to 2D. In here, select the roughness layer and paste the texture so that it fills the whole canvas. Do the same for the metallic. Now, when we go back to 3D, you'll notice it looks smart. To make it shiny, go to Adjustments and select Hue, Saturation and Brightness. Here we'll be changing the layer from black to white with the help of brightness. The more brightness there is, the whitest our layer will be. The lesser, the darker. To get a metallic effect, as I show you on the painting class, you'll want the first material layer to be black and the other white. Now that that's done, we should have a metallic effect. I'll change the environment so that each [inaudible] shall be better. By the way, there's a whole class of about this later on, so don't worry about it now. Now, that we have the effect we wanted, you'll notice that there are some seams that could use some improvement. To fix these, use the glossy brush from the set and add some organic lines. Follow the pattern as you see it. Don't worry about being too perfect. Looks like we're done. Looks much better. Let's now learn another technique. I'm going to grade a sign by using a stamping brushes. You start with a colored background on your model. Now, let's head over to the 2D texture. Add a new layer on top of your base color. Let's now place our stumps however you like them. I'm placing each one where I want to with the help of our selection and the transform tool. Once you're done, select clipping mask. This will place our pattern only on the base layer. Let's go and see it in 3D. Looks great. You could even add a metallic texture with the same method as I show you before. To add a pattern from an image, we're going to start by applying a base color. This will serve us as a guide. Go to actions, 3D and show to the texture for this model. This is the orientation we want to use. I'm going to go to Actions, add, and insert a photo. I'm using this button I already made. Make sure you're in uniform mode and scale it to fit this rectangle. Zoom in as much as you can so that you will have a precise stitch. Once you have it placed, click here to save. Now, go ahead and make a duplicate. Let's place it right on the side. Make sure to not move the image when zooming out. Now save it by clicking here. Let's merge the layers and resize the image. Just so it fits the rectangle. I think that will do. Since we still have this part missing, I'm going to duplicate and place it as precisely as I can to move slightly tap once in the direction you want it. Now, let's merge again. As you can see, we have to get the image. Let's go to our base layer and select the rectangle with the automatic function I've just addressed by swiping left or right. Now we made our selection, go to a pattern direct your fingers down and select, Cut and Paste. Now delete the excess layer, go back to the 3D and as you can see, we now have a seamless pattern.
8. Lightning + Environment: To change the lightning or environment just set two actions 3D an edit lightning and environment. Here we can adjust our view with two fingers. These are the lights, tap them to edit their settings. We can adjust the Intensity, saturation or hue. I really love playing with these. You can also delete or duplicate them. You can add up to four lights. Let's add another one. See a change when increasing the intensity. I wouldn't recommend going too far though, because the highlights will be blown out. Just play around and find what you like best. You can move the lights up, down, sideways, wherever you like really. Now for the environment, which is everything we have right here, tap on environment and as you can see, we can adjust the exposure, turn off the environment or change it to various options. Go through them and see which one works best for your model. One cool thing is that when you're working with shiny moles, such as the sunglasses, you'll see an image of the environment reflected. Once you are done, just click here to save. We've now created a new environment.
9. Exporting your artwork: There are two ways to export your artwork. In the gallery, swipe left and select Share. Here, you'll want to select your format. To keep on working on your model on another app, choose between Procreate, USDZ, or OBJ. You can also save it as an image or even save it as a GIF or animated PNG. I'm going to select GIF. An animation is automatically created. In here, you can adjust the various settings. Choose Animated rotate or swing. I prefer rotate. Choose the duration from really slow to really fast. The zoom distance, which will be how much it approaches you and the ease which will make them movement vary from my mechanic to as motor option. You can also hide the environment or you'll make it has a transparent background. I'll keep the environment on. You can also choose between max resolution to web ready or change the dithering and the per frame color palette. Here's some more info to help you with the site. If you want to share your artwork as a GIF with a class, I recommend choosing a lower resolution, such as a web ready. Click on "Export" and choose where you want to save it. Another way to save your artwork is inside the Canvas. Click on "Actions", Share and the same. Choose how you want to save it. You can also share only the textures. One nice thing, is that you can rotate the model and save it as an image. It will then be saved in that exact same position. This is a cool way to get several high-quality angles of your model. Now, let's learn here.
10. Augmented Reality: [MUSIC] To see your model in your own environment, head over to Actions, 3D, and select View in AR. Now, let's wait for the model to load. Find a surface and rotate your device so it can detect where to place it. I try to place it on my table, but it wouldn't work because of the glass. So I placed another surface on top. Now, we have our model, slide it our hue with one finger to bring it closer. You can also pinch to soon. You can even walk around your model with your iPad to see every sight of it, isn't this cool? You could screen record like I did and share it if you want to.
11. Conclusion: [MUSIC] That's a wrap. What did you think about this new tree painting experience? We'll love to hear your thoughts. I think this tool will definitely be a game-changer for people that do product or pattern design. [MUSIC] It is just a very fun and realistic way to show your products to potential clients. If you like the sample brushes that I've included, then make sure to check out the full set on my gumroad. It includes over 30 plus brushes and an in-depth tutorial. You can really get the most out of them. They are optimized to work with three canvases, which will allow you to add beautiful reflective textures with just a swipe of a brush. As a thank you for everyone that made it this far, use the code SKILLSHARE at checkout to save 10 percent off. Don't forget to share your parades with me down below in the parade and resources tab. As always, I will love to see your creations. Also, if you enjoy this class, make sure to follow me here and on our social media, to stay tuned for when my next lesson drops. See you later.
12. Bonus: Time-lapse: [MUSIC]
 María Fe K., Artist | @MFK_draws