Transcripts
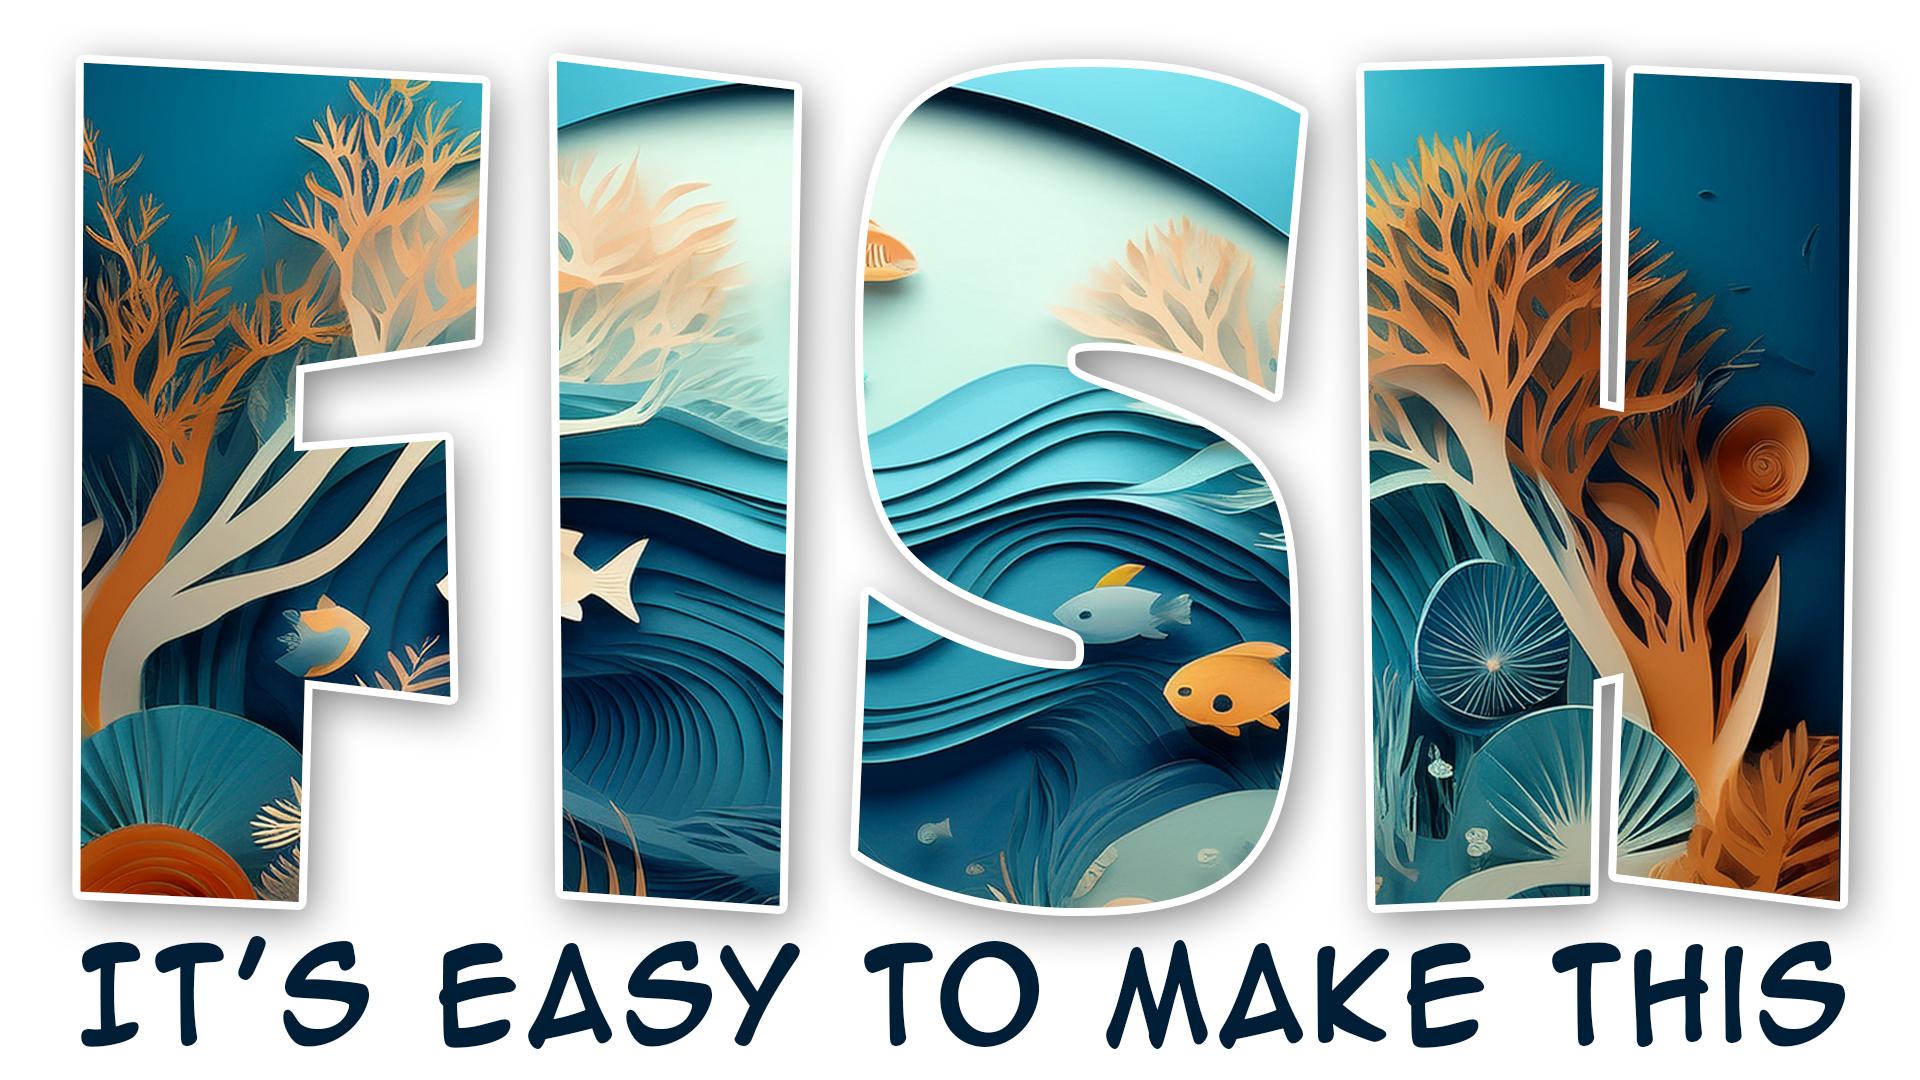
1. Banana Text Intro: We're going to make this really cool graphic with a banana. But you can do this with well, quite a lot of fruits and
other shapes as well. So as long as you've got
something where the text will sort of fit,
it works perfectly. I've done it with some kiwi
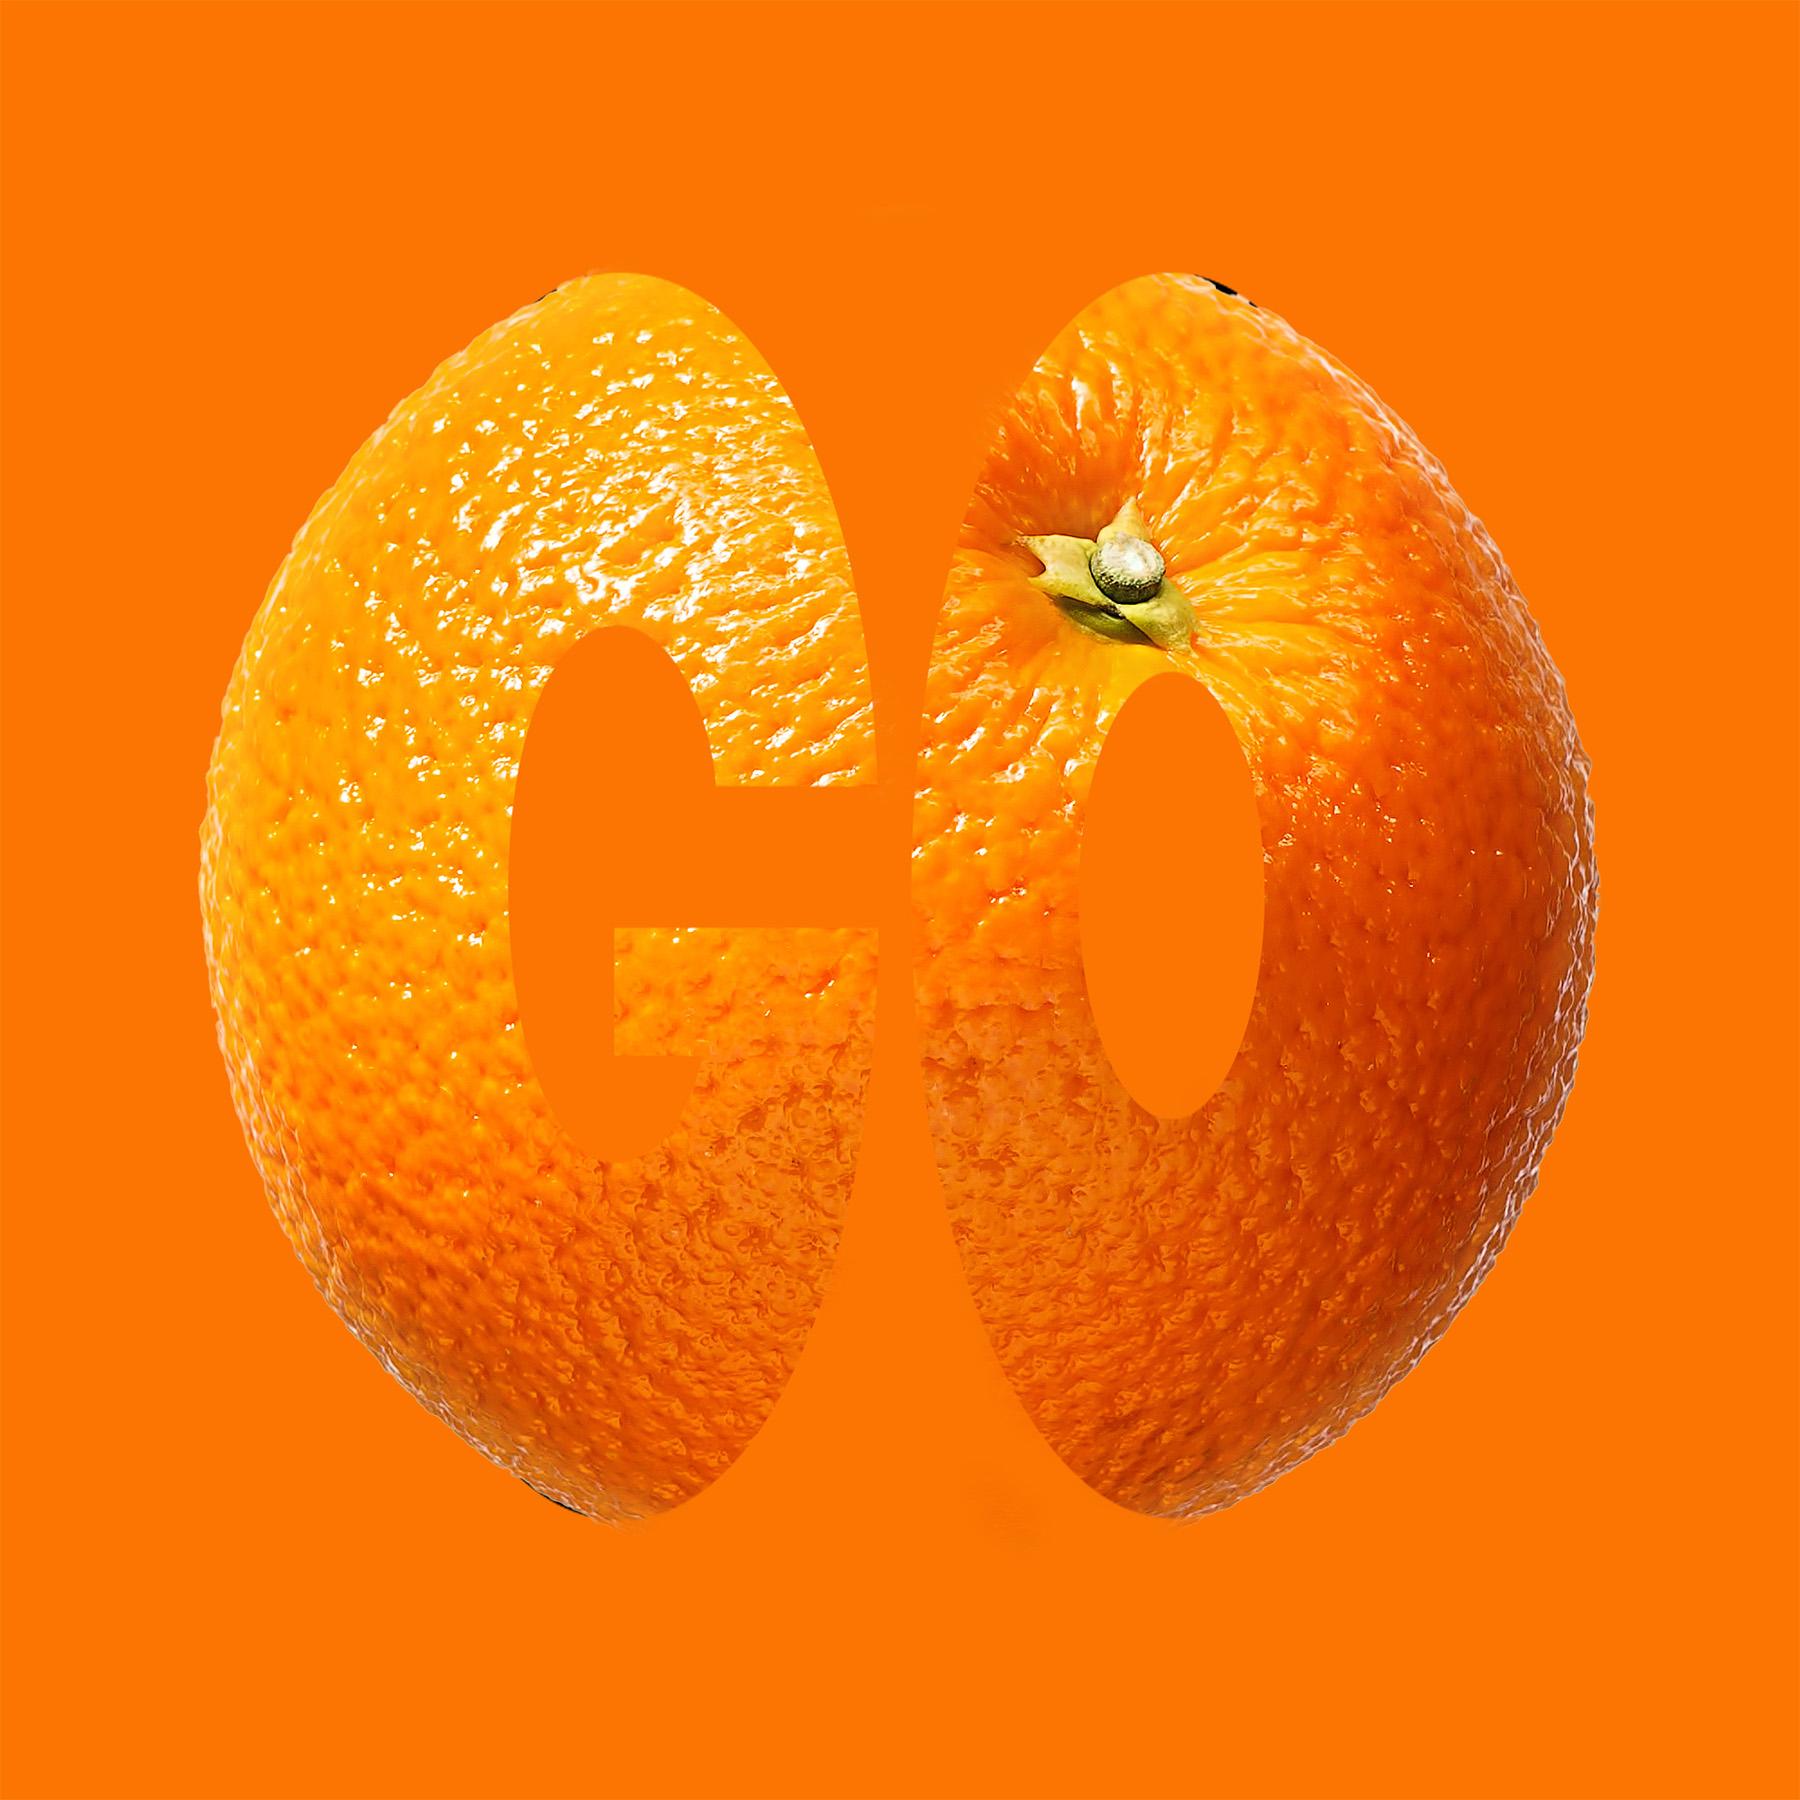
fruit before and oranges. That one was a little
bit more trying, but the banana works so well. Let's jump straight into this.
2. Add the Banana Photo: Let's get the item that we
want to use, first of all, I'm going to use a banana, and I'd suggest you do
exactly the same thing. If you can do it on a banana, then you'll find that despite some of the other fruit being a little bit
more challenging, you can do it on them, too. Anyway, I've gone
into Adobe Stock. If you've got a
license for Photoshop, you will probably have access to Adobe Stocks free images. And I have gone to
the free area there. I typed in banana, and here's my banana
that I'm going to use, and I'll just license that in there and just
download the banana. Now, back in Photoshop, I'm going to go and
open up that banana. So I'm going to go
to File and Open. I'm going to find the banana, which should be in the
downloads over there. You can see we've got it. And I want to actually put this banana into a
different image. So I want to do this
image for a website. About bananas, presumably. So I'm going to go to file and new and make a new document. So I want to create
something for the web. I'm going to choose
1920 by 1080, the web size large. And over here, I'm
going to make sure that I'm on landscape not portrait. And the other very, very important thing I cannot
stress this enough for the moment, switch
artboards off. If you leave them
switched on, you're going to get some
weird layer thing which unless you actually
know about artboards, will be a bit confusing. And then down here in
the color profile, I'm going to choose SRGB. If you forget about that one, it's not the end of the world, but the artboards are
really important. Leave them switched off, square
pixels, click on Create. Now, I want to get
my banana into here, and I just want to cut it out because it is on a
white background. The fastest way to do
that is to go down here to say select subject and let
Photoshop find it for you. Look at that absolutely
brilliant cutout. The selections in Photoshop, the latest versions
are stunningly good. Now, I'm going to use a
traditional method of doing this. I'm going to go
to edit and copy, and I'm going to go
over to my blank page, and I'm going to use Edit and paste to bring
it straight in. Now, where's my banana going? Well, actually, it's down here. You can see it's huge. So if I zoom out, I'm going to use Command and
minus because I'm on a Mac. If you're on a PC, use Control
and minus to zoom out. And you can see my bananas
kind of quite large. So I'm going to scale it down, and I'll do that by
going to the Edit menu down to transform
and choose scale. And that way I've zoomed
right out so I can actually see these other little
things to scale it down. I'll just scale that
down to the size that I want my
final piece to be. I think something like that. And then click on
the little tick at the top to okay it or choose done from this
little menu over there. Once you've done that, you can choose which
way around you want your banana to be by finding
your Properties panel. Now, if you can't see
the properties panel, go to the window menu. Go down to Properties. And you'll see there's a
little button over here. Normally, it comes up
on the right hand side, by the way, over here, and I can actually
flip that around. I can have it the other
way if I wanted it. I'm just going to get
it back to there, and I think I'll have the little I don't know, banana handle. I'm sure there's a proper
name for it on that side. So if you'd like to get to that stage there, you
should end up with, if you look at your
layers, a background layer and then a
cutout of the banana. And you know it's cut out because it's got that
transparent look. If I just hide my background, you'll see we've got that little checkered effect on there.
3. Add the Text: I'm going to put some
text in here now, so I'm going to go
to my text tool. That's in the text
bar over here, and I'm using the
horizontal Type tool. And all I'm going to do, I'm not going to click and drag. I'm just going to
click once over there. You can see it puts in
this Lorimipsum bit of selected text, and I'm going to type in the
word that I want. So banana. And I'm going to select it by clicking and
dragging over it. I'm going to go and
choose a typeface or a lot of people call them fonts, that's quite a thick one. So we want to be able to see some of the banana
shape through it. And going down here, that one looks like quite an interesting, thick type face. Let's have a look at
that. That is perfect. So I've used Alfon, but you can try
any that you like. These are called slab
type faces, by the way. And we're going to
make that bigger by clicking on that
little double T, or you can go into the
drop down menu and choose a different size in or you can actually type
in the size that you want. I find it easier to click on this little T and just
scale it up like so. We'll do some final
scales shortly. I'm going to use my move tool, that's the tool at
the top to kind of move it down roughly
to the right position, and then I'm going to scale this around a little
bit more as well. But if you'd like to get to this stage here where
you've got your text in there in front of the banana and then we'll make the text
fit the banana shape.
4. Warp and Rasterize the Text: I'm going to zoom in
a bit, once again, Command and plus or
Control and plus and just move some of
these things out the way. And I'm going to select
the text because I want to move these
characters closer together. So the easiest way
to select text is to double click on the
T in the Layers panel. You see, if I double click,
it just selects it quickly. And down here where we had
the font and the size, I'm going to go
along to the T with some little sort of funny
lollipop sticking out of it. Click on that. And over here, this is usually
known as tracking. It's the distances
between the characters. I can pull that over
to the left or over to the right to change the distances between
those characters. And I want them
to be really nice and close together like that. Now, I'm happy with
that. I'm going to go back to my move tool and sort of move this text roughly to where I wanted to go. I'm then going to go along
and I'm going to scale it. So I'm going to use
edit, transform, and I'm going to start off
with scale, first of all. Now, I want this text to
be taller but not wider. And you see, if I pull on here, it goes both ways,
width and height. If you hold down your shift key and then click on one of these, you can do them
independently so I can do the height separate
to the width. Once again, I can
just choose that, pull that in a
little bit, like so. I think that's just about right. I will pull this down
just a little bit more. Over there. And
I'll click on Done. Now, we want to get the text
to bend along the banana. We're going to do that manually, and I'm going to go to once
again, edit transform. And what I want to do is I want to use a warp option for this. Now, the warp option that
I'm actually looking for, you can see a lot of these
are actually grade out is not available because
this is still editable text. And
that's the problem. If you get to here
and you think, Oh, why can't I just
manipulate this as I like? Well, what we have
to do is we have to go along to the layer menu. And we are going to convert
this text into just shapes. And this is the process is
known as rusterization. So if I could layer, rusterize the type, you'll see it's no longer
normal editable text. It's just a normal layer shape. Now, if I go to
edit and transform, I can get to some other
ones, and particular warp. Now, although warp
showed up before, that was a text warp. This is a different warp
where you actually have little handles that
you can use in here. So I'm going to just pull
this one up to them, pull that one up to them. You can see it's affecting
the bottom of our picture, but don't let that be a
problem at the moment. Let's pull that to
there. This one to here. And once I've got those
into the right position, see, we've got handles here. There's a handle there
and a handle there. If I pull on this handle, it will allow me to
change the curvature and I'll pull that one and I can change the curvature of that. Likewise, on this one here, I can pull that down to
get the text to go down, and I can pull this one down to get the text to
go down, as well. If you have some weird things
like I've got over there, you can go to the other handle
and just manipulate that until you get rid of those
weird bits. Same with that. We just get rid of that
little weird bit in there. And if this is not quite right, go back to the handle
and pull it around. So is just a matter of playing
with these little handle until you get your text into the correct
position that you want, there's no right or wrong here. Just make it how you
think it should be and fiddle with the handles
until you feel it's right. I'm going to get the B right back up to there
again like that. When you're happy
with that, click on the tech. Have a go.
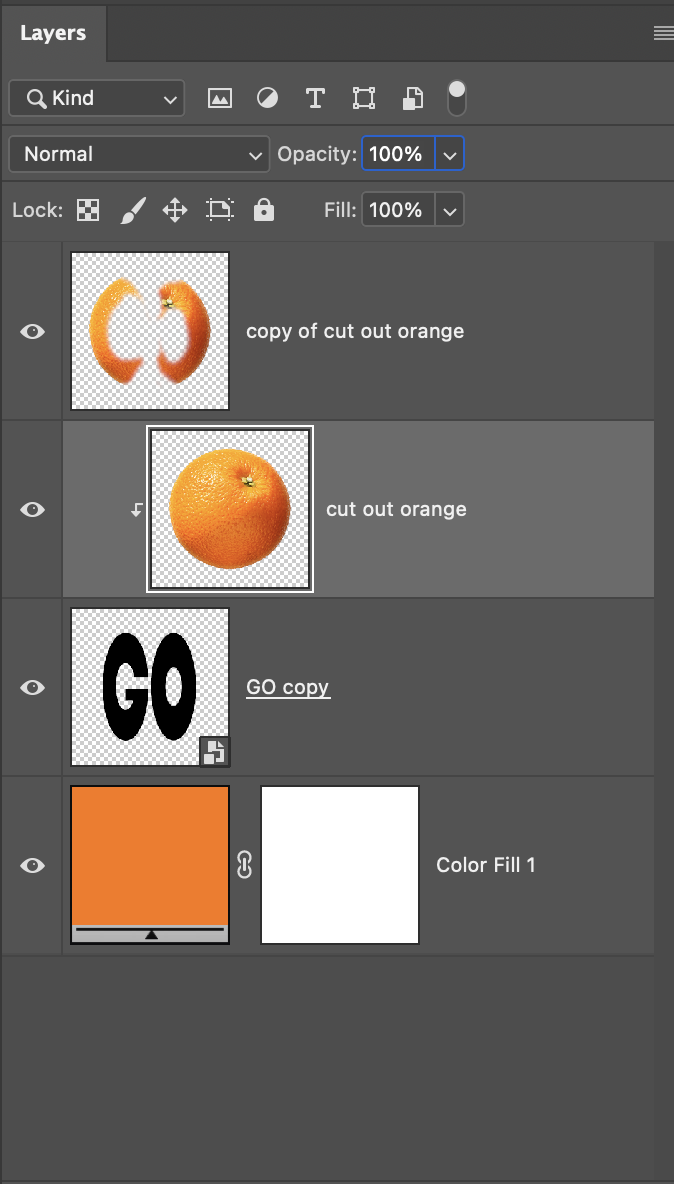
5. Add the Photo to the Text With the Clipping Masks: What I'm going to
do now is to make a copy of this banana. So I'm going to take the
banana at the bottom here and I'm going to drag it down so it goes on top of that little square with a plus in it, and
that makes a copy. And we're going to
take the banana text, and we're going to
move that underneath both of those bananas. Let's go along to
the top banana, and we'll click on the eye. So it's been hidden. Now, I know you
can't see it here, but this one is actually hidden. So this is the banana which is sitting on
top of the text. Click on that
second banana down. This is important. The
one that you can see. Don't do this on
the wrong banana. So that second one down
there that you can see, click on that. And
here's the magic. We're going to go to layer, and we're going to choose Create Clipping
mask. Look at that. This clips to the text, and it only shows the
banana in the text shape. So that's the first bit. But now, how do we get the
rest of the banana to come in? Well, that's why we
made a little banana right at the top over there. Now, I'm going to
click on that banana and show the whole thing. What we can do is we can erase out this middle bit over here. And I'm going to well, I'm going to use the erase tool. If you are a fay
with using masks, by all means, put a mask on. It's a better way to do it. But if you don't
know about masks, this is quite a nice easy way. I will before I do that, change the opacity
a little bit so I can see where that
text is. There we go. You can just about see the text, maybe a little bit
more over there. I'm going to use a erase tools. I'm going to go over
here to my eraser. Find a decent size brush. I'll use quite a hard
brush over there. Make it a bit
bigger. There we go. And then I can just start
erasing this bit out over here. And really, what I want
to do is I don't want to erase past that side of the B. So you'll see if I do that, but there up to about there. And this bit over here, right kind of up to that A. I'm going to make my
brush a bit smaller. Over here so I can be a bit more accurate and do that
bit, this bit over here. I just about got that
and those bits in there. You can see how if you get your text running right
up to the banana, it will actually look better. So we'll erase those
bits over there, that little bit there,
these bits down the bottom. And now we take the
opacity right up and there you have
the final result. Now, once again, as I said, I can see a little bit
of a problem there, so I might have to
just erase a bit more on that one to make it fit. Erase a little bit over here. Once you've done that, if you want to do
anything else to it, by all means, have a go. If you'd like to learn
more of Photoshop or see more of these type
of effect videos, don't forget to click
on my name right at the bottom and
go to my profile and have a look at all
the courses I do in Photoshop, Affinity, and Canva. And also click the
Follow button. That way, you'll be notified of any new courses
that I put out. Have so much fun with that. It's a brilliant,
brilliant technique.
 Tim Wilson, Adobe Certified Instructor and Expert