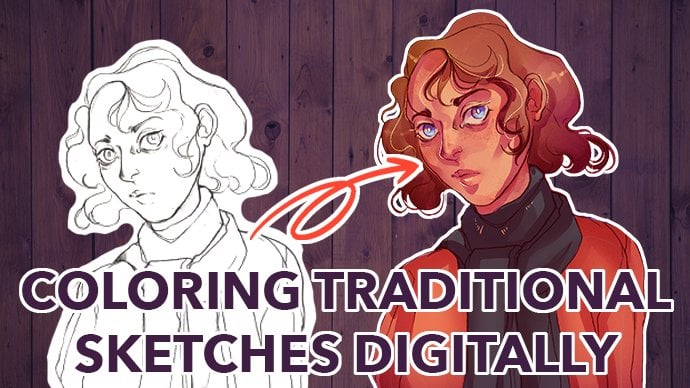
Transcripts
1. Intro to Drawing Noses: Hello and welcome to this class. I am Liam and artists and graphic designer from Norway. And today I will show you some quick actionable steps for drawing semi realistic kind of stylized losses in this class is intended for people who have been drawing for away. But there is valuable advice in here for everyone from beginners to seasoned illustrators. This class is a guide to help you build up, see me, realistic gnosis and how to apply these nodes drawing principles to fit other simplified styles like comics, are based this tutorial on how I approach this myself and the knowledge I picked up over the years. And I will say that you can apply all these noss, drawing tips to all the work you do with good results.
2. Facial Anatomy and Noses: This is not done in the course on anatomy, but we still have to break down and simplify our fundamentals and portrait Anna to me to understand how to draw a good nose. A face comes in many forms when getting a hang of portrait and anatomy and drawing losses, it helps to simplify stinks when starting out. Here I have drawn a stylized character to show you a quick portrait drawing exercise. Personally like to divide the face I'm drawing in three same-sized parts. You can also test this by measuring your own face with your thumb and index finger. Scorer that the distance from your hairline to your eyebrows is roughly the same distance as from your browse to the bottom of your nose. And finally from the bottom of your nose to chin to figure out where to place the mouth and divide the last section into. A person's mouth is often situated on or a tiny bit higher than the line, you end up with. The idea in the north to chin section in half to figure out the average distance between a person's eyes. You can generally say that another eye socket can fit between the ice. Practicing and breaking down anatomy and its fundamentals to manageable chunks is always a good practice to have. Practice. The Moroccans often and use references. Studying the fundamentals makes stylizing illustrated characters or paintings much easier. It also helped to set up well proportionate figures and environments full of life. Here I have applied some simple shadows to divide our example phase into planes. You can see that the facial features stands out and becomes clearer when we differentiate between facial features like this. An important thing to remember is that we can't always use to planes author face as a guide on where to put our shadows, how shadows fall depend on an individual phase and the light source and where light is coming from in this drawing are, light is positioned from the front and center. But even if I have mapped out the planes as I have done in this drawing, I would still have to lighten up the darker parts under the cheekbones and around the eyes if I were to properly shadow this drawing. But learning the planes of the face helps a lot when practicing how to place your features and your shadows. Understanding the plants of the phase also makes easier to draw because we can see that the North sits in a different plane than, for example, a person's cheeks or their eye sockets. In their profile view, we can see that the ice actually rests quite deep in their sockets and that our Northbridge beads from our bow. If you want to dive deeper into anatomic, I recommend studying Andrew Lou Miss or similar experts on anatomy or study the anatomy of your favorite artists and illustrators. You can also check out YouTube, the terminals from seasoned instructors, smoke protocol or Easterbrook.
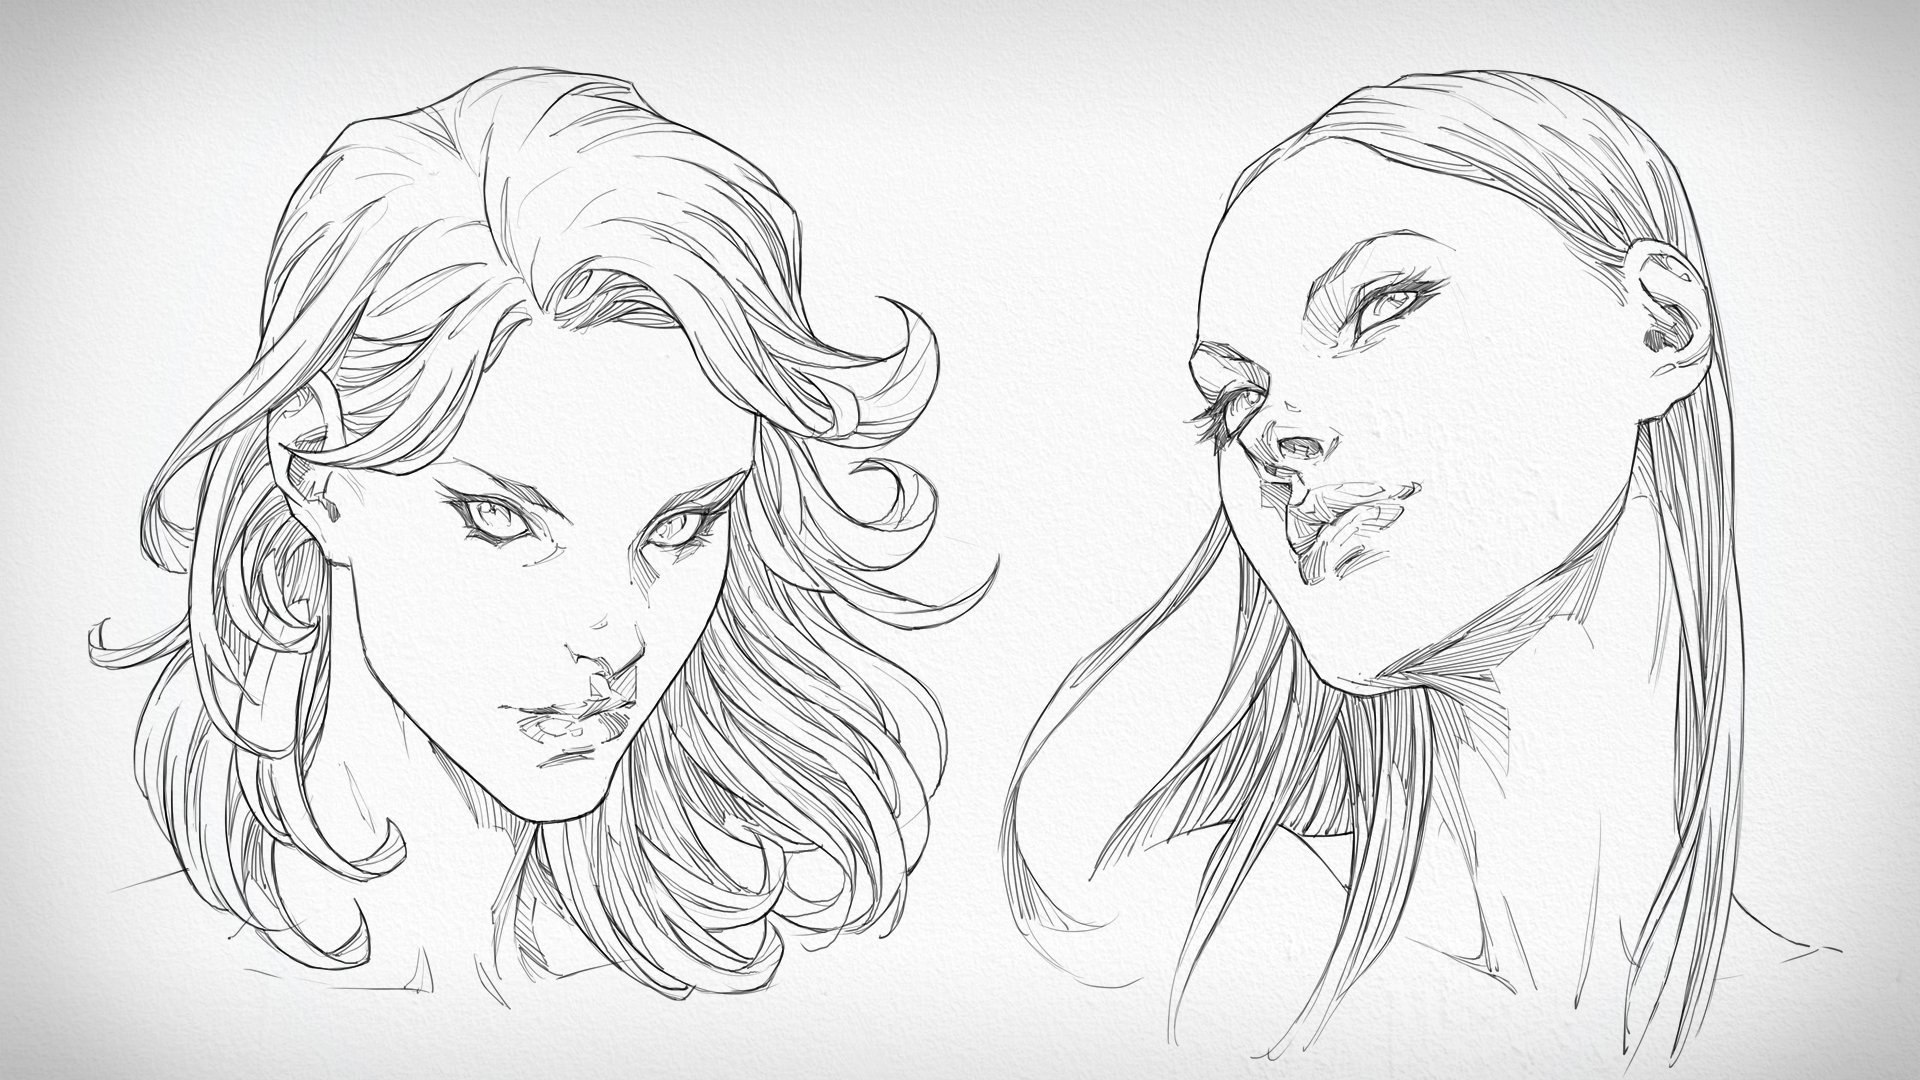
3. Draw With Me: Building up a Nose: To draw stylized nurses, I will start with showing you how you can build up a semi realistic knows, like I'm doing here. First, I will make a slightly puffed up diamond shape for the nose tip and build the wings of the nodes from there, I always say it's easier to use angular shapes then round shapes when mapping all the known swings, the bridge of the nose builds from the nose tip can change depending on the dose you want to draw a general laid, the bridge of the nose is slimmer than the rest of the nodes, which results in elongated, hourglass like form when the bridge of the nose gets wider when meeting the eyebrows. When we put shadow or color north, you have to consider the planes of the nose, just as we did with the planes of the face. A general rule is not to fall for the temptation to blend the shadows under the nose tip with the mid domes of the top of the North swings and the bridge. If you can keep some mixing the direct planes with the mid tones, your loss will look a lot more rarely stick. The darkest part of or nodes will generally always be the nostrils together with the tiny Nicholas shadow from the septum cartilage that separates the North rules. This is an important step to learn how our brains recognize facial features and to be able to simplify our noses to NASM unrealistic Comic style we would like to draw in later on. Also, remember to flip or measure your canvas or sketchbook upside down to catch mistakes. If you draw a traditionally, you can also look at your work in a measure to easier spots, mistakes. This is an excellent habits to help you really find that if you make this a habit, whenever you draw, you can always keep improving m refreshing your anatomic fundamentals. I always recommend to keep references at hand. Take pictures of yourself if you can't find what you're looking for and keep an eye on references. Even if you feel like you can draw anything you would like to from memory. Here I have mapped out where the general shadows can fall on the plains of the most similar to what we did when discussing the planes with the face. We see that the darkest parts are the not thrills and the septum. The North wings under the tip of the nose also lie in shadow before the mid tones cut the under-diagnosed shadow off when moving up to the base of the nose. And the mid tones will often be, you're under painting or default skin color. If you are painting, we have reflective bounce light from the surrounding environment, slightly lighter than the mid tones, together with highlights and reflections on the Northbridge tip rings.
4. Noses and Face Angles: I wanted to talk a bit about angles two because they are an important part of getting a nose right. The pose and angle of the phase affects how nose looks often we have to, for example, foreshortened or elongate the North depending on the direction r a portrait is facing. When drawing an angled nose, we can still apply the same divide by three measuring method as we did in the first tommy tutorial. The keys with angles is to think of whatever we are drawing as add 3D shape. Trying to imagine how our object will look when we turn it around and seeing it in a 3D space, like a 3D model artists would do. To help our brain visualized this. We can curve are measuring lines like what I've drawn to demonstrate here. You can see that the lines wrap around the head and follow the contour of the shape to help similar depth, forum, and angles when a face is looking up during Australia's can often be fully seen and the upper lip and bottom lip casts shadows. Shadow under the chin and neck also help showing perspective and angle when looking down. Shadows under the brow helps clarifying different facial planes and angles. The North also cars, longer shadows, Austin all the way down the mouth in defining the cheekbone, Austin helps to show what kind of perspective we are going for.
5. How to Simplify or build up to Semi-Realism: To help you break down and simplify your gnosis to fit your preferred drawing style. I made a little comparison between SME realistic comic style drawing and a more simplified comic started drawing in figure a, I have kept the more defined nostrils and the wings of the laws. The one big team different ating the North on Figure a and B is the amount of detail and shadow. I have given the nurse and some surrounding features like the bro and lip to help defining the loss. Figure B, things are a little bit more simple and never let go of the North wings completely. But I have kept the short line to define the nostril and indicate what way our character is facing. There is also no heavier details to bring out the features more. This is just a short example for how we can simplify our north and make it more complex to VTR desired outcome. My advice is to study your favorite artists and creators and compare how they are drawing zoonosis. Different scenes may call for a different nodes.
6. Tips and Outro: With all these tips in mind, I hope you feel more prepared to draw some losses. Remember that all nurses, like people are different at different nurse can really help bring your characters, paintings, and figures to life. I hope you have some actionable steps and hold to draw and breakdown honours to fit your style. If you have any questions, I'll be happy to answer them here at skill chair, feel free to review or follow me if you liked this class. You can also reach me at Twitter or Instagram with at low begun. Thanks for watching. I will see you in the next class and good luck.
 Leon F. A.