Transcripts
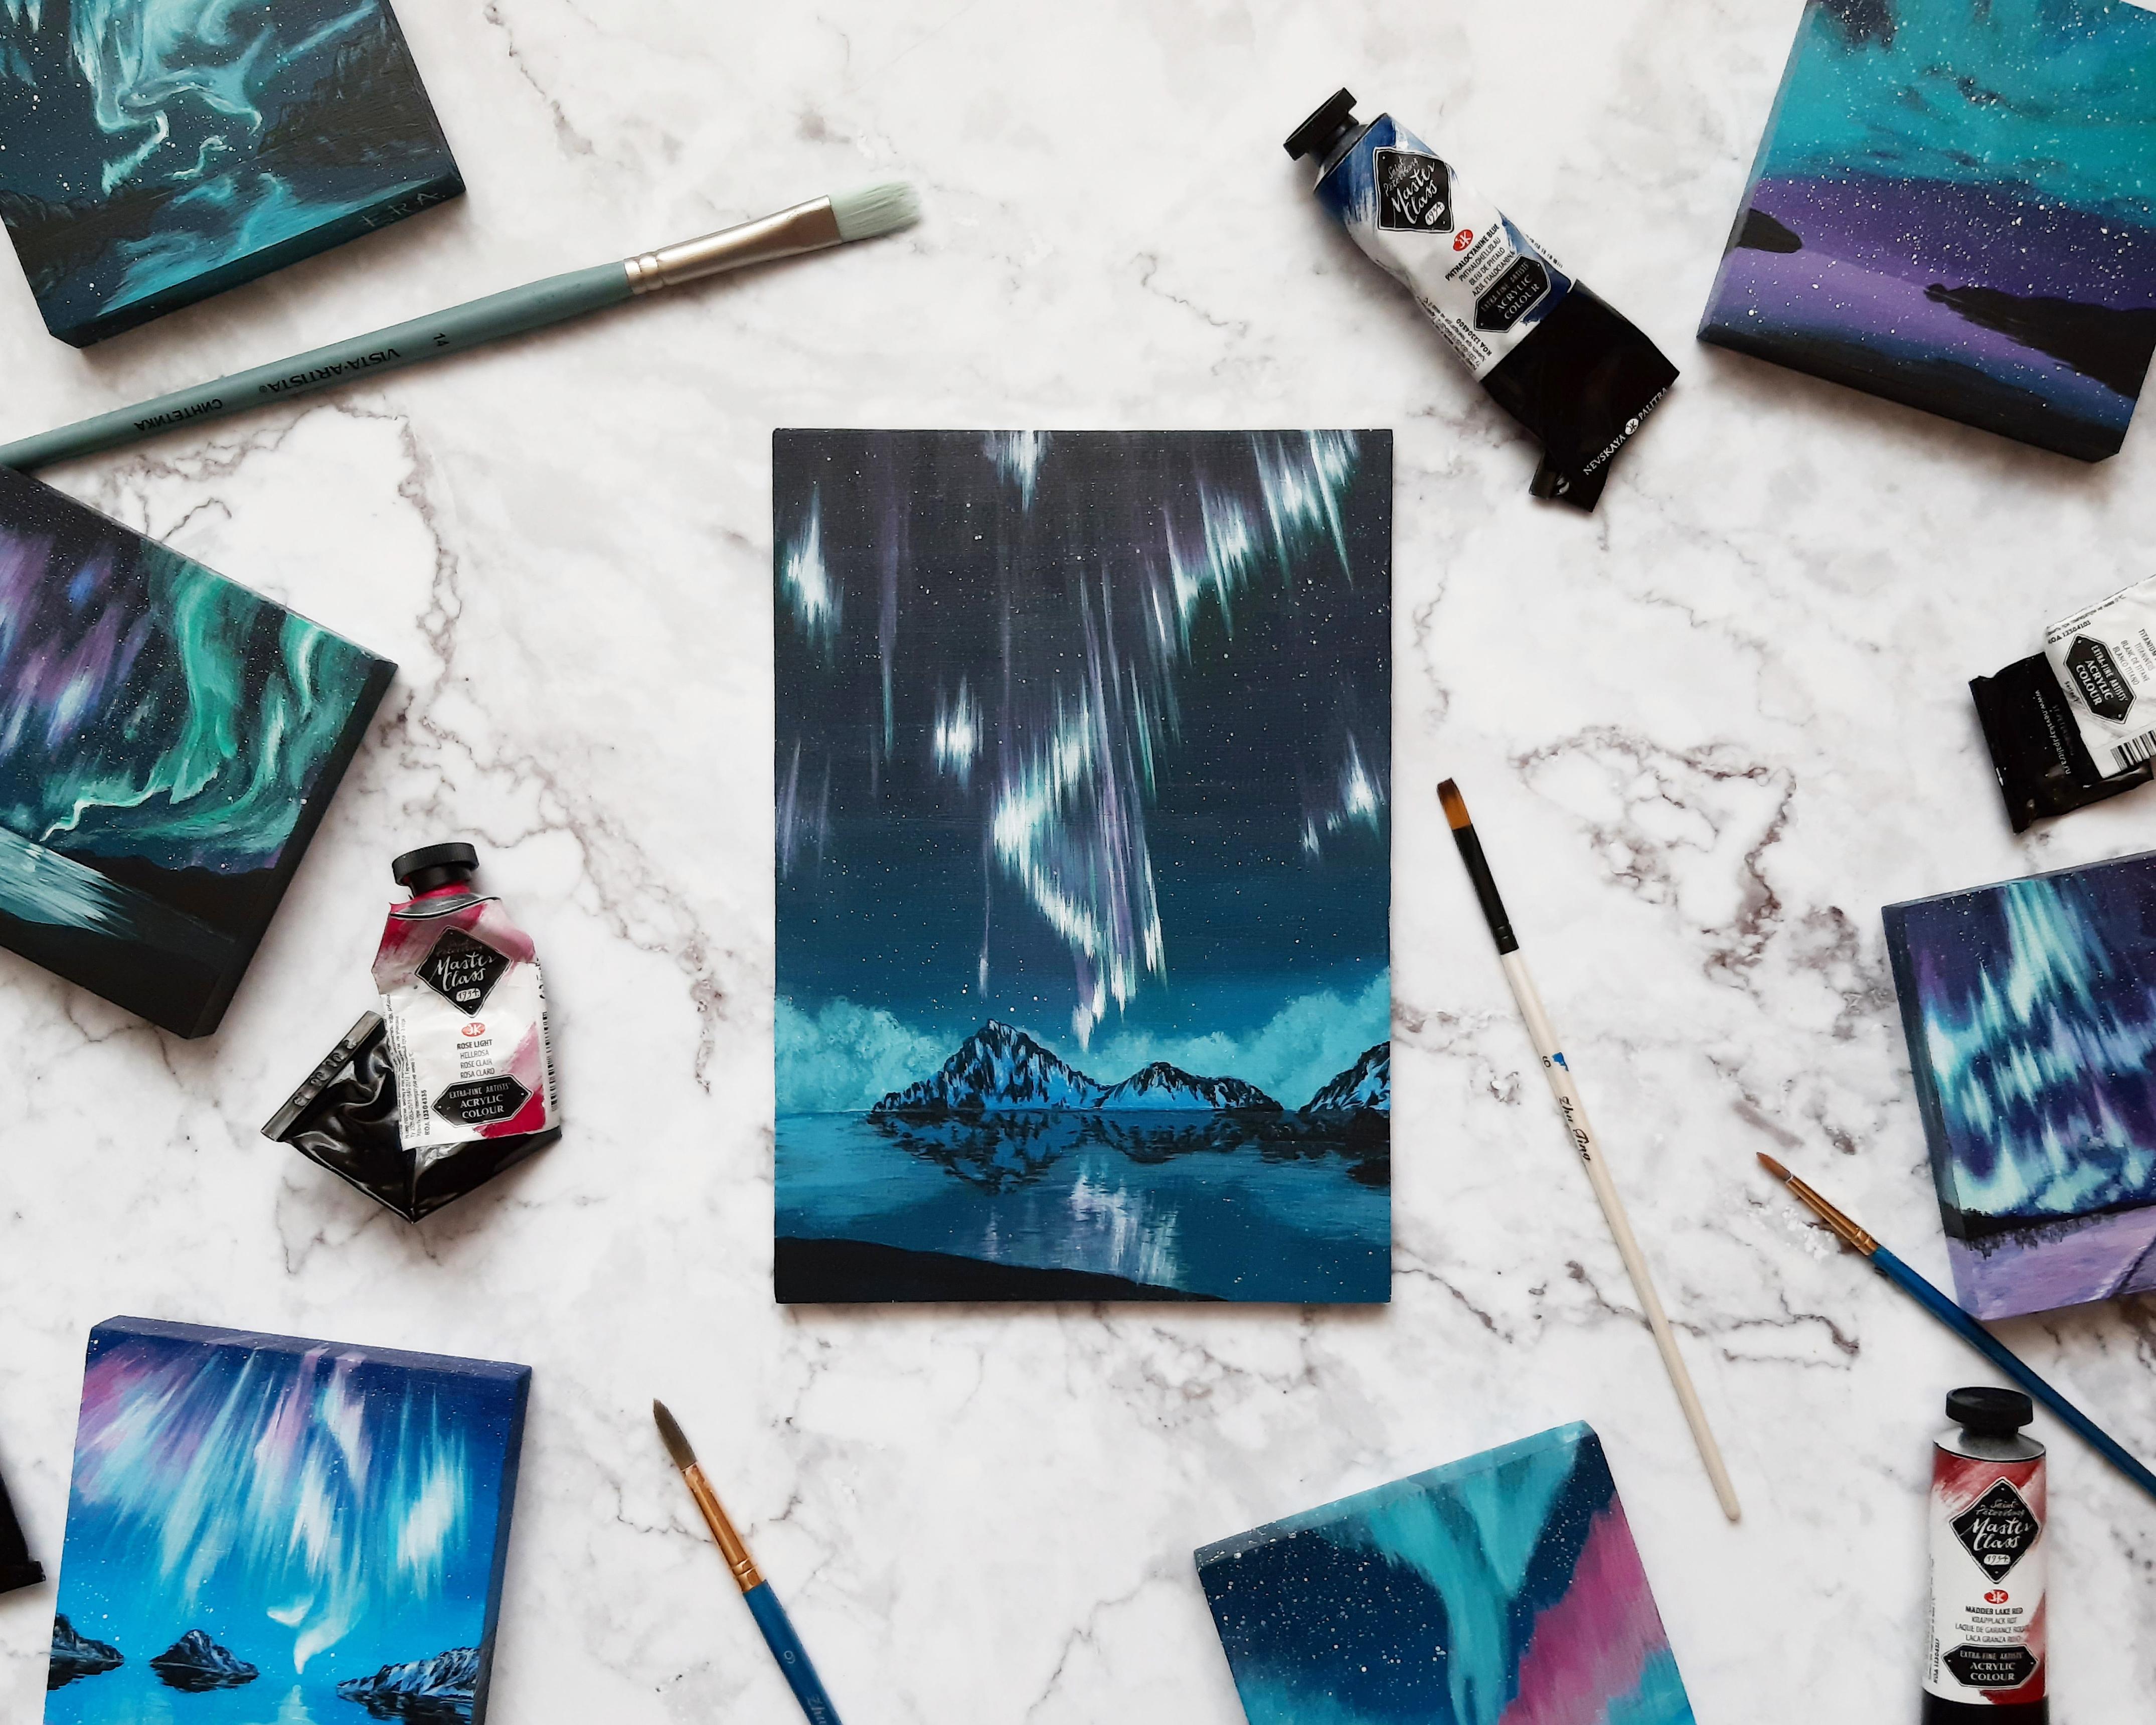
1. Introduction: Hello, everyone. My name is Elena. I'm a notice from Russia. And today I'm going to show you how to Joe. Beautiful. Really. Signal lights using acrylic paints. I'm going to gorgeous, thereby steps through the whole process and will share a lot of my personal tips on how to Nick scholars, Joe Sky and those and lights I've tried to make me just as compact informants was possible . If you have any questions during this class, feel free to ransom down below in discussions. Don't forget to follow me on skill ship like the follow button on top of the video to be the first time to know when I post a new class, you can also follow me on Instagram. It's here are ours to see my latest books and drawing videos. So if you're ready to create your own beautiful Northern lights painting, so let's get started
2. Materials: in this class, We're going to jobs. Acrylic paints there, actually, my favorite type of pains to draw this acrylic paints can be used in so many different base and the normalised every surface in this class. I'm going to drop his acrylic paints from the brand new Oscar Paletta. But any other brand of acrylic paint that you have built to justice find you also don't need to have a whole spectrum of colors to do this class and again, just have four red, yellow, blue and red, yellow and blue as a primary colors. By mixing them, you can get almost any other color you want and use. Invite paint your help to make your nose and life's look brighter and also drove stars. The next thing you need is the surface for drunk. You can choose any service you want can be about a car, paper, boat, canvas or something else. I'll be drawn on this little wooden boat because I think it's size is perfect to show. Imagine process. It's right because I applied a coat off by the cruel just on it. It's not compulsory, but the plan Jesse helps to make joy on foot more convenient. It doesn't allows the pain to absorb into the wood surfaces much. If you want to try it, you can find the grill just in our stores. It's very easy to use and doesn't cost much now. Speaking of bog brushes when I drove his acrylic paints, I like using synthetic brushes which have stole just your hair. You're also Vilnius absence. A mixer colors on. I'll be using this palette. But for mixing Collins, you can choose anything you want. And, of course, your new watcher. I also like having some sort of durable fabric dated to wipe my brushes well, enjoy.
3. Mixing colors: now, if you'll might keep some help to make scholars when you join those in lights as acrylic paints. First of all, let's talk about mixing black car if you don't have it back. Pain can be made by simply mixing colors, the situated opposite each other on the color view. It looks like this. Probably the easiest way to get black for drugs. The night sky, histamines red, blue and a little bit of yellow. If you had more blue, you'll get a black colleges. A nice bluish tint, which would be perfect for drugs the night sky. Now let's talk about violet really prints. It's important to know that different White Plains have different capacity. My favorite right to use this detainee invite. It has a list, transparent civil rights, and it's great to use when you draw on top of other colors and will be doing exactly that in the draw. Another light. I'm going to use black paper to demonstrate the difference in transparency to what pains that I have detention right and zinc white. So this is why I think at the top, and I will take the same amount of continual fight in Jones's below the as you can see that , then you invite is much less transparent. The next important thing to mention is that you can also add detainee invite other colors to increase their capacity as well. I'm going to use them and yellow paint to show you what I mean. Lemon yellow paint is very transparent by itself. Now I'm just going to add a tiny amount of state in your right to it and a lot just a bit more whites is a yellow. As you can see, you can not even a little amount of detain your rights to boost capacity of your pains while not changing the colors very much. And this knowledge will be very attentive and your jobs the colors of your aurora on the dark sky.
4. Your project: now just a few. Reverse about your product in this class. Your projects will be to create your own beautiful northern lights painting. You can't repeat the van. I'll be joining this list but shows the difference. You don't forget to share your result under this region. If you have any questions during this class, feel free to write on down below in discussions, I'll do my best taunts of them all conveyed to see what you've created. Now let's move on withdrawing process.
5. Drawing process, part 1: Let's begin drawing. I'm going to mark the horizon line first, and now I'm going to paint this car is the easiest way to do this is to use Bigfoot brushes that have grand. I'll make this car duck at the top and larger as it goes down closer to the horizon, it's important to brain quickly. Here is our letting depends right a mix and leg bull and little bits of yellow to get this cold color of the sky. If the colors don't look as well blended as you want them to be, feel free to draws the second land. Now I'm going to Joe Clouds for joining clouds. I like using the old brushes like this one is their heads sticking out in every direction. First on drones, the clothes outlines and then I add, like to call it. I'm just moving my brush. And so call in Washington exist. Now let's move on to the next step
6. Drawing process, part 2: Let's get some basic lines of our future. Or, uh, I like to do this with white paint. I mix it with lots of water, so it looks almost transparent that very if I make mistakes while sketch and it will be easier to fix afterwards. So I'm just approximately sketches with the rays of life will be the funds in Kalitta Aurora. Less Joe stars. That's probably my favorite part of Join the night sky. So to make stars, I'm going to use this brush algae as dip it into white paint and use the handle of a month brush to make splashes. But I didn't always voted to the brains. You can control the splashes you'll get. I usually try making splashes over my pilot first and only then over the paint. If you make mistakes somewhere, for example, big splash or style garden like just add a little water to it right away. And then I'm using a dry brush here to fight, and you can really experiment with this. For example, you may use it to brush to make this splashes instead of the brush, so maybe you'll think of something else
7. Drawing process, part 3: now let's at some cars, but I'm going to do now is basically paying the colors around the rays of lights. I'm making acrylic paint slightly more transparent by adding votes to them. On top of the race here will be a purple and pink colors, and on the bottom will be blue and green. Now I'm going to gradually move from the outside part of the race to the center, making the pain lessen less transparent Temuco Street. So I'm just going back and forth here, gradually added more and more color to make you are a glow more you can just advice to the center of the race.
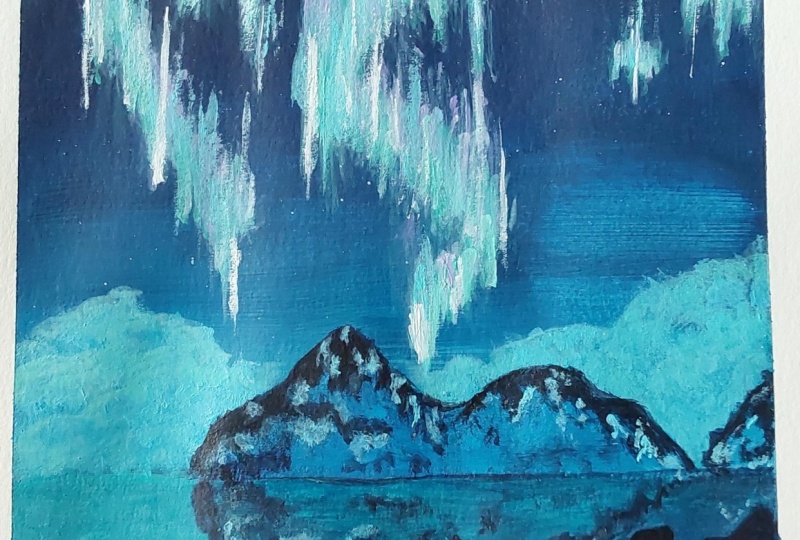
8. Drawing process, part 4: Now let's finish out. Painting by joins the parts below the sky. I'm going to draw the lake Mountains in the line of the shore here. Now I'll approximate the mirrors. The reflection is about to dress much of the men shapes. You can also draws a lake without a reflection to make a ticket. And easier, for example, like here. Now, just a few more finishing touches. I'm also going to add mobile to the center of Aurora lights to make a glow. Mom. And now up into this. Finished. You even made it, guys. Thank you so much fortune.
9. Bonus tips!: thank you so much for fortune. If you like this class, please leave it of your below so that as the students confined to, if you have any suggestions for my future lessons topics, feel free to mention them in discussions. Now a few Bonner Stoops Tip number one. If you're struggling to get your acrylic panes blended well, when you pain backgrounds, you can try adding a special soldier and medium. This additives that sloe gin time of the pain. Also known other it's others only need to do is just makes your paint with the retarded usually in proportion wanted. And that's it. Sometimes at the soldier and Media of an impending backgrounds on big canvases, using such paint additives can also be very helpful if you live in a hot environment or draw outside and your pains giant even quick is unusual. Tip number two. Sometimes you have finished drawing but still have some left over paint, but it happens. I like using little plastic portion cops, which looked like this. They're actually sometimes also called soul scops. They're very convenient for saving leftover pain for future use. Tip number three. Use a sprinkling on your bullets and not let your brains dr One more way of keeping your brains from giant value joint is just a Sprinkle them from time to time. It is about the last tip reviving your brushes. This is a little life hockey, which I've done a lot if you have round pointed brushes which used to look like this but now look like this, you can revive them by putting the brushes hair into the board and vote for a few seconds. Usually 10 seconds is enough. After against the brush out of the voters straight in it like this vizier futures, then let the joy and now your brush is revived. That's all. Tips for the day guys ambition you all the best, and I conveyed to say which of great thanks so much for watch.
 Elena
Elena