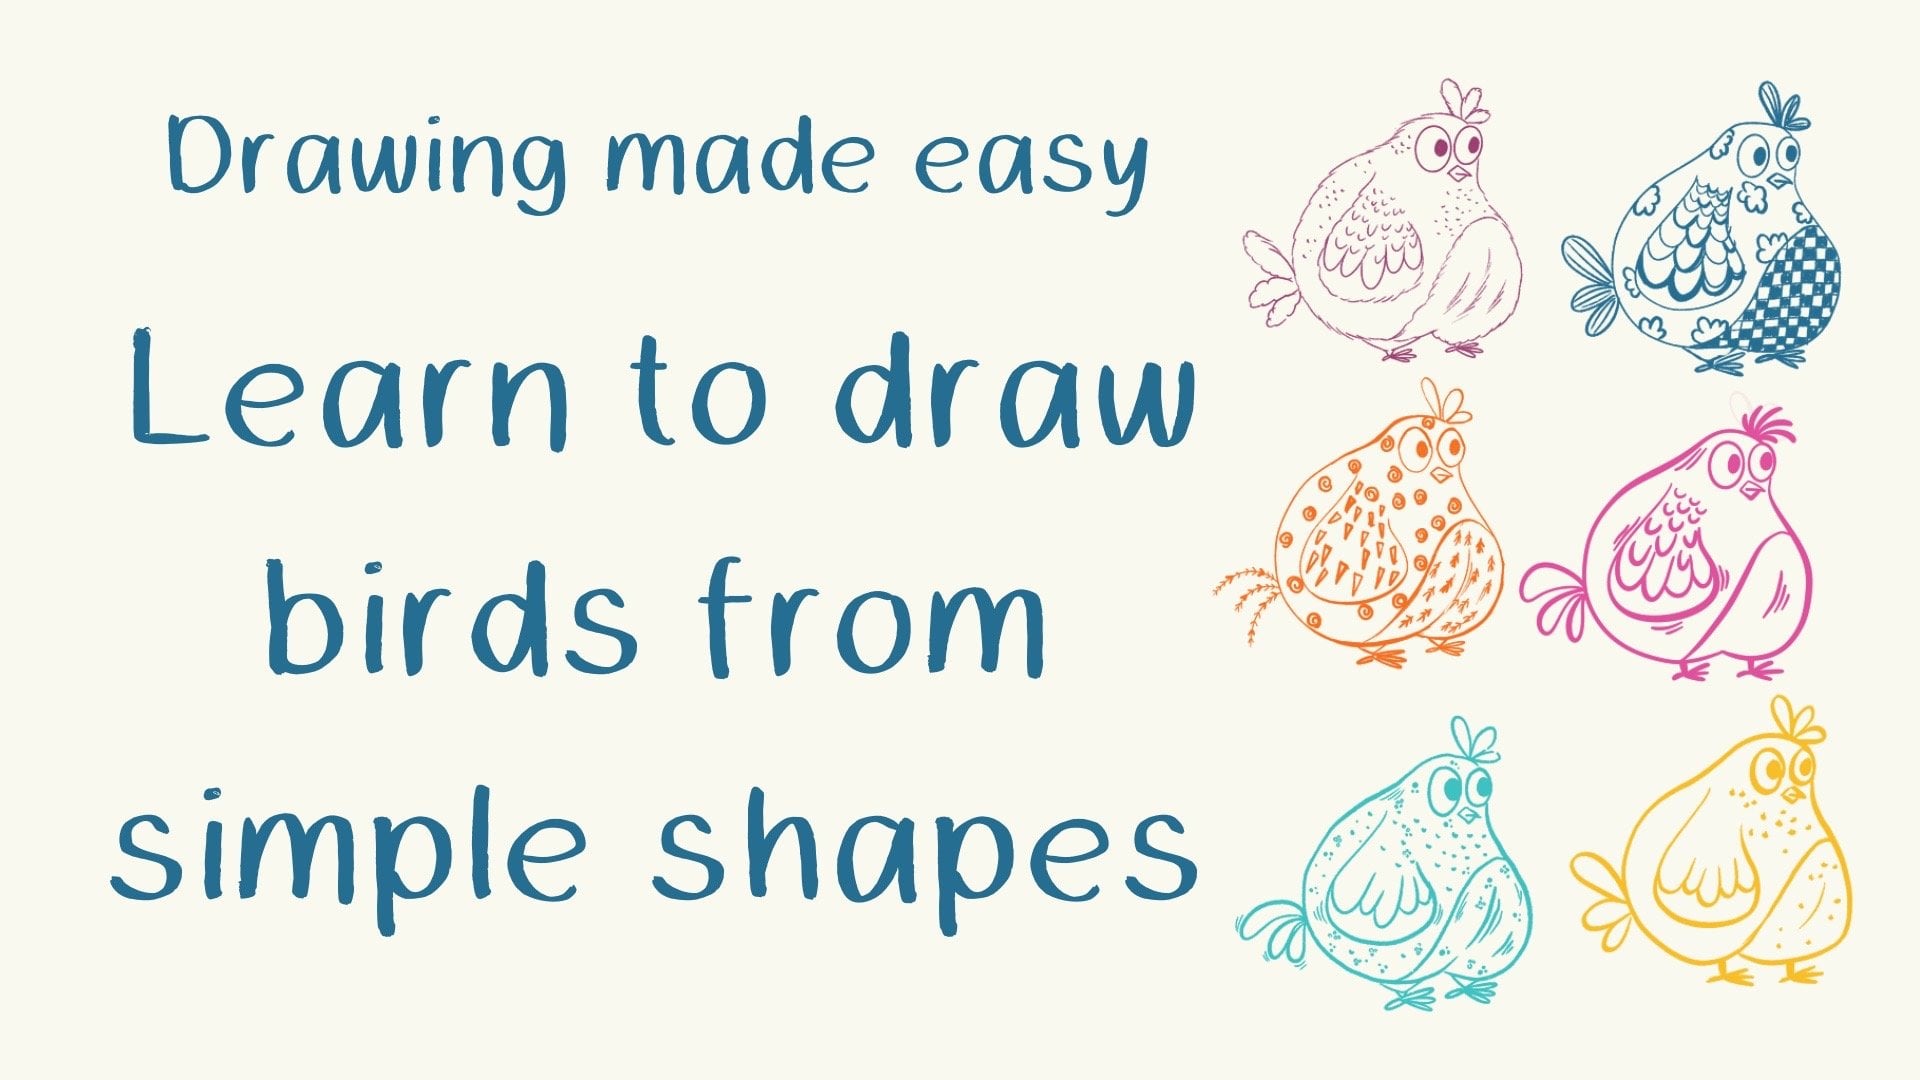
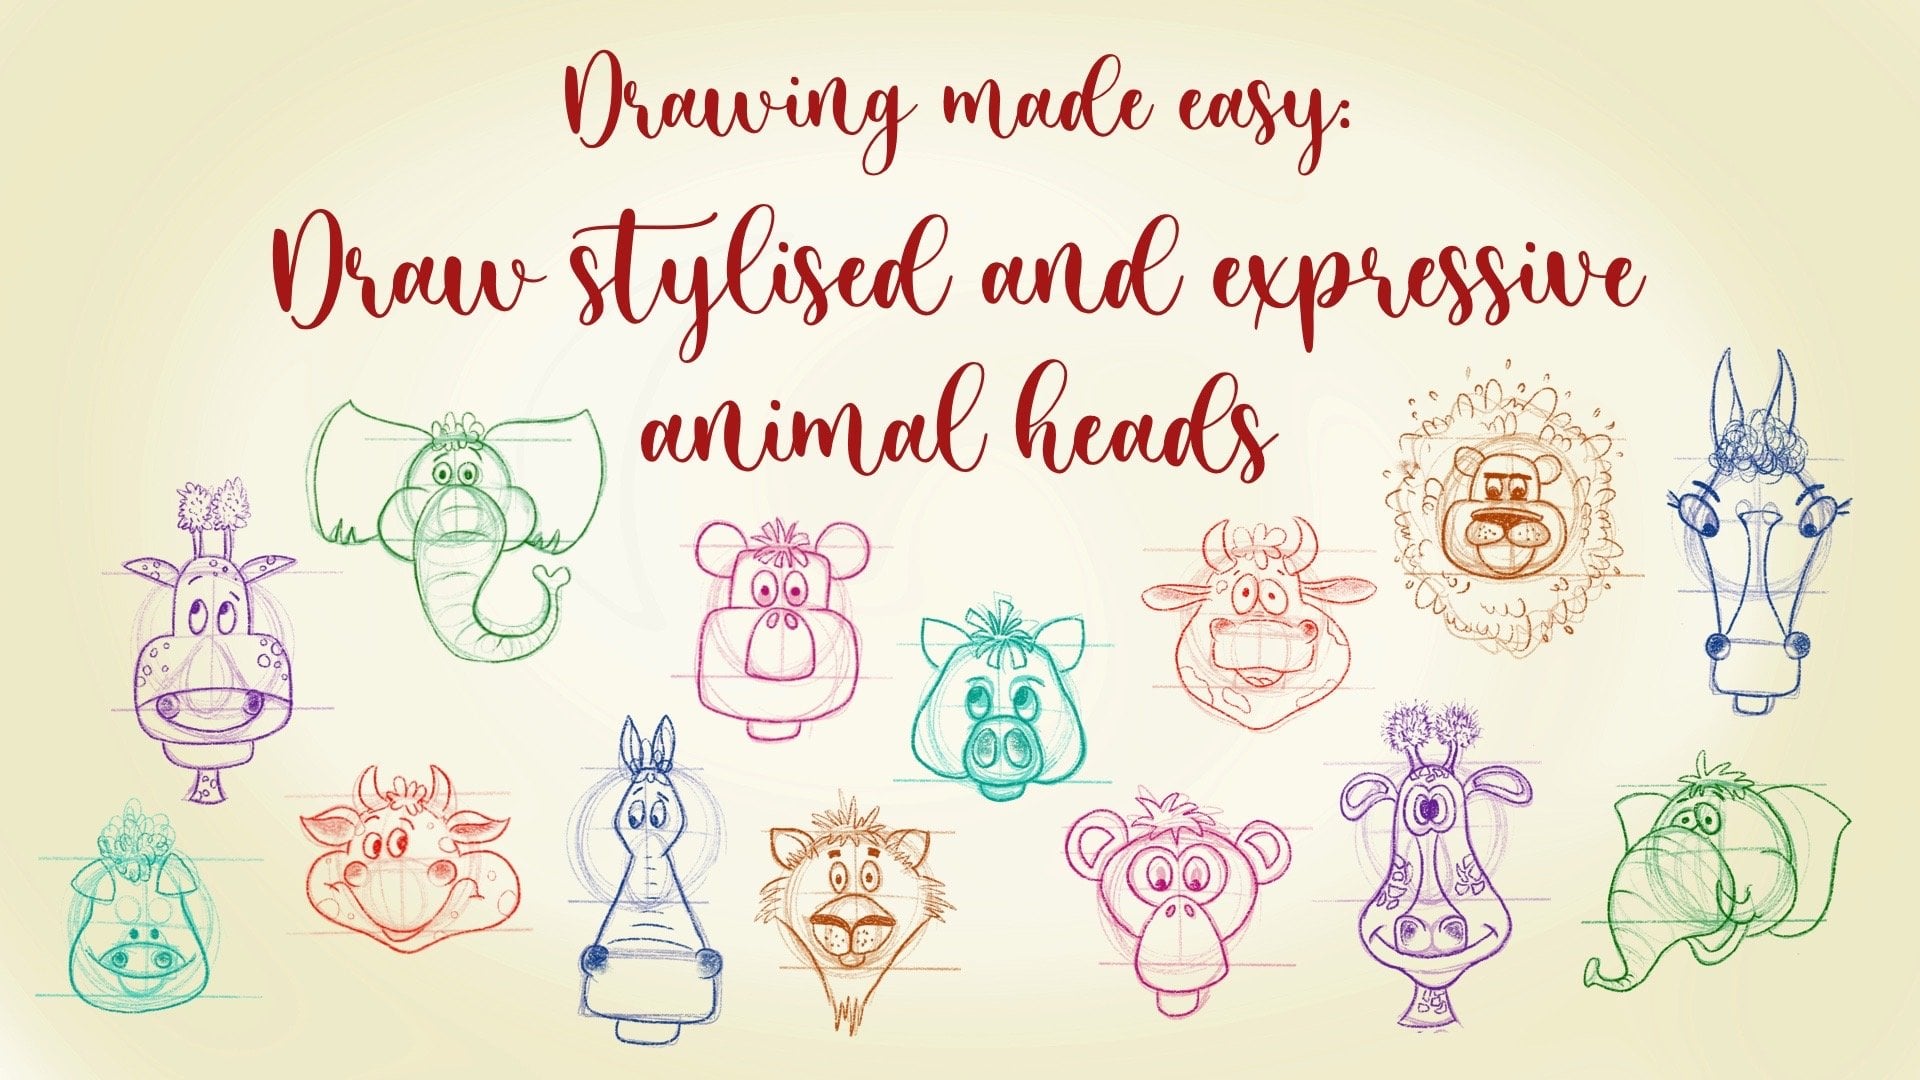
Transcripts
1. INTRODUCTION: To be able to draw is a learned skill and not
something god gifted. All you need is some practice. By following a few
tips and techniques, you can learn to draw almost
anything. In this class. I will show you how to
draw any kind of see like all you need is a
pencil and some people, and a lot of enthusiasm. Hi, I'm cheerfully.
In this class, I will explain you my
method of creating some interesting
and dynamic shapes and then turn them into
our beautiful fish. I will also show you some of
the driving principles in character design and
then use them to draw some other secrets
just like an octopus, sea horse and assumptions. I will also demonstrate
my method of coloring them and then turn them into a complete sea
life illustration. These also a bonus
class at the end. If you want to see how to use the traditional methods for
your different projects. You can use these illustrations
for different projects. Like an animal illustration
for the children's book, as an element for motifs, for surface pattern design, illustration on POD sites, or making stickers and
greeting cards and much more.
2. RESOURCES: I'm providing this PDF which
I'm drawing is off see animals showing an
article features, then references of
various species of fish and other sea life. This one reference is to understand the perspective
while drawing sheets. As I am no drink snails. In this class, there is a
link to my Pinterest board. There are boats for
various animals, which are further
categorized into small groups like this. Shell, alga and
flora see animals. I'm also providing
you a brush set along with the first
is the drying. It is very controlled brush. You can draw and write
as well with one brush. Next is the inking brush, which is a pressure sensitive and it gives a nice line weight. And can we use this
term brush also? This is the low opacity Eraser. It's very convenient if
you're drawing in Procreate. Then comes this inking
brush controlled. It's a bit different
from the earlier one, as it is more controlled than this rectangular
stamp brush. Nice to add some
rectangular highlights. Then is the medium nozzle brush, which is the procreates native
brush under spray paints.
3. CLASS PROJECT: All the drawing rooms, practice them and
Rossi elements, and then come up with your
own composition of silence. At the end. Create
your own Under the Sea Life scenery and posted under the
project section below.
4. CREATING SHAPES: Let's create some
interesting shapes. First. For that open Procreate, and create a full-size document. This is the brush set I'm providing in the
resources section. My method of creating interesting shapes start
with the drying of simple, boring geometrical shapes like circle, triangle, and scared. Then start manipulating
these shapes. As for the circle, tango something which is
round and has soft edges, like ovals, ellipses
being shapes. Also, a simple teardrop shape can be converted into
something roundish. You can also join two or
more shapes together, and the resulting shape will
be more organic and natural. Same thing goes
with the triangle. Start with changing the length and the angle of the
sides of triangle. Then change the straight
lines into Carbonite. Start creating variation among all the three sides
of a triangle. Also practice joining the
different shapes together, as we did in the
circular shapes. Then comes the square shape. Draw rectangles,
trapezium, diamonds, and all kinds of quadrilaterals change state lines
into curved lines. Also tried to join two
or more shapes together. As a resulting shape will be more interesting than
the singular one. There are also spaces left
between these shapes. So draw the outlines around
the edges of these shapes. Then you will come up with a new and differentiate every day. Now, let's fill the whole page
with these organic shapes. Then I will show
you how to convert these shapes into
some beautiful fish.
5. FISH DRAWING PART 1: I have selected one shape from our previous lesson and
then duplicate it a few times to show you
some variation among the different characters or fish created with
a single shape. To draw any particular
subject or character, it is very important to understand the anatomy of
that particular subject. In our case, that is the fish. So let's have a look at
the basic anatomy of fish. Eyes, mouth, and then near
the mouth or the guilt flips. And very near to the slits
are the pectoral fins, which is the paired fins, means it is present on
both sides of later line of the fish that are
part of the dorsal fin. And then at the end is the
caudal fin or tail fin. At the bottom of the
body of the fish or the interfering and pelvic pain which exists as paired fins. Now we have enough knowledge
about the an oatmeal fish. So let's draw it. I will start with the
mouth from this site. I'm drying arc for the mouth. Then draw eyes above them
out with the people. Near the arc of the
mouth, draw gill slits, and then comes the pectoral fin, which can be bigger or smaller, as this is a stylized
representation of the fish. So I will note draw pelvic
fin and endorphins. Although they are present
in almost all the fish. But sometimes they are
rudimentary and are not visible. I'm drawing an arc as a
guidelines for the dorsal fin. Then draw small lines inside the shape and join those
lines with small arcs. Then comes the tail fin. Again, I will draw
guidelines for that. Then smile lines
inside the shape and smile arcs
joining those lines. Whenever drawing
shapes like this, which are very repetitive, trying to add variation, draw them small, large, medium, or very
small, or very large. Now for the next variation, I will start mouth from here. I will draw open
mouth this train. And this is the lower lip. And above the mouth and
the eyes with pupil. Then gill slits will
be near the mouth. Then the pectoral fin. This time for the pectoral fin, I'm drawing a triangular shape. There could be a
lot of variation. Here I am showing you
a few variations of these triangular shapes just by changing the length of
these lines of a triangle. It will give you completely
different look every time. Adding these two small
lines show the joining of these pectoral fins to
the body of the fish. Now for the dorsal fin,
draw S-shaped curve. Let's exaggerate it a bit. We're drying it bigger. Now for the tail fin, I would run something very
similar to the pectoral fin. Draw some small lines
inside these shapes. These are like the
veins of these pins. Whenever drawing
lines like this, try to create every line
with some different angle. Otherwise, it will look so boring as the angle
will be same. Every time you draw. This time. Start mouth from
the base of the shape. Along arc for the mouth. Then big eyes with
pupils inside. Many of the mouth will
be the gill slits. And then comes big pectoral fin. Wavy lines at the base of the same wavy lines for the dorsal fin as
well as for tail fin. Try to have some kind of
similarity among all the things. If you're drawing a
particular character here. Again, the radiation
is very important. So try to create
these wavy lines as small, medium, or large. Variation can be created
among the different shapes, sizes, and even the color. The next character I will
draw out quarter view. For that first, I will draw the guidelines for the
placement of facial features. Are you explained
everything about growing facial features on animal
head in my earlier class. Row stylist and
expressive animal heads. If you want to learn
more about that, I would suggest to
see their class. Then from the central
line rather dorsal fin. This time I'm creating different shape for
the dorsal fin. Then draw gill slits
on both sides of the mouth and drop at all fits. In this quarter view, all the paired fins will
be visible from the front. Both pictorial as
well as pelvic fins. Find the position at the
bottom of the fish body and try to draw them similar
to the pectoral fin. Also adjust location and
size of these widths.
6. FISH DRAWING PART 2: For the next variation, I will change the
position of mouth. This point the n will be
the mouth of the fish and I will draw a
beak like mouth. Dry eyes above this j. And this is also a quarter view. So all the paired
fins will be visible. This time draw dorsal fin like
some cloud cheap location for the peptide roofing is near the mouth and Rob
both App2 phase. Rather farther, one,
little smaller in size to add some
depth to your drink. Now for the next variation, I'm using the same pointed n as the mount and draw the
eyes above them out. This is the quarter view, so both paired fins
will be visible. Here. I will change the shape and
placement for the pelvic fin. Then draw dorsal fin, pectoral fins on both
sides of the body. Now, let's add some texture
or body max to the fish, starting with this literal
line which divides the top and the bottom
part of the fish body. So in the first version, the spots, which can be circular
or some irregular shape. This is also a color
difference between the top and the bottom
of the fish body. In this version, I will add some curvy lines only on the
lower part of the fish body. And some spots on the upper part create some variation in the
size of the circles. Draw them big,
small, and medium. Also draw them in groups
in place of scattered all over the body as it
will look more natural. Here, I'm drawing
some irregular shapes as the body sports. Now for the next version, I'm doing sports
with holes inside. So there are numerous variations only within a circular shape. So try to create as
much as you can. Now in the next version, I will add some scales
over the fish body. They can be C-shaped, V-shaped. We can be scattered
or in groups. Actually all English
alphabet can be used as scales for this kind
of stylized drawing. Here, I'm showing you some variation of
English alphabets, like alphabet B, C, The Blues. Alphabet P. Here, I'm trying some crisscross lines as the scales
over the fish body. Now for the next radiation, I will draw stripes, which can be horizontal. What curvy, wavy,
or zigzag lines. You can also change
the thickness of these lines as I'm doing here. Now, let's create
the fish syllabus for all these six
different shapes. So fish, which we have created, this will clear all our
doubts about its shape. Using this inking brush, first row outline of the fish, and then drag and drop black
color inside this shape. I will repeat the same
process for all of them. Silhouette is something we should confirm the
subject matter. So check everything. Check not only the
black portion, but also all the negative
spaces around these shapes. If you're happy with
your silhouette, then that shape is ready
for your next step, which is the coloring part.
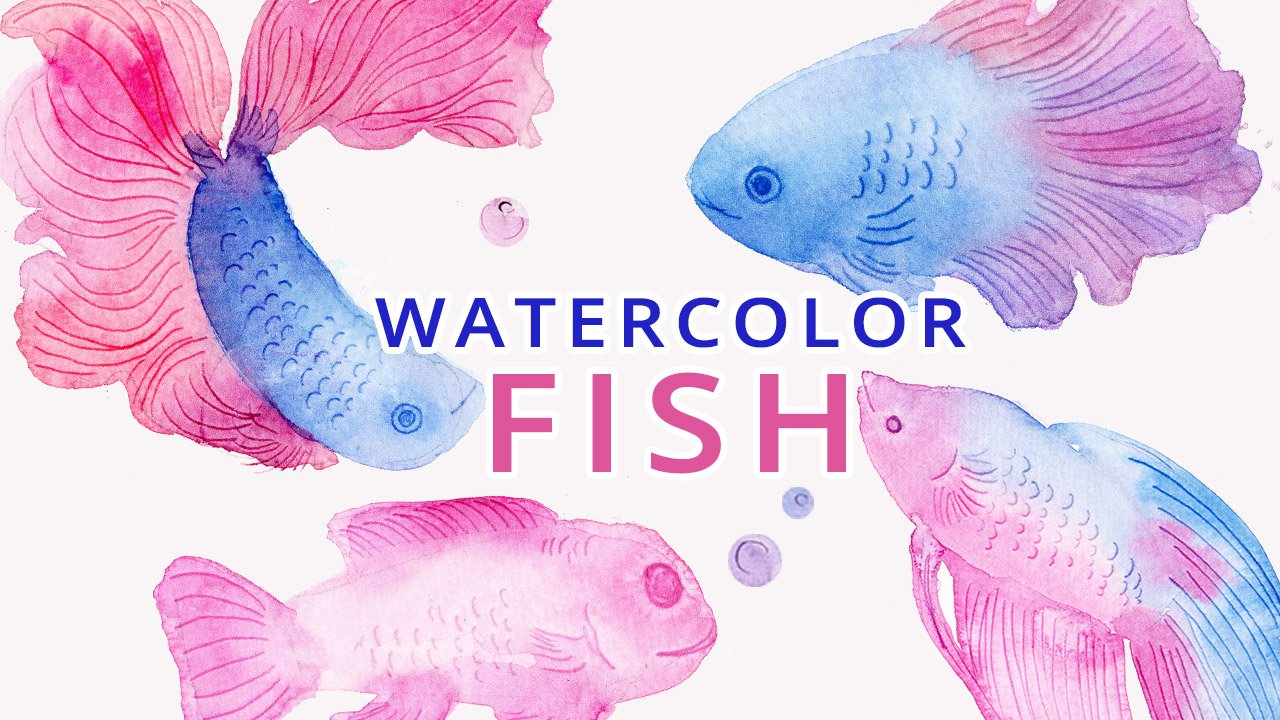
7. FISH COLOURING PART 1: I have selected this fish, which I want for my
final illustration. Duplicate it to a new low, re-scale it with transform tool, then change the blend
mode of this layer to multiply and
lower the opacity. Create a new layer below this layer where we
will do archiving. But first we will select
the color palette. I select this red color first. Then go to the harmony and
find its complimentary color. I also need darker
and lighter colors. So first, select the color, go to classic mode and decrease the brightness and
increase the saturation. Move the hue slider away from sunlight
color, which is yellow. For the lighter color, select the color first,
increase the brightness, decrease the saturation a bit, and move the hue slider
towards the sunlight. I need two more colors and less saturated dark blue color and a light yellow
color for highlights. Select one more light
turquoise color for sclera portion of ice. Although you can choose
any other color for this. Now for coloring, I will select create color and using
this inking brush. First, outline the fish body, and then fill this with red color using drag
and drop method. Now make a new layer
above the body layer. And draw this pictorial
frame which is above the body in this profile view
and fill with blue color. Next, make a new layer below the body layer and fill the other two friends
with same blue color. With drag and drop
method of coloring. Make one more new layer
above all the layers, then draw and fill the sclera or phase with light
turquoise color. Now duplicate this
layer and change the color of the
upper layer to black. Reduce the size to
make it into pupil. Duplicate this
turquoise layer once more and fill the lower
layer with black. This time, increase
its size and turning it into eyelids, eyelashes.
8. FISH COLOURING PART 2: Now add shadows and lights. First go to the body layer, make a new layer above, then clip it to the base layer. Choosing this medium
nozzle brush, which is the native brushes, procreate under spray paints and according to the
direction of light and shadows to the bottom
of the body of fish using darker
shade of red color. Then select light color of red lights to the body
in the same layer. Now, make new layer above
the pectoral fin base layer. Clip it to the layer below. Add darks and lights to this frame using darker
and lighter colors. In the same way, and darks and lights to the
other friends also. Also add shadows and lights to the sclera of tie
in the same year. And highlights to the eyes
as small white dots with inking brush in a newly
now draw facial features, make a new layer. And using this blue
color and inking brush, draw an eye out for more. In the same way, using same
color and dry English. Ra small wins inside the fence. Now in a new layer using light gray color
and inking brush, draw sports on the fish body. Then change the blend mode
of this layer to overlay. Again in a new layer using dark gray color and inking
brush, draw sports. And this time change the
blend mode to collarbone or darker during the opacity
of this layer as you like. Now in the next
step and highlights using light yellow color
in the new layer above. Draw lines with drying brush. I'm using English as
it has some texture. Also. Now change the blend mode of this layer to add and reduce
the opacity as you like. At the end, if we weren't
happy with your coloring, you can group the layers
and flatten the image. As in this way, blend
modes will stay as such.
9. DRAWING OCTOPUS: Before jumping into
drying octopus, let's have a look
on its anatomy. They have big head and
eyes on both sides of it. They have eight arms and tentacles with the
circus under site. They also have this funnel like structure on both
sides of my mouth. I do have this rubber octopus. It is good if you have some
toy animals like this, as it will be a great help to understand the 3D
anatomy of any day. Now, let's start with a big oval forehead
and one more oval for phase two curves as the guidelines for
drying facial features. Drove funnels at both
sides of the face. Then draw curvy
lines for tentacles. Now, I will show you how to add twists and turns
to the tentacles. First, draw some curvy
lines like this. Then row stayed small lines at all the events of
this line like this. Now draw parallel lines to the lines starting from
these small lights. Draw these lines
at every moment. Now you have a
beautiful drain of ID, but now let's draw something
similar but in 3D. So draw the same kind
of curvy line first, then draw one more line
exactly parallel to this one. And this will be the top portion of the tube we are drying. Now. Again, draw small
lines at all the events. Then draw these
parallel lines to above two lines starting
from the small lines. This will be the
side of the tube. Complete the small quadrilateral
at the end of this tube. Now, let's draw some
real tentacles. First, I will erase
the drain using low opacity and then draw
dark and crisp lines. Over there are flights. Raw facial features first
and then row tentacles. First to draw two parallel
lines for one tentacle. Then this will be the
top portion of it. There are circuits present at the lower side of each tentacle. They are in two rows like this. And this is how I will draw top and bottom portion of tentacles. They are like tubes, note some squarish kind. Therefore only top or
bottom will be visible. Draw a small line at the bend, then a line starting from here and ends up somewhere here. This is the lower
part with the circus. Now let's draw one more. First, draw two parallel lines, then small lines,
and the events. Then draw parallel lines to the above lines and create
a space for surplus. I will draw all the
tentacles in the same way.
10. DRAWING SEAHORSE: Before drying seahorse, lets
have a look on its anatomy. They have this now like
Mount than pectoral fins, dorsal fin and prehensile tail. Now let's draw a
seahorse this time. Start with the line of action. Line of action will
add movement and dynamism to draw
this s-shaped line. Then add body parts over
this and oval forehead. And one for dorsal portion. Draw a line outside to join
all these shapes together. It Is it a bit using low opacity and draw
over those flights? Draw a little line to divide the body into outer
and inner portion. Draw a guideline
for the dorsal fin, then draw the draw small lines and then curvy line
joining these lines. This is stylized
representation of seahorse so you can exaggerate any
body part as you want. Draw form lines inside
the belly portion. That is to draw this form
lines inside any shape, draw some shape, and then draw
ellipses inside the shape. The direction of ellipses
will give nice formula. Now, let's draw
one more seahorse, starting with the
line of action. Draw shapes for body parts. Join them, we then outline, then draw facial features
inside the head. This time, I will draw
a funnel light mode. It Is it a bit and then draw
again over the rough lines. Draft form lines insight. This time I will
change the shape of dorsal fin, pectoral fin. I will raise it once more to see clear drying and
redraw with this. Usually I erase and redraw my drain three to four
times until I'm satisfied. When drawing a final, draw an oval with one side. Then draw another oval over
the first with one side open, but in the opposite direction. Then draw lines around the
ovals to complete the shape.
11. DRAWING SHELLS: Let's start drawing
with a coordinator. Then draw a spiral inside it. Now you distort option under the transform tool and distort this triangle and then lighten
it up with low opacity, erase and redraw, you will see a shell
drawn in perspective. Then add form lines in
every layer option. Same way, draw another
quadrilateral. Draw ellipses inside the shape. Playing this, lighten up the
drawing with the eraser, then redraw this S-shaped
lines over the ellipsis. Let's draw one more
drying overall, mark the center and
then reform lights. You can change the
position of the center, then draw form lines around it.
12. DRAWING SEA CORALS AND PLANKTONS PART 1: Food, drink, corals
and plantains. I will use inking brush as it
is very precious sensitive, and it gives a nice line with a lot of
variation in language. For this lesson,
I will use colors directly in place
of black color. So let's start with this color. Start with a little pressure and draw curvy lines in a mileage. Use different colors
in different layers. Now, create a new layer above this base layer and create a clipping mask to
the layer below. After that, select
the darker version of this base color and using
medium nozzle brush, add shade near the
end of this bunch. Then in the same way, like the lighter color
and add light to the same bunch at the tips of these curvy lines
in the same year. My method of selecting dark
and light color is the same as I have explained
in fish coloring lesson, I will repeat the
same process for the other two colors in
their respective layers. I'm adding white spots over the whole illustration with
inking brush in a new layer, above all the layers. Now, in the next version, I will draw these
curvy lines using three different colors in
three different layers. And then add darks and lights using medium nozzle
brush in the clips list. Method of color selection is same as I have
already explained. In the next step, I will select
this light gray color and draw some sports only at
the tips of these shapes. Then change the blend mode
of this layer to overlay. In the same way, I will select the darker gray color
Ross on sports, but this time change the
blend mode to color, burn or darken and decrease
the opacity of this layer. Now, grouped together
all these layers, then one more element is ready to be used for our
final illustration. For next element, I will take this darker blue color and decrease the size
of inking brush. Now, draw small lines like this and may call
bunch of tweaks. This bunch can be used as
a single element itself. This also one more
version of this. For that in a new layer, select this red color
and draw some code like structures at the
tips of these lines. Now add shadows and lights with medium nozzle brush
in the clipped layer. Method of selecting these
colors is the same. Now N highlights inner
layer above all. For highlights, draw
any kind of sports, comas, state lines
or curved lines. There is one more
version of this. Instead of coal
black structures. Add dots all over using this yellow color in the
layer with inking brush. Then add shadows and lights in the same way as
we did earlier. Also an highlights and then group together
all these layers. One more element is ready. For the next version, draw a wavy thick
shapes like this in three different colors
in their respective layers. Then add shadows and
lights to these shapes, as we did earlier using medium nozzle brush
in the clip list. I'm adding dark shades
and tints at the tips. Method of selection
of color is the same. Now in the next step, add light gray spots in
a new layer above all, and change the blend mode
of the layer to overlay. Then draw sports with the dark gray color in a
new layer above all others. And change the blend mode
to collarbone or darken, which you like the most.
13. DRAWING SEA CORALS AND PLANKTONS PART 2: The next element, I will select
this green color and draw a stem and then its branches and the right angle
to the mainstream. For the next plant draws time and branches, add
some blue and green. Now for the third plant, draw strings and little
thicker branches. Also add dots to
all these branches. Here is one more version, drying such right
angled branches and join them at right
angle to the next branch. It will look like some
desert cactus. The next day. And darks and lights
to all the plants in the similar way as I
have explained earlier. Now, in the first plant with
the white color, draw dots, comas, straight lines, or
curved lines. As a highlight. You can use this stamp brush
to draw these rectangles. This will add a nice texture to the whole first row spots
all over the plant. Then use Liquify tool with the Expand option on
this green layer first. And then over the yellow layer. It will give some distorted
look to the whole plant. It looks organic and natural. Now for the other version,
just liquefy tool, but this time use Crystal option to distort it in
a different way. It will add a nice
little texture to the outline of the branches. Now to this laughed land,
add white highlights. Now I will draw
some policies for select the color and
using this inking brush, draw stitches like this. It'll be the same
process two more times to different colors
in their different layers. Then add shadows and lights, as we did earlier
using medium nozzle, brush in the clip plays
to their respective basically is the next step. Row centers inside the polyps using even more darker shade in a new layer above
the base layer. Now, make a new layer above the center layer and clip
it to the layer below. Choose the darkest color and add the shadows inside centers
using medium nozzle brush. Repeat the same process
with the other two polyps. For the next 2. First change
the background color to this blue color and add white spots inside any of
the centers of the politics. I will draw two more
versions of polyps. Well, my method of growing
in coloring them is seen. Here. I have changed their shapes using
three different colors in three separate layers. Then add darks and lights, and then add the highlights.
14. DRAWING SEA CORALS AND PLANKTONS PART 3: A few more examples
for plantains. This time I'm using
this dark blue color. For these underwater plants. First, I will decrease the
size of inking brush and draw a bunch of
stems like rosemary. Now using lighter
blue color draw leads to these branches. Here I'm using inking
brush control. Draw strokes like this. Draw variation among
those torques. Row commas, V-shaped leaves, or even increase or decrease the distance
between the leaves. A little change in the shape of a leaf will also give
completely new version of. Now, let's draw
some other colors which can be used as fillers. Draw ovals with the
holes in the center. Or draw small thick
lines like small waves. Roll something like
eyes, and eyelashes. Draw different kinds of stars. And then add Santos
to this task. Draw some irregular shapes and then play with
liquify to lower them to create
different textures to the outline of these shapes. Let's draw some corals. First, draw a shape and
fill it with color. Then select a darker
color and draw inside this shape to create some
marble effect with lines only. In the next version,
Draw a Shape, Fill Color, and
read darker color, draw wavy lines inside to
create different texture. In one more version, I'm drawing an oval,
fill with color, mark center, and then draw form lines with varying
line weight inside. Let's draw some rocks. First, draw a shape and
then fill it with color. Add some cracks inside
the small rocks. And add sports
with darker color, and change the blend mode
to darken or collarbone. You can change the opacity or draw sports with
lighter color, then change the blend mode
to overlay or screen. In one more version, draw a shape first, and then draw lines inside this chip with darker
and lighter colors. Then using Liquify
tool, using pinch, push or Xpand option to turn these lines into
a beautiful marble. Draw some bubbles, also. Draw a circle first, and then fill it
with aqua color. Then using medium nozzle
brush as an eraser, erase the centers of the circle till get a nice
transition of column. Now, small highlights with the white color
using inking brush. Duplicate this layer. Gray scale the size of bubbles. This way create more
bubbles with varying sizes.
15. CREATING BACKGROUND: For our final illustration, first, I will create
a background. For the background, create a gradient with different
shades of blue. Here I'm using the
eraser as my brush, starting with the
darkest shade of blue from the bottom
of the document. Then keep on adding lighter versions of
blue above one another. Then apply Gaussian blur
up to 50 per cent as it will give unpredictable
transition to the cooler. Next, I will create a
shape which I want for my final illustration and
fill it with white color. Now, bring this shape layer
below the gradient layer, clip gradient layer
to the layer below. Now using Transform tool, adjust the color
inside the shape. Now draw some white colored
ways in a new layer, which is also clipped to the
shape using inking brush. Now change the blend
mode of this layer to overlay and reduce the opacity. Using mediums of gray
paint brush as an eraser. It is white layer with a bit. It will give very interesting
effect to the background. Add few more waves, enter top of the shape. This time I will use Lasso tool and draw
some veins like this. Here. I'm drawing this in a new layer and then fill
color in a new layer. I will repeat the same
thing two more times with different colors in
their different layers. Then change the blend mode
of these layers to darken color been screen or
overlay as you like. Or just don't use any. You can erase them using same medium nozzle
brush as an eraser. In the next step, create some silhouette of the sea
life. In the background. Here, I'm drying corals using blue color and inking brush. Although they won't show much
in the final illustration. But it will add nice depth
to the fenestration, decrease the opacity
of this layer. I will also add some silhouette of dolphins in a differently. For the dolphin, start with the curb line at body
and hampered the head. They are very small as they
are too far from the front. Draw a white colored silhouette of how predictable
fish in the top, in front of all the leaves. Later on, I will duplicate this fish and fit inside
the fenestration.
16. COMPOSITION: The composition part, I
have already copied and pasted the elements which
we have created earlier. And now we'll adjust them
according to the composition. I just make sure that the colors look cohesive and interesting
inside the composition. Sometimes I rotate them
vertically and horizontally, or even change the colors. Cut them them. Usually I use three
to four elements inside one composition. I have added a lot of bubbles
by duplicating the layers, change their
positions, and pinch these layers altogether
to make our group. I have duplicated
this white silhouette of small fish about seven to eight times and then
fit them inside the illustration to
show some movement. They are the part of the
front node, the background. So keep them in the upper-left. Then pinch all these white fish. I have added white dots
all over the world to make the whole
illustration more cohesive. And the last, I also add
noise layer at the top of everything and about
seven to 8% is enough. No illustration is ready.
17. BONUS CLASS: This is the sketchbook
which I prefer most as it has nice
texture and nicely, and is good for pencil, charcoal and even light washes. I use these Staedtler
Luna watercolor pencils. They're very smooth and vibrant. You also use this
brushstroke gouache colors as they are very
creamy and saturated. As for brushes, I don't
prefer any particular brand. I need round brushes. First, I draw in a sketchbook using
these colored pencils. I draw a lot of trips, then select a few
and redraw them again and turn them into
fish and other animals, as I have shown in my
drawing fish lesson. Then I select fishes and
using this light box, redraw them on separate people. Then I colored them
using gouache paints. Usually I create many elements which I further use
for my other projects. Sometimes I print
these teats again on photo paper and cut them
into stickers like this. Then use these tickers
as such in scrapbooks. And they also helped me to create a
beautiful composition. Then I make illustrations. Finally, using
these compositions. So they are very
helpful in handy. I also scanned these sheets, then bring them into Photoshop, remove the background, and make surface patrons from
these elements. I like to use them as emoji
for social media also, as they are completely
handmade and exclusive. So having a set
like this are very useful if you are making
different kinds of projects.
18. FINAL THOUGHTS: Thank you so much for taking your time to learn
with me in this class. I hope you must have
picked some tips and tricks to be used
in your own rights. I just can't wait to see
your amazing questions. So don't forget to upload
them in the project section. If you have any queries, then post them in the
discussion below. And I will look at
them as soon as I can. If you want to stay
updated on my work, then don't forget to
follow me here on Skillshare to see my
upcoming classes. I hope you enjoyed
this class and I'm looking forward to
seeing you in the next one.
 Shifali Garg, Teacher