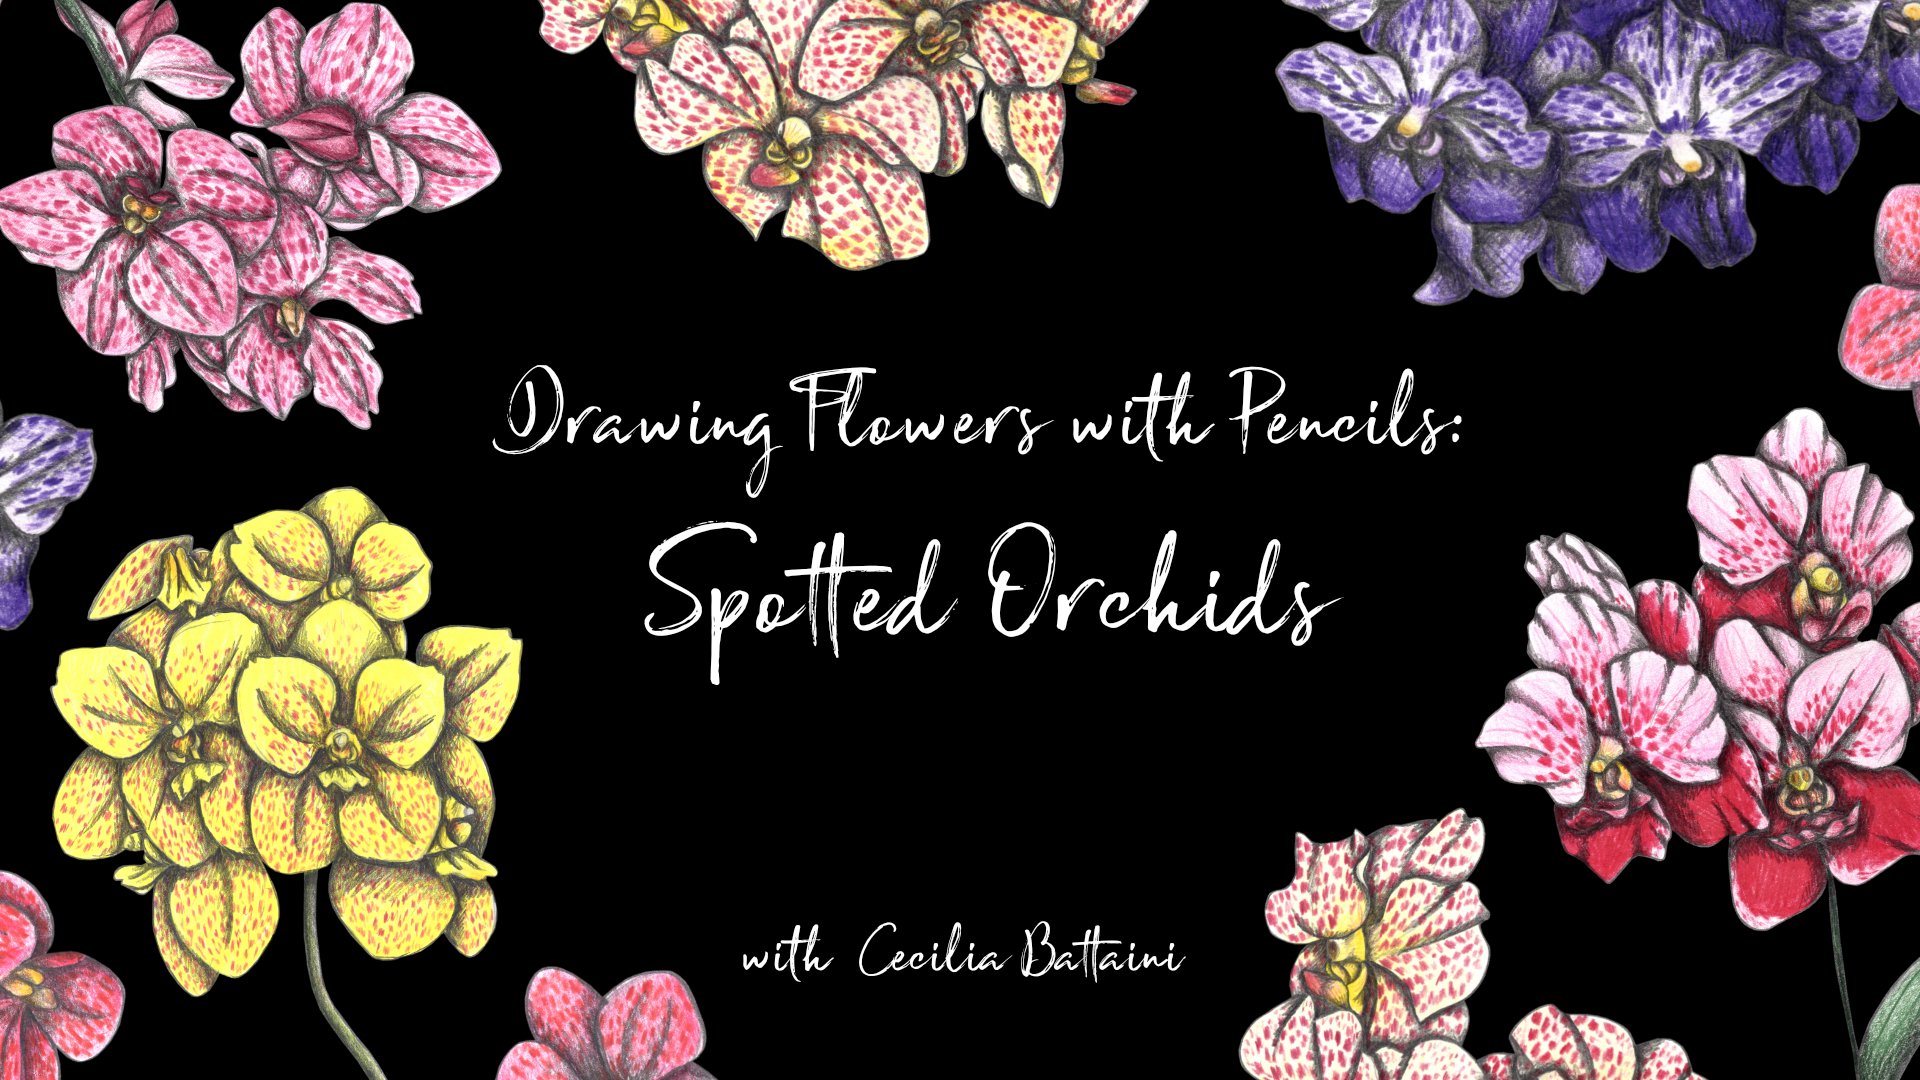
Drawing flowers with pencils: Multicolor Tulips
 Cecilia Battaini, Illustrator & Surface Designer
Watch this class and thousands more
Watch this class and thousands more
Lessons in This Class
-
-
1.
Intro
1:36
-
2.
Your Project
0:53
-
3.
Sketching Your Tulip
1:23
-
4.
Coloring Your Tulip
2:55
-
5.
Shading Your Tulip
2:02
-
6.
Final Thoughts
0:39
-
-
- --
- Beginner level
- Intermediate level
- Advanced level
- All levels
Community Generated
The level is determined by a majority opinion of students who have reviewed this class. The teacher's recommendation is shown until at least 5 student responses are collected.
51
Students
7
Projects
About This Class
Welcome to my first ever Skillshare class, which also will be the first in my series on floral illustration!
If you love flowers and want to learn how to draw them with a hand-drawn technique like colored pencils, this is the class for you.
This class is focused on multicolor tulips and inside you will learn:
- How to sketch a tulip from a reference photo in pencil
- How to color your tulip with colored pencils
- How to add different shades of color to your tulip with colored pencils
- How to add shadows to your tulip with colored pencils
- Some botanical (and fun!) facts about tulips
You will be creating:
- A gorgeous multicolor tulip illustration using the techniques and resources from this class.
This class is for you if:
- You want to explore the world of botanical illustrations
- You want to learn more about drawing with colored pencils
- You find inspiration in nature, especially in flowers
You don’t need any previous knowledge in pencil drawing or any specific tools. Everyone is welcome!
What you will need:
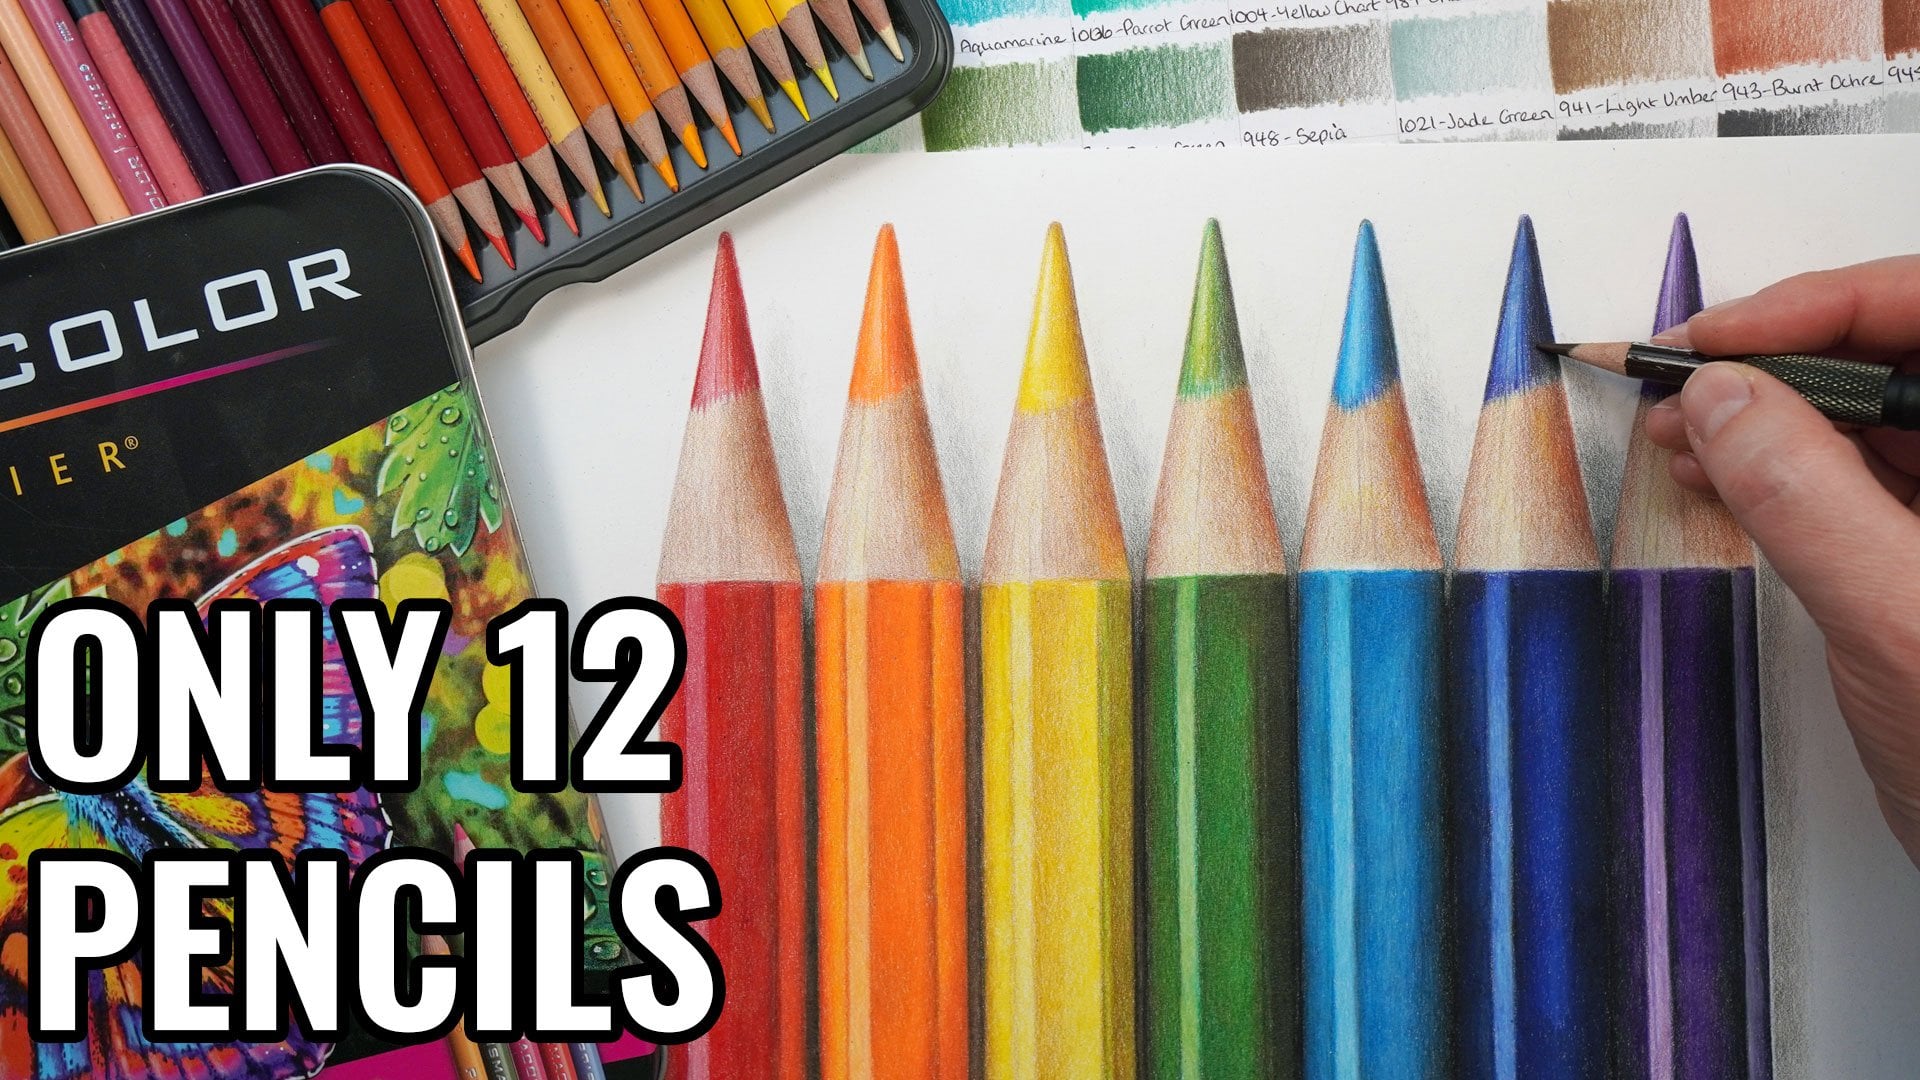
You can use whatever pencils and paper you have available. I recommend:
- Colored Pencils
- HB pencil to sketch
- 8B pencil to shade
- Paper
- Eraser
- Pencil Sharpener
Meet Your Teacher

Hi, I'm Cecilia!
I'm an illustrator, surface designer and art educator from Milan, Italy. When I'm not drawing in my cozy studio, you can find me traveling around the world with my sketchbook and pencils, searching for plants and flowers to use as an inspiration for my nature-inspired illustrations and patterns.
From lush flowers to curious mushrooms, from cute animals to vibrant vegetables, I turn the wonders of the natural world into charming, imaginative artworks ready to bring stories to life. I use colored pencils to create detailed floral drawings and botanical illustrations, that I arrange together into whimsical patterns with Affinity.
Today I work... See full profile
Hands-on Class Project
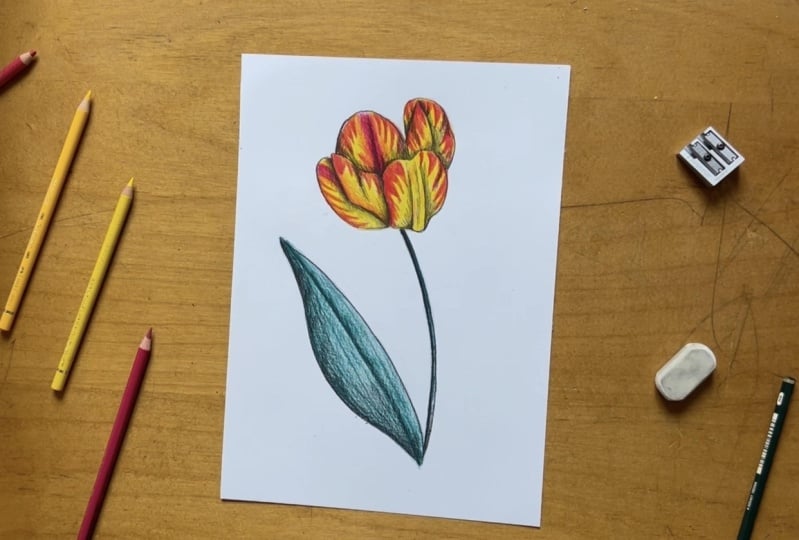
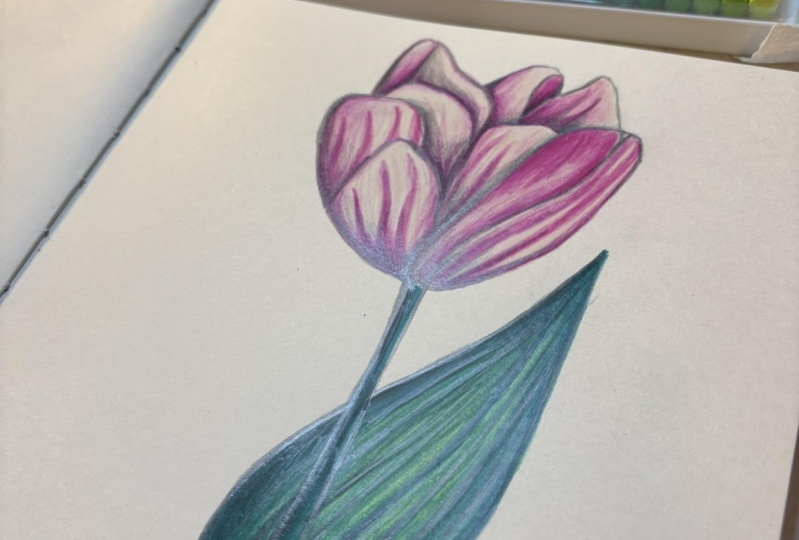
Your project for this class is to create an illustration of a multicolor tulip.
I'm illustrating the tulip you see in the class, but I'm also providing you with pages full of reference photos that you can download from the resources. You are more than welcome to use one or more of them, or you can embark on your own path.
I can’t wait to see what you create!
Ps: I would love to support you as best as I can, so if you share your class project on Instagram please tag me @ceciliabattaini and @skillshare so that I can like, comment and re-share your creations.


Class Ratings
Why Join Skillshare?
Take award-winning Skillshare Original Classes
Each class has short lessons, hands-on projects
Your membership supports Skillshare teachers
Learn From Anywhere
Take classes on the go with the Skillshare app. Stream or download to watch on the plane, the subway, or wherever you learn best.