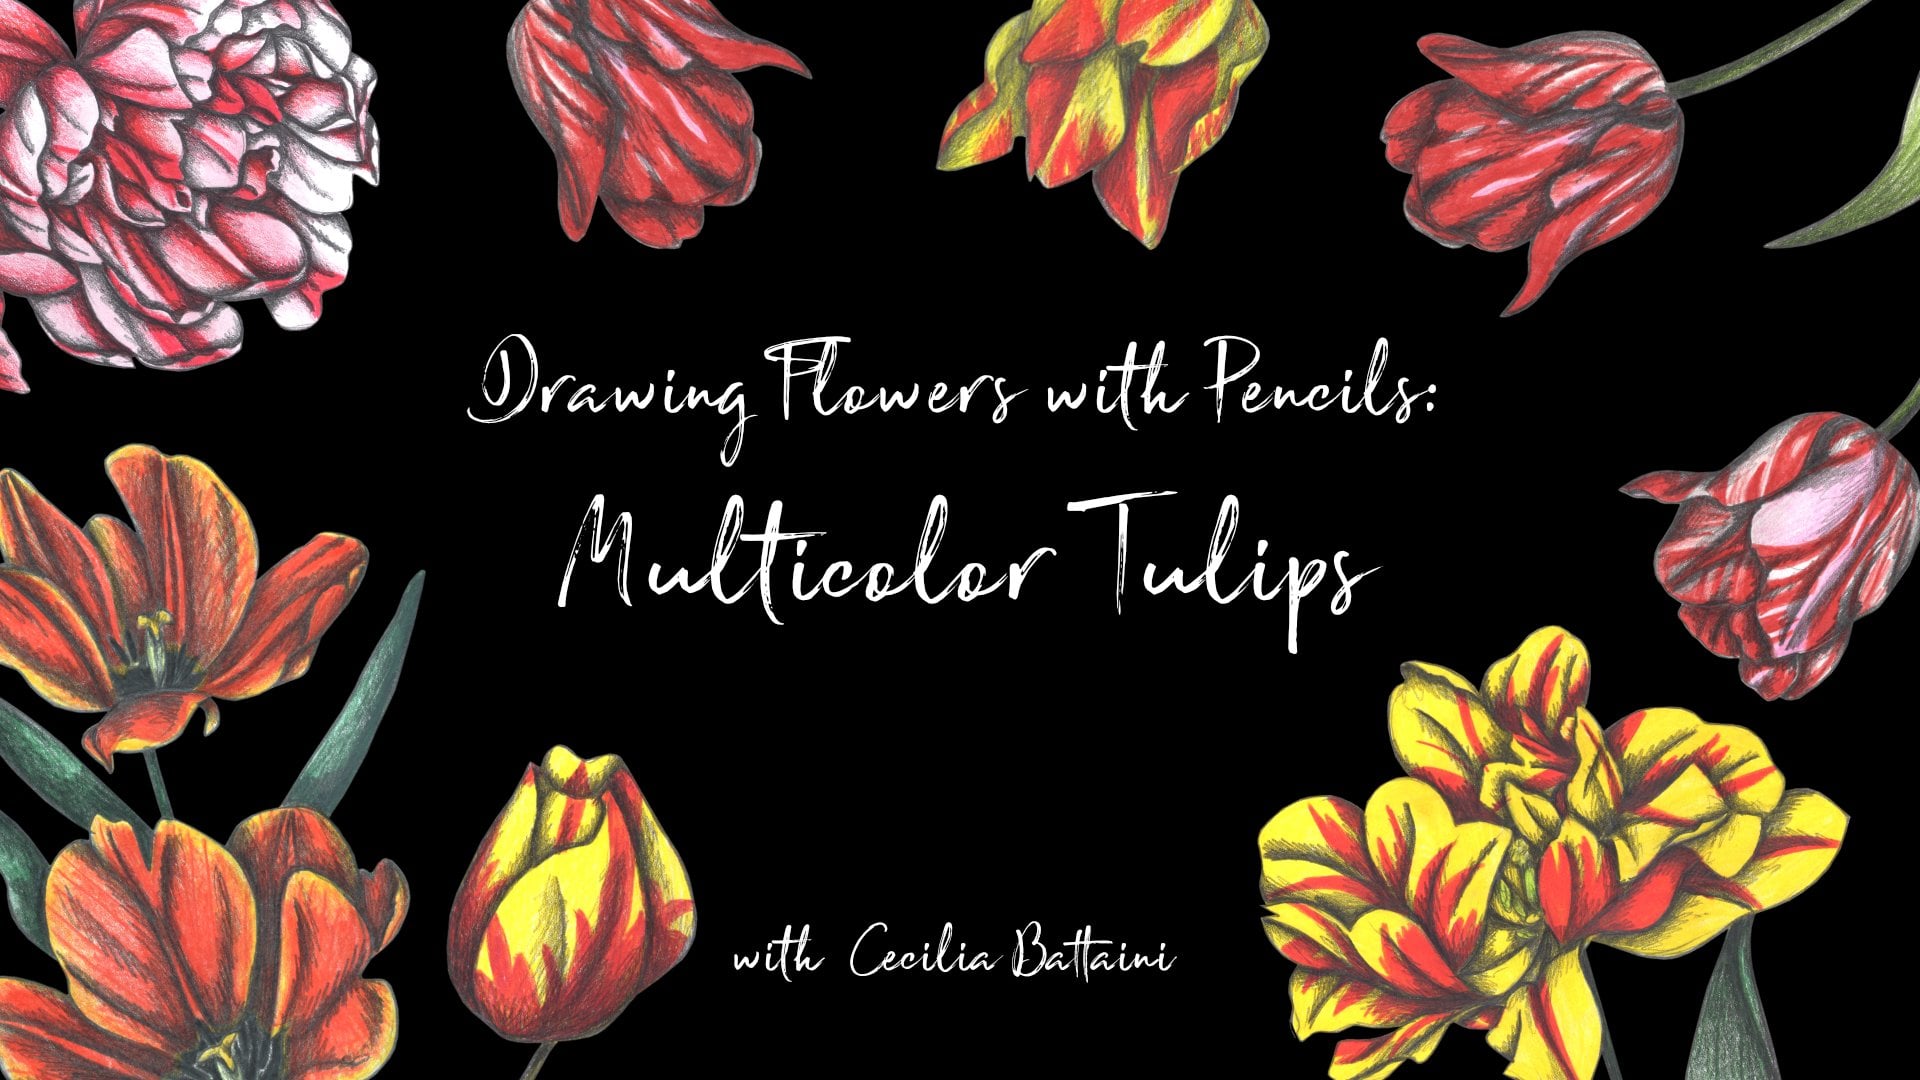
Transcripts
1. 1 Orchids Intro: Hello, friends, and welcome to this botanical
illustration class about drawing spotted archives
with colored pencils. My name is Cecil Battaini
and I'm an illustrator, sofa designer, and traveling
artist from Milan Italy. I'm not drawing in
my cozy studio, you can find me traveling around the world with my
sketchbook and pencils, searching for plants
and flowers to use as inspiration for manature inspired illustrations
and patterns. From lush flowers to
curious mushrooms, from cute animals to
vibrant vegetables, I turn the wonders of a
natural world into charming, imaginative artworks ready
to bring stories to life. All my illustrations are
undrawn with colored pencils, scanning onto my
laptop and arranged into patterns and
illustration using affinity. Work with independent
clients, small business, and large brands from
all around the world, licensing my creations or
creating costume artworks. Today, my flower patterns and illustrations are featured
on products like wallpaper, greeting cards, fabrics,
and accessories. If you love flowers as much
as I do and want to learn how to draw them using an indoor technique
like colo pencils, you're in the right place. You're invited to slow
down and to reconnect with yourself while drawing
flowers at your own rhythm. In this class, I will take
you around the world with me, since we'll focus on orchid
with spotted petals. Flowers that I saw
multiple times in Asia, and I'll guide you
gently through every step of the
process to create an illustration of its flowers from sketching to
coloring and shedding. I also love a good fun fat
about flowers and plants. Be prepared to hear one
or two of them along the way alongside some
of my travel adventures. You don't need any
previous knowledge in pencil drawing of
any specific tools. You need only thick
smooth white paper. Bristol is the best option
and I usually recommend the 12 64 Bristol Smooth or
technical seats by Fabriano. An eraser, a pencil sharpener, and of course, pencils. My brand of choice
is Faber Castell, and I suggest you to
use HB for sketching, HB for shedding, and
polychroms for coloring. But if you prefer
other brands or can find the materials I
listed, don't worry. A brand is welcome.
2. 2 Orchids Project: All right. Now let's talk about your
project for this class. You're about to draw
a spotted chid with colored pencils using the
techniques I show you. In this class, you see me
drawing various orchids. However, I've also
provided pages full reference photos for you to download
in their sources. They are my own
pictures taken while I was exploring an
Archid farm in Thailand. Do you know that exists
more than 20,000 species of orchids and that they can be found in almost every continent. They are the most
widespread flower in all world and you can find it in various shapes and colors. That's why I find
orchids in most of the countries explored,
not only Thailand. I hope you'll enjoy the
special gift and remember that you're more than welcome to
use one or more of them, but you are free to
embark on your own path. Are you ready now to let
the creativity bloom? I can't wait to
see your creation.
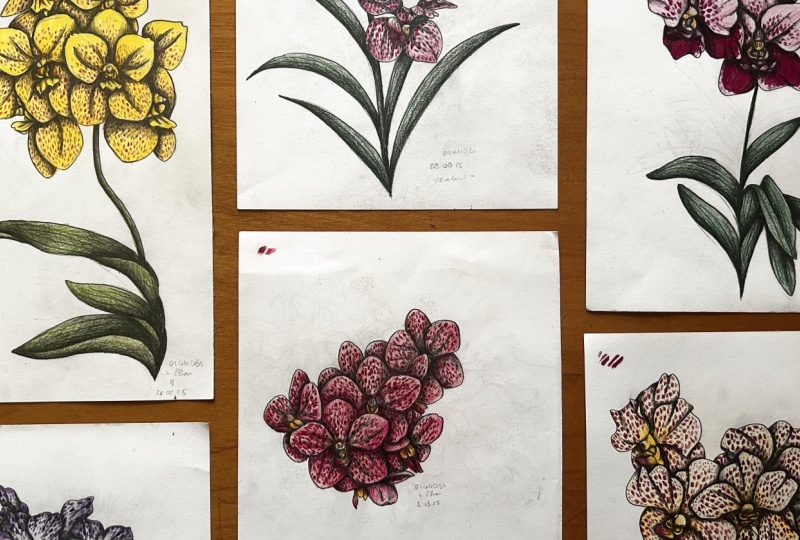
3. 3 Orchids Sketching: So now we are ready to start
our arcade illustration. I want you to grab your piece of paper and your HB pencil, a short but sweet tip. Drawing directly on the surface underneath your piece of
paper isn't the best choice, since it could make
your illustration a little bit text read, you can simply put
another piece of paper, preferably white or your
sketchbook underneath. Before starting, also make
sure to have your eraser and pencil in sharpener close by
and to have your reference, a rare plant or a
photo in front of you. Now let's begin sketching. A full arche plant
usually composed of many different flowers and I want to start with the
one closest to me. That's because it's the only one I can see in its wall form. All the flowers are behind the others and I can see
only some of our petals. Once I choose the flower, I begin drawing its center. This will allow me to build
the petals around it. When I'm finally satisfied with the shape of
a first flower, I can move on to
the other flowers. I start with the
ones right beyond the one I've already
drowned and so on. Some orchids have
curious shapes and colors in order to
attract bees so that these insects can carry
away the pollen and release it when they visit vents
orchid of the same species. I didn't see any bee
while I was in Thailand. But inside the farm where I took the pictures that you
can use for this class, there was a butterfly
garden as well. We with the chids
was a totally close. It was impossible to see butterflies flying
among the Archids. But it was lovely to have all those wonders went to
our world in the same place. Don't worry about
precision at this point. You can start very messy
was catching the outlines. These canals help you visualize how much space
yourer illustration we occupy on your paper. Just remember to apply
very light pressure, is just the foundation
of your Archid you can experiment as many times as you want until you're satisfied
with your messy sketch. At this point, you can
darken the outlines. Use your eraser to gently
remove unneeded sketch lines. Pay close attention to the
tails of your outline, as this will serve as a definitive sketch for
our coloring process.
4. 4 Orchids Coloring: Now it's time to bring your
archit to life with colors. Remember to start with
the lighter color. It's true that pencils
can be erased. However, if we can avoid it, that's better for
your illustration. In this case, we start with a yellow at the
center of the flower. Since yellow, it's
a very solid color. I can simply cover a I want to be yellow
with a deep layer. It can be a nice touch to add some very subtle
absence of yellow in the as of a petas
closer to the center. I start TV and then go lighter and lighter
and feel act too, but I don't cover the
wall petals with color. We are just giving some light
around the central areas. Now it's time to
use another color. The center of the petals present some tiny dark
haired datas and I can achieve them with a
gentle accent of brown. I usually pick a very light
shade close to yellow. Then I cover the
areas I choose with a deep layer of color
without any shedding. We are talking about
such tiny areas that shedding
wouldn't really show. Every time I traveling, I make sure to explore as many botanical gardens
and parks I can find. I feel like a sort
of natural explorer, searching for plants and flowers to transform into new artworks. This reminds me that
in the 19th century, orchids were among the most valuable and requested
plants during the botanical explorations of tropical forest in
South America and Asia. They were transported
overseas to Europe among many other tropical flowers and plants in protective iron
and glass wardian cases, precursors of modern terrariums. Now let's go back to
our illustration. At this point, we can
color the petals. I choose a dark shade of pink, I begin coloring the petals. I color them with a
very light layer, paying attention not to cover subtle yellow areas
close to the center. Once the Woll arca is covered
with this layer color, I can proceed to add
some color shading, a sharp a sweet tip. Spend more time on
shedding with color than with the eight B
pencil I'll show you later. Dark dramatic shadows might
not be everyone's taste. If you want something
more subtle, my suggestion is to use with dark pencil only for
a few deep shadows. I take the same
pink pencil that I used for previous layer
and begin shedding. I repeat the same process
that I use for yellow. I start TV and then go
lighter and lighter until the shedding ends al
mostly in the lighter layer. For a more harmonious result, you can always add
a little more layer into the lighter areas, but be sure to be very light. I follow this process, especially where
the petals overlap. But you can also add
some more shading to selected petals. For example, in some petals, I trace one or two dark
slightly covered lines and then start shading by starting where the line starts and going
lighter and lighter. Always remember to watch your reference carefully to
see where the shadows go. Proceeding this way until
you finish every petal. It's no time to work
on vedetas which means that we are going
to talk about the spots.
5. 5 Orchids Details: Adding details surely gives
more life story illustration, but it takes time and attention. Now, I show you how to add
the spots to your archd. My suggestion is to use a different color from the
one used for the petals. It can be a completely
different color or just a darker shade of
the one you already used. In either case, I always suggest a dark color because your
spots need to stand out. Looking at your reference
will surely help you choose the best color
for your piece of art. I also use the same color to add more darker da ties to the
central part of the flowers, where we used the yellow color. For my orchids, I decided to make the spots in a
dark shade of red. It's different enough to stand out on the
dark pink petals, selling the same family. But don't be afraid to pick a completely different
color if you want to achieve a
more striking effect. To see how a color match will look before beginning
to work on your archd, you can always make some
tests on your piece of paper. I usually do it in a corner, but feel free to do it
wherever you prefer. For example, another
piece of paper. Just make some quick
and smooth races of colors next to each other and test all the combination you want until you find
the perfect ones. Back to our illustration, make sure to pay
attention to the spots of the petals aren't
that atlyregular. We aren't talking about
precise circle dots. They are more like
spots of some animals, feel free to make quick sketches
like you were doodling. Orchids are flowers
associated with symbolic values
for these reasons, many countries have a
specific arch variety as national flower, like Belize, Guatemala,
and Singapore. All countries that
I explored and where so many and many orchids. This means that there are various species of orchids
with spotted petals. But in this class,
I'm showing you just one method
for drawing them. Once you must read, you can also apply to Archids
with different spots. I fun with your illustration, you can choose to cover only certain petals with spots or to make them really close together or other spars on
different petals. There are plenty of
combination you can play with. Just remember to be cohesive
in a world illustration. Use the same scheme you apply to a first flower or your chid
for all the other ones.
6. 6 Orchids Shading: After adding the details, it's time for a very
last step shading. Your arched illustration
is almost done, since shadows will give it
depth and make it send out. Take your eight B pencil
and let's start them. Just take note that
an eight B pencil cost much but your
paper and your ans. Since you surely don't want
to renew your creation, I suggest you to follow
an order when shedding. By starting from the opposite
side of hand used to draw. For example, I start
shedding the elements of extreme left of my piece of
paper, moving towards veriem. That's because I use
Mar hand to draw. Actually, I start from the
top alpha stream left, moving from the
top to the bottom, then moving up again to the top, repeating the same movement until the conclusion
of a drawing. It is divided my illustration into very tiny
sections in my mind. Do you know which is the
most common place where you can find an orchid
on an over tree? While in Thailand,
I enjoyed walking among the trees in the
parks because you could suddenly see some
spots of bright colors hanging from them
Orchids in full bloom. Indeed, while some
orchids are terrestrial, most of them are epiphytic. An epiphita is a
plant that grows on another plant and derives its
nutrients from air or rain. For this reason, these orchids are very long hairier roots. Back to our illustration, just remember that your
reference your best friend. Take notice where the
main shadows are and be consistent with the color
shading you did before. For example, if you choose the left side as
the lighter side, create the shadows
on the right side. I'm starting with
the petal that's on the stream left of
my piece of paper. Then I'll move to o once. First of all, press
the outline with your AB pencil just to be sure not to get
outside the borders. I suggest you to start where
the shadows are darker, for example, where
petals overlap. I starting IV and then
going lighter and lighter until the darkness blends armsly into the
color of a petal. It's the same technique we used for the color
shading previously. But this time, the
process will give a finishing touch to
your illustration. To give a little more drama, I usually like to retrace the
slightly curved lines that I made previously with a darker
color with my AB pencil, retrace the line and then
gradually shade them toward the center of a border
of a petal as your choice. Start TV and then
go always lighter and lighter until the darkness ends harmlessly into the petal. Just to be sure that
these shadows are lighter than the deep ones
where the petals overlap. Pay attention to ivy urine gets. If you don't want your
flower to be too dark, remember to be very light. Sometimes it's difficult
to find the right balance, but my suggestions are helpful.
7. 7 Orchids Final Thoughts: I. You made it. I finished a fabulous
spotted archd illustration. We have covered every
step in writing a spotted arch illustration from sketching to coloring all
the way through shedding. I also showed you how to attain details like spots
on the petals. I hope you will find some relax while making your artwork. Don't forget to share your illustrations in
the project gallery. I'm so excited to
see your creations. If you enjoyed this class, please leave me a
review and follow me on Skillshare so
that you can stay updated when the
ext class will be released. See useful on
 Cecilia Battaini, Illustrator & Surface Designer