Transcripts
1. Introduction: Hey everybody, My name
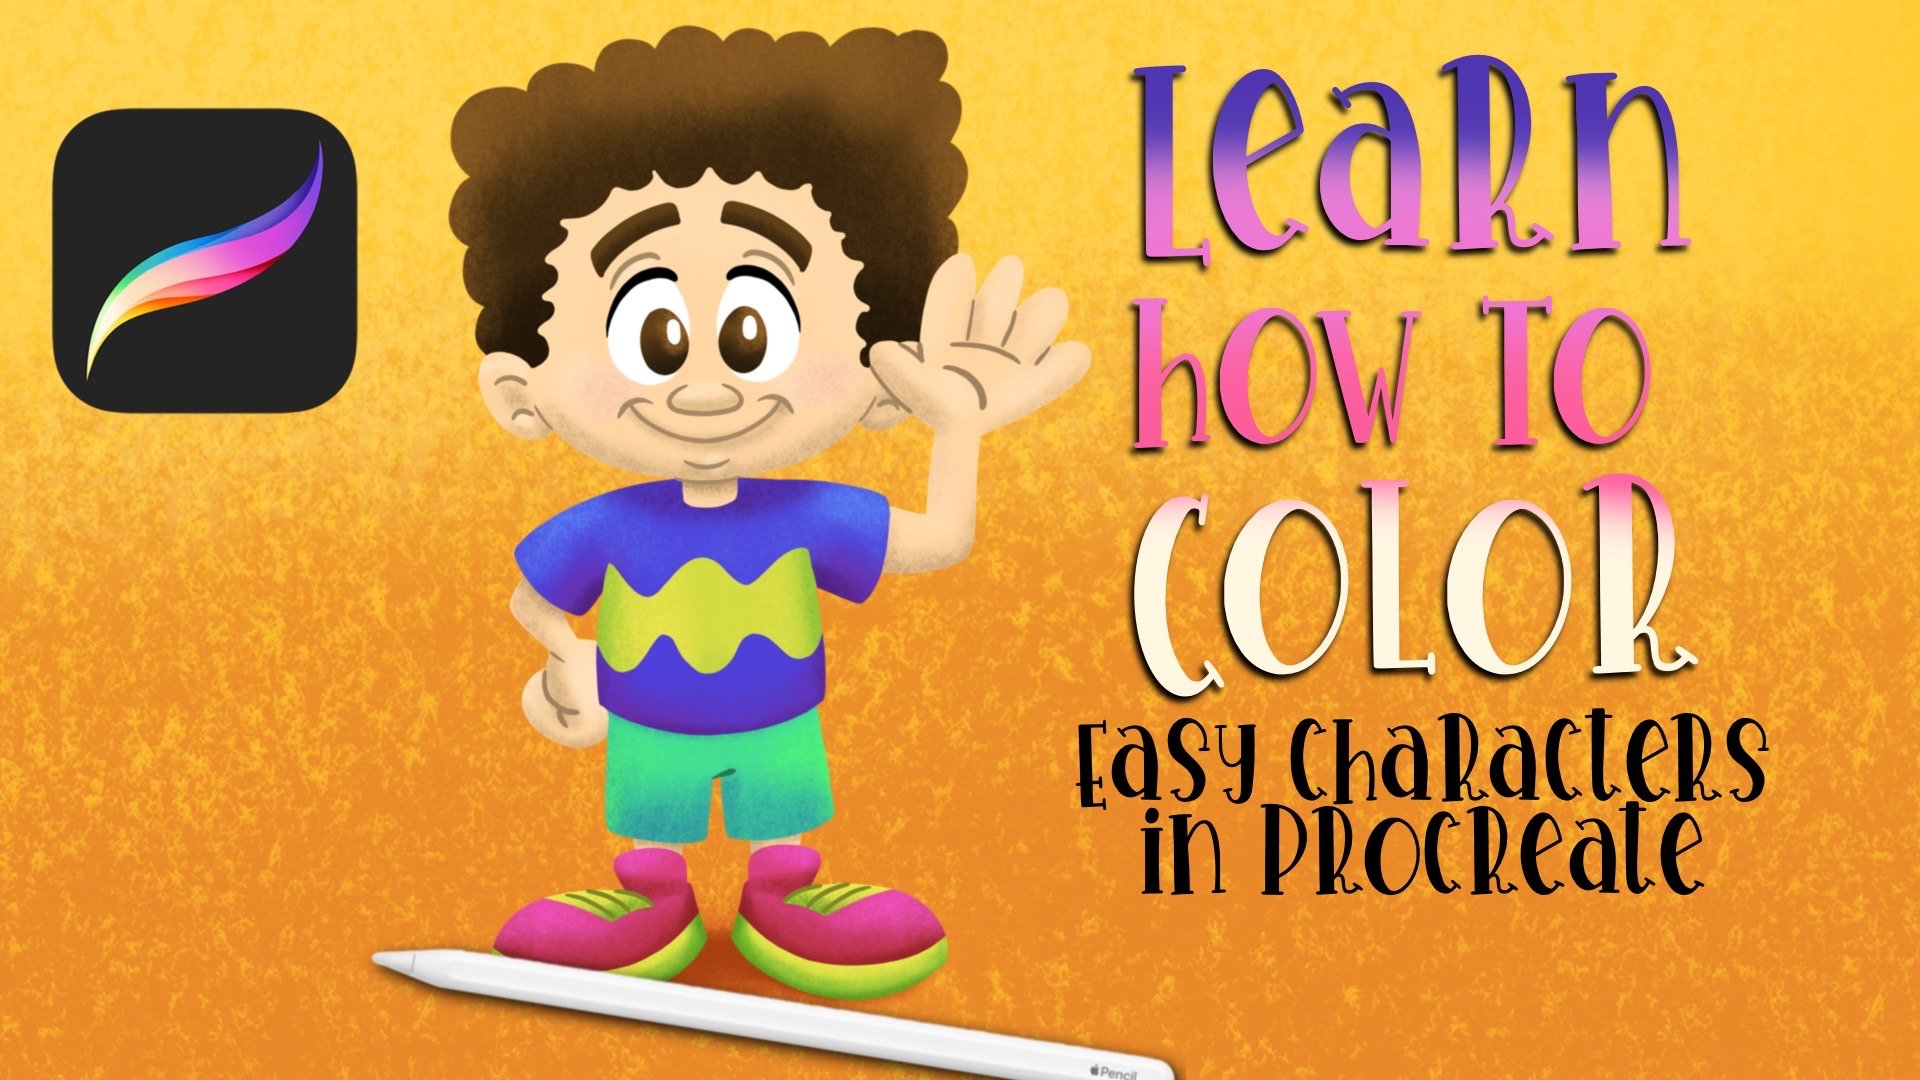
is Travis A. Thompson, and today I'm going to be
showing you how you can draw simple and easy characters
using procreate. Now this is a lesson
that you probably can use using just regular
pencil and paper. But there are going to be some
parts of this lesson that are going to be very
specific to procreate. It's an IOS app and I'm going
to be using my ipad Pro, which is a 12.9 inch screen, and the second
generation Apple pencil. This lesson is for
all skill levels and let's get started.
2. Setting Up the Canvas: All right, so this
process is going to be very easy and very
straightforward. I'm going to try to keep
things as simple as possible because
drawing a cartoon shouldn't be that difficult. Of course, we're going to
be using the procreate app. I'm going to be using it on
my ipad Pro 12.9 inch screen, and I'm going to be using
the Apple pencil two. So the first thing
that you want to do once you've opened up procreate, is you want to create a new canvas to draw our picture in. You're going to create
a canvas by tapping on the plus sign up here
in the top right corner. Now I have created all kinds of different canvases
because there's all different
projects that I do. But we're just going to choose a simple square shaped canvas. Now you have two options. There's already a pre
loaded square option of a canvas right here. It's going to say square S, RGB, and it's going to be 2048
pixels by 2048 pixels. That one is all
we need for this. Of course, if you wanted to
create a customized canvas, you would tap up here in
this corner right here. And then you'd be able to set those dimensions
that you want. But for today, we're
just going to go with the basic square shape.
3. Defining the Pose: I'm going to choose a
color to sketch in, so you're going
to tap the little color circle in the top right. I'm going to stick, I'm
going to do an orange. I'm going to pick an orange. And this is just
going to be the color that I do the initial sketch in. I'll go and do details
in a darker color later. The type of pencil that
I'm going to be using is a pencil that is pre
loaded in procreate, which is a six pencil. To locate it, you
would, you would tap that icon right there
for your brush library. And then these are your
categories over here. Always remember that
you can find brushes, you can buy brushes out on the Internet and import
them into your procreate. So that's why I have some
additional brushes up here. Brush categories, the six pencil can be found under sketching. And then of course, six B, that is the pencil that
I'm going to be using. You see that's what
it looks like if I'm drawing on the
screen for now. I'm going to use my brush
size at the highest size, which is 100% And I'm going
to do 100% opacity as well. The first thing that I always
start off doing when I'm drawing a simple
cartoon is I'm just doing the basic shape for the head and the
body for the head. I'm just going to start
off with a circle. I like to do a bunch of sketches as far as
a bunch of marks to just flesh out what
I want the shape of the characters head
and body to look like. That's going to be the
head, then the body, we're just going to do
just a smaller oval. Now, of course, you
can do whatever size, whatever shape you want, and then these will also
be altered later on. But I'm just going to use
this as my starting point. I have my head and
I have my body. One thing that I want to start off doing is we're going to use symmetry to help make this
process go a lot easier. The way we're going to
do that is we're going to go over here to
the tool panel. It's right beside
gallery is this one. We're going to tap on it and we're going to come all the way down to drawing guide and we're going to
turn drawing guide on. Now when drawing guide
initially comes on, you're going to get the grid. But we don't want the grid
today, want symmetry. First thing I'm going
to do is I'm going to tap on Edit Drawing guide. Down here at the
bottom, you have different drawing guides
that you can use currently. Right now, this is the grid you can play with, the
settings over here. This is the opacity, the
thickness of the lines, the grid size like that. But like I said, we're
not using the grid. We're going to use symmetry. So I'm going to come
and tap on symmetry. I'm going to move my opacity
all the way up to 100. And I'm going to move
my thickness all the way up to max as well. Just to make it
easier for me to see what I'm doing up
here at the top. You can change the
color of the line. So for example, if you don't
want to line that's black, you can pick another color. So I'm going to pick something
in the warm color family. And then I'm just
going to click done. Now, drawing a cyst is going to automatically
be turned on. And what that means
is anything I draw on the left side is automatically going to
show up on the right side. For example, you see
that right there, I draw it on the right side, it shows up on the left side. This really helps when
it comes to cartoons, because most cartoons,
when we're drawing them, just straightforward,
they're symmetrical because that's the kind of cartoon we're going
to be drawing today. Right now, the layer
that the body is on is drawing a cyst is turned on. That's
fine for right now. What I want to first
start off by doing is I'm going to tap this
icon right here. Because I want to center
what I've drawn so far. We already know the center of the canvas is where
that line is. Now that I've turned this on, I can see the eight points
rather for my drawing. No, it's not eight points.
Yeah, eight points. All I'm going to do is
I'm just going to line up that middle dot and that middle
dot with the middle line. That means now my
drawing is centered. Now I can see how off it is. So now I can make adjustments. And keep in mind, like I said, whatever you draw on one side automatically gets drawn
on the other side. So I'm just going to correct
the head a little bit. You see how the body is more space on this side
than it is on that side. I'm just going to try to
even this out a little bit. Now, we could have
started off doing this, but I'd like to just start off
without all of this stuff. First, of course, if you
have the apple pencil two, if you tap it two times, it's going to automatically
switch to the eraser. Otherwise, you can get
tap on the eraser. The eraser that I'm
probably going to be using is under the
airbrushing category, and it's the soft brush. So I'm going to make
it a little small, probably about like
three to five. And I'm just going to
clean up the shape that we have right now for the head and the shape that we
have for the body. All these little marks
that I don't really need. We're just going to get rid of those and we're good right now. So now we have the
head in the body, so now we can start adding
on everything else. One thing that I think it's
important to do is to add marks to be your
guide when it comes to how your character's body is. I'm adding one at the
top is going to be for the shoulders and then one at the bottom for where the
legs are going to come out. Now keep in mind
everything we draw on one side is going to
appear on the other side, so we don't have to draw up two separate arms and two
legs and all of that. We just draw once and it
automatically goes over. I want the character
just be standing straight out of the circle for where the legs are,
just a straight line. And we're just going to
do some cartoonish feet. And then you have a
character that is standing. Now if we wanted to
have a character whose arms are by their side, we come out of that
shoulder circle. And we can do
something like that. And this is your basis for
drawing a cartoon character. You have the body shape,
you have the head. And then it's just about drawing all of the
different tools, the different attributes
for the character. But I'm going to
erase these arms. I don't want my character's arms to be right on the side today. I'm going to draw
them with their arms initially on their hip area. That's why I love drawing.
Says what I do on one side, it automatically does
on the other side. All right, so now we have
our character stance. We have our characters posed. I'm going to change this side. I don't want my character to stand with both
hands on the hips. I'm going to draw one
that's waving at us. What I'm going to do is I'm now going to come back to this
layer that I'm working on. I'm going to tap on it and
I'm going to turn off drawing is now when I draw
something on one side, it's not mirrored
on the other side. And always remember,
I don't know if I said this in the last videos. If you want an easy way to
erase something or to undo, just tap the two fingers. And I'm coming up to my,
my eraser and I'm going to erase this arm in hand. And then we're
going to draw him, waving him or her,
whatever it's going to be. So we're going to come
out a little bit. Go up, there we go. That is going to
be the stands for the character that we are
going to be drawing today. We're going to now take this and we're
going to refine it. And then you have an opportunity
to make it your own.
4. Refining the Pose: All right, now we're going
to take this and move to the next level to keep
things organized. We are currently on layer one, we're going to go ahead
and rename layer one. And we can just
rename layer one. Well, I'm going
to call it stance just so I can keep up with it. So this is going to
be my stance layer. And I'm going to
go ahead and add a layer on top of stance, because now we're
going to refine how the character
actually looks. What we're going to
do is I'm going to drop down the opacity of the stance layer because it makes it easier
for me to see. I'm going to drop it down to about 50% You see the
percentages changing right here. As you slide this over, you'll see the percentage
change and you'll see the opacity of what you've
drawn begin to change as well. All right, I'm stance
layer opacity is now 50% We're going to
come up to what is now layer two and we're going
to draw on layer two. But I'm going to
change the color. I don't want to draw
with the same orange on top of a faded orange. I'm going to go to a red. And I'm just going to drop
it down a little bit. Now what I'm going to do is
I'm going to go ahead and turn back on drawing
a cyst on layer two. I'm going to tap layer two. Tap drawing a cyst.
Now on layer two, when I draw something it mirrors what I'm going
to do with this area. Is I'm going to refine how
the legs and the feet look. Excuse me, so we have the legs, like the shape of the
legs or whatever. So now I'm just going to
kind of work on this. So now what I'm
pretty much doing is creating the shape
of the body of the character. Create the neck. And then I'm going to stop here. So we have the feet,
legs, and body. Our arms are different, so we need to go in
and make sure we turn off drawing assist, unless you kept yours with the
same stance on both sides. Turn off drawings and
now I'm going to go over a, I'm going to go
ahead and start drawing the hand It to be really simple, so as you can see,
I didn't stick exactly with what I did
on that stance layer. But that's the purpose
of the stance layers, just to help you kind of flesh out how you
want everything to look. All right, now we have the
stance for the character. Now I'm going to open this hand. This character is
going to be waving, so we know that this is
going to be an open hand. I'm going to come
down to the stance layer just so I can show you Pretty much you can
decide whether you want your character to have four
fingers or five, or three. You know, it's up to you, but the thumb is always
going to be right here. Then the rest of your fingers, they're going to be in
this area right here. Many different ways
to draw hands. Some people like to take
and draw the circles here, so you can envision how
the hand is going to be. It's really up to you,
but the simple way for me to do it is right
on the stance layer. I'm going to go
ahead and draw how I think the hand
is going to look. There's the thumb, then the
fingers back into frame, and then the fingers
will be in there. Now I can come up to
layer two again and I can create the exact details
for the fingers. And I'm going to do how many
fingers don't want to do, I'll go ahead and do five. Middle finger is always
longer than the index finger, ring finger and index
finger. About the same. Then I think I'm moving tab
a little bit then pinking. Of course, this is all
still a rough sketch. We can do a little line here to show the
character is waving. Now when I look at this, I'm starting to think that
the hand is actually too big for the character in
comparison to everything else. What I can do is I can take
this lasso to right here, tap on it, make sure free hand is chosen
and should be on a. And I'm just going to draw
a circle around the hand. I want the hand. I don't want
the arm or anything else. Just the hand. Then I'm
going to tap on here. And then I can now
change the size of the hand to fit and
be more proportional. And see if you use two fingers. You can zoom out of the paper,
zoom out of the canvas. Look her at how
everything is looking. I can turn the hand to
the side like that, but you can clearly see that's probably a better
size for the hand. All right.
5. Drawing The Face: All right, now it's time to
work on the characters space. So what I'm going to do is I'm
going to go ahead and drop the opacity down to about 35. Then I'm going to add
another layer above stance. We have stance and we have layer two with stance selected. I'm then going to
tap the plus sine. That's going to open up layer three above the stance layer. And we're going to go
ahead and zoom in. And we're going to use this
layer to map out the face. And we're going to turn
on Drawing Assist. We're going to go
back to that orange I was using face. I'm going to put a line there. We don't need a line
down the middle because the symmetry line
is already there for us. The ears are probably
going to be about here. Of course, as drawing
assist is turned on, the ears are being
put on both sides. And then you can make, you know, whatever adjustments
you want to. The nose is going to be right up under, right up under this line. But then if we're
going to do a smile, we can do that there. And then the kind
of eyes that you want, you can draw those in. So I can have eyes like that
or I can draw eyes that are actual ovals or
something like that. You see how easy it makes
actually drawing the character. So the ears look
a little too big. I'm want to make those
ears a little bit smaller, so I'm just going to erase
them off and redo them. There we go. That's better. All right, so now is
your opportunity just to kind of give your
character some personality. Whatever kind of eyes, that's really what's
going to give your character, the personality, the kind of eyes you do, some
eyebrows, something simple. And this is all I
really need for now. Now my character has a face. And then I can go from
here to the next step. Let me add line in for the ear. And if we want to,
we can go ahead and refine the head actually, so I can come through
here and even here. All right, so now I'm going to go ahead and completely
turn off the stance layer. All right, so now we
have our character. We know what our
characters space is, the stance and everything. Character looks
friendly. And now we're going to start
to refine everything. This is where you're
going to decide what your character
will look like, whether your character
is a boy or a girl. If you're adding eyelashes, what kind of hair
you want to add. All of those fun things. And you can
essentially take this, I'm going to erase
some of this ear off, make sure dranger
sys is turned off. I'm going to erase the
ear here because it's behind the hand, you
wouldn't see it. I'm going to go
ahead and get rid of this line that was going across the middle line here. Don't need that. I'm
just cleaning it up. And then I'm going
to come down to the come up to layer two. I'll just get rid of
that part right there. And now I'm going to take these two layers and
I'm going to combine them. So I'm going to combine
layer two with layer three by tapping on layer two
and choose merge down. Now these are on the same layer. And then I'm going to do
is going to come up to the wand hue saturation
and brightness. I'm going to go ahead and drop the brightness all the way down. Now it's all black and
it's all the same color. What I like to do
when I'm creating characters is I may feel like I don't want to
mess this character up. So let me create a duplicate. What you're going to do is
come up to your layers tab, swipe on there,
choose duplicate. That way let's say we continue moving forward the
character and we're like, I really don't like
how I was looking. I want to go back
to the beginning. We'll have an extra
character here. You'll see layer three
and layer three, we have two choices, because we have two of
the same character. And we'll just leave the
other one in there turned off so it doesn't get messed up. I'm going to turn off
this layer three now. I'm going to change the name
of this top layer three. I got to name a character one.
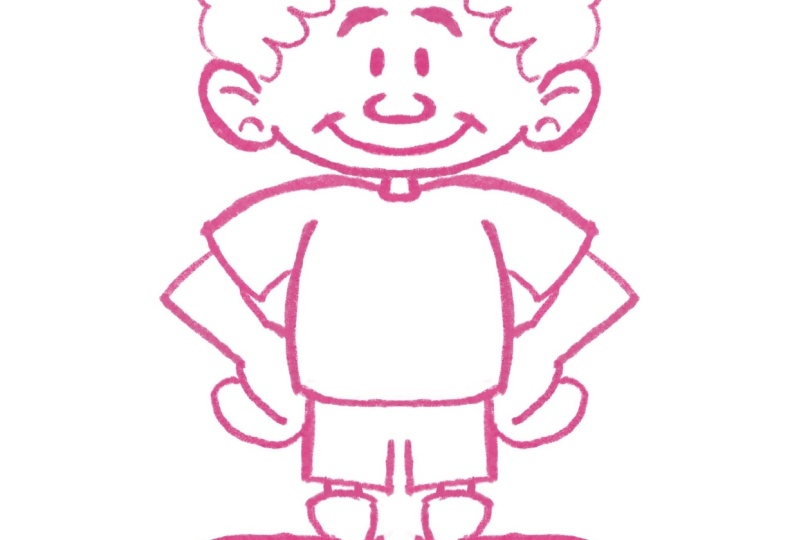
6. Drawing the Shoes and Clothes: All right, we have our
character ready to go. And now it's just a matter of making the character our own. So what I'm going to do
is for character one, I'm going to drop
down the opacity to 50% We actually do 40%
because it's black, jumping down to 40% Then
we're going to add a layer on top of character one that
should be called layer four. I like to draw a color I'm going to draw and
probably like this, but go back to the Warn
family. I'll stick with pink. Now I can go in and I can
make the character my own. So I'm going to start up with
the character's clothes. Let's start with his shoes. Let's turn on drawing Assist, because we don't want to sit
here and draw the same thing twice using the shape of
the character as my guide. I'm now going to make these
into some tennis shoes. It's really just
tracing the shape. Then I can add a
little line here, you can give the
character whatever kind of clothes you want it to have. Going to have a
shirt on. You know, easy drawing the system
makes things shorts. And I'll fix that. When we
turn off drawing the system, we'll add the lines for the legs because
we can see those. We can add some more to these
shoes. Something simple. And now we need to turn drawing
assist off so we can do the shirt turn off
drawing assist. And I'm going to do this
side to be short sleeves, some of this, this side
short sleeves here as well. And then I can trace
the arms still drawing assist is off because what I'm drawing is not symmetrical. And I can add an extra line there for the closed up fingers. And we'll draw on this side, just following
with what we have. All right, so now we have our character, shoes,
shorts, shirt. I'm just going to draw
a line right there. Close that up, and now we
can move on to the face. Now if we were to turn
off character one, you would see what
you have left. Then this also allows you to see what you may have missed. So for example, I haven't
done that line in the hand, so I need to make
sure I go in at that. And I might keep that
line right there. Okay, I can add a
design to the shirt. You know, whatever kind of
design you may want to add. Remember today,
it's just about a simple, easy,
straightforward character. You can make it fancy later.
7. Drawing the Final Face and Hair: I'm just going to keep
my character as a boy, so I'm not going to add any eyelashes or
anything like that. I'm going to turn
back on drawing assist because for the most
part he'll be symmetrical. So I'm going to go ahead
and do drawing assist is not on drawing assist. I ain't going to do
the neck, just going to pull my side down
just a little bit. Smile the nose under the
nose up or the nose down. I'll do the nose down this time. A little line like that. The ear just little
line in the ear. The chin and then the eyes, the eye lid. Shave that in. Give him some eyebrows
with some weight to them. I can shave that in. I'm going to add some
glares in his eyes. I'm going to turn off drawing
assist for a moment and just that way you know, he mouth'll be looking
a little pointed. I don't like the way that looks. I'm going to come back and fix that turn drawing
the sis back on. I went down just a little
bit too much with the mouth. All right. So for his hair, I think I'm going to give him something that's
not symmetrical. So I'm going to I need to make sure
I erase the inside of the ear out of here. So drawing the sis
is already off. I'll go ahead and
erase this part out. All right? So I'm just making
this app to go.
9. Changing Into a New Character pt. 2: Now as I come to the face, it's essentially the same thing. Turn back on drawing a cyst. Draw the face as I want to, but let's say maybe
we don't want the character to have
the exact same eyes. I'm just going to create
this on a brand new layer. It's going to be layer six. And I'm going to turn
drawing a cyst on same steps, trace what's there. Make whatever modifications
you want. As you're drawing. Let's say maybe we
would see lips for this particular character.
I can draw it like that. Maybe this character
of the nose will be up as opposed to down. Maybe she's going to have
slightly bigger ears. We use the character
we initially drew as our base, as our guide. And then we just make whatever modifications
are necessary. Maybe she'll have a
little bit of earrings, so let's say maybe she's going
to have maybe whiter eyes. Can use character
one as my guide. Maybe skin in your pupils. Still drawing with drawing
the system and then my brows. Okay, course going to draw. Turn drawing the system off. I'm going to use my eraser and just add in some
glares to the eyes. Erase a part of the ear away. Now, a lot of times
with cartoon girls, their hair might be a lot
different than a boy. I'm going to do the hair
on its own layer as well. Right now we have layer
five which is girl. Layer six is just the face and then layer seven
will be the hair. I like to do my layers
in different colors just so I can see where
everything is. I'm going to go
ahead and drop down character one's
opacity even more, dropping it down to about a 15 because I can still see it. But now I'm about to
focus on the hair only. So let's say what, This character is going
to have a head band. I'm going to make sure
drawing assist is on and then I'll
draw the head band. Head band of course,
Go to the ears. And then there I'm going
to add just some waviness. We're here. Maybe I'll
flare it out right there. All right? And then back here. And of course I'm drawing all these places but I'm going to erase what I don't need. Of course you all of
that will get erased. Wants this time. All right? I'm going to turn off
drawing the cyst. Going to erase away
the hair out of the hand and out of the arm, because all of that is
behind the character. I'm going to erase it
out of the hand here. Then the last thing I'll
add are some eyelashes. Turn drawing the sys back on. 123. Boom. All right, so now we're going to turn
off character one altogether. And now we see the design
for our girl character. So we have 56.7
I'm just going to pinch all three together
to combine them. Come up to the hue
saturation and brightness. Move her all the
way down to black. Turn her off. Let's turn
the boy on. The same thing. Come up to hue saturation
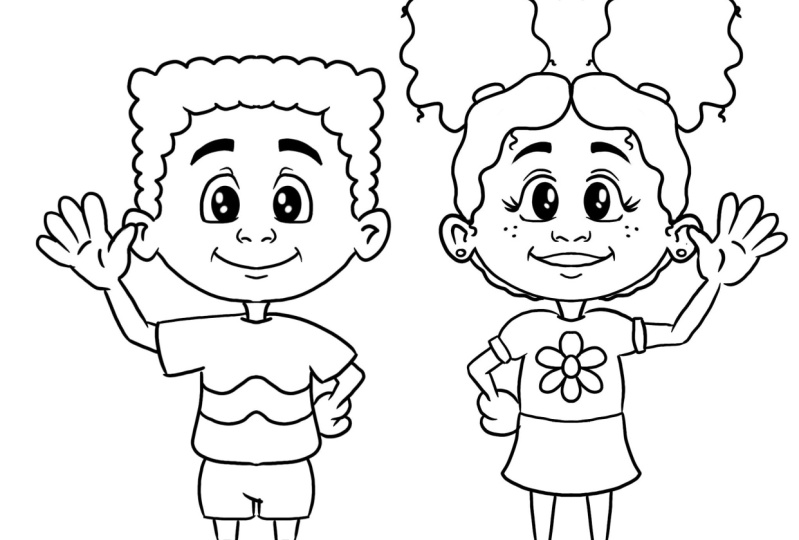
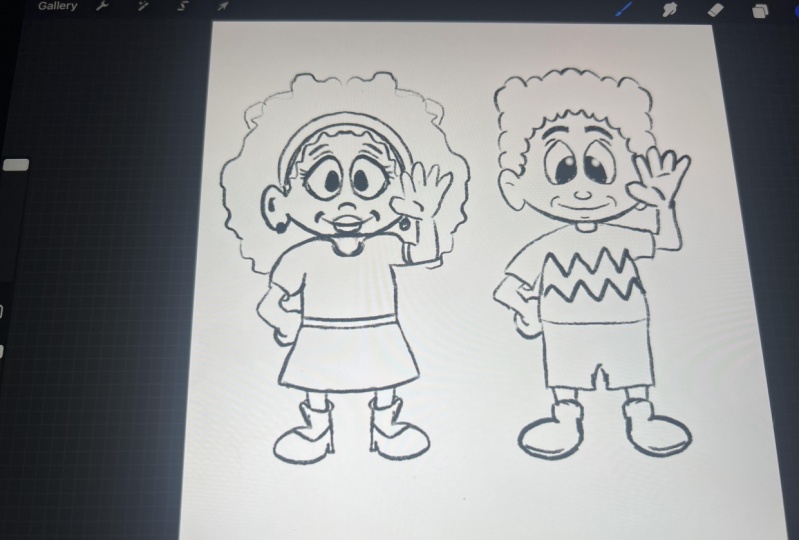
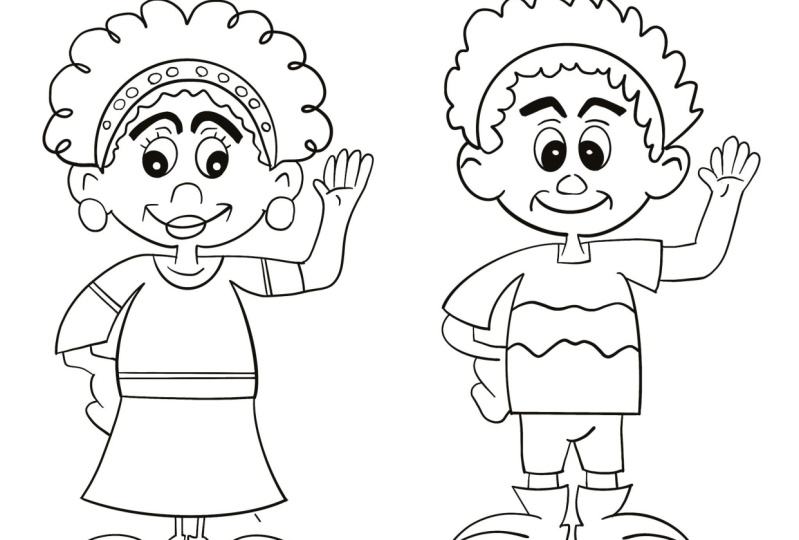
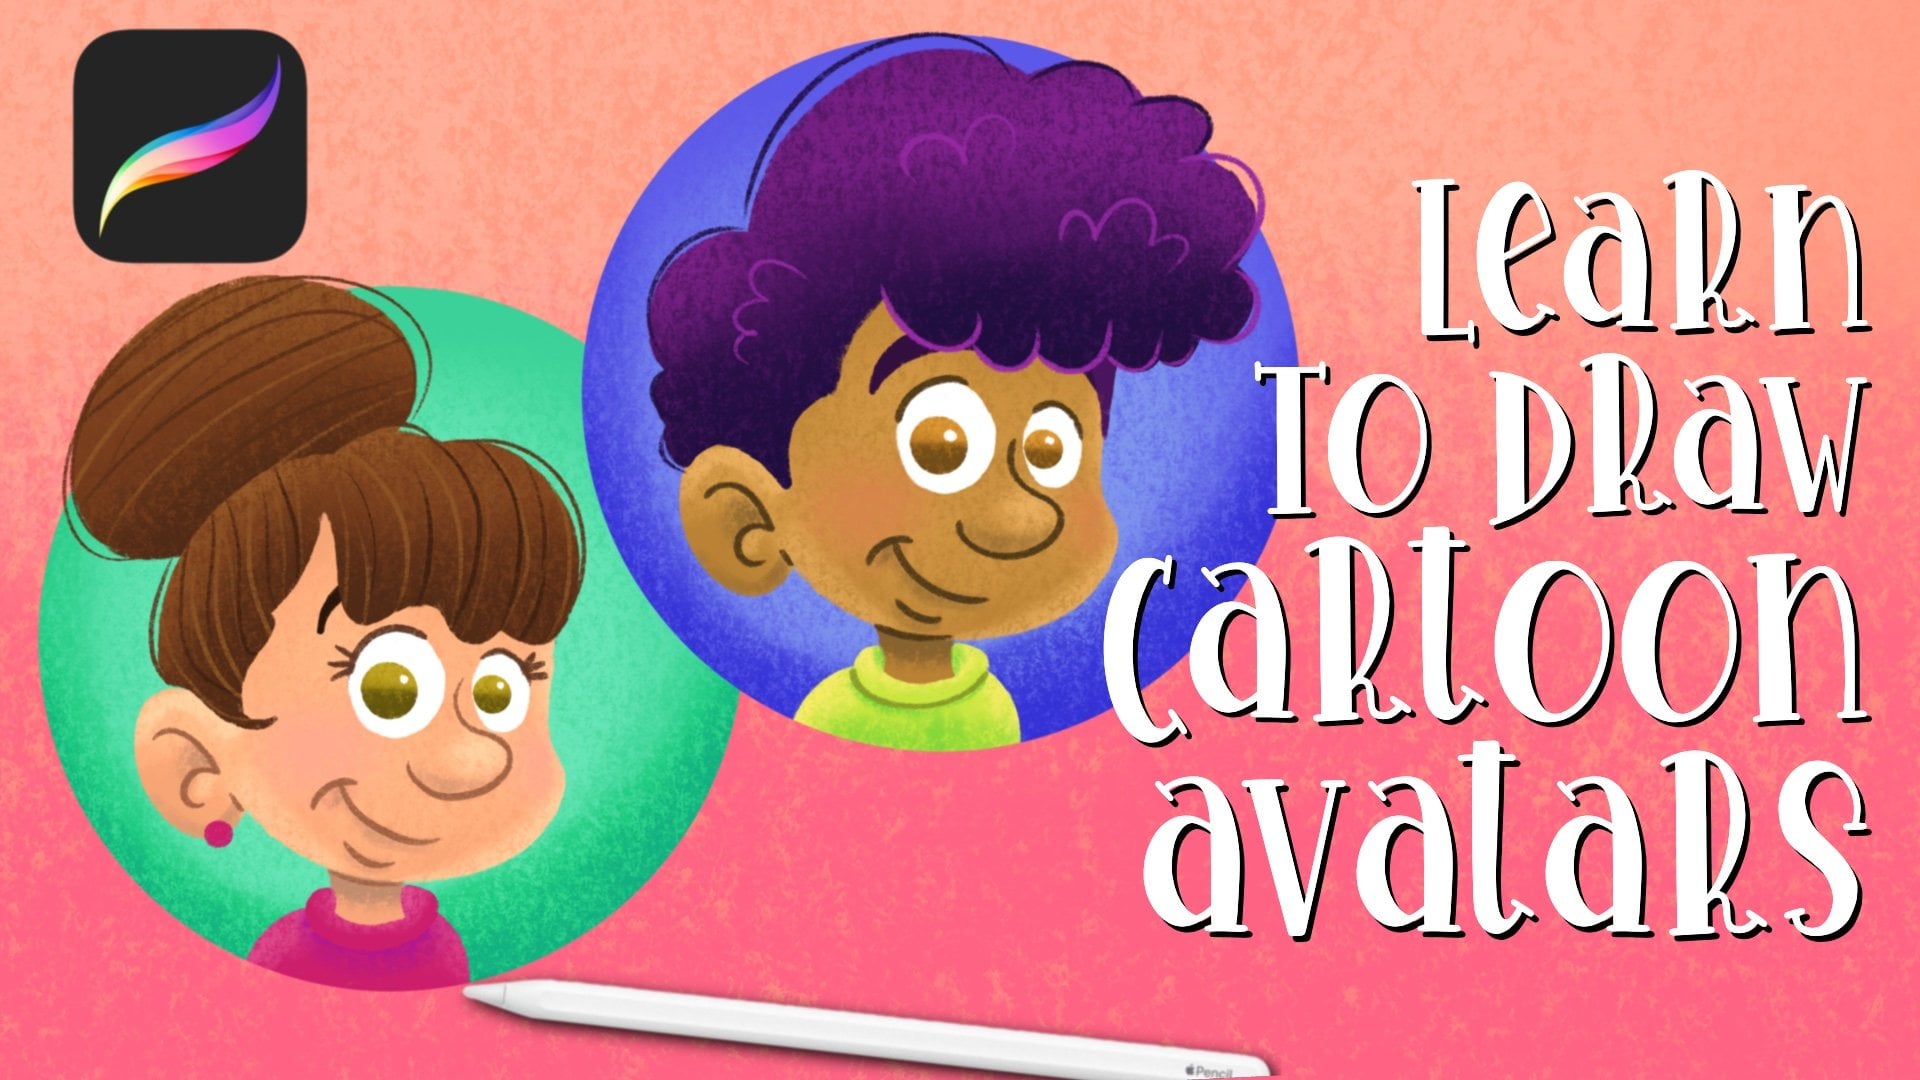
and brightness, turn him all the way down there. Now we have just completed two simple drawings of
a boy character and a girl character using the same stance and using
very simple techniques. We started off with our stance, we develop what the
character will look like, and then we turn
the character into a boy and into a girl. I can then put these two
characters right by each other. I can also go ahead and
turn layer five and rename it to girl. That's it.
10. Final Thoughts: All right, and that's all it is. Thank y'all so much
for joining me for this lesson on drawing easy
characters and procreate. Be sure to go watch
my next class, which is going to go over
how we're going to add color to it. Thank
y'all so much. Be sure to post
your projects down below in whatever the
second is called. I don't know what it's
called but poster projects, so I can see what
they look like. Thank y'all so much and I'll
talk to you all soon, piece.
 Travis A. Thompson, Let's Create!