Transcripts
1. Introduction: In this video, we are
blending astrology, sacred geometry, and
your own creative touch to craft something
truly magical. You'll be drawing along with
me to create a beautiful, intricate artwork using
just a compass and a ruler. Together, we'll construct a
tangent ring of 12 circles, each one representing
a star sign. And in the middle,
we're going to be creating the ancient
flower of life pattern. As we move through the design, we will explore how
you can customize the central motif to reflect the energy of your
chosen sunshine. You will end up with a powerful, visually stunning mandala that's both personal and universal. By the end of this course, you will have created
your own astrology inspired masterpiece. So grab your compass and let's
draw the cosmos together.
2. Astrology Artwork Project: Start by finding the center of the page by measuring
halfway down the page. In my case, 10.1 is halfway down 20.2 centimeter square
piece of paper that I use. I repeat on the other side and join the two marks with
a horizontal line, and again, mark halfway
down the center of that. Once we know the
center of the page, we need to measure 1.7 centimeters for the
original circle that goes in the middle. Then we need to fit
three more circles on either side of that, starting from the
intersection of the straight line
and the circle. Then repeat two more times at every new intersection between the circle and the
straight line. I like to work to my right, so I rotate the page and then I repeat the other three circles again from the intersection of each circle and
the straight line. Two more. And one last one. You should end up with seven
circles overlapped in total. Next, I like to work vertically. So from each
intersection now between each two circles with
the same radius, we draw a circle and then move down to the
next intersection. This time, you should
have one less circle going down the column
with six in total, each with the same radius from the same point of intersection. You should be able to feel how your radius goes through each
of the previous circles. Now we can start the third
column going down, again, from each intersection of
two circles going down, and now we should
now create a column of five circles in total, each going through the
center of the previous two. And the last column going down should only have
four intersections, so that's four new final
circles going down. So we've almost
created like half of a hexagon made of circles. All I do now is rotate
the paper, so again, I work on my dominant side and
repeat the entire process. Now, let's retake to
the original position where the first line
was horizontal, and now focus on
the central circle. The central circle, measure
now one radius distance to the right and join all the
points going vertically, all the intersections
that you can see going vertically with a straight line. Now go to the left of the
central circle and that center. And again, all the
way up and down, making sure your line goes
through all the intersections. So that's two parallel lines. Now, rotate the hexagon, such as the flat ring
of circles at the top. Again, from the center, find one petal, one radius
distance to the right. Make sure it goes
through all the centers and draw straight line. Again, use the petal
to help you locate that original
radius to the left, through all the
intersections up and down, and draw a straight line. And the third set of those
rotate the hexagon so you have a flat row of
circles at the top. Find the center, have a look at one radius to the right
using the petal and through all the intersections going down and one last one to the
left of the central point, going through all the
intersections on the left of that. And rotate back to the
original position. Now, look at the top, not at
the very top row of circles, but the second row
of circles that cross the vertical
lines we just drew. From the top of those circles, you need to make a
little mark on that. Line and the same on the
right hand side of the line, top of the circle, and it
just sticks out a bit. Rotate and do, again, top of the second row
circle that you can see, make a little mark with the
same radius on the line, and do it on both sides
that are parallel. Rotate and continue. For all of these, you should end up with 12 going all the way around in
a complete circle. So it's the second
row of circles, the top of that circle, where it crosses the line, you measure off and
mark a little radius. The radius should be exactly the same as all the circles
that we've already done. And once you've finished, turn around back to the
original position. Now, where these marks are, I'm starting at the bottom left. This is the same distance, the same radius we need, make a full complete circle that lies on the line, and
what do you notice? They are the tangent circles surrounding our
entire design so far. So these, although they
overlap with things, they should be touching
right next to each other and exactly on top, sitting on top of the
lines that we drew. So each of the little marks you just made on each line will be the new center of the circles surrounding
the entire inner design. So there should be 12 in total, two on each line. Left and right, and
two more at the end. So this is the entire
size of the full design, and these are the
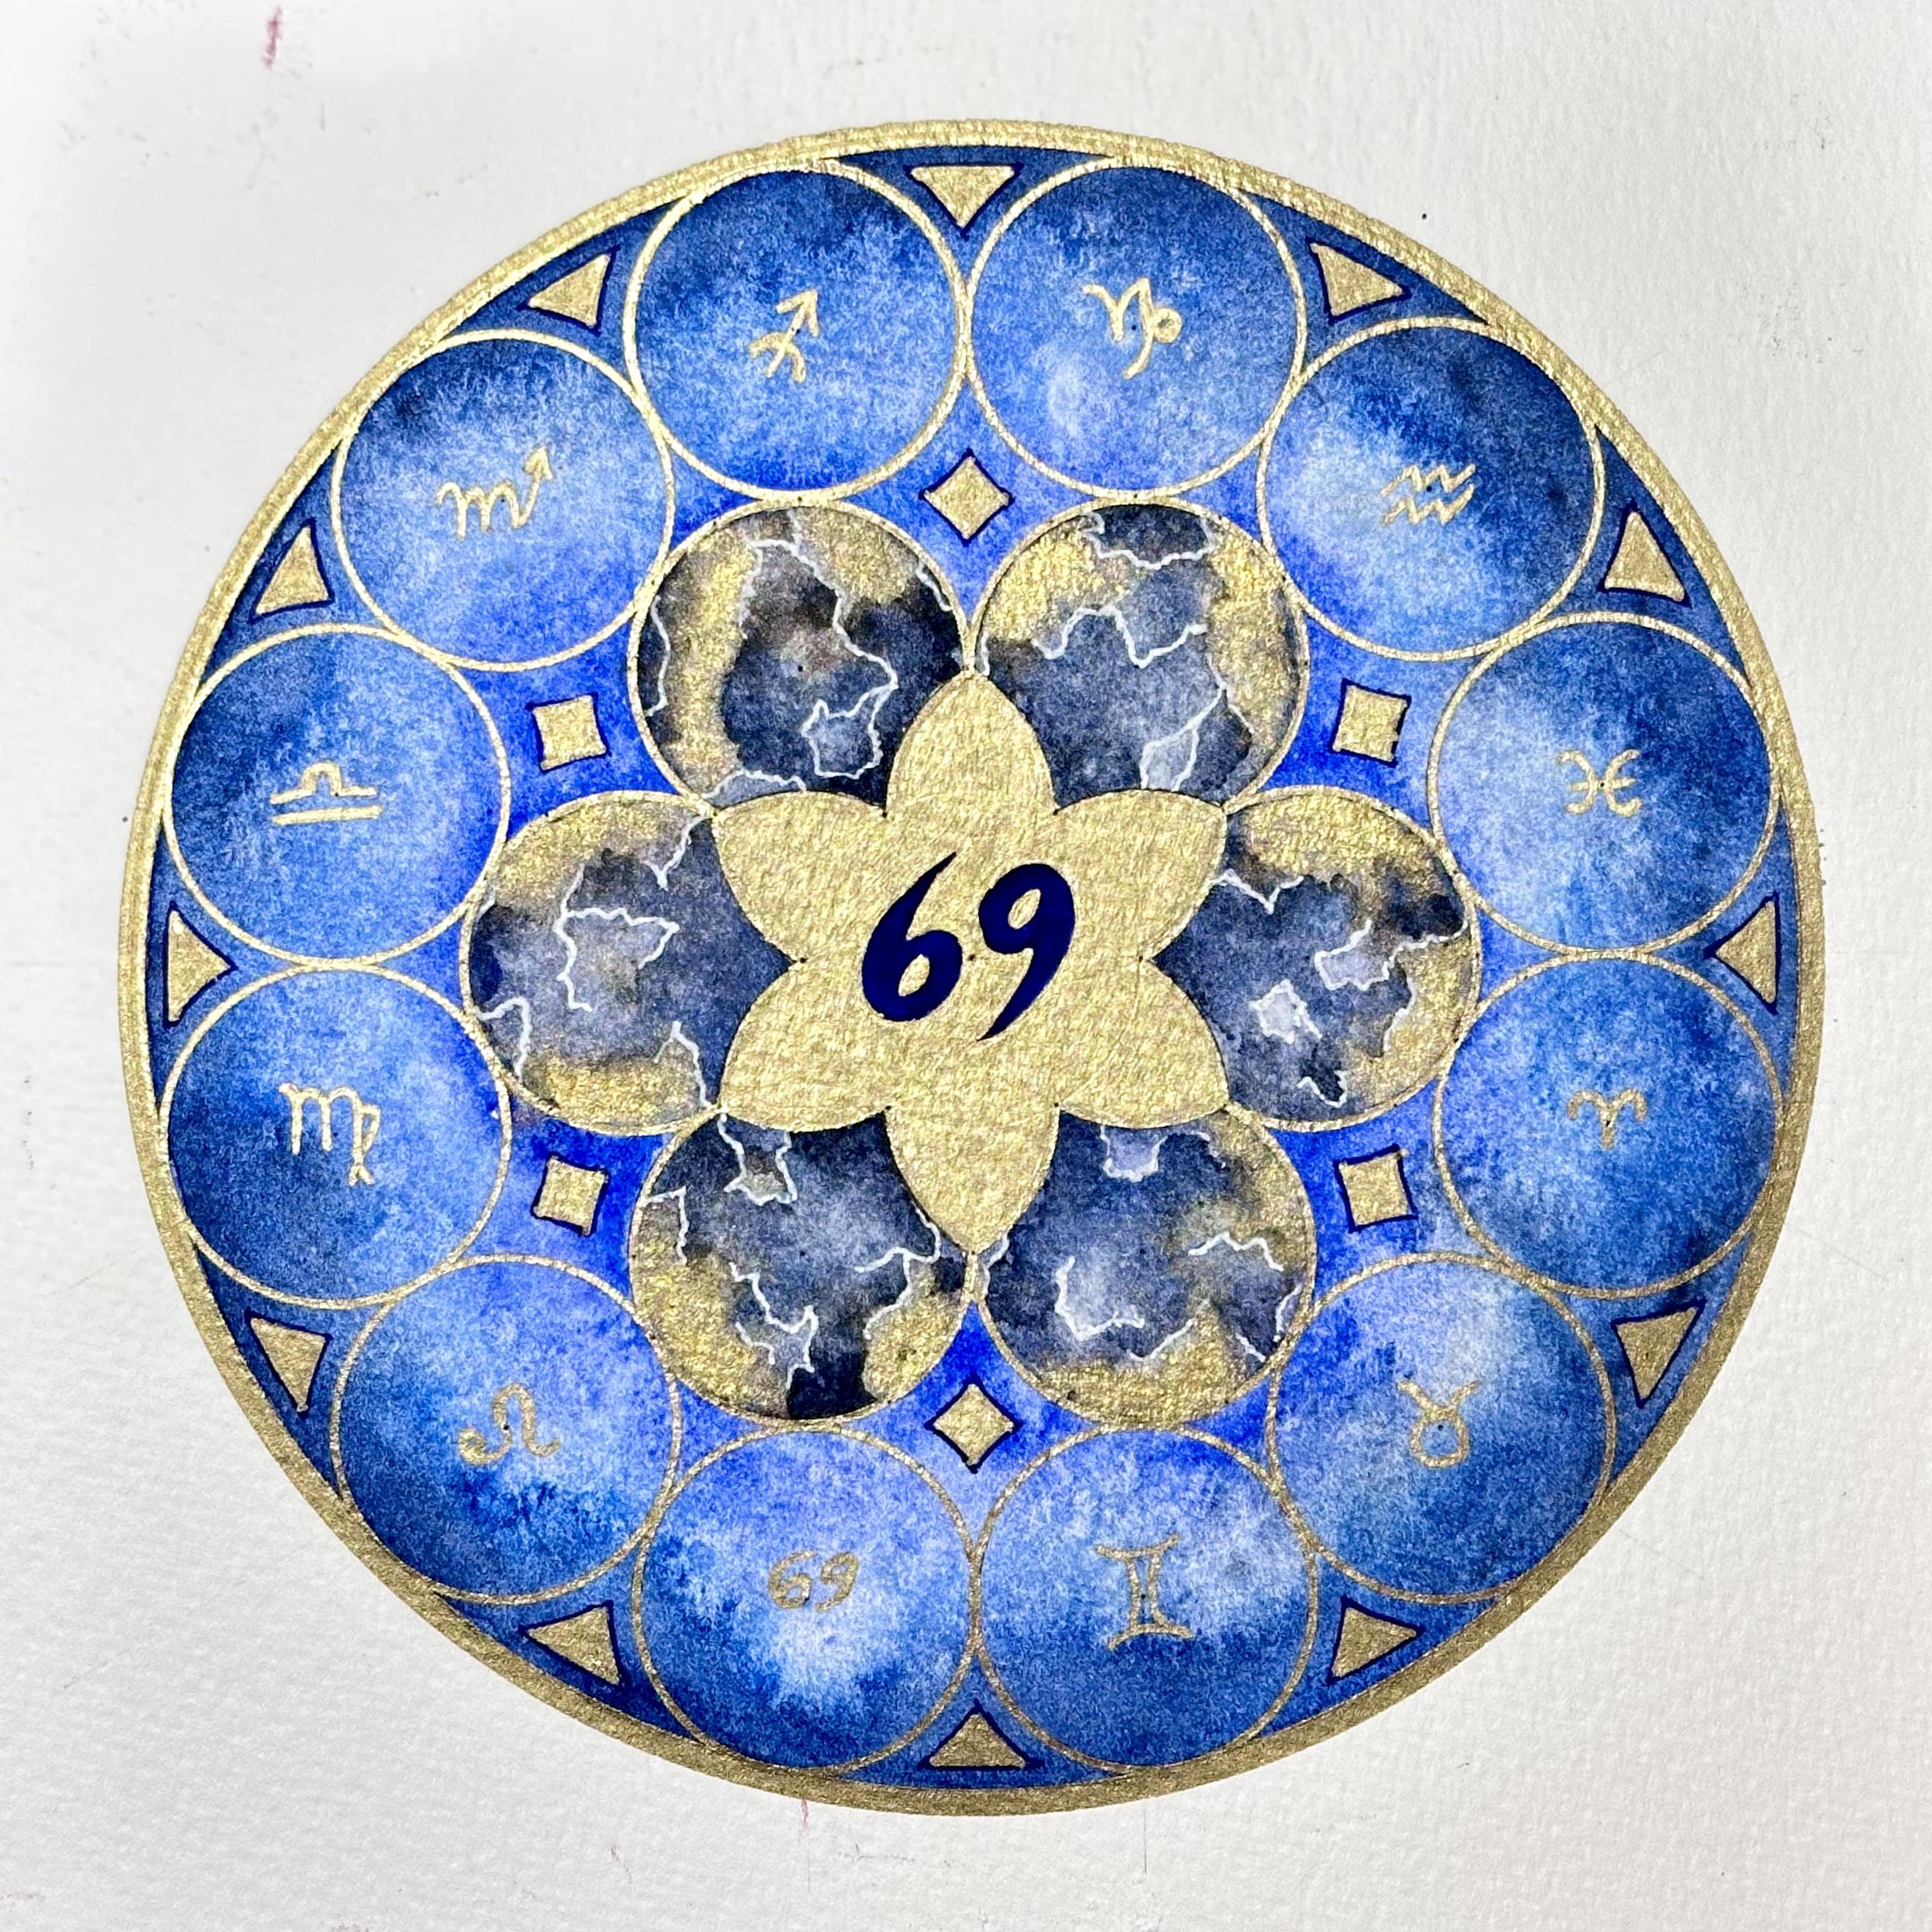
12 circles that will have the 12 star signs. One last step, surround all the circles now
with a much larger, complete full circle, and that makes the
construction four. Now, just replace your pencil with a permanent waterproof pen. This is what we're
going to use to actually pick out
the lines we need in the final design and just create the 12 circles
so they stand out. Now, for the central motif here, I'm doing this in July, so I wanted to
start with cancer. I'm drawing a
little flower which is already surrounding
the middle circle. You can see the arcs are already existing or I'm just
emphasizing them. And then that allows me to draw six partial moons around that. The reason why I
wanted moons is that the moon is the
ruler of cancer as a sign I'm focusing on
my middle motif design, which is particular for
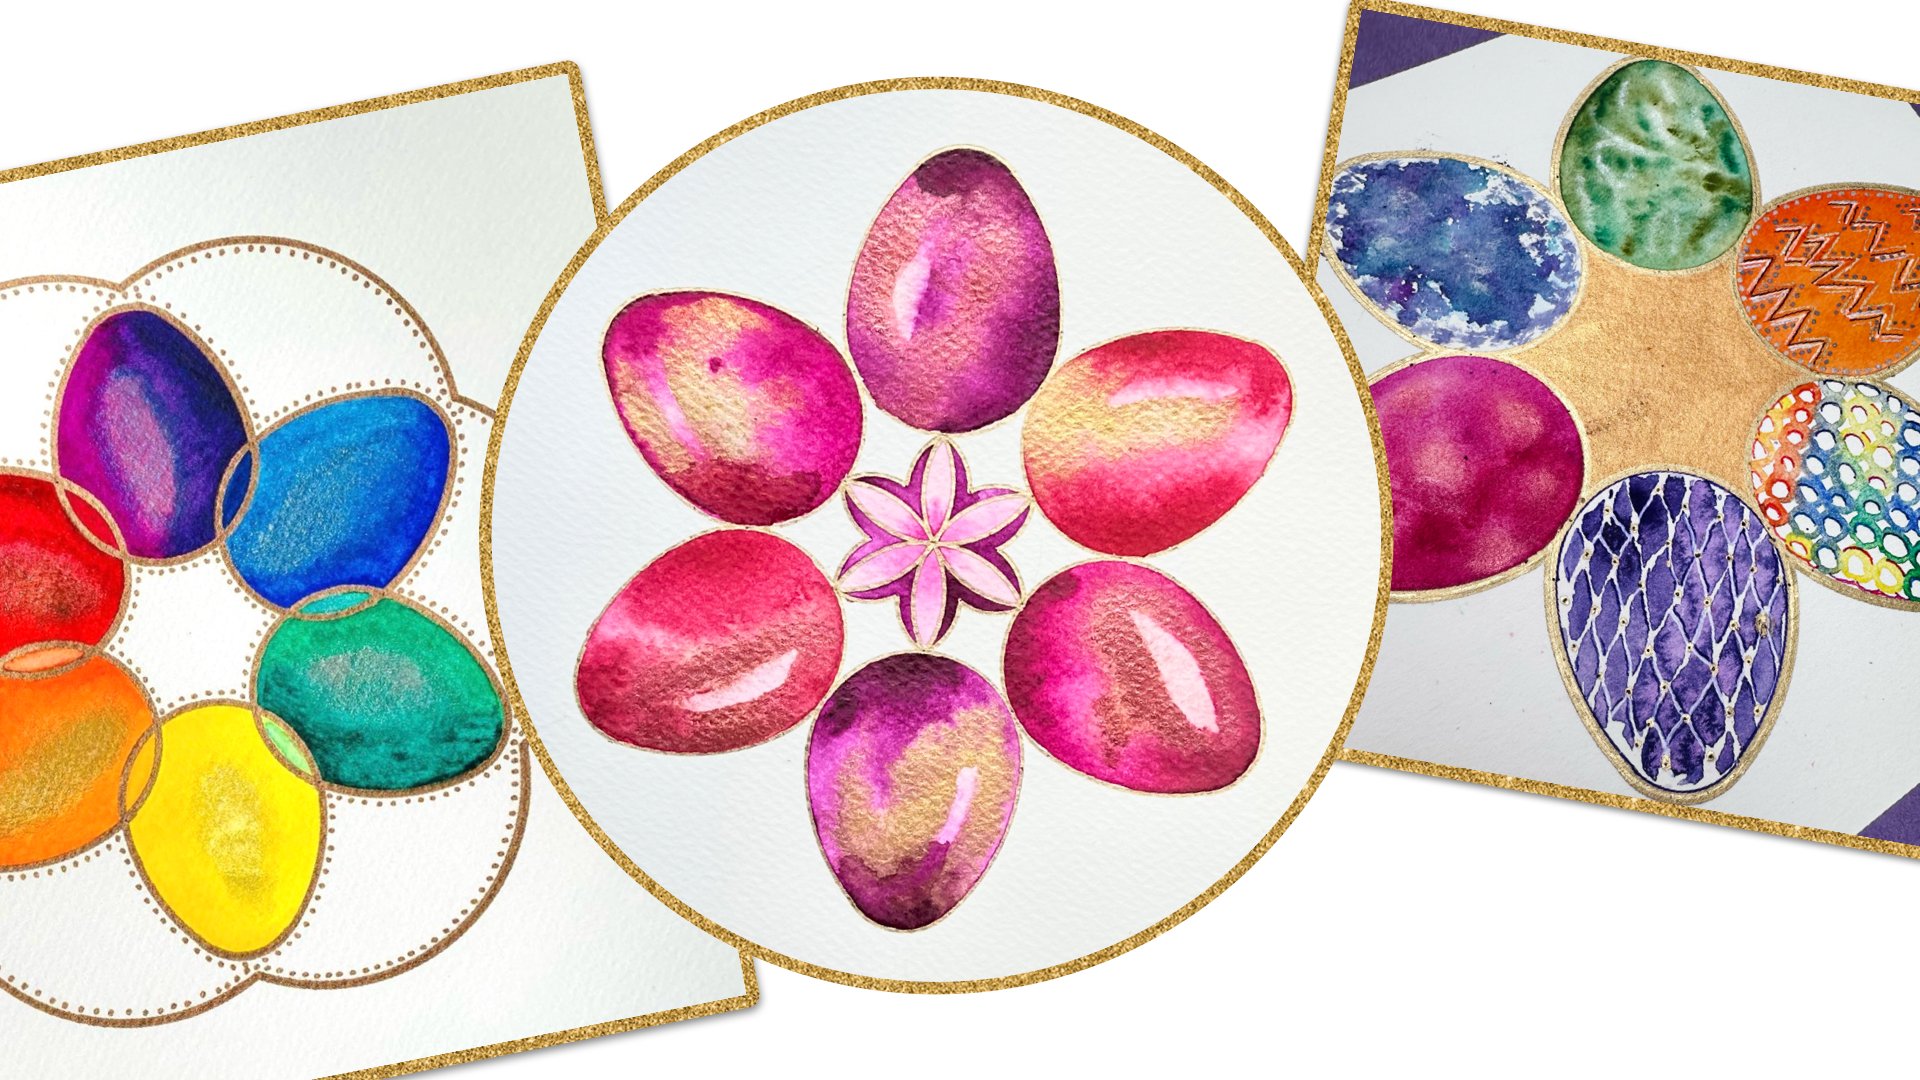
cancer that I've chosen. I'd like to paint these
as if they're moons, so a bit of gray and dark blue. You can go further
gray if you wanted to. I like to paint wet on wet. So this is quite wet and I like the water to
carry the pigment. I like the gaps, the white gaps. Remind me of craters. I can sprinkle a bit of salt to create a bit
of texture as well. You can repeat this as
many times as you like. And then I added a bit of gold. I think moon with a shiny
gold reflections looks nice. Adding a bit of gold, if
you have that, of course, that's just your choice. And then I added a little
bit of white pen in order to create what looks a bit more like craters
to emphasize that. For the background of
the 12 zodiac signs, I'm doing like wet on wet galaxy style painting with
my blues, different blues. I'm going to use
this regardless of the chosen design in the middle. I think that looks
good on all 12. It represents the cosmos
in general for me. So any blues, purples, blacks, you can add some brighter neon
colors as well, of course, but I like to do this wet on wet just allow the
pigment to spread out. And I like the idea
that this will turn out different
each time I do it. I like to put a bit
of darker outline on the edges to give it almost like a three D. Here you can add some gold and
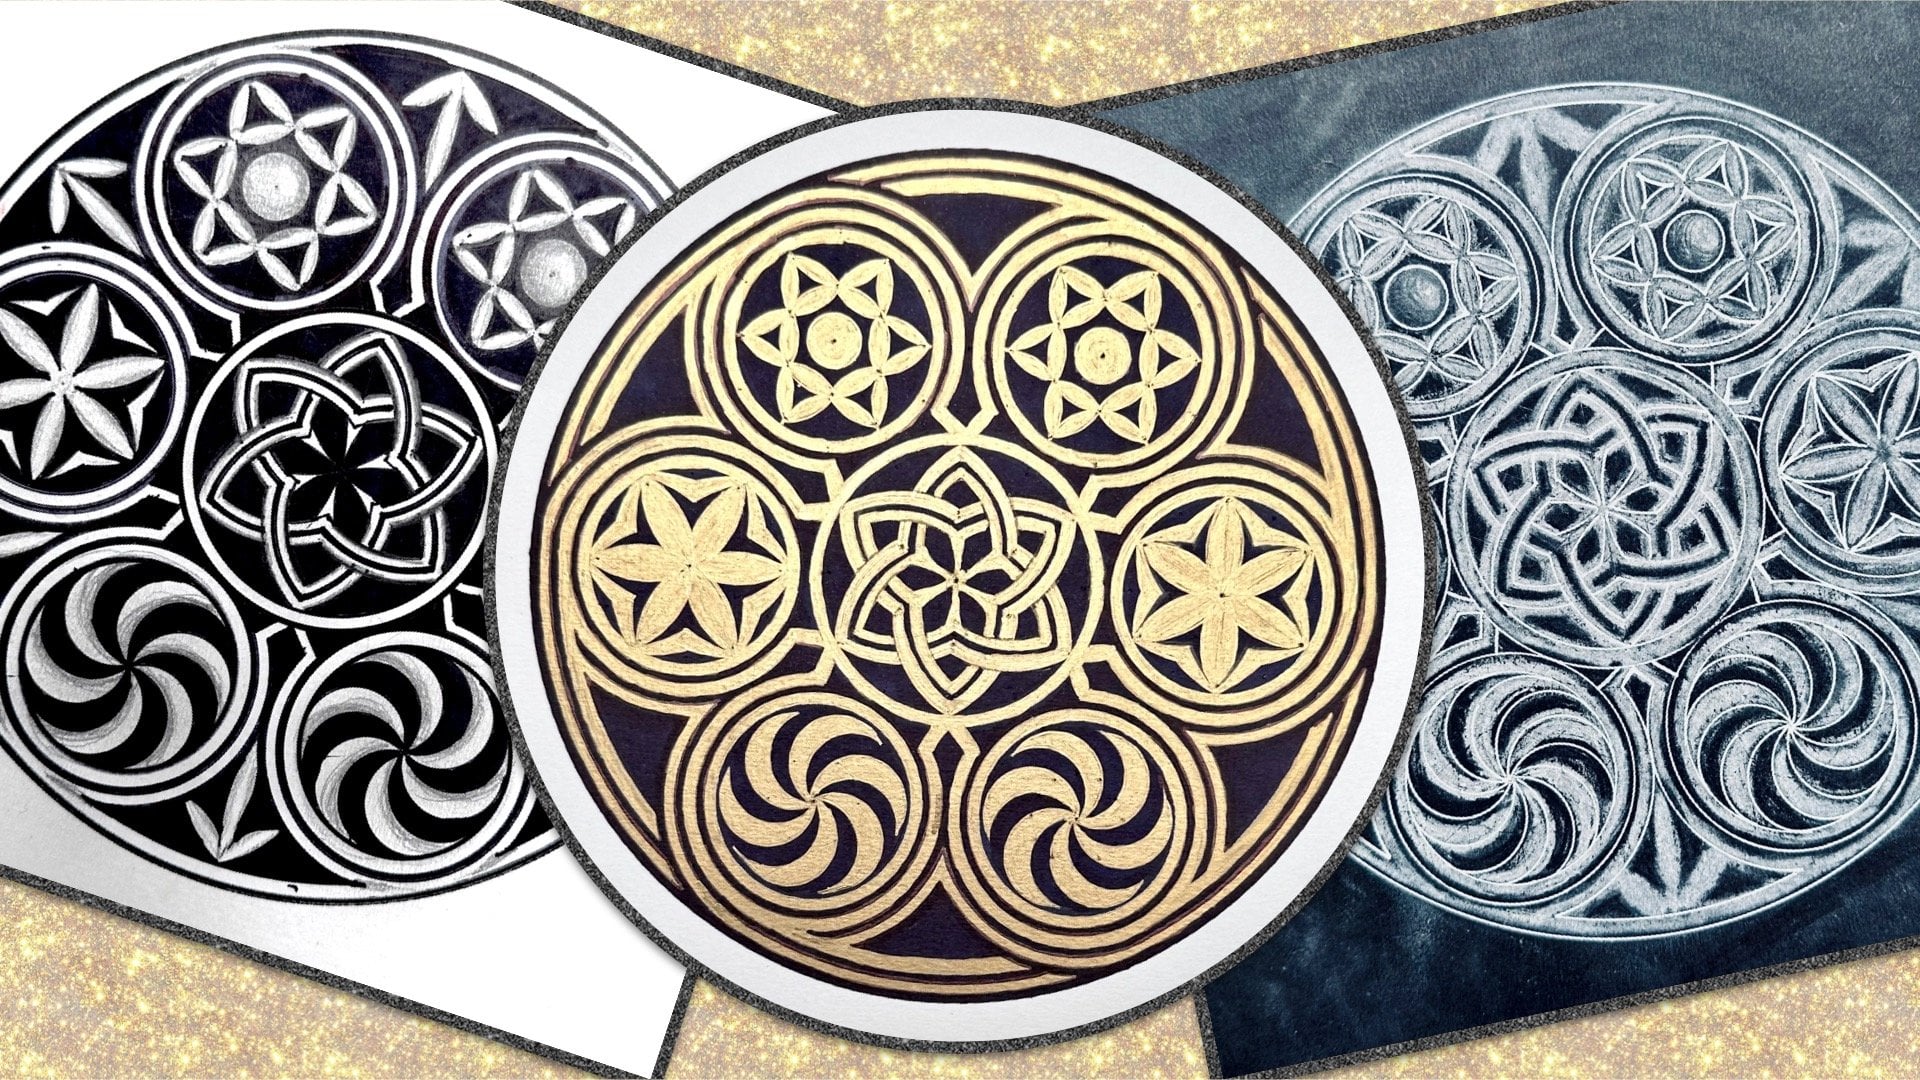
give it some stars. Here I'm using now my gold pen to outline
the 12 tangent circles. To me, this is the most
important part of the design, giving space for the 12
different zodiac signs for which I'm going to draw the symbols in the
circles as well. The rest can be
completely varied. In the last final step,
after outlining this, I'm going to make the center
pure gold and just leave out the main symbol
of the cancer, which is what I've chosen. And each of the 12
circles contains its own different sign with just one of them transferred
in the middle, making those moons pop with the silver, if you
like, or gold. Any metallic, I would
suggest works here well. And, of course, by hand, you can add some
little motifs as well. So here I'm outlining
the inner flower. This inner flower
design would work well for any of the
Earth signs as well, simply because anything that looks like a flower plant will go well with
the earth design. In which case, I would
go green in the middle. For any of the fiery signs, I would make it look
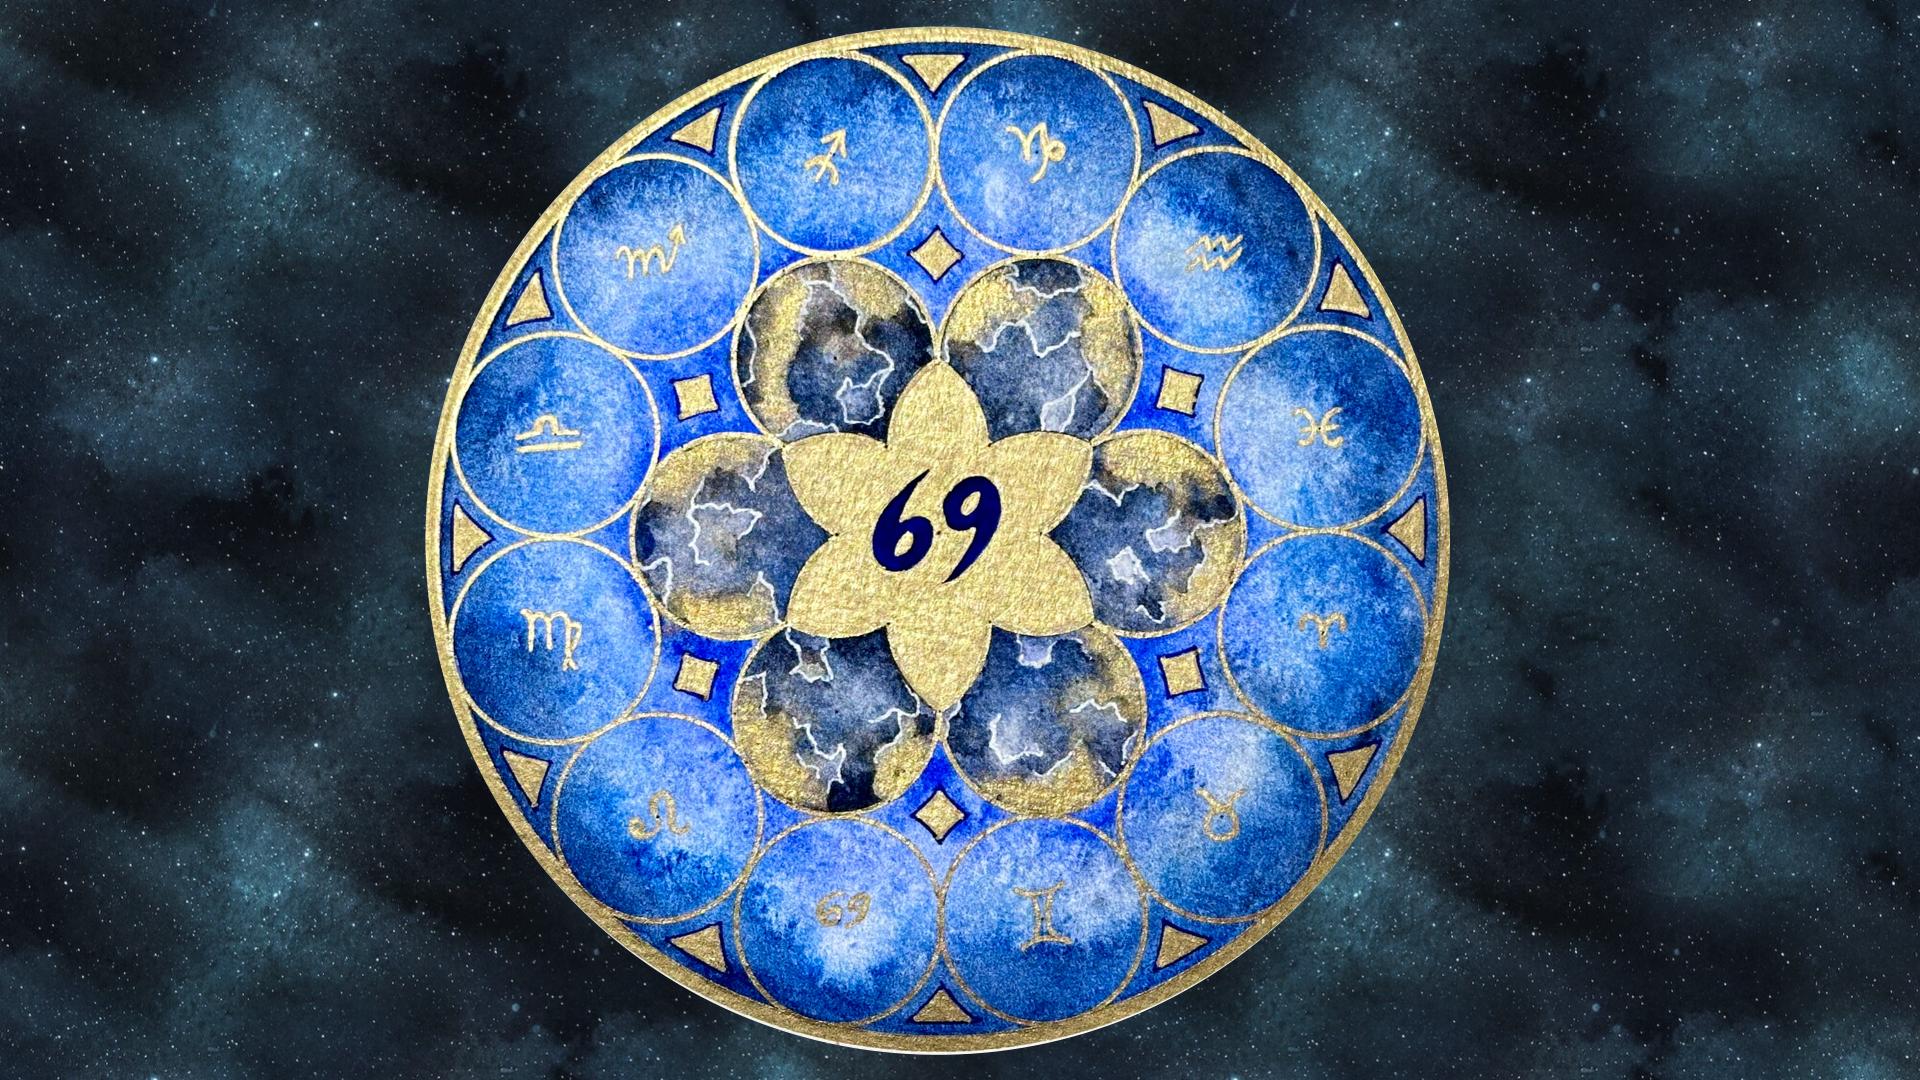
as if it's the sun in the middle and go red or orange. And here's the complete design. You can see you can
add whatever you like. I'd really like to
see what you make. This is just my own idea. Hopefully, it
inspires you to show me your designs in
the project section.
 Diana Reeves, Geometric Artist & Educator