Transcripts
1. Introduction: Sketching plants from a
reference can be overwhelming. Capturing their three
dimensional nature with a multitude
of leaves, petals, stamens, and sepals is not easy when you're a beginner and
don't know where to start. In this class, I will show
you how to derive joy from observing plants and simplify
their characteristics, so you can feel more confident
when drawing them. Hi, my name is Ewa Rosa
and I'm an illustrator, embroidery artist, and Top
Teacher here on Skillshare. Lately, I've been obsessed with gathering and pressing
wildflowers. Creating botanical
compositions in floating frames became my
favorite summer pastime. And while I've been engrossed
in these DIY projects, I realized that pressed
flowers can be an excellent tool for
learning how to draw plants in general. When you look at a flat, two
dimensional flower, it doesn't seem so intimidating. All the details become less distracting and more
manageable to sketch. And that's precisely what we
will be practicing today. On a side note, if you are
watching this class in the middle of winter, or you
have no access to flowers you could gather and press
yourself, don't lose hope. You will find tons of beautiful reference photos
on Pinterest and other sides. We will start by finding
inspiration in the world of pressed flowers and learning to observe and simplify
complex shapes. I will invite you to
my doodle herbarium full of sketches inspired
by pressed plants. And then we will practice
drawing together. We will finish by creating a beautiful botanical
illustration using our herbarium
as a reference. As a bonus, I will
show you how to create a lovely mixed media composition combining real and sketched
flowers in one piece. In this class, we will focus on simple loose sketches and imaginary doodles
inspired by plants. However, these exercises may also be a great
starting point for you if you dream of painting realistic botanical
illustrations in the future, You've got to start somewhere,
so join me and have fun sketching compositions
inspired by pressed flowers!
2. Class Project: I bet you like to learn and see amazing results right away. That's why I designed a
simple project that will allow you to create a gorgeous
botanical illustration by the end of this class. We will sketch an outline of a glass cloche with a
wooden base like this one, and we will fill it
with different plants. Your composition can be
simple and minimalistic, or bursting with florals. It's totally up to you. You can experiment with
different background colors and traditional or
digital mediums. If you have real pressed
flowers at hand, I will show you how
to include them in your illustration to create a uniquely beautiful
mixed media piece.
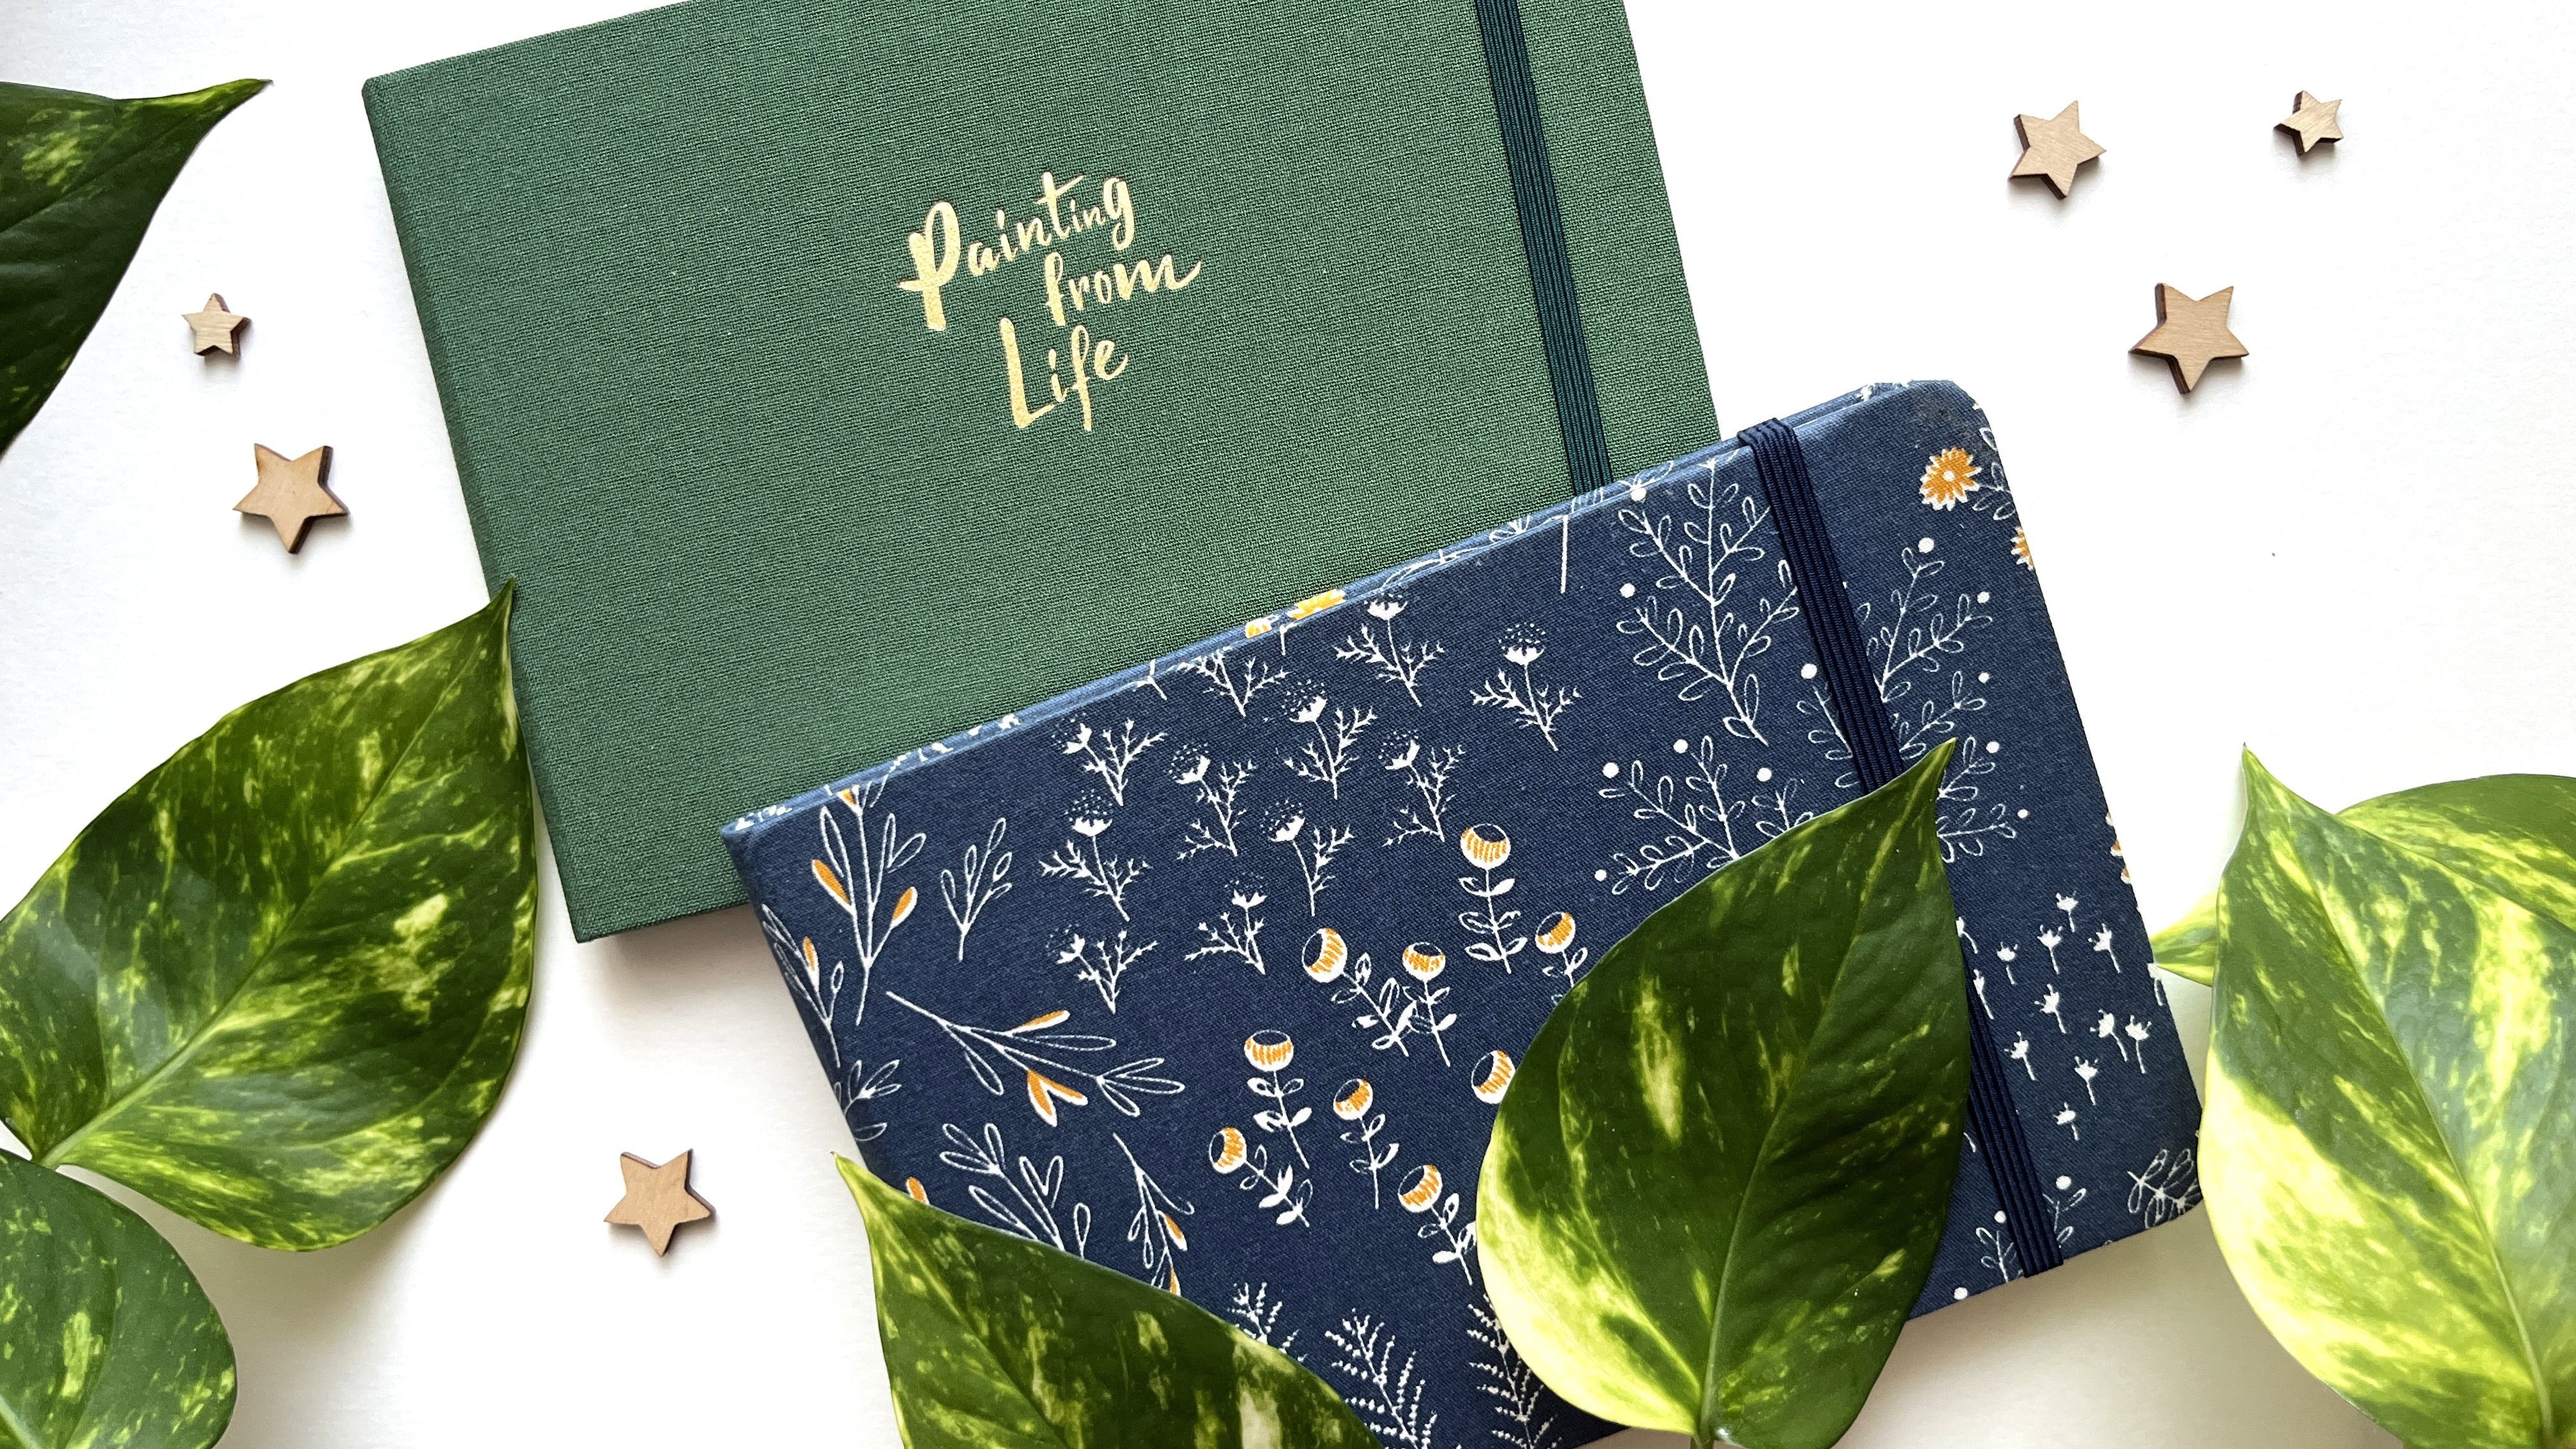
3. Materials: Basically all you need to
take part in this class is a pen, a piece of paper and some pressed flowers
for reference. As I've mentioned before, if you don't have access
to the real thing or have no patience to gather your own plants and
wait for them to dry, you can use photos to study
and sketch these flat shapes. In the class project
description, you will find a link to my
personal Pinterest board full of pressed flower images that may become handy during
your practice. Just make sure you
are not copying entire compositions
created by other artists. I will be creating my sketches
with a simple Micron pen, but you are free to use any
medium from colored pencils to digital tools like
Apple pencil and Procreate. If you want to sketch your final composition
before inking it, you will need a
pencil and an eraser. And if you decide to create a mixed media piece,
including pressed flowers, prepare a washi tape,
double-sided tape, and/or glue to attach
plants to the paper surface.
4. Art of Observation: Let's start with observing our pressed flowers
with awe and wonder, like a child would
do. Just for now forget about drawing. Don't stress about it. Release the pressure
and overwhelm, and just follow your curiosity. Examine every tiny detail. You can even use a
magnifying glass. And let yourself enjoy
the shapes and colors. Now do the opposite. Squint your eyes and focus on the overall shape of a plant. Is the stem straight or bent? Are the flowers big or small,
scattered or clustered? What is the shape
of these clusters? The trick is to find simplified shapes that will become building blocks
of your sketch. Don't try to draw
the whole plant right away after glancing at it. Construct it piece by
piece from basic elements, and then add more of the
tiny details you observed. This way, you can develop a unique botanical vocabulary
of motifs and doodles, filtered by your perception
style and medium, and use them in many
future artworks, even when working
without reference. If you watched my
class on Idea Books, you can gather your
inspirations there, right with all your
other creative ideas. You can also use a
separate journal and create a doodle
herbarium like mine. Or you can just practice
on a loose piece of paper. It's totally up to you.
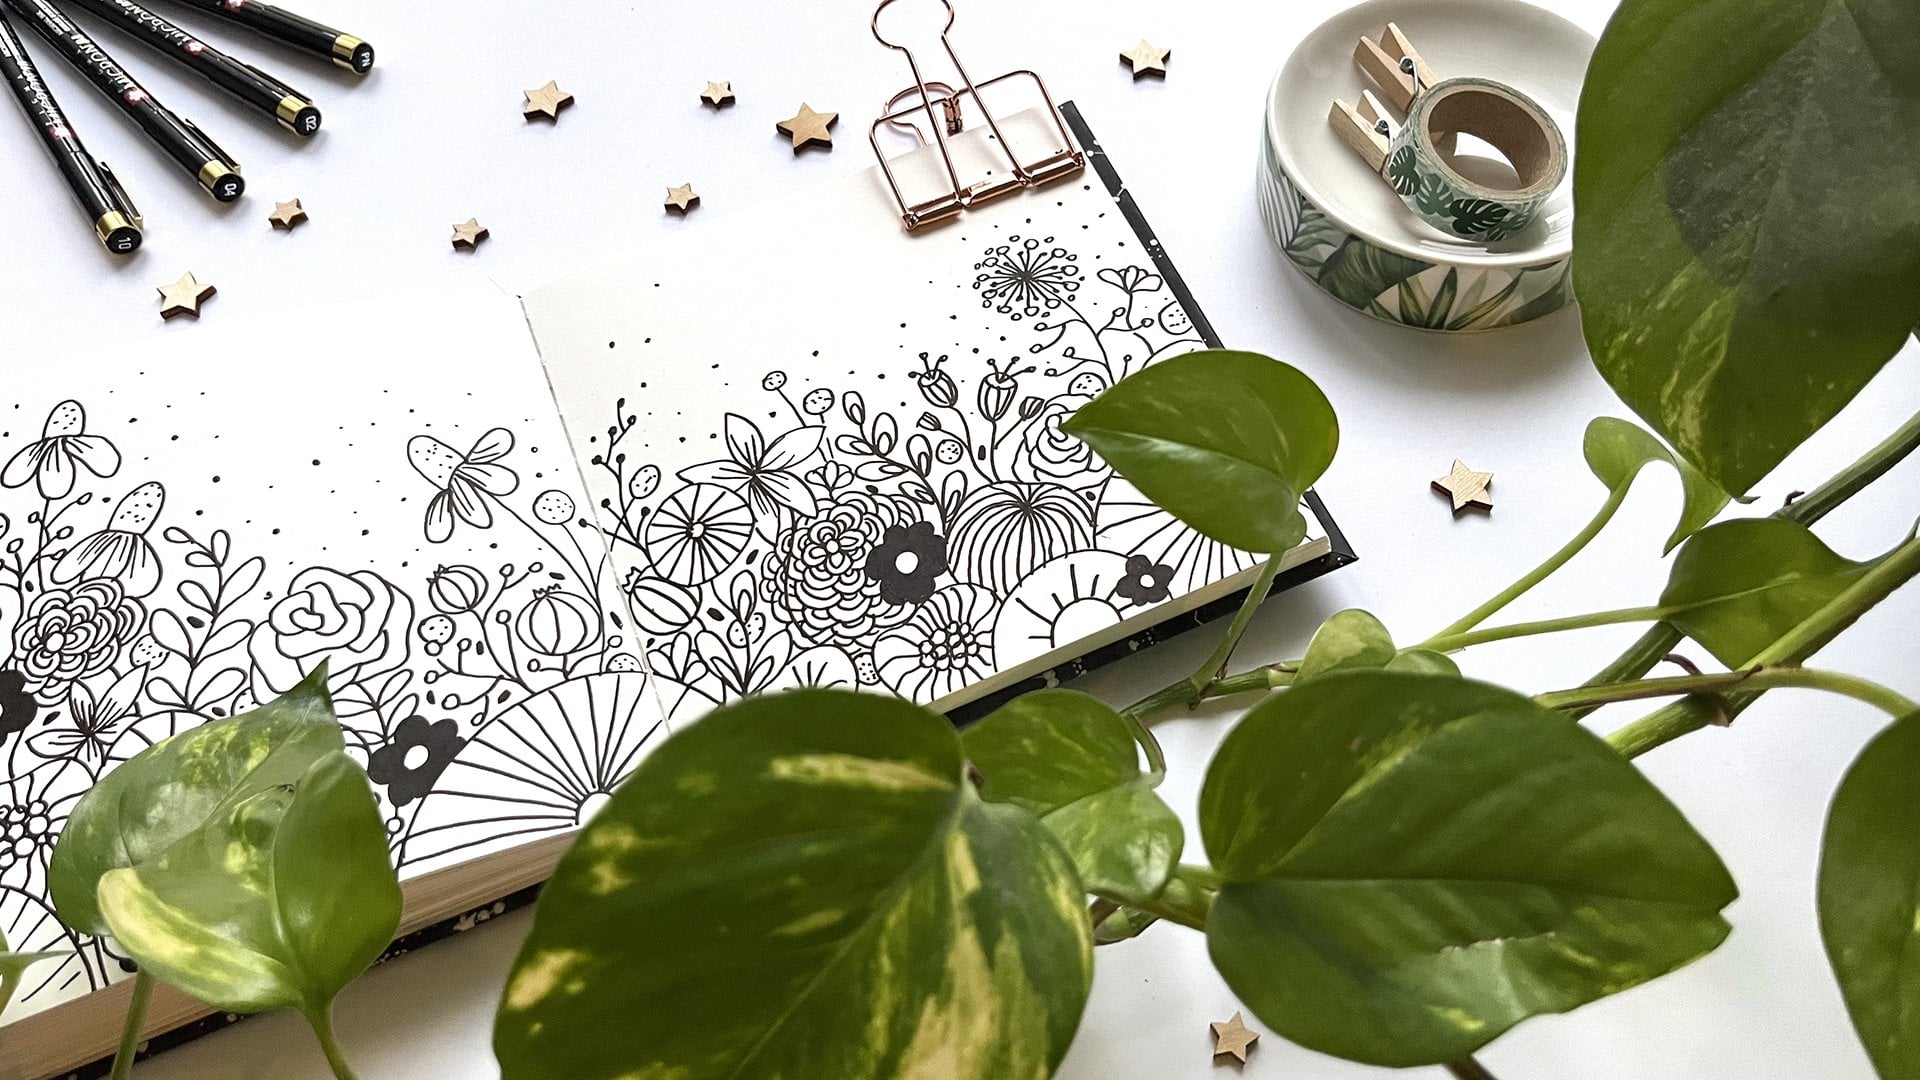
5. Doodle Herbarium: So let's take a look into my doodle herbarium and then we will make some
sketches together. I like to attach
pressed plants to one page and make
sketches on the other. I focus on different parts of the plant and try to
simplify some shapes. My goal is not to draw the
whole plant perfectly. I don't stress about it and just skip to the most
interesting parts. Some of these sketches are more realistic, and some are
completely imaginary, just inspired by
a detail or two. I experiment with combining
several plants into one, and sometimes I even turn some
elements into patterns. This is a joyful, stress-free approach that will help
you master the art of observation and
simultaneously let your imagination run wild. You can experiment with
different materials, making your sketches
neat or messy. Treat your sketchbook
as a playground, and remember, there
are no rules. In the next lessons, we will create some
sketches, so you can see the whole process
from start to finish.
6. Myriads of Dots: We will start with this lovely dedicate plant I found during one of my hikes. Notice that the tiny flowers are not covering the
branches evenly. There are a lot of
gaps between them. This is what we are
going to focus on here. Basically, we need
to draw a bunch of curved lines and adorn them
with a lot of tiny dots. I make my dots squiggly to
create a loose sketch, but you can focus on creating perfect circles for
a cleaner look. I add some small branches as I go to make the composition
more balanced. Now let's take a look at the second branch of the
same plant I gathered. This one seems to be at a
different stage of blooming. It has a lot more flowers on it, both big and small, and it seems a lot more complicated. To make
it look fuller, start by drawing a bunch of bigger circles
along the branches. Only then at dots as before. To make this sketch even more lush and detailed, finish by adding a lot of teeny tiny dots
around the branches.
7. Delicate Clusters: I love flowers that
grow in tiny clusters, like Baby's Breath, for example. When pressed, they turn into a fan shaped forms that are really
easy and pleasant to draw. Let's start with this one. Again, if you think of it, it's just
a bunch of lines and dots. Sketch several loose lines
meeting at one point. Then at tiny lines at the
end of each longer line, like you were drawing
a dandelion. You can add several
smaller structures like this to make the
cluster look more full. Now it's time to fill these
little fans with circles. I'm repeating the
same process here, but I'm using black dots
instead of circles. The slight modification
completely changes the look and
feel of the design. Feel free to experiment
when adding such details. Now take a good
look at this plant. Notice how the main branches
fork into a bunch of smaller ones and how dense
the flower clusters are. We will start with sketching the branches and then play with the shapes
of these clusters. Here I'm adding simple cups at the ends of these branches. I will add some
cups partly hidden behind the first row
to make the cluster more dense. This is a great way to make your sketch seem
more complicated without feeling
overwhelmed. Just start simple and add more
and more details as you go. Working this way is easier than planning a complex
composition up front. Now that you know how to
create a basic sketch, you can modify how
these cups look. I will adorn them
with dashes for more texture and add these
tiny fluffy hats at the top. Baby's Breath is lush,
delicate and messy. I like to draw a
bunch of tiny clouds in several layers to capture
these lovely floral clusters. In the second version, I will add darker detail at the base of each flower
to indicate sepals.
8. Flowers & Petals: Sketching individual
pressed flowers, or even single petals, is probably the
easiest endeavor. You just have to focus
on how the center looks and then establish the shape of the petals surrounding it. Let's start with this
gorgeous single petal. I'm inspired by the delicate
veins that cover it, so I will focus on capturing
that in my sketch. Now I turn this design
into an imaginary plant, as seen from the side, by adding stems
to single petals. Such motif will look lovely
in any botanical composition. Now take a look at this rose. Start with drawing a bunch of squiggly circles to
indicate the center of it. Then at petals around it, making sure they overlap, like that. Finish with some sepals peeking out
from behind the petals. Very often, a simple
bunch of dots and dashes can capture the
essence of the flower. This one is messy
and a bit jagged. so I chose these harsh geometric
petals to sketch a quick, simplified version of it. The beautiful center is by far the most interesting
element of these flowers. You don't need much to sketch it. Draw several petals
coming from the middle, add a bunch of dashes adorning
these petals. And you're done. Sometimes it's worth looking at the underside of
a pressed flower. You can find some
fantastic details that can inspire interesting doodles you wouldn't have thought
of otherwise. When sketching pressed flowers, study the shape of the petals and observe
how they overlap. This will give you endless
ideas for new doodles.
9. Leaves & Branches: Here I've gathered some
different leaves and branches, so you can see how
many amazing shapes there are to draw from. Let's start with
my favorite fern. I took a tiny part of one
to observe and study it. I ended up with
three iterations. First, sketch a slightly
curved central axis, then add the diagonal
lines to create a skeleton to help
you draw your fern. Notice that I make
these diagonal lines longer and longer as I approach
the bottom of the leaf. Now all you have to do is to draw an outline around
the skeleton. If you feel confident enough, you can draw the fern without the aid of the diagonal lines. I like this organic
and messy look, but keeping the
proportions right is a bit harder the last version of this fern is the easiest to draw and the
most abstract one. Just create a center line
and then move along it, adding slightly curved, oblong
shapes from top to bottom. Notice they are not
touching each other. When you look at a really complicated shape like this one, it seems impossible to draw it, especially on a smaller scale. In situations like that, I encourage you to use
the following trick. Choose just one
offshoot of the branch, preferably near the bottom where it is longer
and well developed. Take a good look at it and draw it like it was
a whole branch. It will allow you to get to
know the structure of it. This is basically what I
did with a part of the fern before. I make these tiny leaves roughly filled with
black and quite messy to achieve
an organic look. And here I repeat the
exercise with a bit cleaner leaves to show you how you can modify these designs
to suit your taste. When sketching this
particular plant, I will focus on how long, slender and delicate
the leaves are. I will start with
several main lines topped with bigger oblongs and then add more leaves as I go to make the branch look
more full and balanced. Now it's your turn! Find some
interesting pressed flowers, real life, or photographed, and create some loose sketches. In the next lesson, we will use these doodles to create beautiful
botanical illustration.
10. Final Illustration: Now it's time for our
final illustration. We will start with sketching
a simple decorative cloche. Sketch an oval for the base. Remember, it doesn't
have to be perfect. The more wonky and hand
drawn your cloche looks, the more charm your
illustration will have. Now sketch another oval of the same size above
the first one, and connect them
with vertical lines. This is your base. Now mark the top of your cloche and start sketching
the sides of it, stopping at around two
thirds of the height. Now, connect the top
of the cloche with the sides by sketching
gentle curves. I am not entirely happy
with the second curve, as it was hard for me
to draw at that angle. Feel free to rotate the paper, so your wrist moves more naturally. Now I will erase these lines on the back so they
don't distract us. The whole bottom of the cloche, will be filled with
flowers anyway, so we don't need them. However, if you plan to create a minimalistic sketch with just a few details,
leave them as they are. We will build the composition working from the
bottom of the cloche. I will be using my herbarium as a reference for
the whole time, combining different sketches
from previous exercises. I will start with a close-up of Baby's Breath cluster and place it at the
border of the base. I will squeeze it in the corner
to fill this whole space, ensuring some flowers are
touching the glass wall. Now I will add another
Baby's Breath cluster, using the second
design I developed. I won't be drawing
any stems this time, just the cloud-shaped flowers. I plan on creating a
pretty dense composition here, so I'll make sure these two
clusters are touching, and I will add two
more above them. Now it's time to
fill this space on the right with something
bigger and less detailed for contrast. I think I'm
going to choose this rose here. Just make sure the petals touch the base and wall of the cloche, and the flower fits
snugly in the corner. Now that the bottom of the
cloche is filled with flowers, it's time to move upwards
and add some leaves. I will start with
my favorite fern. Next, I want to
fill this space on the right with something
tall and delicate. I think the first plant we sketched will fit
here perfectly and will provide a nice contrast
to the thick and solid fern. No, let's add another
layer of flowers here. I will use the ones
based on a single petal, and I will sketch
several of them. I will ensure they overlap to
create an illusion of depth. I've decided to fill this space with one of my favorite motifs
that I developed based on the flower we admired in the lesson on the
art of observation. Actually, we could finish here, but I'm addicted to lush
insanely detailed illustrations. So let's add a few more
branches and flowers. I will go for this motif and try to fit it here
like a puzzle. I realized my new flowers are the same height as the fern, and I'm not happy with that. It makes the composition
look heavy and flat. To fix it, I will add some more branches to
make this element taller. That's better. Now it's
time to draw the outline of the cloche with a pen
and erase the pencil lines. You could do it upfront
before filling the cloche, but this way, you can
still modify the shape of it in case some of the plants inside need more breathing room. This time, I will rotate
my illustration and take this opportunity
to fix the top of the cloche and make
it a bit rounder. Now this is optional, but after erasing all
the pencil lines, you can fill the cloche
base with color. I am using a brush pen for
that to speed up the process And voila! This lovely botanical
illustration is ready.
11. Bonus: Mixed-Media Piece with Pressed Flowers: In this bonus lesson, I will show you how to combine your sketches with
real pressed flowers. I've already sketched the
outline of the cloche. I plan to use delicate
white flowers, so I chose a dark background and white gel pen
for better contrast. I will start with
putting flowers on a surface and finding the
right place for them. I won't tape them
to the page right away because I want some sketch details
to go beneath them. I will sketch
several branches in the empty spaces to establish
composition, more or less. Then I will put
pressed flowers to the side so I can
focus on drawing. Now, I will develop these sketches to get
the background ready. Okay, so let's return with the pressed flowers and see if more empty spaces
need filling. Yep, I will add
some details here. I will also add another
branch at the top. I will work on these
details later on. But now I'm so happy
with the position of pressed flowers that I want to tape them to the
surface already. I like to use cute washi
tape for this purpose, because I think it
makes the illustration look even more adorable. I will tape it in
a few places so the stems won't slide over
or move around anymore. This is a good method for taping down the
stems and branches. However, for bigger
flowers like these, I use double-sided tape to
secure them to the surface. You can also use transparent
glue for all the elements. It will make tiny
floral clusters stick to the surface as well. Okay, now that our
pressed flowers are taped to the surface, I will fill the final empty
spaces with some details, especially at the bottom. The illustration looks
magical already, but I will finish
it with stars and moon to make it even
more enchanting.
12. Final Thoughts: Thank you so much for
taking my class today. I hope you enjoyed these exercises
and you feel encouraged to observe plants more closely and draw
inspiration from them. I can't wait to see your
gorgeous illustrations, so please don't
forget to share them in the Projects
and Resources tab. If you love drawing flowers, I invite you to check out my other class, Botanical Bliss: 6 fun ways to fill
your sketchbook with floral doodles. For more
relaxing doodle exercises, watch Slow drawing, Slow living: Get in the flow
with ocean doodles. It will help you turn
your creative session into a truly magical
experience filled with candles and the calming
sounds of ocean waves. And if you want to stay tuned
for my next classes, follow me here on Skillshare! So, happy creating, and
see you next time!
 Ewa Rosa, illustellar | Find Bliss in Making Art