Transcripts
1. Introduction: Fall is a magical season
when Cosi meets spooky. It's a time for fluffy blankets, scented candles, yummy
trees, and hot tea. And, of course, a
perfect moment to draw some Halloween
inspired illustrations. Hi, my name is Ava Rosa, and I'm an illustrator, embroidery artist, and top
teacher here on Skillshare. I love illustrating ghosts, but I'm not a fan
of horror movies. I want my ghost to be
super cute, adorable, and pretty, and that's exactly what we are
going to create today. I will show you how to
draw a ghost and modify it by changing its overall
shape and facial features. Then we will use
watercolors to fill our designs with colorful
background layers. We will finish by embellishing our ghosts with
beautiful florals, using ink pens and gel pens
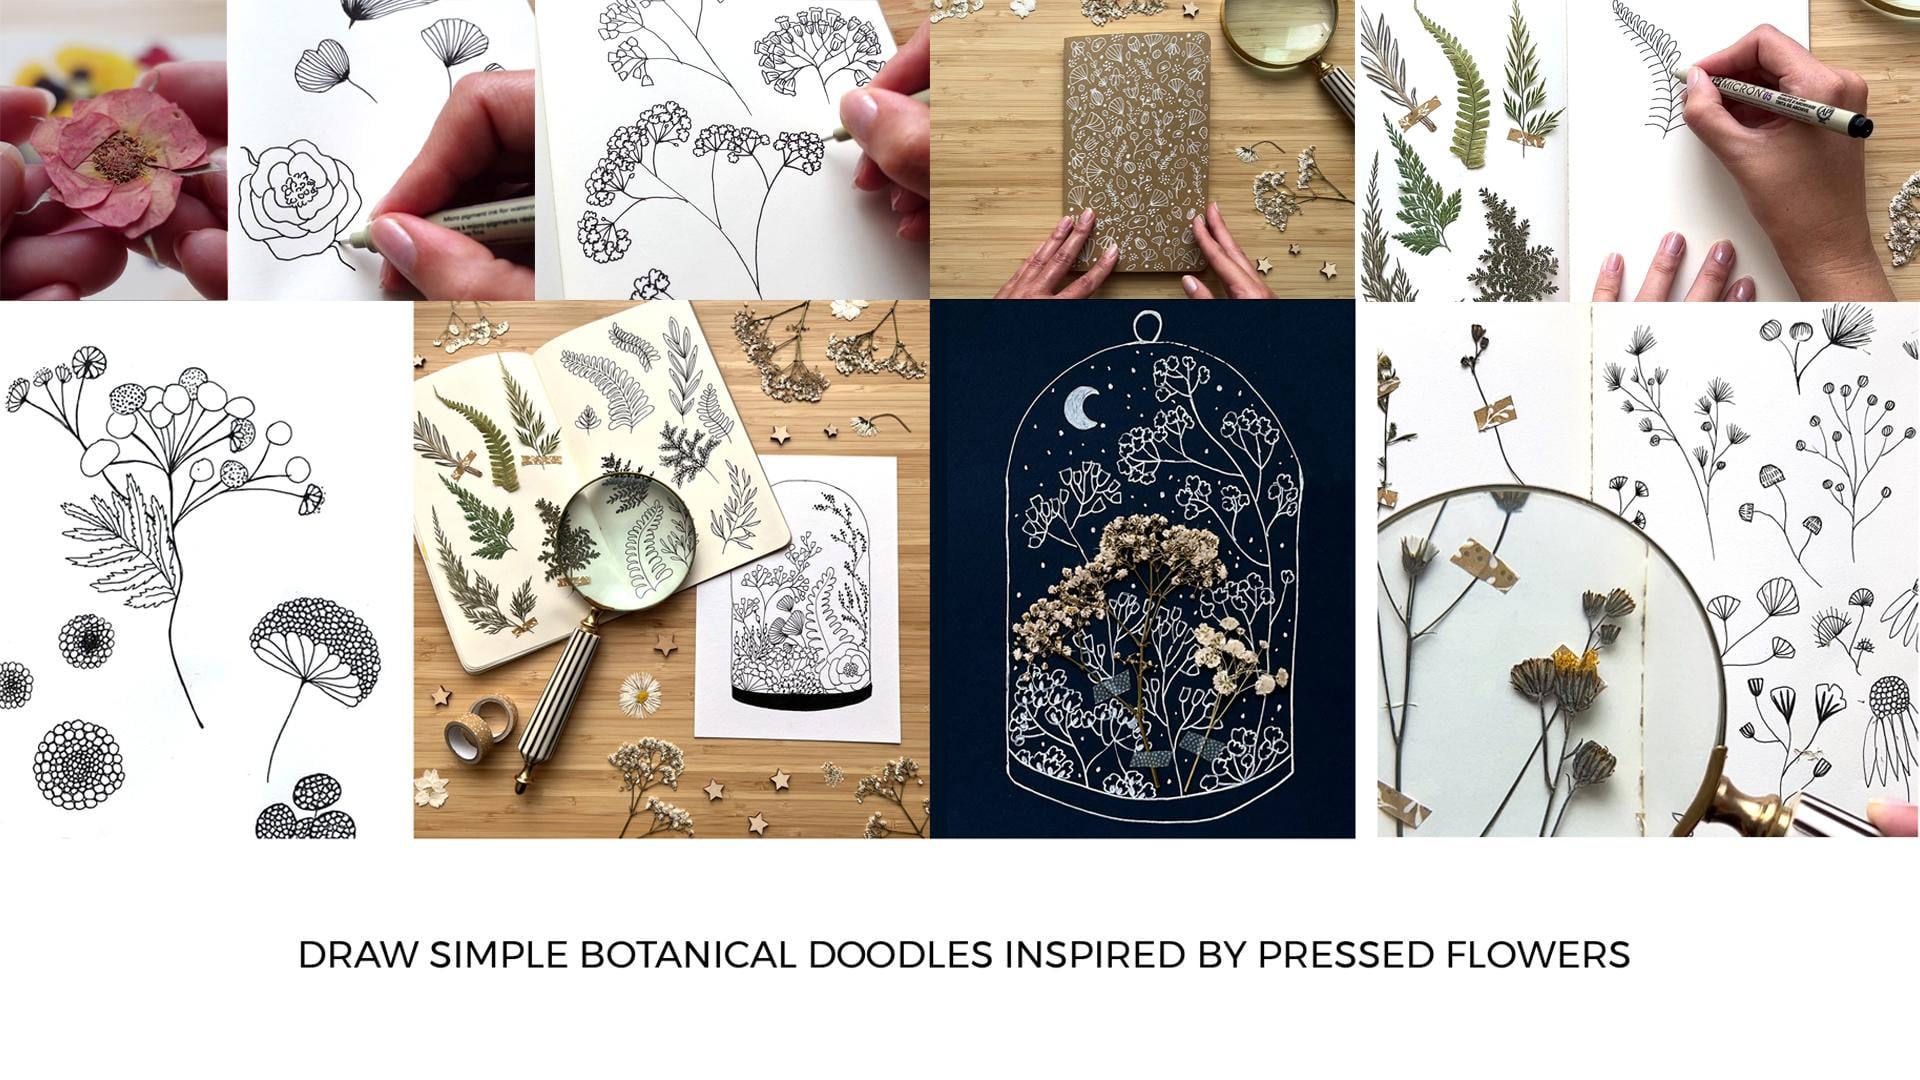
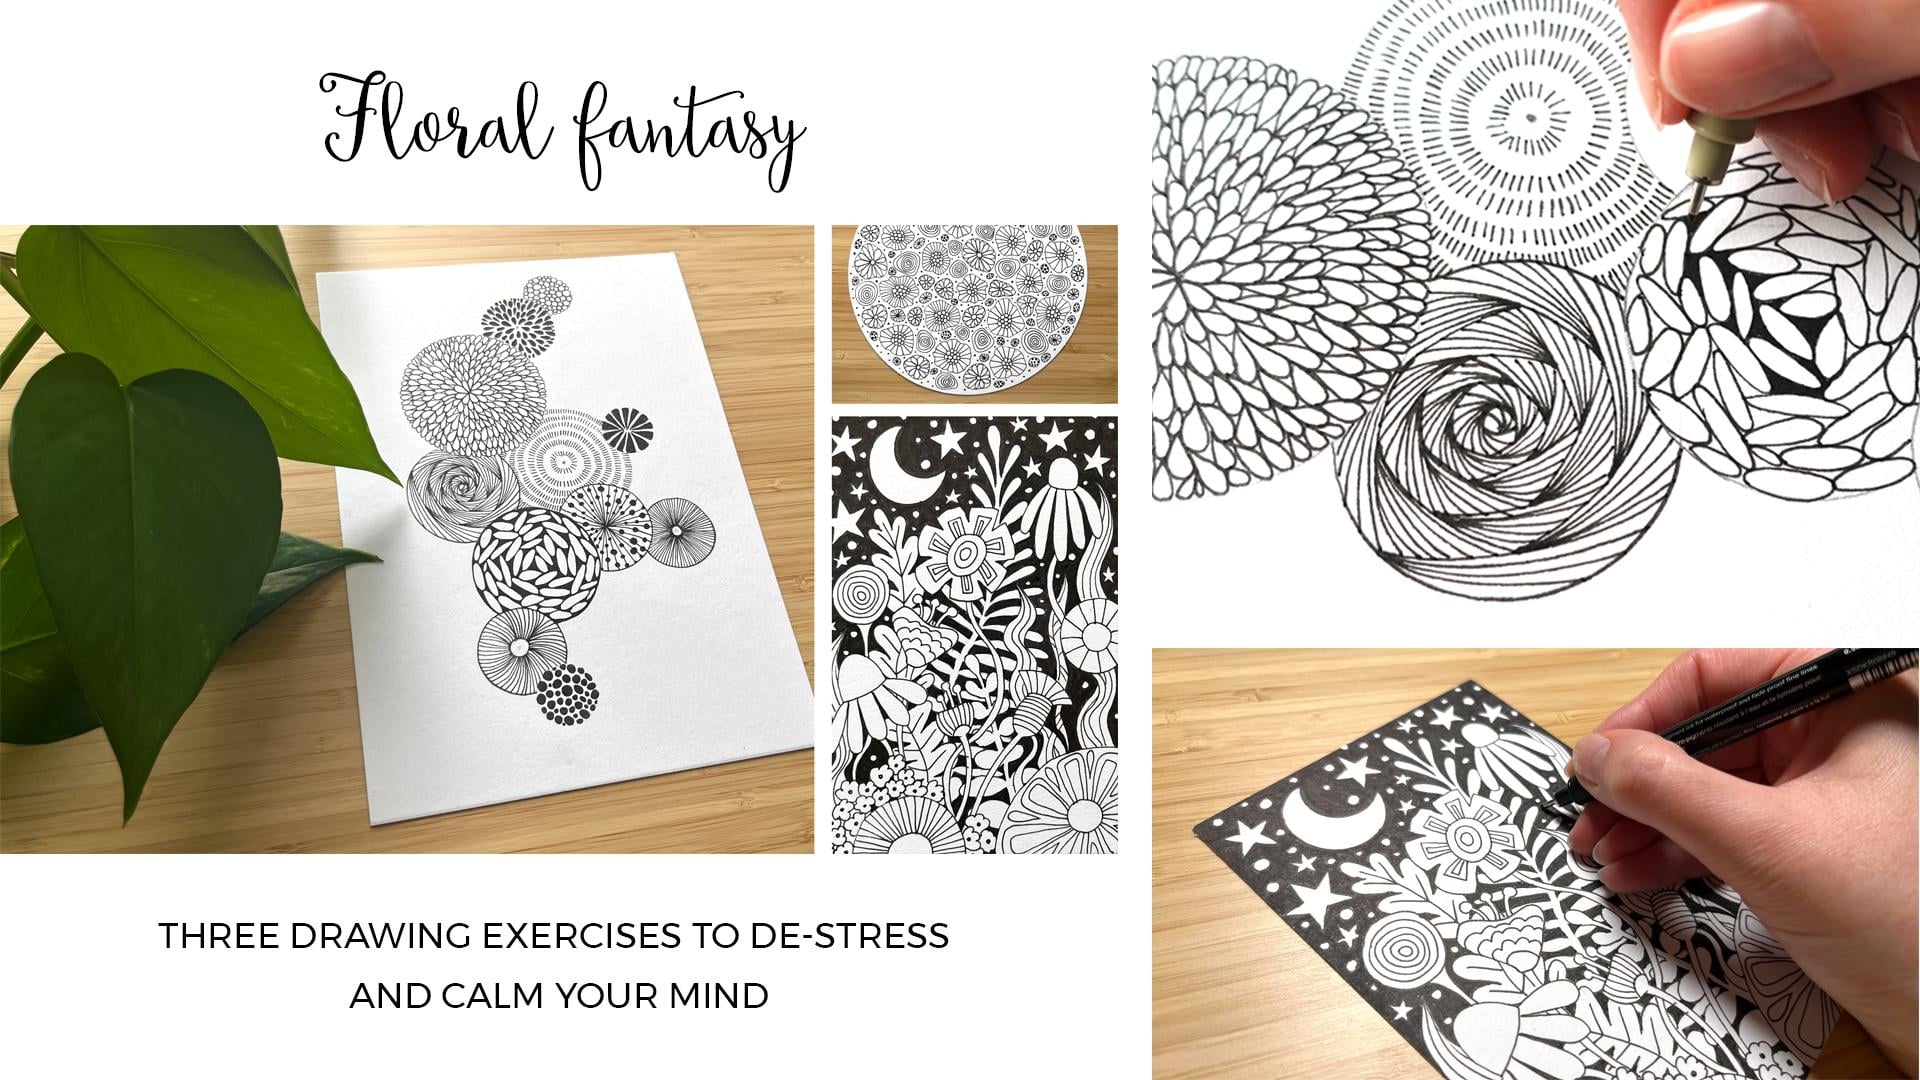
to make them super pretty. I will be using some of the motifs I explored
in the class on drawing botanical doodles
inspired by pressed flowers. So if you are looking
for more ideas for your project and
you want to have a sneak peek into my
doodle herbarium, I encourage you to watch
both classes in a bundle. To elevate our
creations even more, we will cut out our ghosts
and place them into floating frames so they look like they are
hovering midair. Of course, you don't
have to cut out and frame your designs if
you don't want to. You can use this project
to create an illustration for your portfolio or to
fill a sketchbook page. And if you're a digital artist, you can still absolutely
follow along and create a floral ghost in
Procreate or other program. Just have fun with it
and enjoy the process.
2. Class Project & Materials: For this class project, I would love for you to create at least one floral ghost using tips and techniques I will
share with you today. To create your ghost, you will need a
pencil and eraser for sketching and some sturdy paper that is suited for watercolors. Take notice of its weight. It should be at least
300 grams or 140 pounds, so it can handle a lot of water. I recommend you choose smooth, hard pressed paper that
is not too grainy. This will make it easier
for you to embellish the surface with gel pens
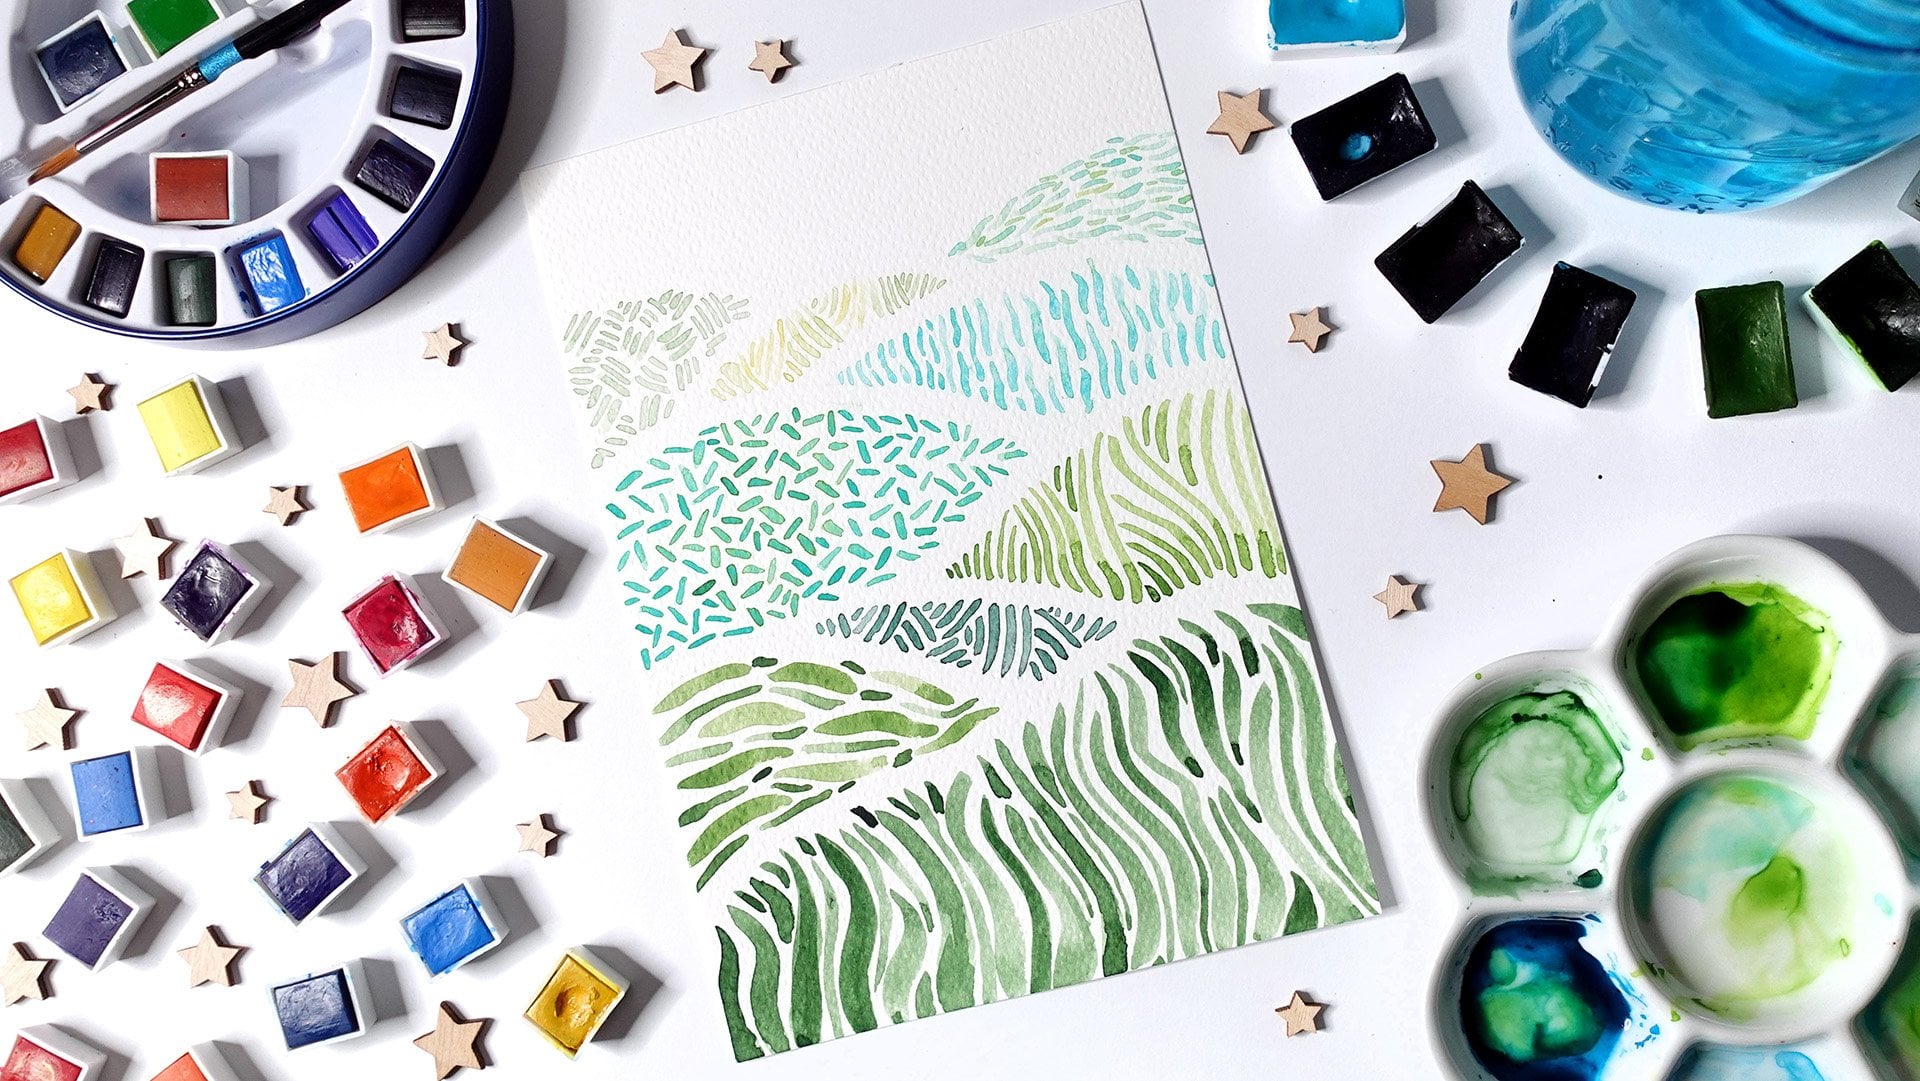
and ink pens later on. Then, of course, you will need some watercolors to
paint your ghost. So prepare a few of your favorite colors
along with a round brush, palette, and water jar. To decorate your design, you will need a white
gelpen or a black ink pen. For the white gelpen, I recommend Nibal signal, but you could also try using an acrylic Posca marker
with a fine tip. For a black ink pen, I will be using my trusty
micron number four. I will also be using a golden calligraphy pen
to add some tiny details, but this is entirely optional. If you want to turn your
design into wall art, you will need scissors
to cut it out and a floating frame of
some kind to frame it. My favorite floating frames
are these metal golden ones. They come in a bunch
of shapes and sizes, and you should easily
find them online. For example, I bought
this big one at Ikea. Double sided tape can become handy to secure
your drawings to the glass so they won't move around when you assemble
your composition.
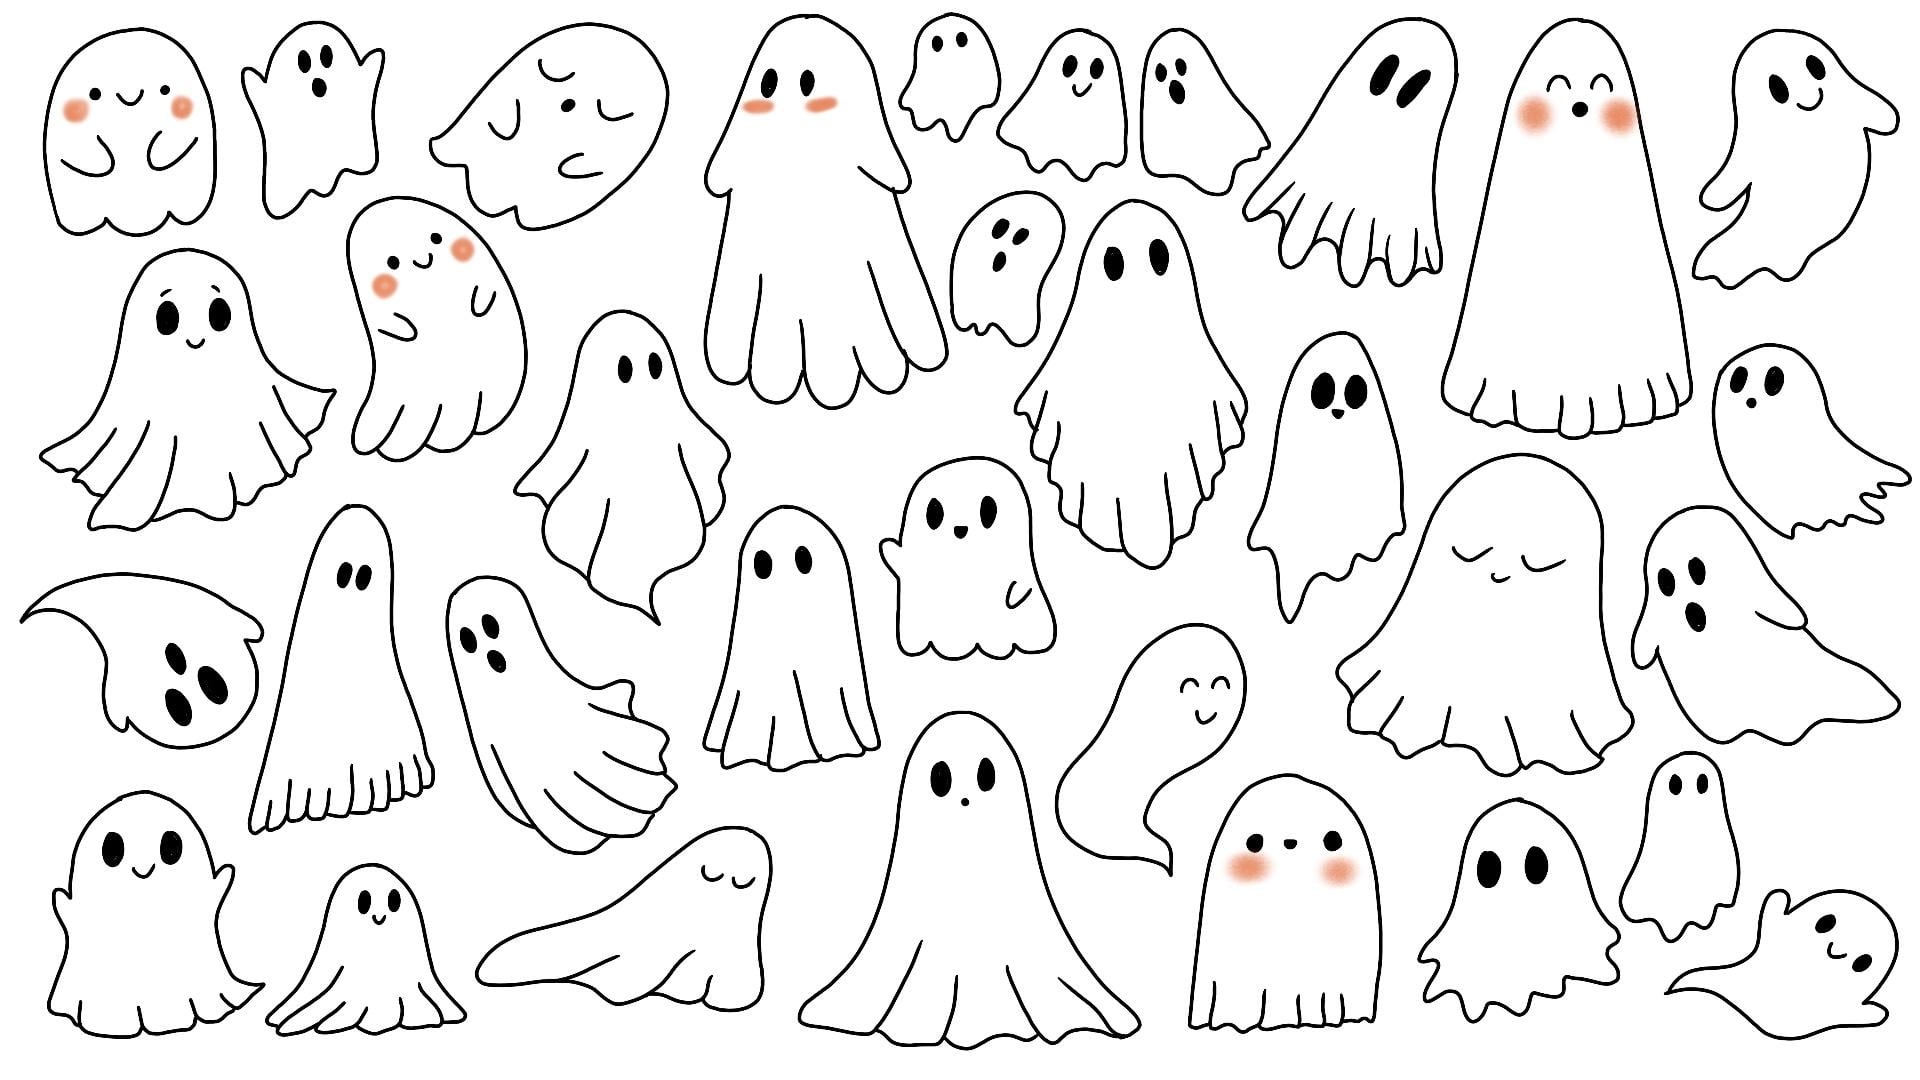
3. Let's Draw a Ghost: So the easiest way to
draw a ghost is to start with sketching a circle
or an oval for a head. You will follow
this shape to add lines indicating
sites of the body. So this first choice
will determine whether your ghost will be thin
or more round and plump. You can modify
these lines further by letting them flare
to the sides like this. At this stage, you
can also decide if you want your ghost
to be tall or short. So don't hesitate to
modify its height. After you've done this, it's time to play with the
hem of your ghost's body. This is where the
real fun begins, as you can create
countless iterations. You can go with a simple cartoon scalloped shape and modify it by varying the number
of arched lines and extending some lines
to indicate falls. You can finish the body with some squiggly lines placed
at different angles. You can create hem
with small tooth like creases and play with
its overall shape, your hem can be slanted, curved, wavy, even, or arched. You can decide to create a
lot of faults by elongating the creases of your hem with
lines of different lengths. You can even try to
finish your ghost's body with a spike similar to a tail. To make your ghost
even more complex, you can change the position of its body and add
some hands to it. To do that easily, you will have to use
two more guidelines, one for the imaginary spine of your ghost and one
for the hands. The sketch on the
left shows a ghost as seen from the front
with raised hands, and the sketch on the
right shows a ghost with curved body and
hands hanging down. You can create a ghost
in any position. Just sketch the
guidelines first and then follow them when
outlining the body. An imaginary spine guideline
will also help you place the eyes and other facial features in
the correct positions. So let's add some
facial features to your ghost, shall we? Let's start with the eyes. These huge spooky
ovals are my favorite, and I often leave my
ghosts looking like that without any
further additions. But if you want to
make your ghost cuter, you can use two arched lines for a happy or sleepy ghost or even these unfinished
triangles for a laughing one. Then you can add some
mouth using a circle, an arch, or a half circle. And you can even add some
eyebrows or eyelashes. I like to add oval
or round blushes to my ghosts to make them
look super adorable. As you can see, there are
tons of ways to draw a ghost, and you can use
endless modifications to create one that
really suits you. I encourage you to make
some doodles on the side first and test different
options to see what you like. When you are ready, move to
watercolor paper and sketch your ghost or ghosts using
guidelines to help you. Then remove all
unnecessary lines with an eraser to prepare a
clean sketch like this one. In the next lesson, we will
cover these sketches with watercolors to
prepare a background for our botanical doodles.
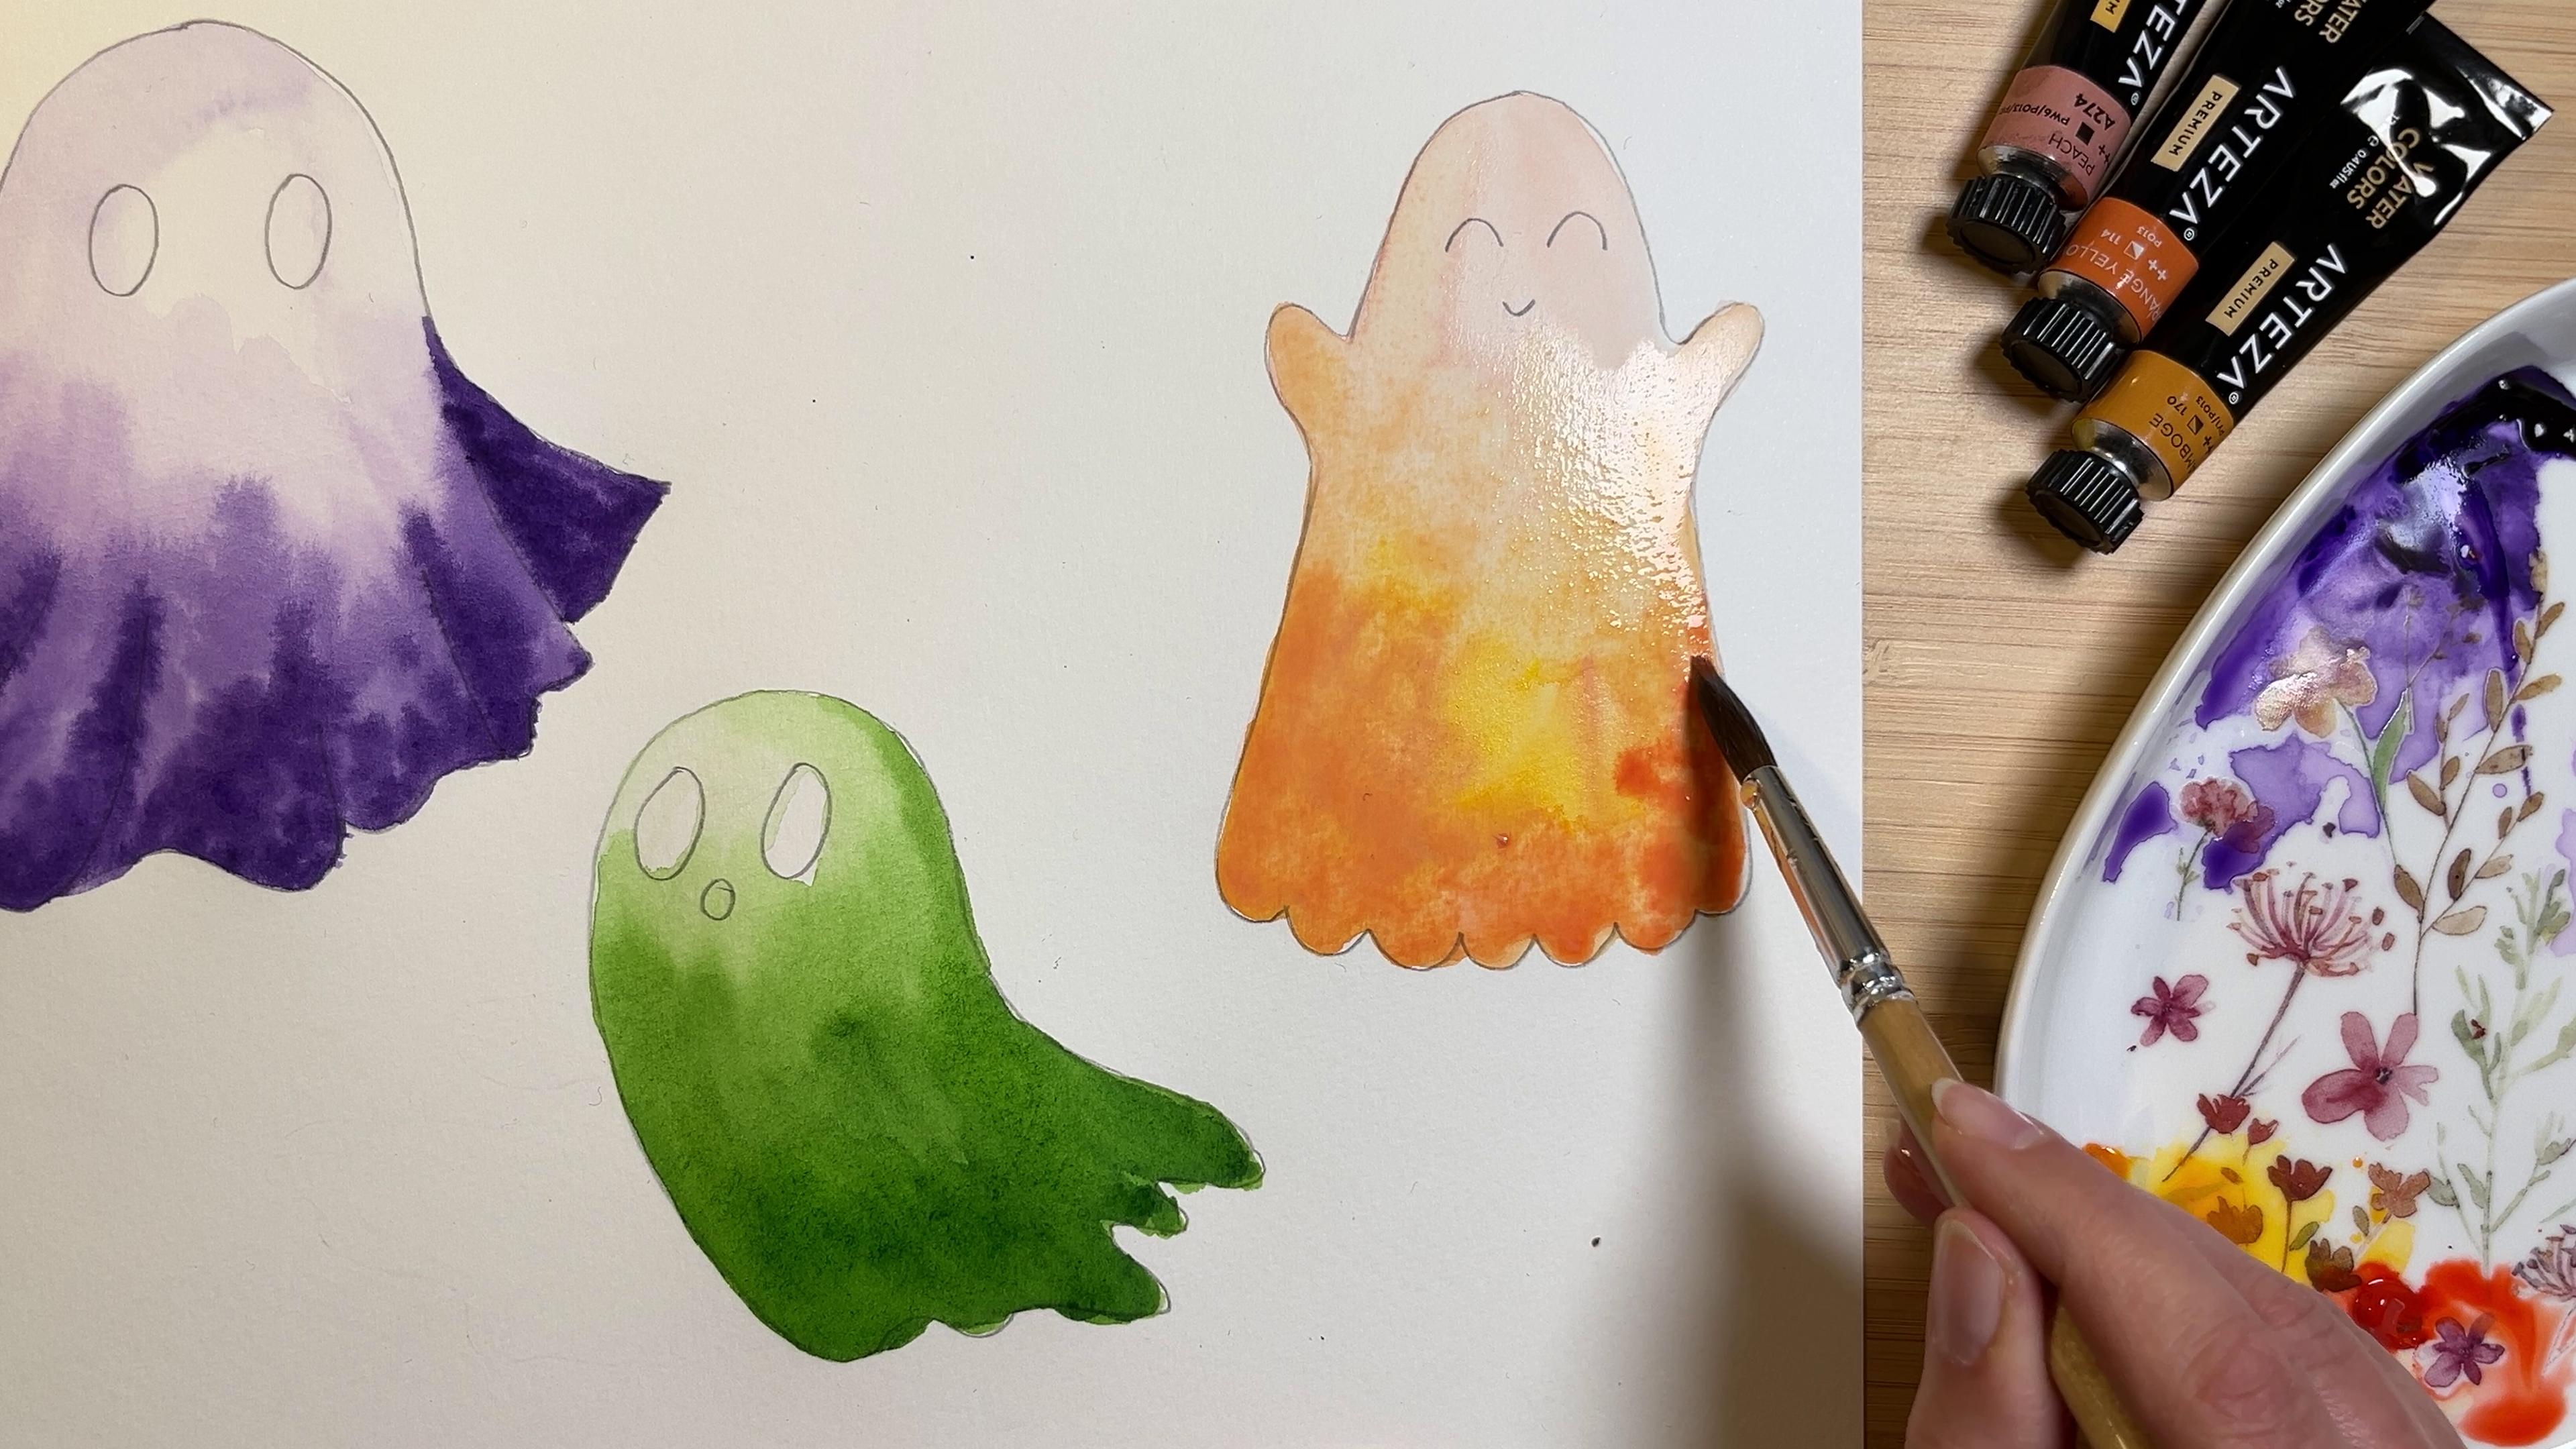
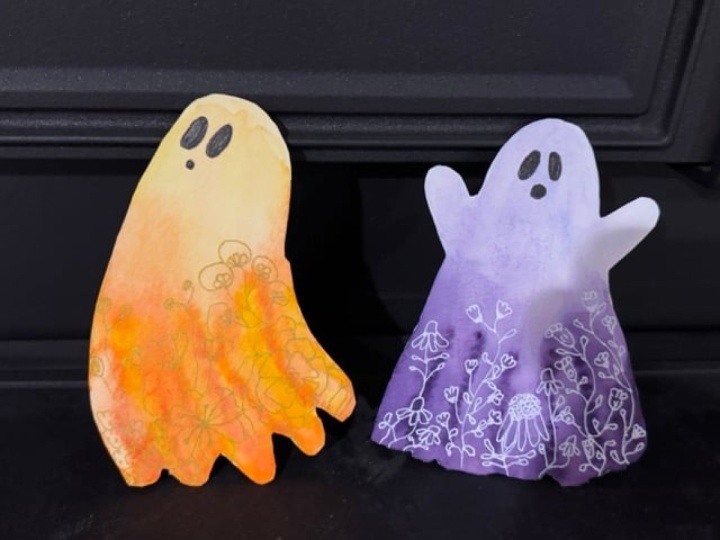
4. Let's Color a Ghost: Now that you have your
ghost sketches ready, it's time to fill
them with color. For this first one, I will use violet and lavender to create a pretty dark
background that will contrast nicely with
white gelpan doodles. If you want to use
lighter colors and especially if you are not planning to cut out your design, erase pencil lines as much as you can before
you start painting. Of course, you still
want to see them, but make them as
light as possible so they won't be too visible
under the paint layer. I will be using wet
and wet technique to create smooth transitions
between the colors. Our botanical motifs will be blooming from the hem
of the ghost's body. So I want the bottom part to be darker and the top one
to be quite light. So first, I will
fill the shape with a very diluted
paint, mostly water. And then I will start
gradually adding more color. You need to work quite quickly
to keep the surface wet and blend lighter
and darker hues together by adding more water. A As I'm approaching the bottom part of my ghost, I use less water and more paint to make this area as
dark as possible. You may notice that I'm not too careful with painting
inside the lines. That's because I know I will be cutting out my ghosts
to frame them. If you're creating
regular illustration, you may want to put a little
more effort into sticking to the outline and perhaps even use a smaller
brush for this purpose. I add drops of pigment
along the falls to bring them out and create an illusion of three
dimensional fabric. I Now I will repeat this process filling
the middle ghost with green paint to create a background for some
forest inspired doodles. I will cover this
last one with yellow, orange, peach, and red
for a more autumnal fell. In the next lesson, we will start embellishing our ghosts with different
botanical motifs. And then down
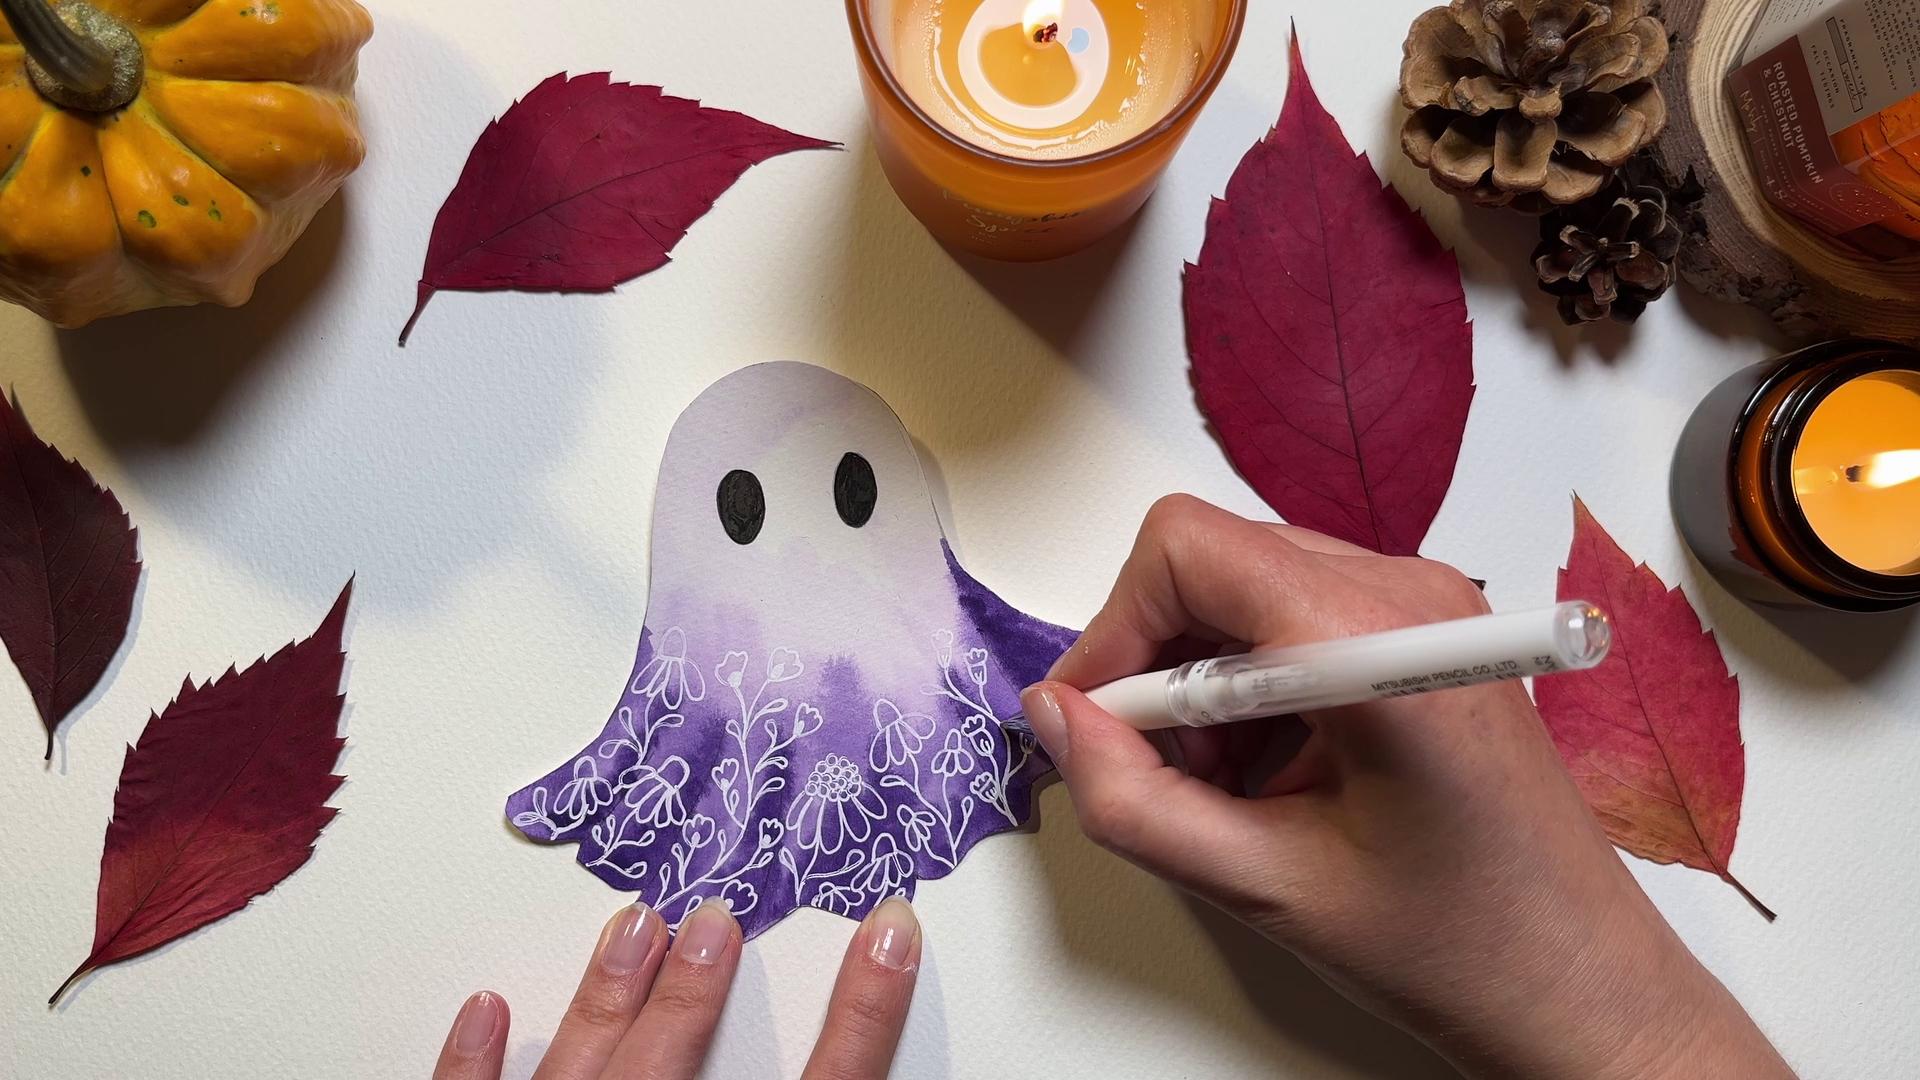
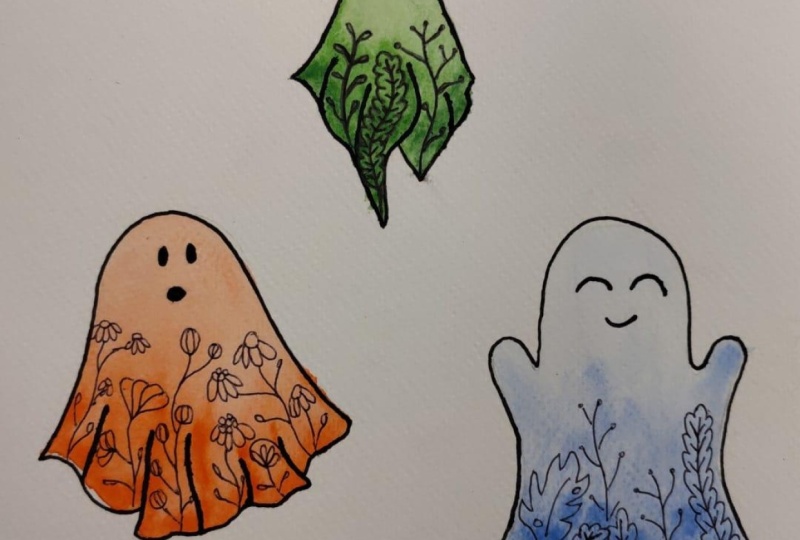
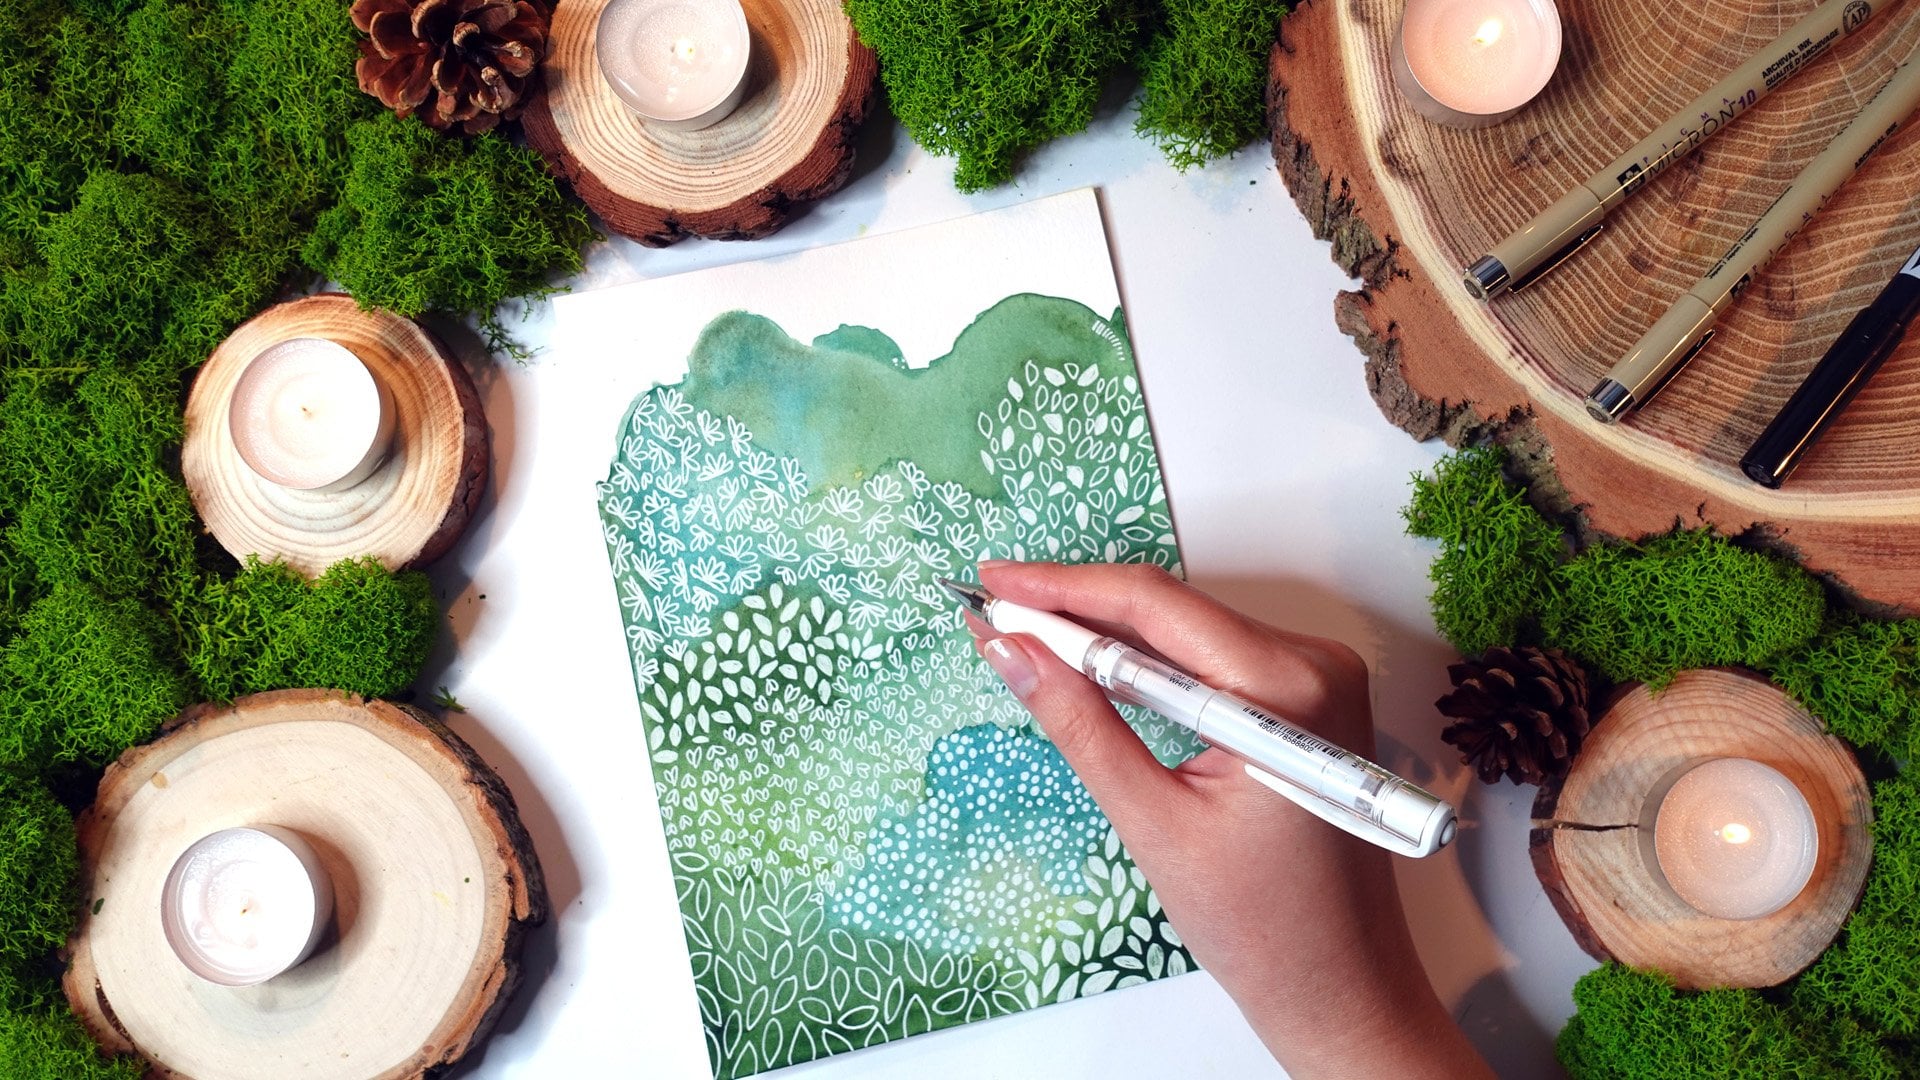
5. Let's Decorate a Misty Meadow Ghost: Okay, so before we start actually embellishing
our first ghost, let's fill its ice
with a black ink pen. As you can see, I've
already cut out this drawing for the sake of creating a pretty
flat lay for you. But of course, you
can do it afterward. So now that our ghost can
see what is happening, let's make it happy by
embellishing it dress, shall we? I will be using a
white gelpan for this purpose to create delicate, ghostly designs that will look gorgeous on a dark
purple background. For this particular ghost, I chose some delicate, tiny flowers and bigger daisies
from my little herbarium. Start with drawing a thin
curvy line and top it with a small triangle like shape with three petals and a white
oval in the middle. Next, add some more lines, branching of the
main one and of each other and top them with
more of these tiny flowers. Fill the spaces between them with some teardrop
shaped leaves. Now let's draw our first daisy. Start by creating a cluster of circles and then add some
drooping petals under it. Finish by adding a stem
and a couple of leaves. For smaller daisies, substitute the cluster of circles
with a simple half oval. Proceed with filling the
bottom half of your ghost with flowers and imagine they
are blooming from its hem. H now let's add another branch
with tiny flowers. This time, you will create
them by drawing a half oval with some lines in the middle and topped with three petals. As before, you can fill the spaces between
flowers with some leaves. I will finish the composition by repeating the first
branch design. And there you have
it a mysterious, melancholy ghost inspired
by a misty meadow.
6. Let's Decorate an Autumnal Ghost: Well, I can already
tell you that our second ghost will be
definitely much more cheerful. This time we will build the composition by
working from the bottom. We will cover it tightly with some bigger flowers from
my doodle herbarium, and then add some
smaller flowers on stems to balance
everything out. So let's start with a rows. Draw a bunch of half circles to indicate the center of it. Then add petals around it, making sure they
overlap like that. Go round and round until you reach the
edge of your ghost, so the flower fits
snugly in the corner. Now let's add another flower partially hidden
behind the first one. Draw several petals coming from the middle and
then add a bunch of short lines with tiny circles at the
ends indicating semans. I will fill the left corner
of our ghost hm with a cluster of small flowers inspired by a plant
called Baby's breath. Luckily, we are not talking
about Rosemary's baby, so there will be nothing
spooky about it. Now let's add some
smaller flowers on stems for a nice contrast. The first design consists of some rounded triangles with
three petals in the middle. And the I don't want the composition
to be too crowded, so I will fill the
spaces between them with simple small
circles on stems. Now let's create some bigger
triangle flowers inspired by single petals with decorative
lines in the middle. Lastly, we will add a few
branches topped with circles. I will draw some
carvlines inside them so they look
like gooseberries, but you can leave them blank for a more minimalistic design. I will finish my
ghost by adding some watercolor blushes
to its cheeks.
7. Let's Decorate a Magical Forest Ghost: Now it's time to
decorate our last ghost. And for this green one, I chose a bunch of forest inspired motifs from
my Dugal herbarium. So we will start
with some ferns, draw a slightly
curved central axis, following the ghost's body, and then add diagonal lines on both sides to create
a skeleton of sorts. Notice that I make
these lines longer and longer as I approach
the bottom of the leaf. Now, all you have
to do is to draw an outline around the skeleton. H. I will create the second fern without
the aid of diagonal lines. But if you have a hard time
keeping proportions right, don't hesitate to stick
to the first method. Now let's add a few
branches with some slightly elongated,
slender delicate leaves. Just follow your intuition
and add more leaves as you go to make the branch
look full and balanced. We will finish the composition
with tiny berries. Simply draw some lines
branching off each other and add small black
circles at the ends. This is an excellent filler for nooks and crannies
in your design. Now, this last step
is entirely optional, but you can add some
golden details to your botanical doodles to
make them even more magical. I am using a golden
calligraphy pen from the Dutch brand
called Deco time, and I absolutely love how
it looks on watercolors. But you can also try using a golden oil marker or even some metallic
watercolors or acrylics. I haven't yet found a golden gel pen I
would be happy with, so I cannot recommend
one to you. And that's it. Our magical
Forest Ghost is ready. Oh
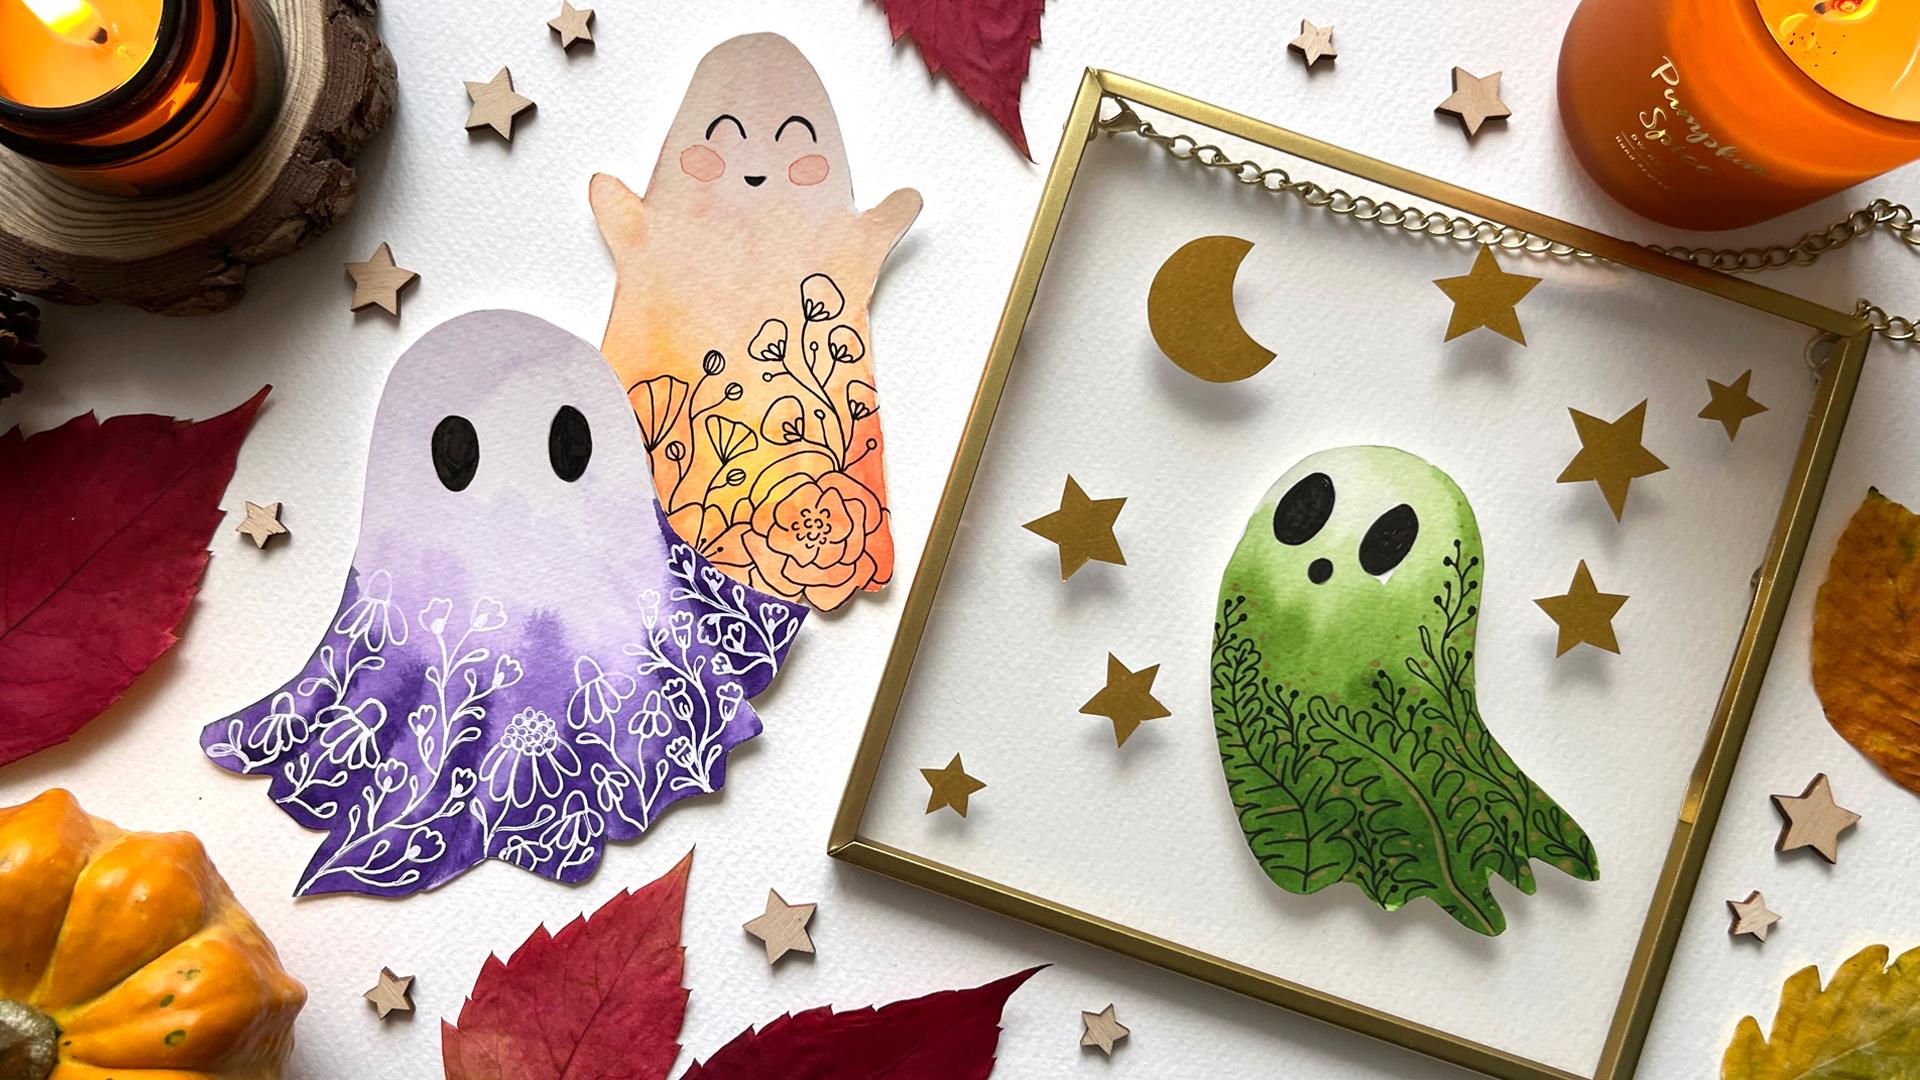
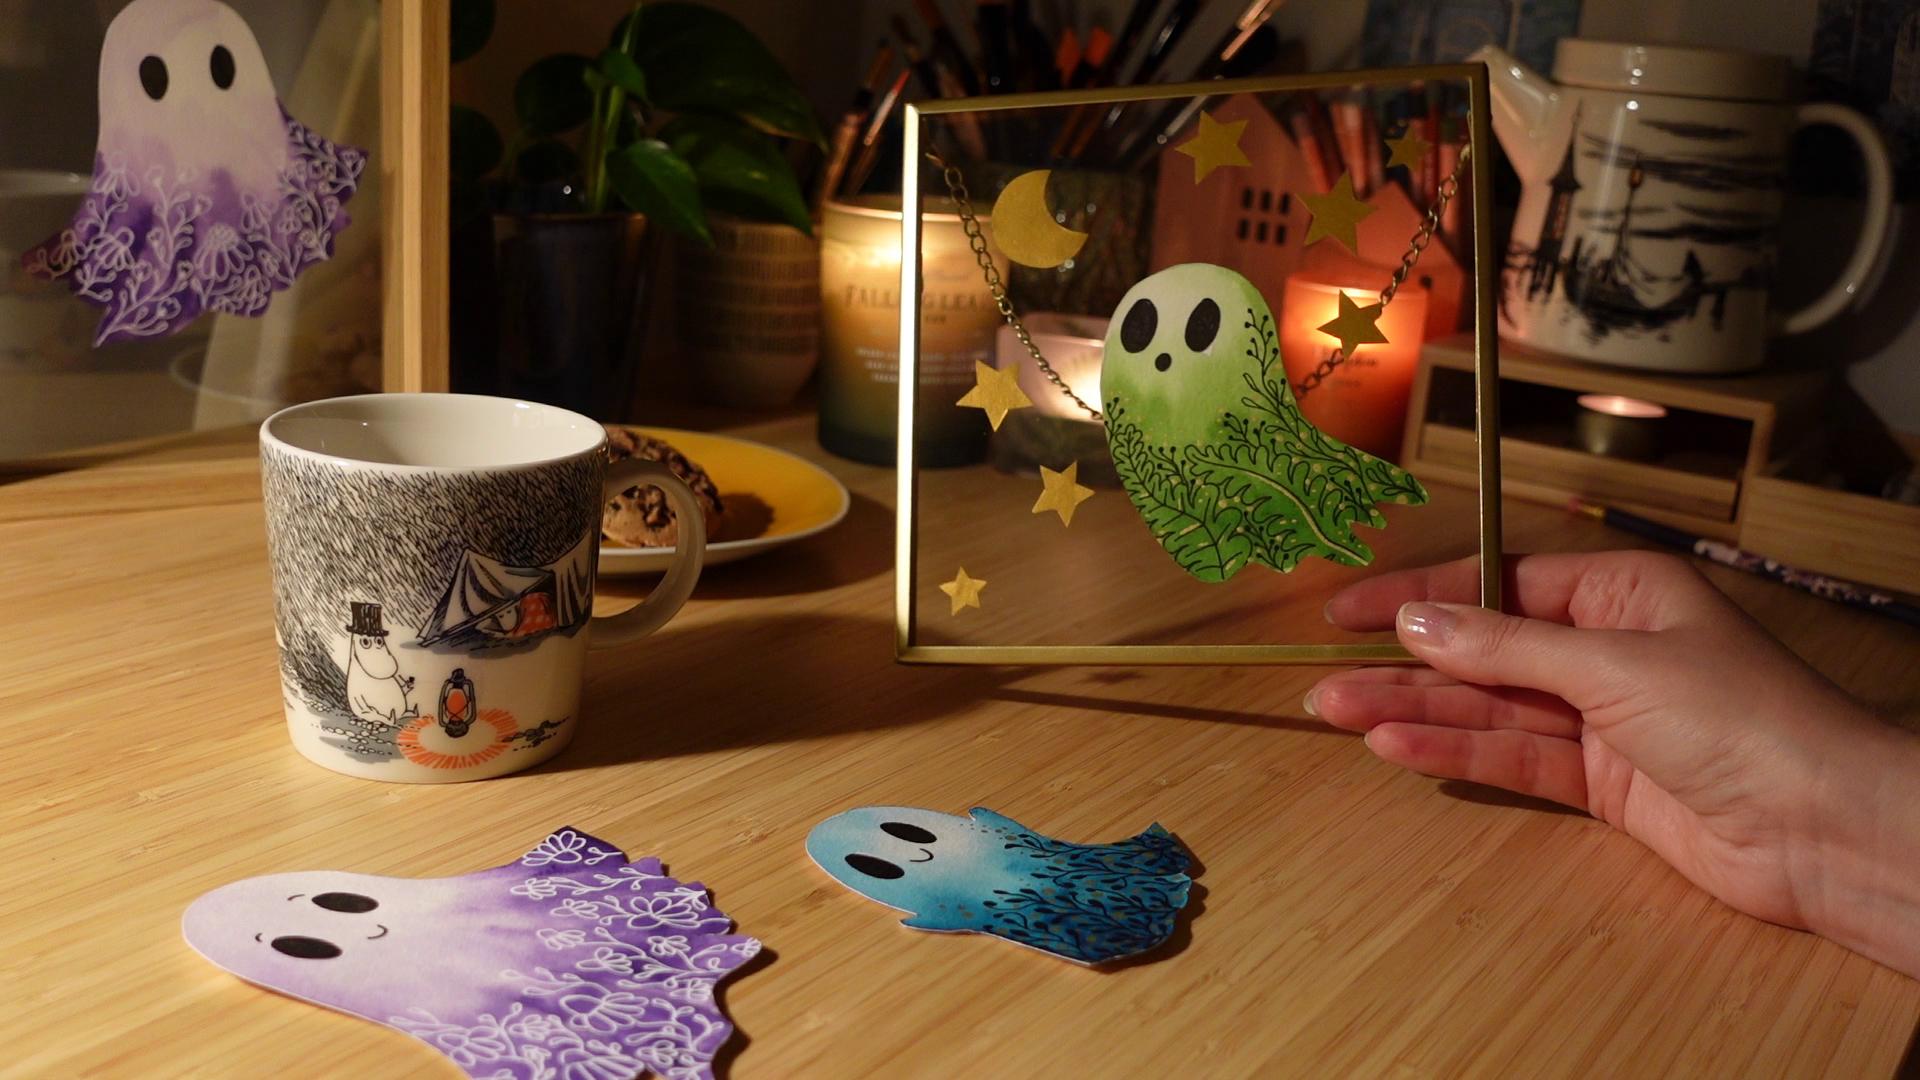
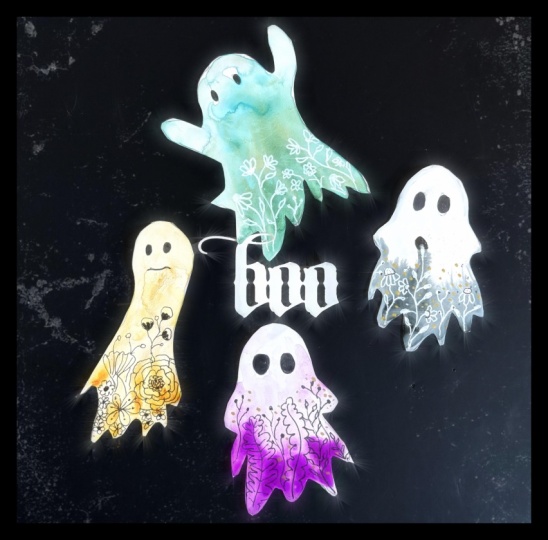
8. Let's Frame a Ghost: Okay, so framing your ghost
is not a rocket science. You just need to place it on one piece of glass or plexiglass and cover it with
the other and then slide both pans into a frame. One thing I would recommend
is that you secure your drawing to the glass with a little piece of
double sided tape, so it stays in place
while you assemble it. You can elevate
the composition by adding more cutout
floating elements to it. Think moon and stars or butts and pumpkins or even
some pressed leaves. It will definitely make it
look more magical and cute.
9. Final Thoughts: Thank you so much for
taking this class. I hope you had a lot of fun
with this little project, and it helps you relax and get
into a cozy autumnal mood. I cannot wait to see your
not so spooky illustrations, so please don't forget to
add them to the gallery. And if you want to stay
tuned for my next classes, follow me here on Skillshare. So happy creating and
see you next time.
 Ewa Rosa, illustellar | Find Bliss in Making Art