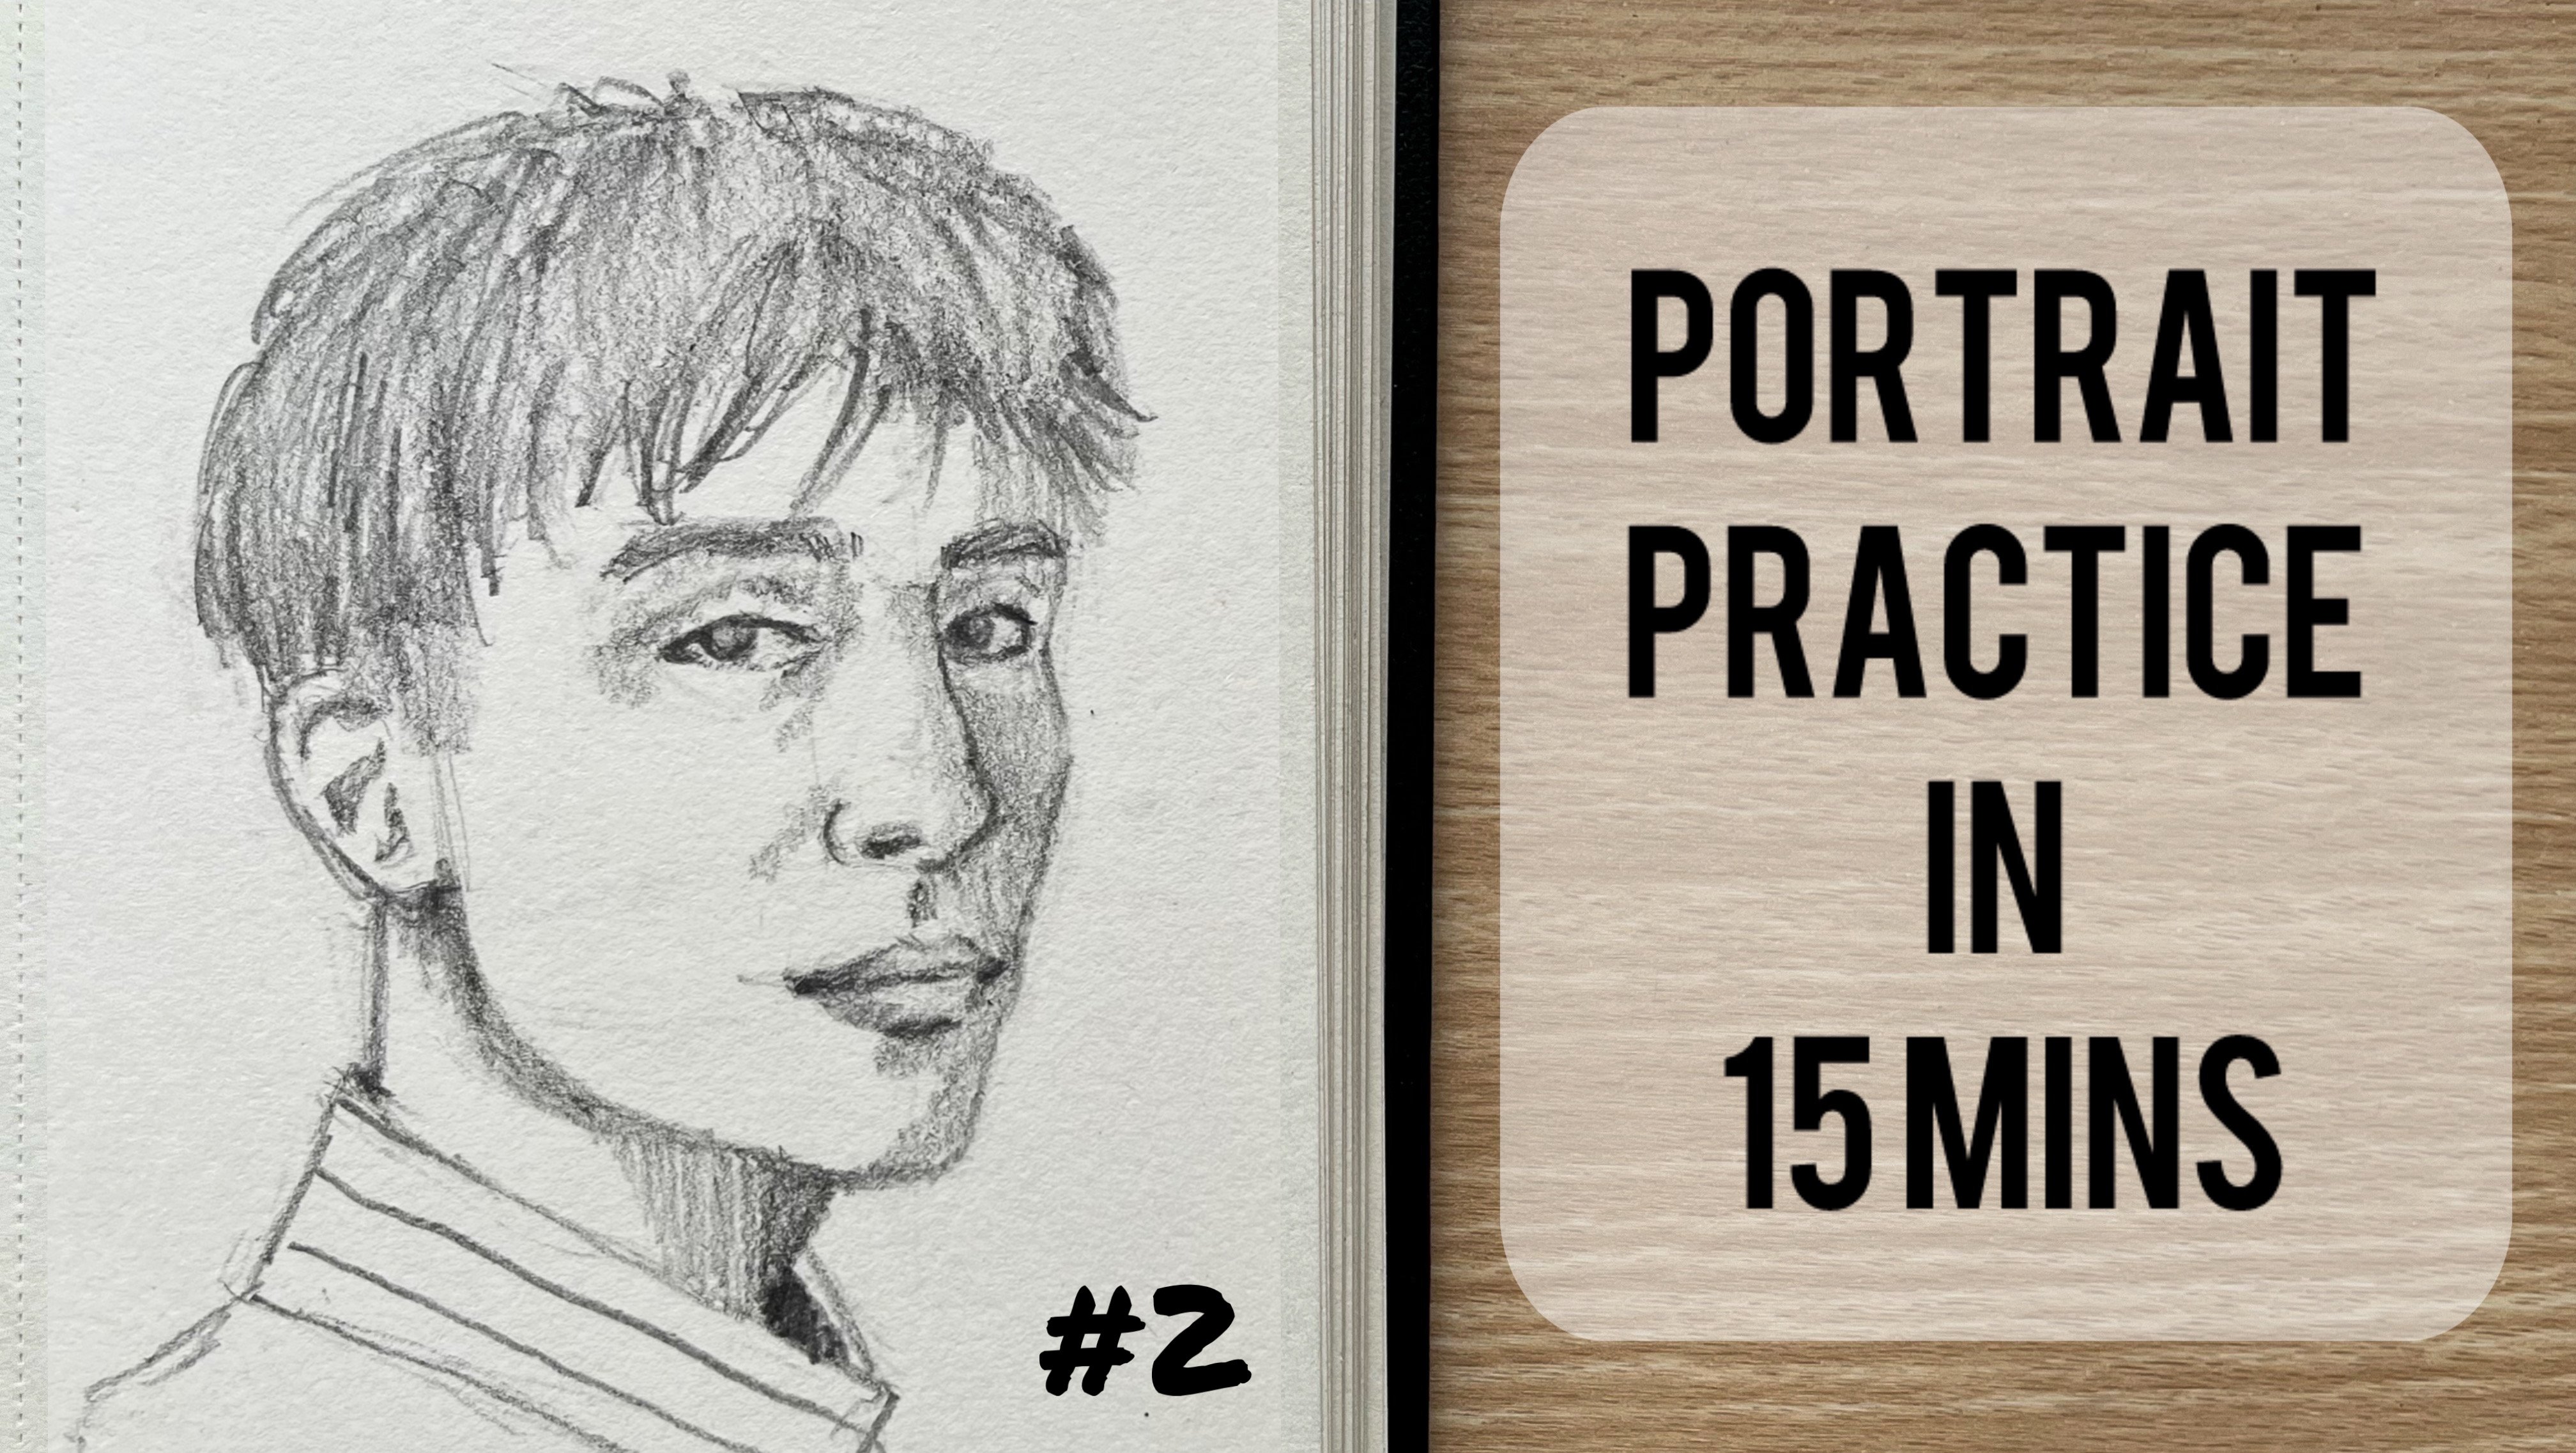
Draw Portraits in 15 Minutes: A Practice Series for Beginners
 Anagha Sivadas, Artist, India
Watch this class and thousands more
Watch this class and thousands more
Lessons in This Class
-
-
1.
Welcome to the Series
1:17
-
2.
Practice - 1
10:41
-
-
- --
- Beginner level
- Intermediate level
- Advanced level
- All levels
Community Generated
The level is determined by a majority opinion of students who have reviewed this class. The teacher's recommendation is shown until at least 5 student responses are collected.
135
Students
10
Projects
About This Class
Class Overview
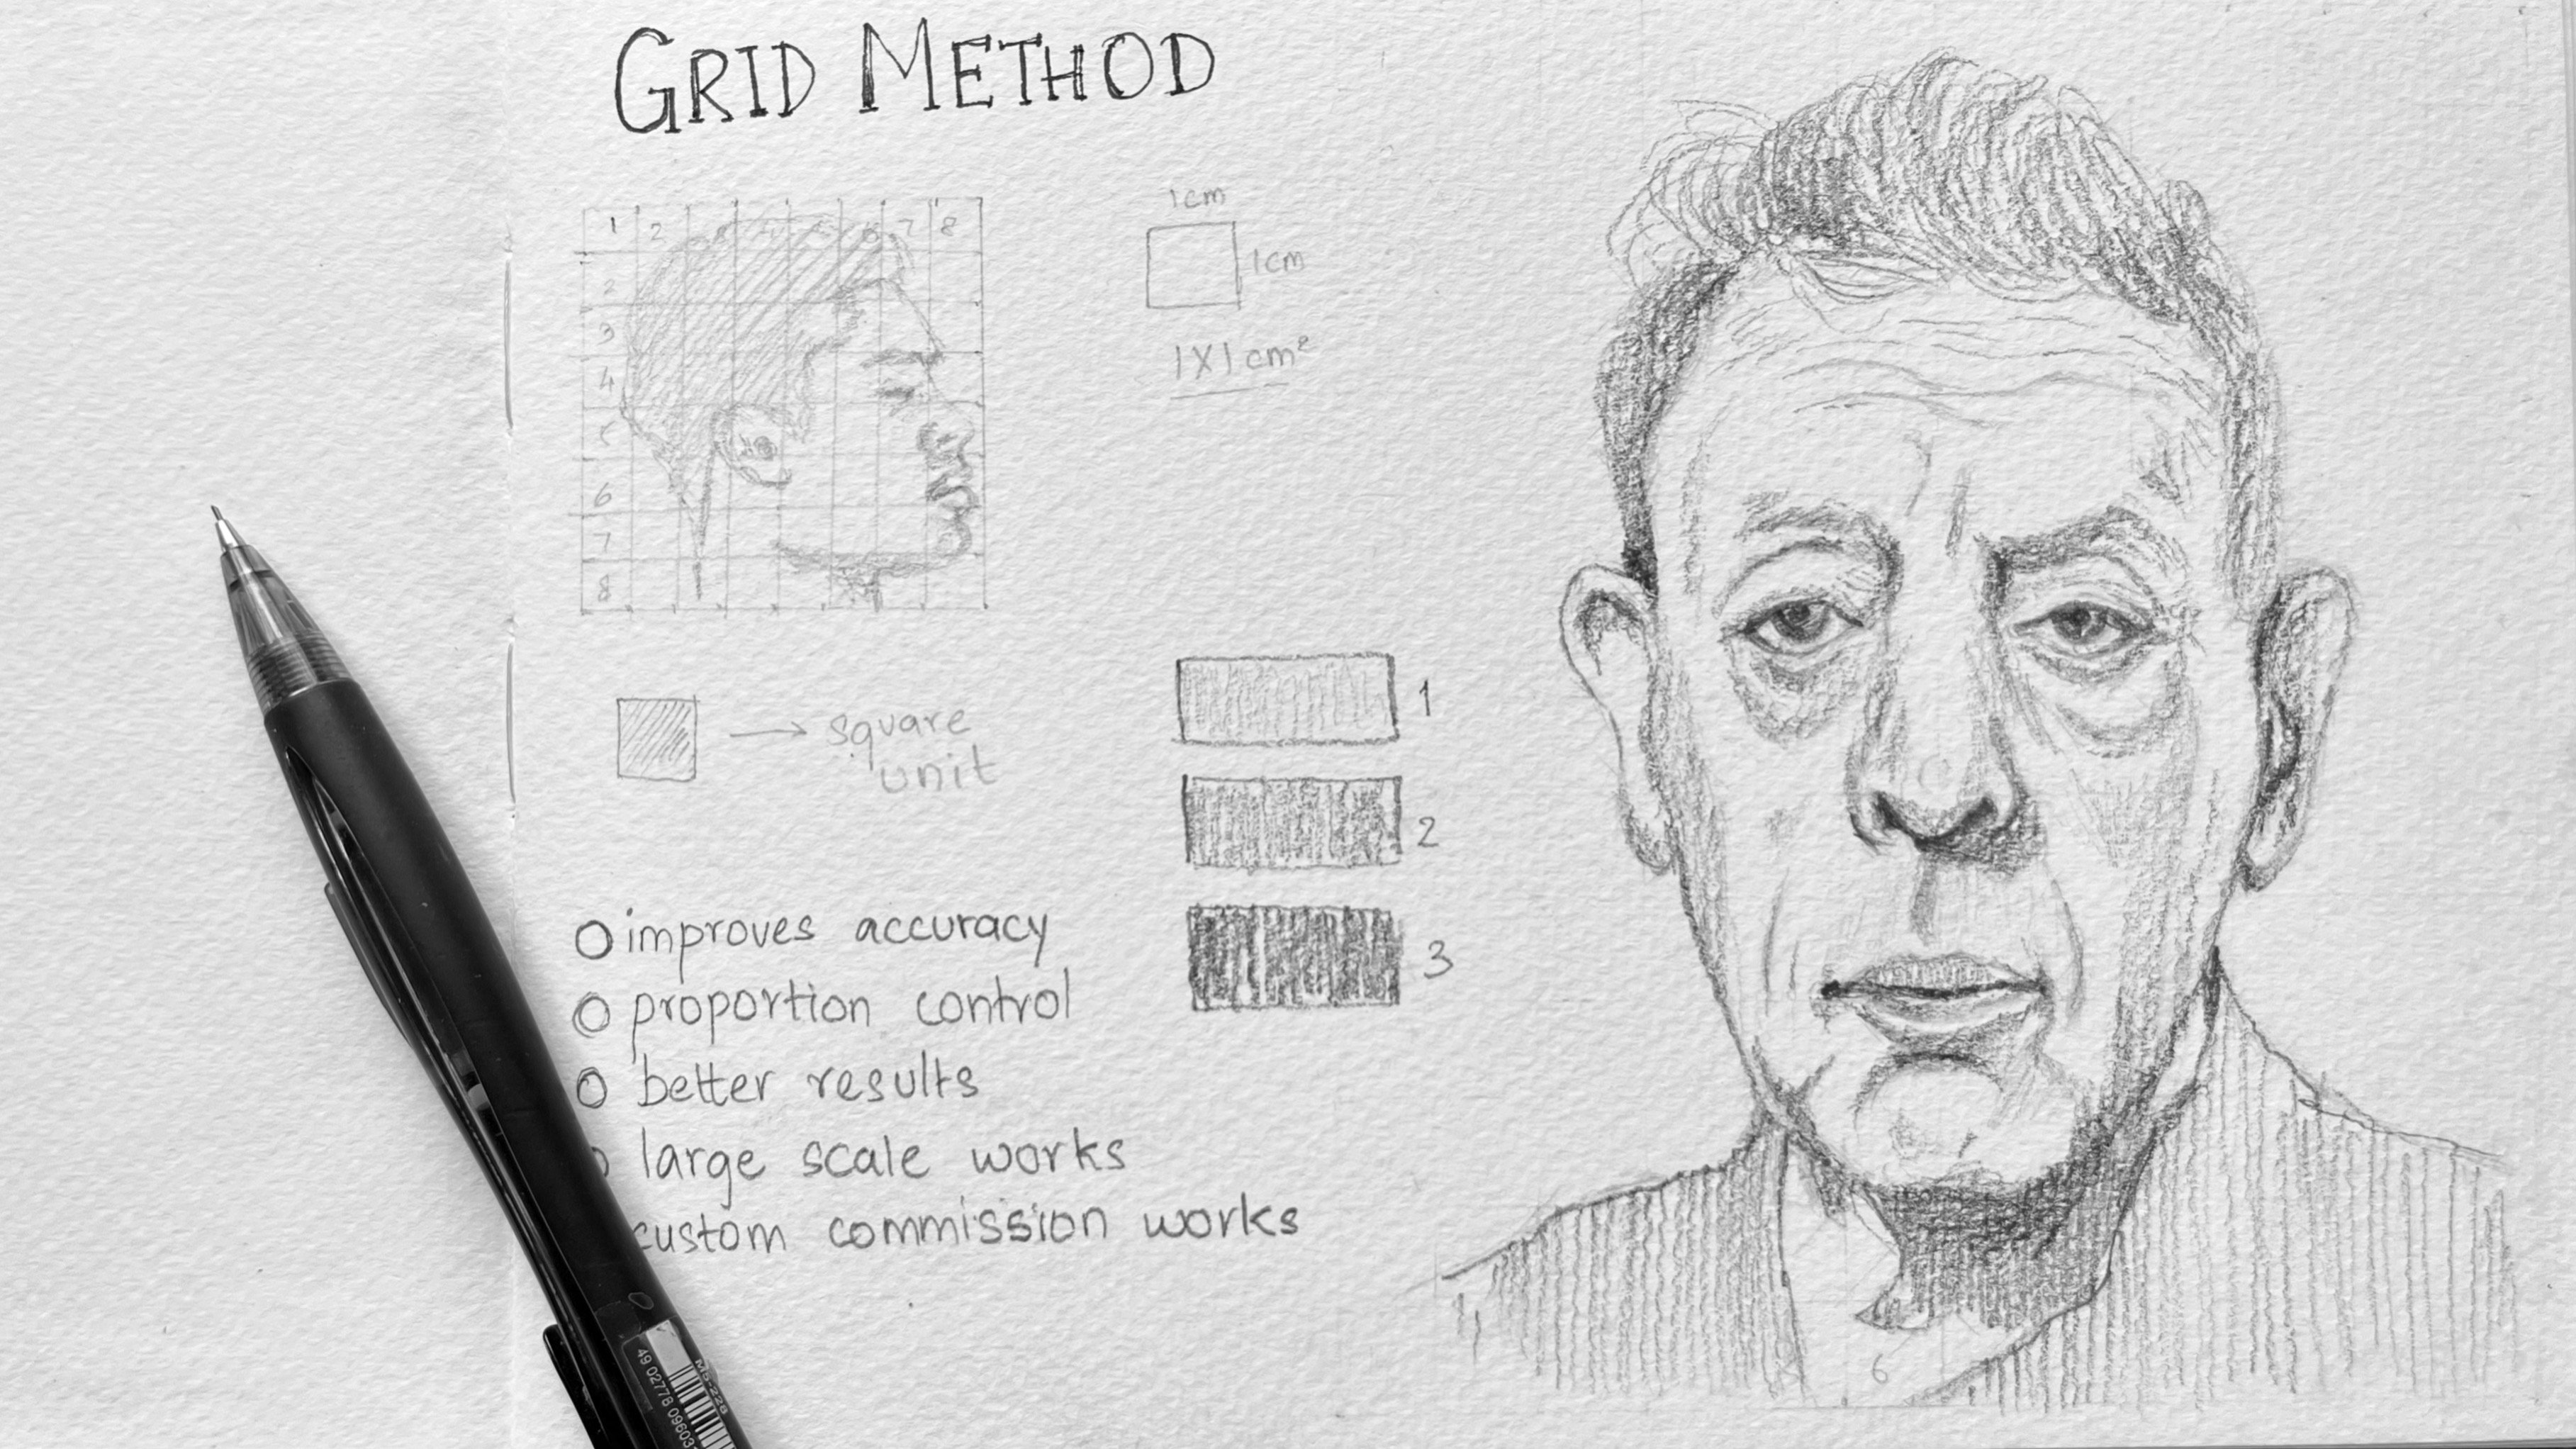
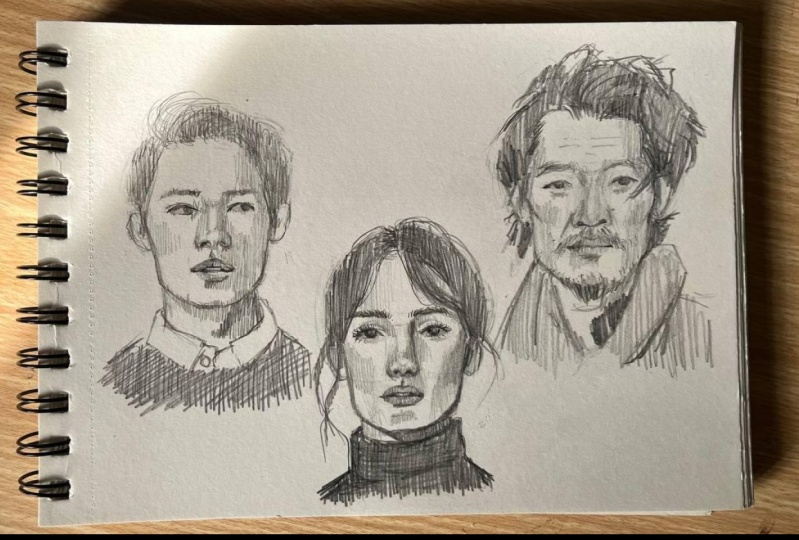
Portrait sketching practice is often skipped in the early stages of learning, but it's essential for real growth. In this weekly series, you'll practice drawing one portrait head per class using the Loomis method, exploring different angles in just 15 minutes. If you are new here, you can check the previous classes on Loomis Method to understand the basics and come back for practice.
What You’ll Learn
- How to sketch portrait heads quickly and effectively using the Loomis method
- Practice portraits from different angles: from beginner-friendly to complex views
- Improve your understanding of facial structure and proportions
- Build a consistent portrait sketching habit
- Learn how short practice sessions can boost your overall portrait skills
- Get more comfortable translating reference images into portraits
Why You Should Take This Class
- Knowing a method like Loomis isn’t enough, it’s the practice that sharpens your skill
- This series focuses on doing, not just learning
- Regular practice helps you approach portraits with confidence and clarity
- You’ll gain the ability to apply this method across a variety of references, improving your observation skills
Who This Class Is For
- Beginners who want to improve their portrait sketching
- Artists looking to build confidence with facial proportions and structure
- Anyone who enjoys drawing portraits and wants a simple, consistent way to practice
- Creatives looking to develop a steady sketching routine with minimal time commitment
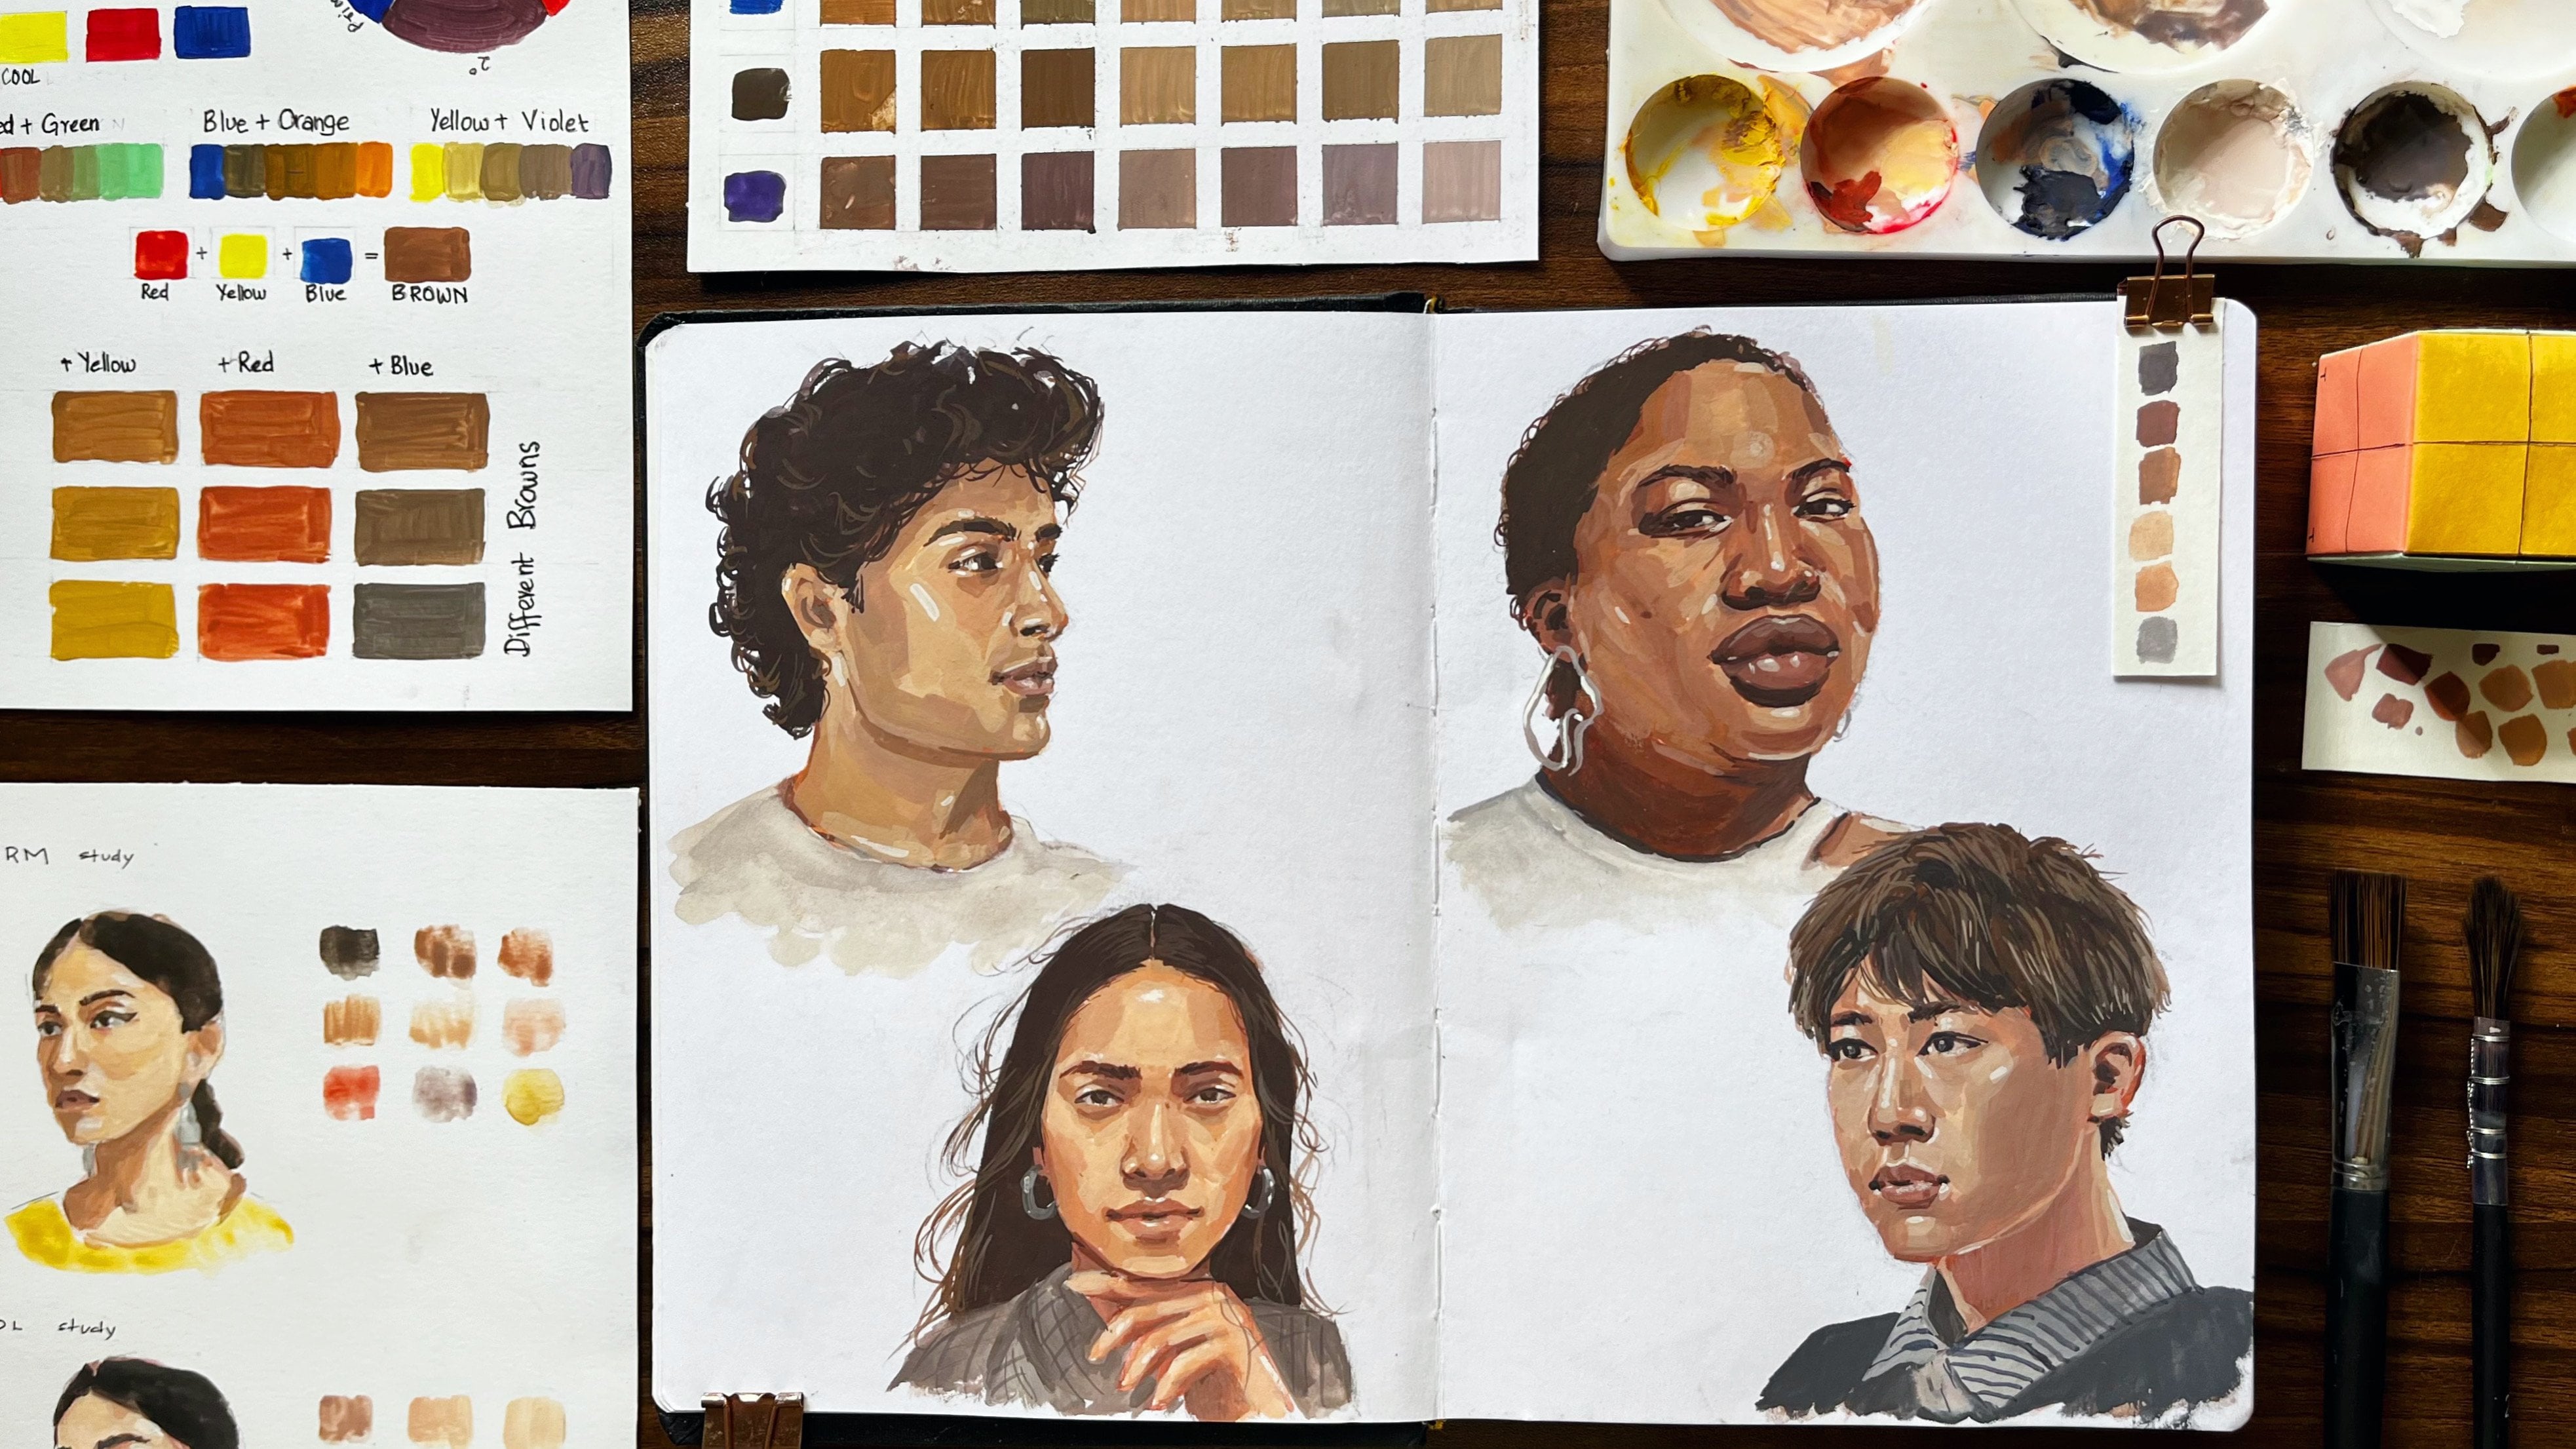
Materials You’ll Need
- A pencil
- A sketchbook or any drawing paper
- An eraser

Hands-on Class Project
Class Project
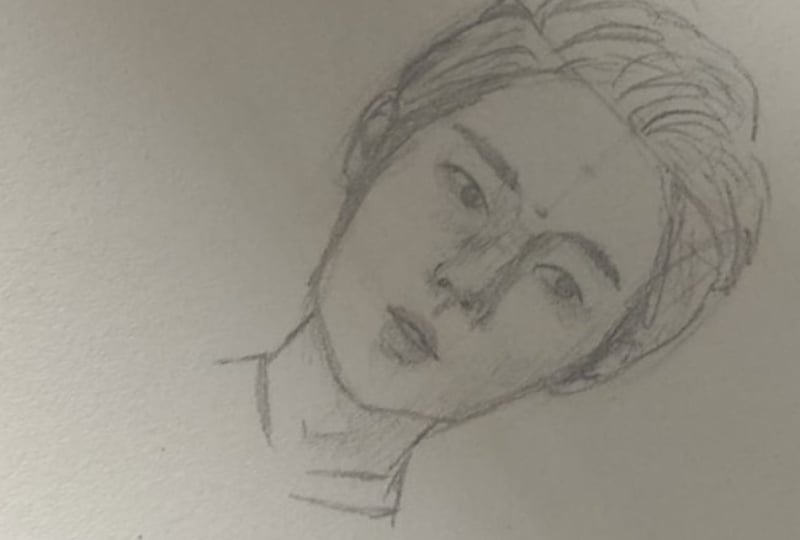
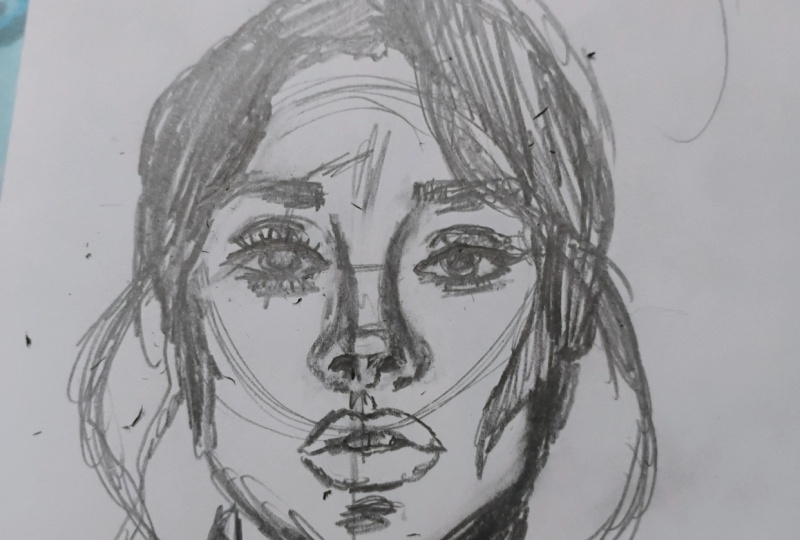
For this class project, your goal is to complete a portrait sketch using the Loomis method based on the angle (forward facing) covered in the lesson. Each class in this series will guide you through one portrait sketch, so you’ll have a new portrait to post every week!
Here’s what you’ll do
- Watch the short lesson and follow along with the portrait head demo
- Sketch the head from the same angle using the Loomis method
- Once done, take a photo or scan your sketch and upload it to the Project Gallery
Optional (but encouraged!)
- Share a few words about your process, like, what you found easy or tricky
- Try the same angle again after a few days to see your improvement
- Browse others’ sketches and leave encouraging feedback
Materials you need
- Pencil
- Sketchbook or drawing paper
- Eraser
Note: I have also attached two extra references for practice. Feel free to try them.
Each week is a new chance to practice and grow. Don’t worry about making it perfect, just show up, sketch, and enjoy the process!

Class Ratings
Why Join Skillshare?
Take award-winning Skillshare Original Classes
Each class has short lessons, hands-on projects
Your membership supports Skillshare teachers
Learn From Anywhere
Take classes on the go with the Skillshare app. Stream or download to watch on the plane, the subway, or wherever you learn best.