Beginner's Portrait Series: Practice Drawing 3/4 Angle View
 Anagha Sivadas, Artist, India
Watch this class and thousands more
Watch this class and thousands more
Lessons in This Class
-
-
1.
Welcome to the 2nd Class
1:02
-
2.
3/4 View
11:57
-
-
- --
- Beginner level
- Intermediate level
- Advanced level
- All levels
Community Generated
The level is determined by a majority opinion of students who have reviewed this class. The teacher's recommendation is shown until at least 5 student responses are collected.
41
Students
2
Projects
About This Class
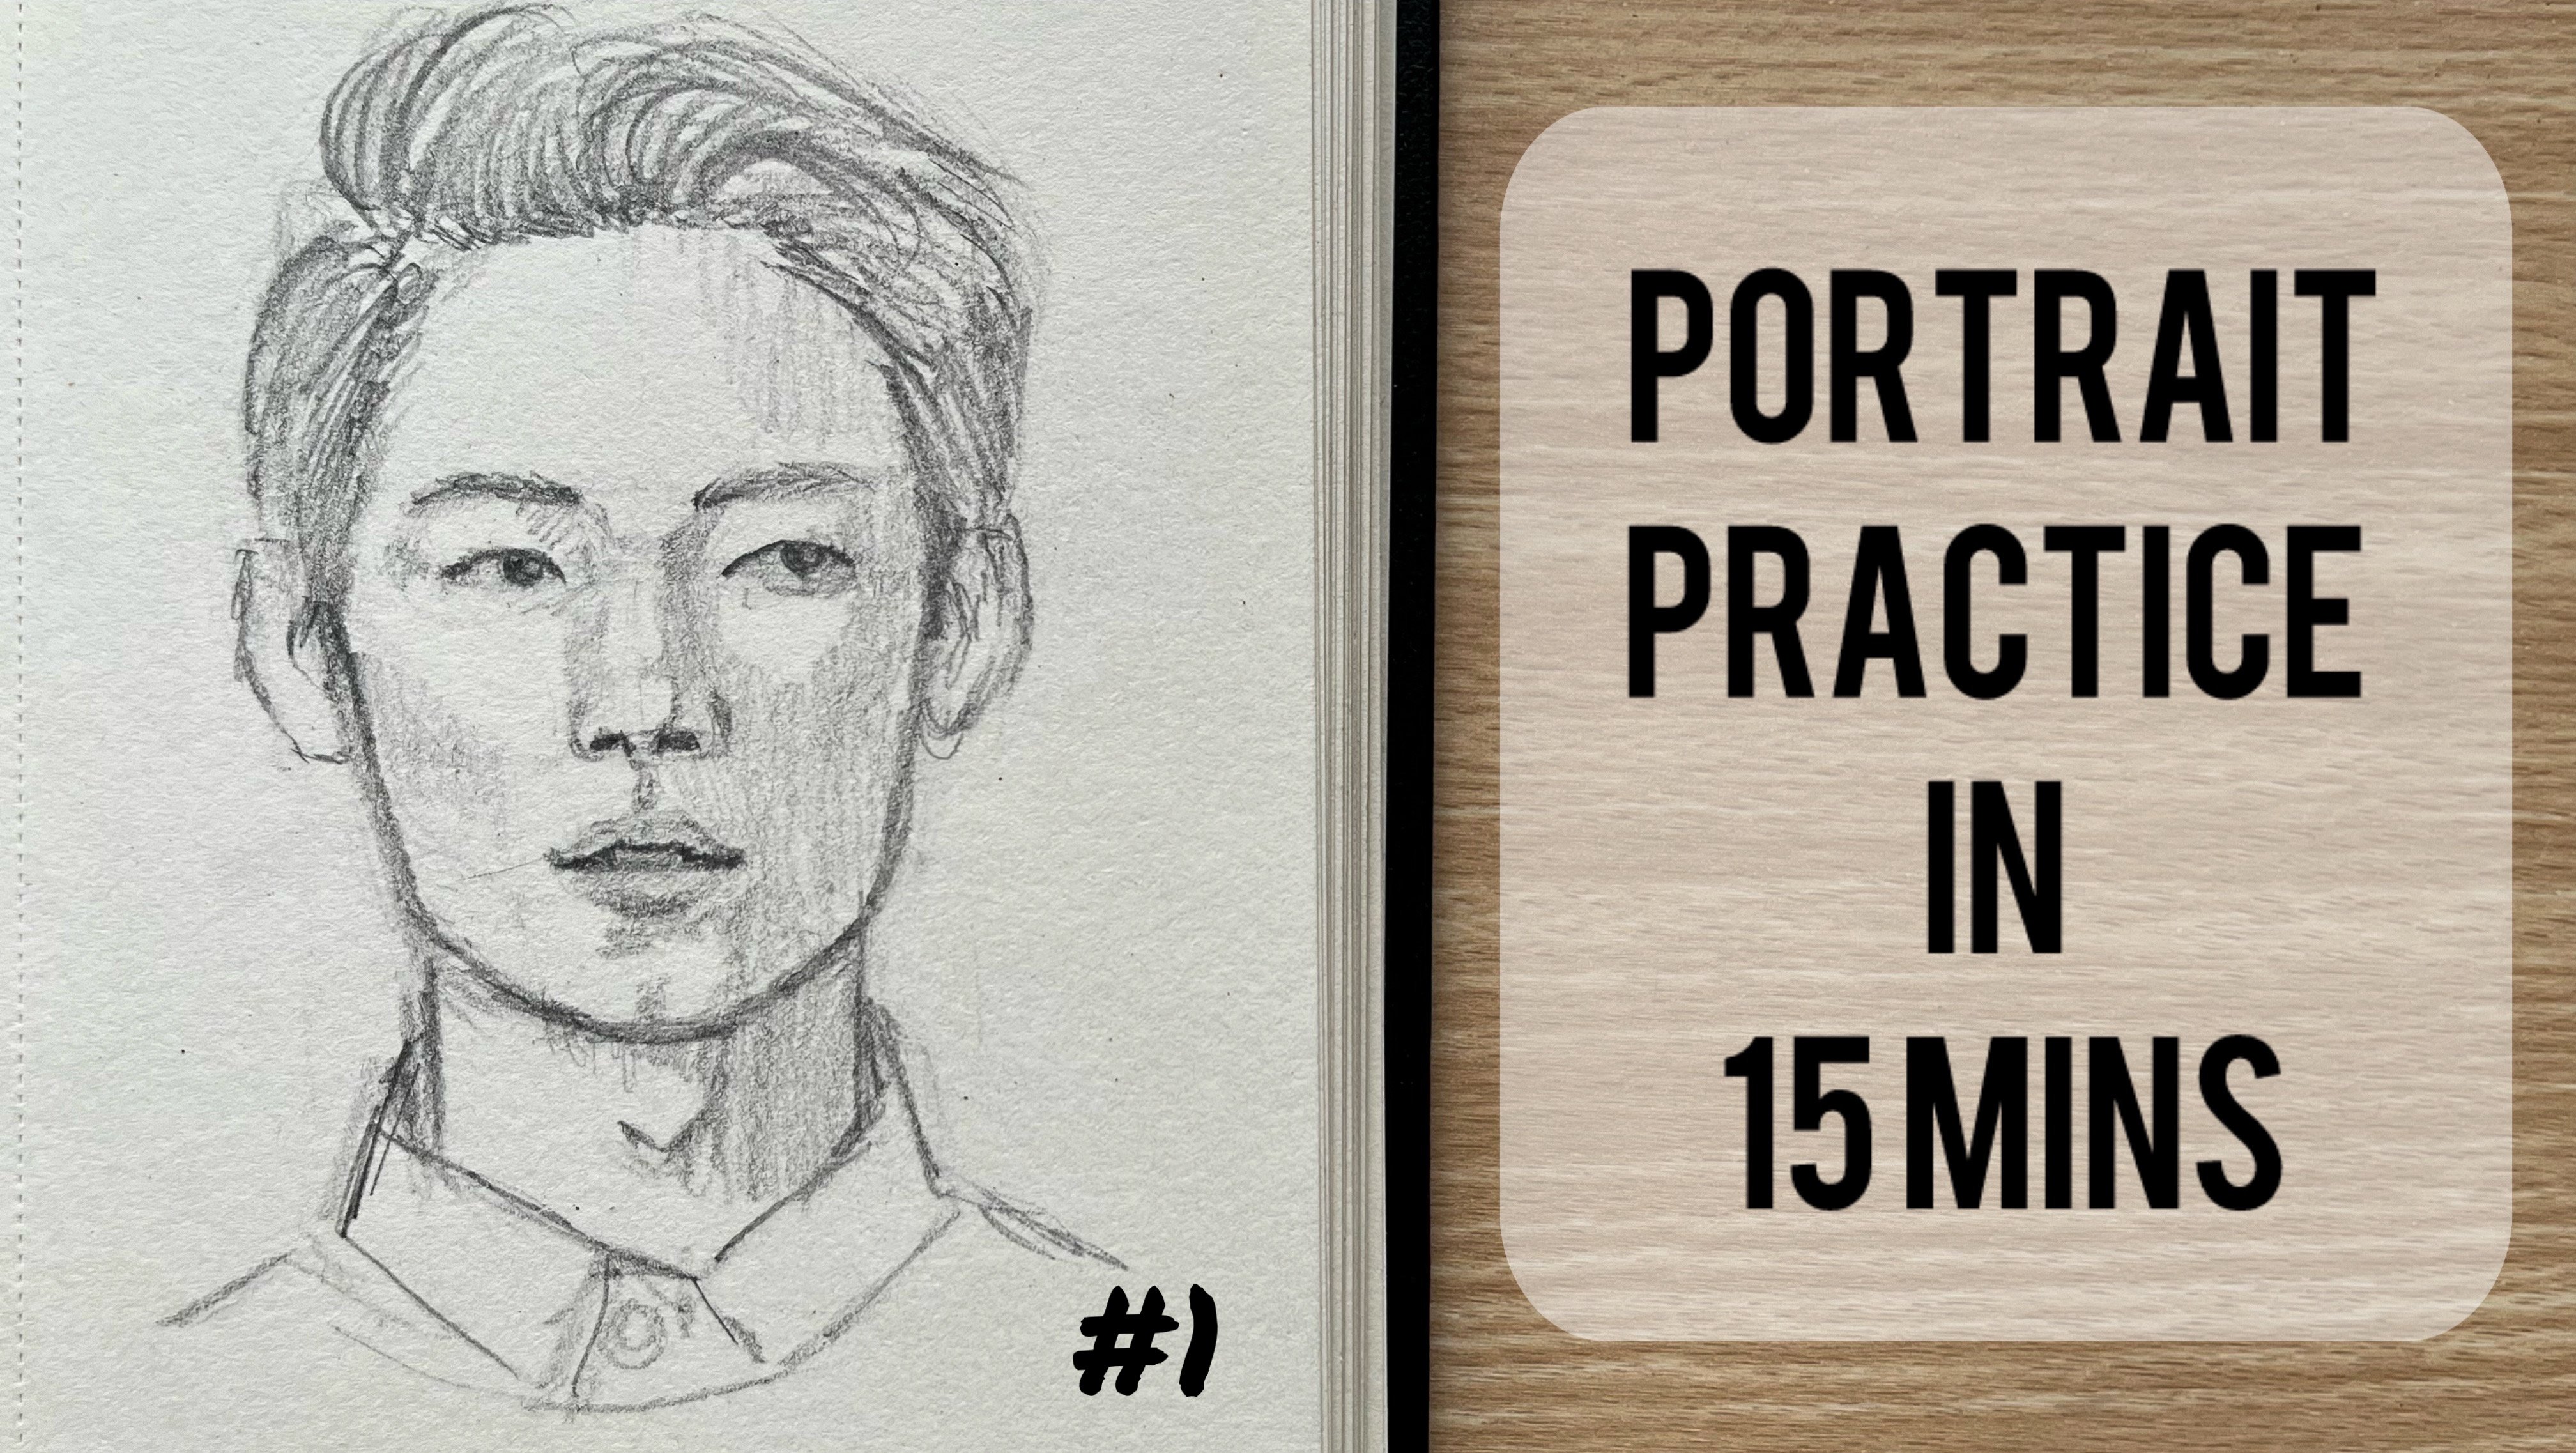
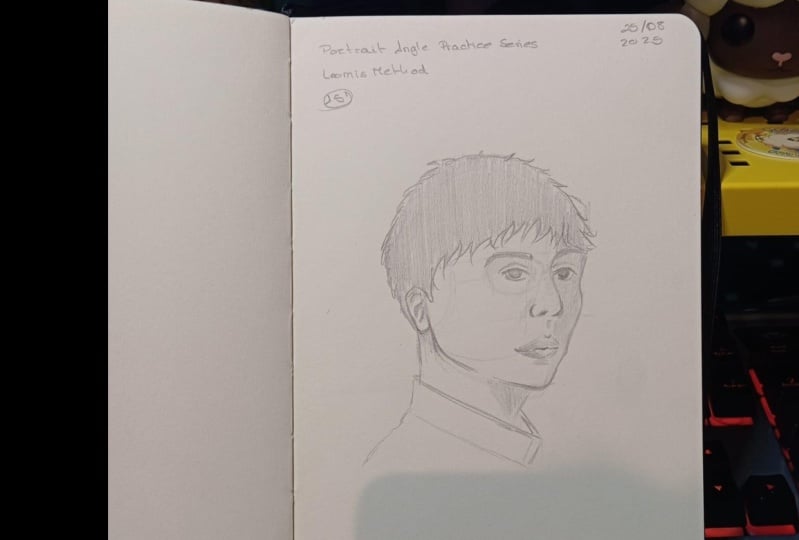
Welcome to the second class in my Portrait Angle Practice Series! In this session, we’ll be practicing the 3/4th view.
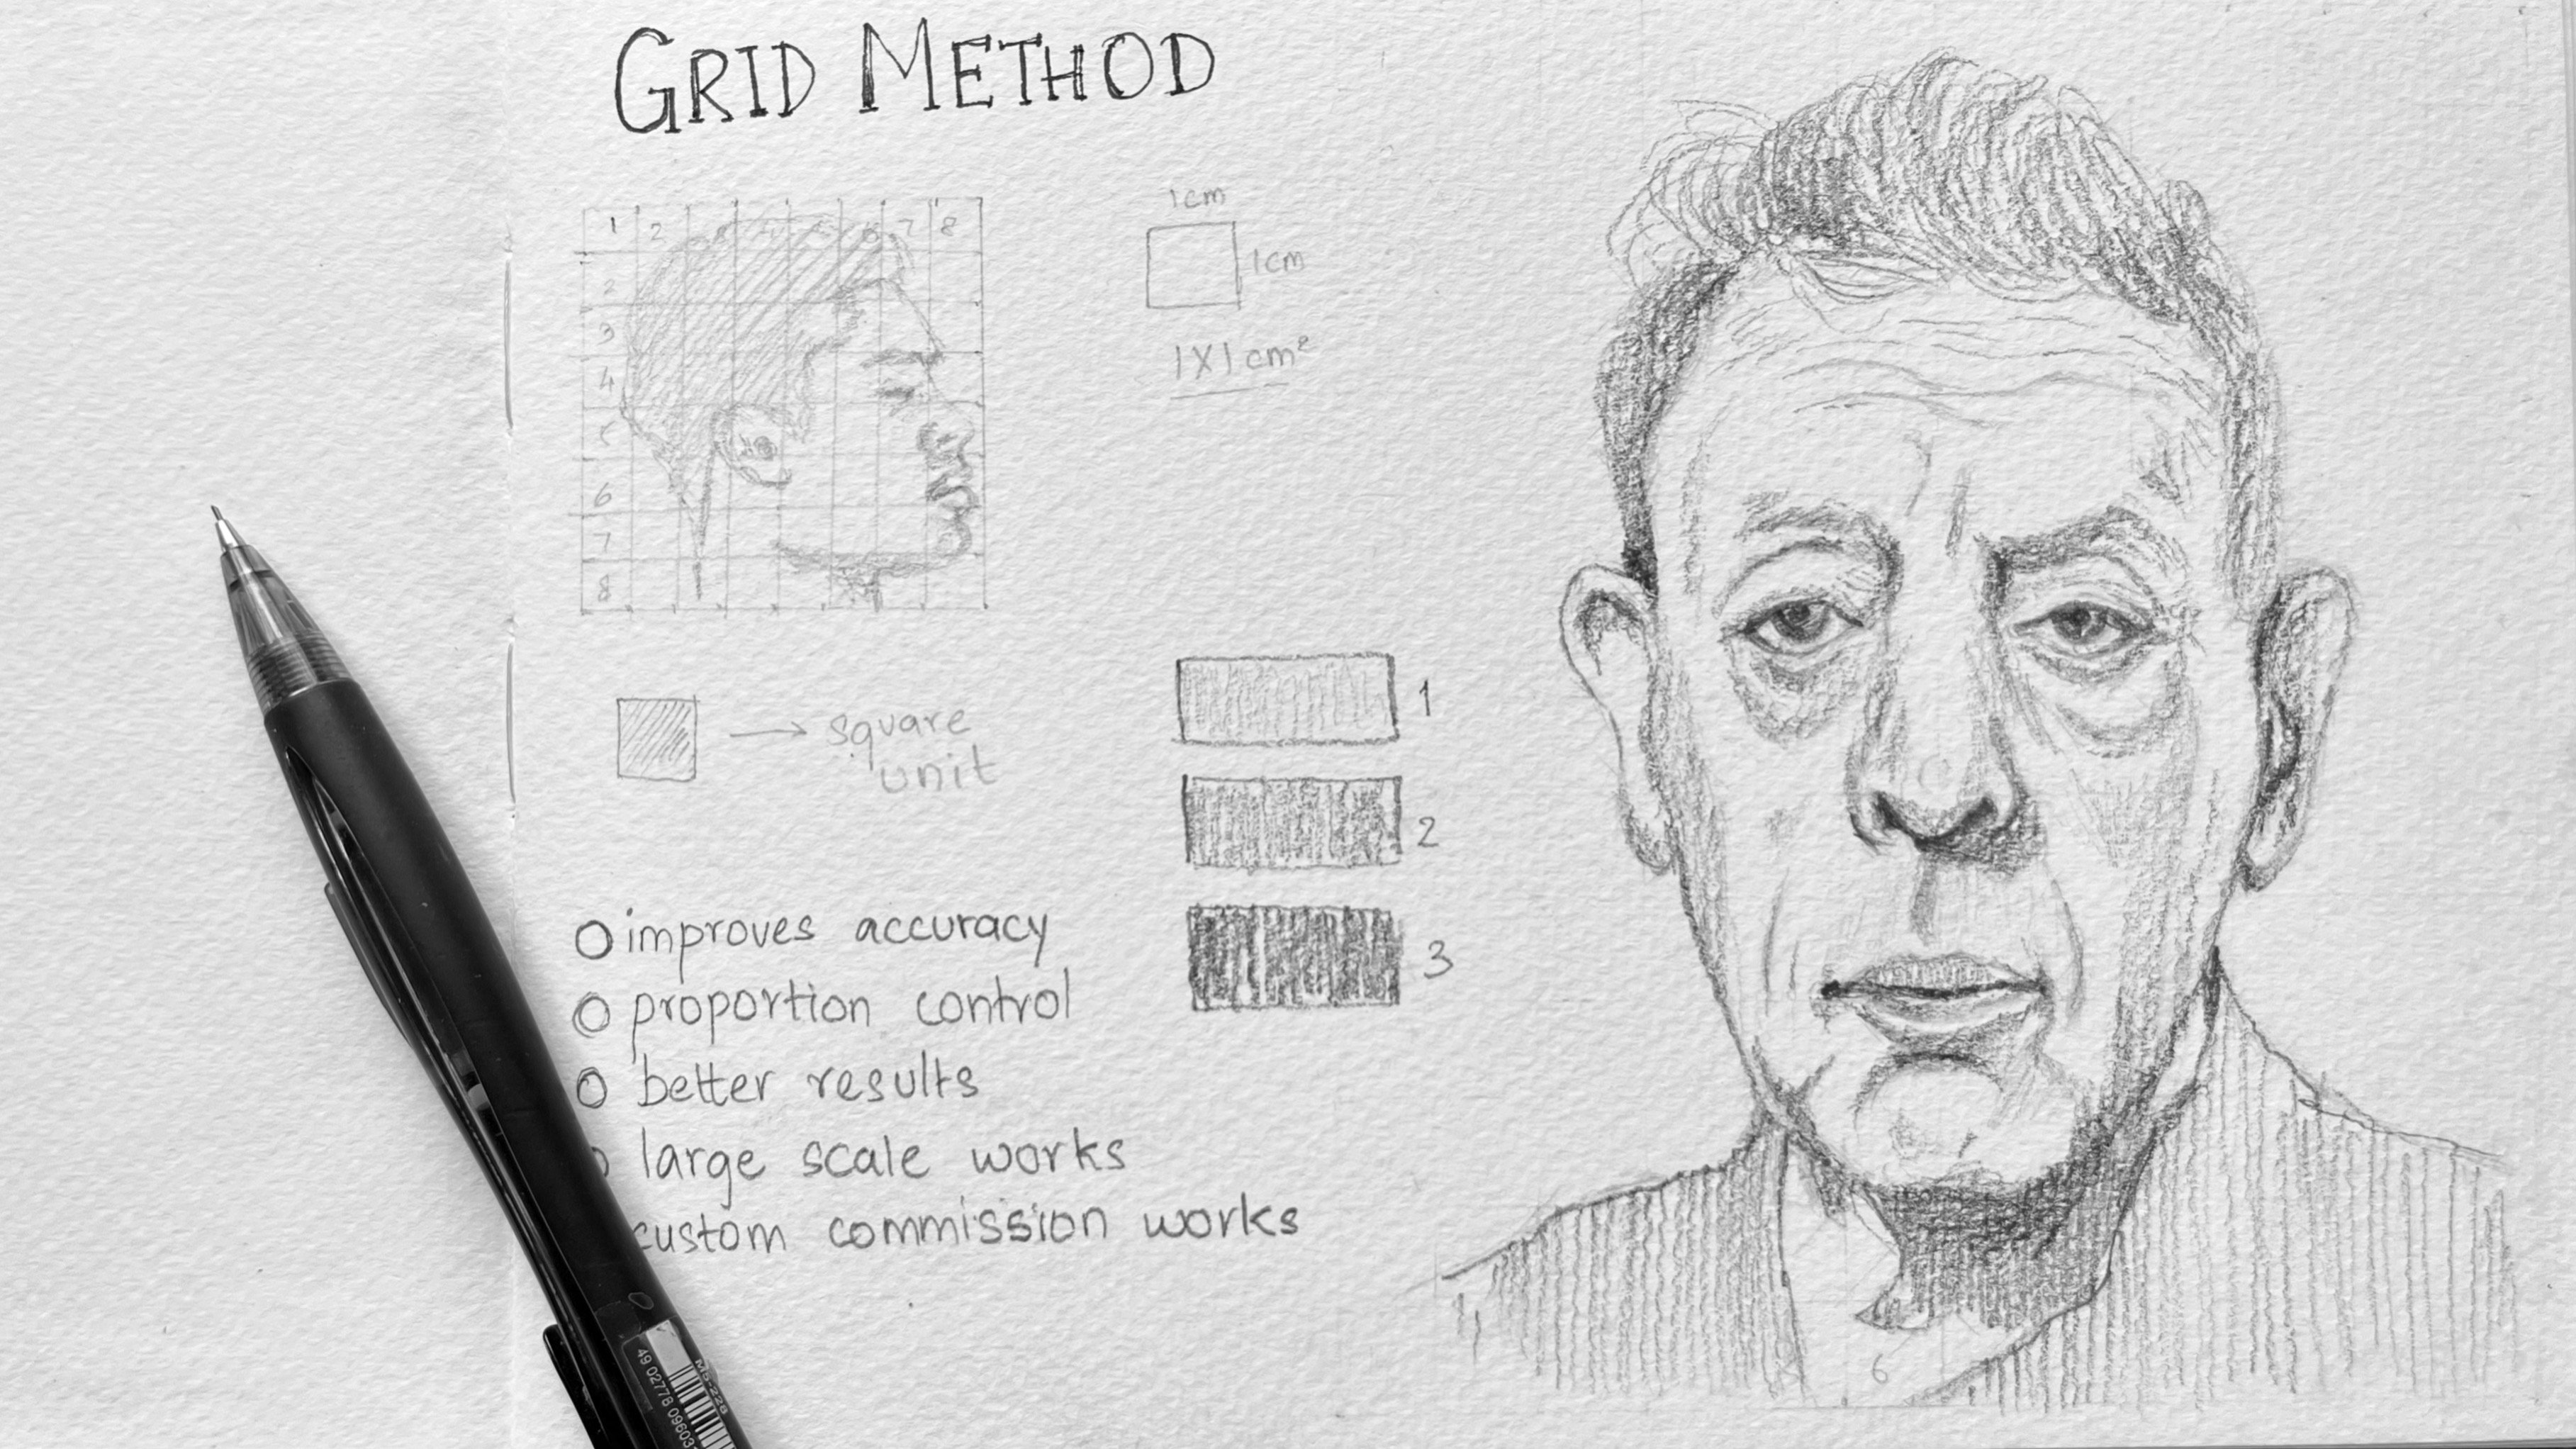
This is a practice focused class. If you’re completely new to portrait drawing or haven’t learned the Loomis method yet, I recommend watching my earlier class: “How to Sketch Portraits Using the Loomis Method”. This class breaks down the head structure using Loomis Method in detail, making this practice class easier to follow.
In this class, we’ll focus on:
- Sketching the 3/4th angle step by step
- Understanding how the facial features shift in this view
- A quick practice
Grab your pencil and sketchbook, and let’s get started!

Hands-on Class Project
Your project for this class is to create a portrait sketch in 3/4th view as demonstrated in the class.
Here are a few ways to approach it:
- Follow along with my demo and understand the basic idea on how to approach it
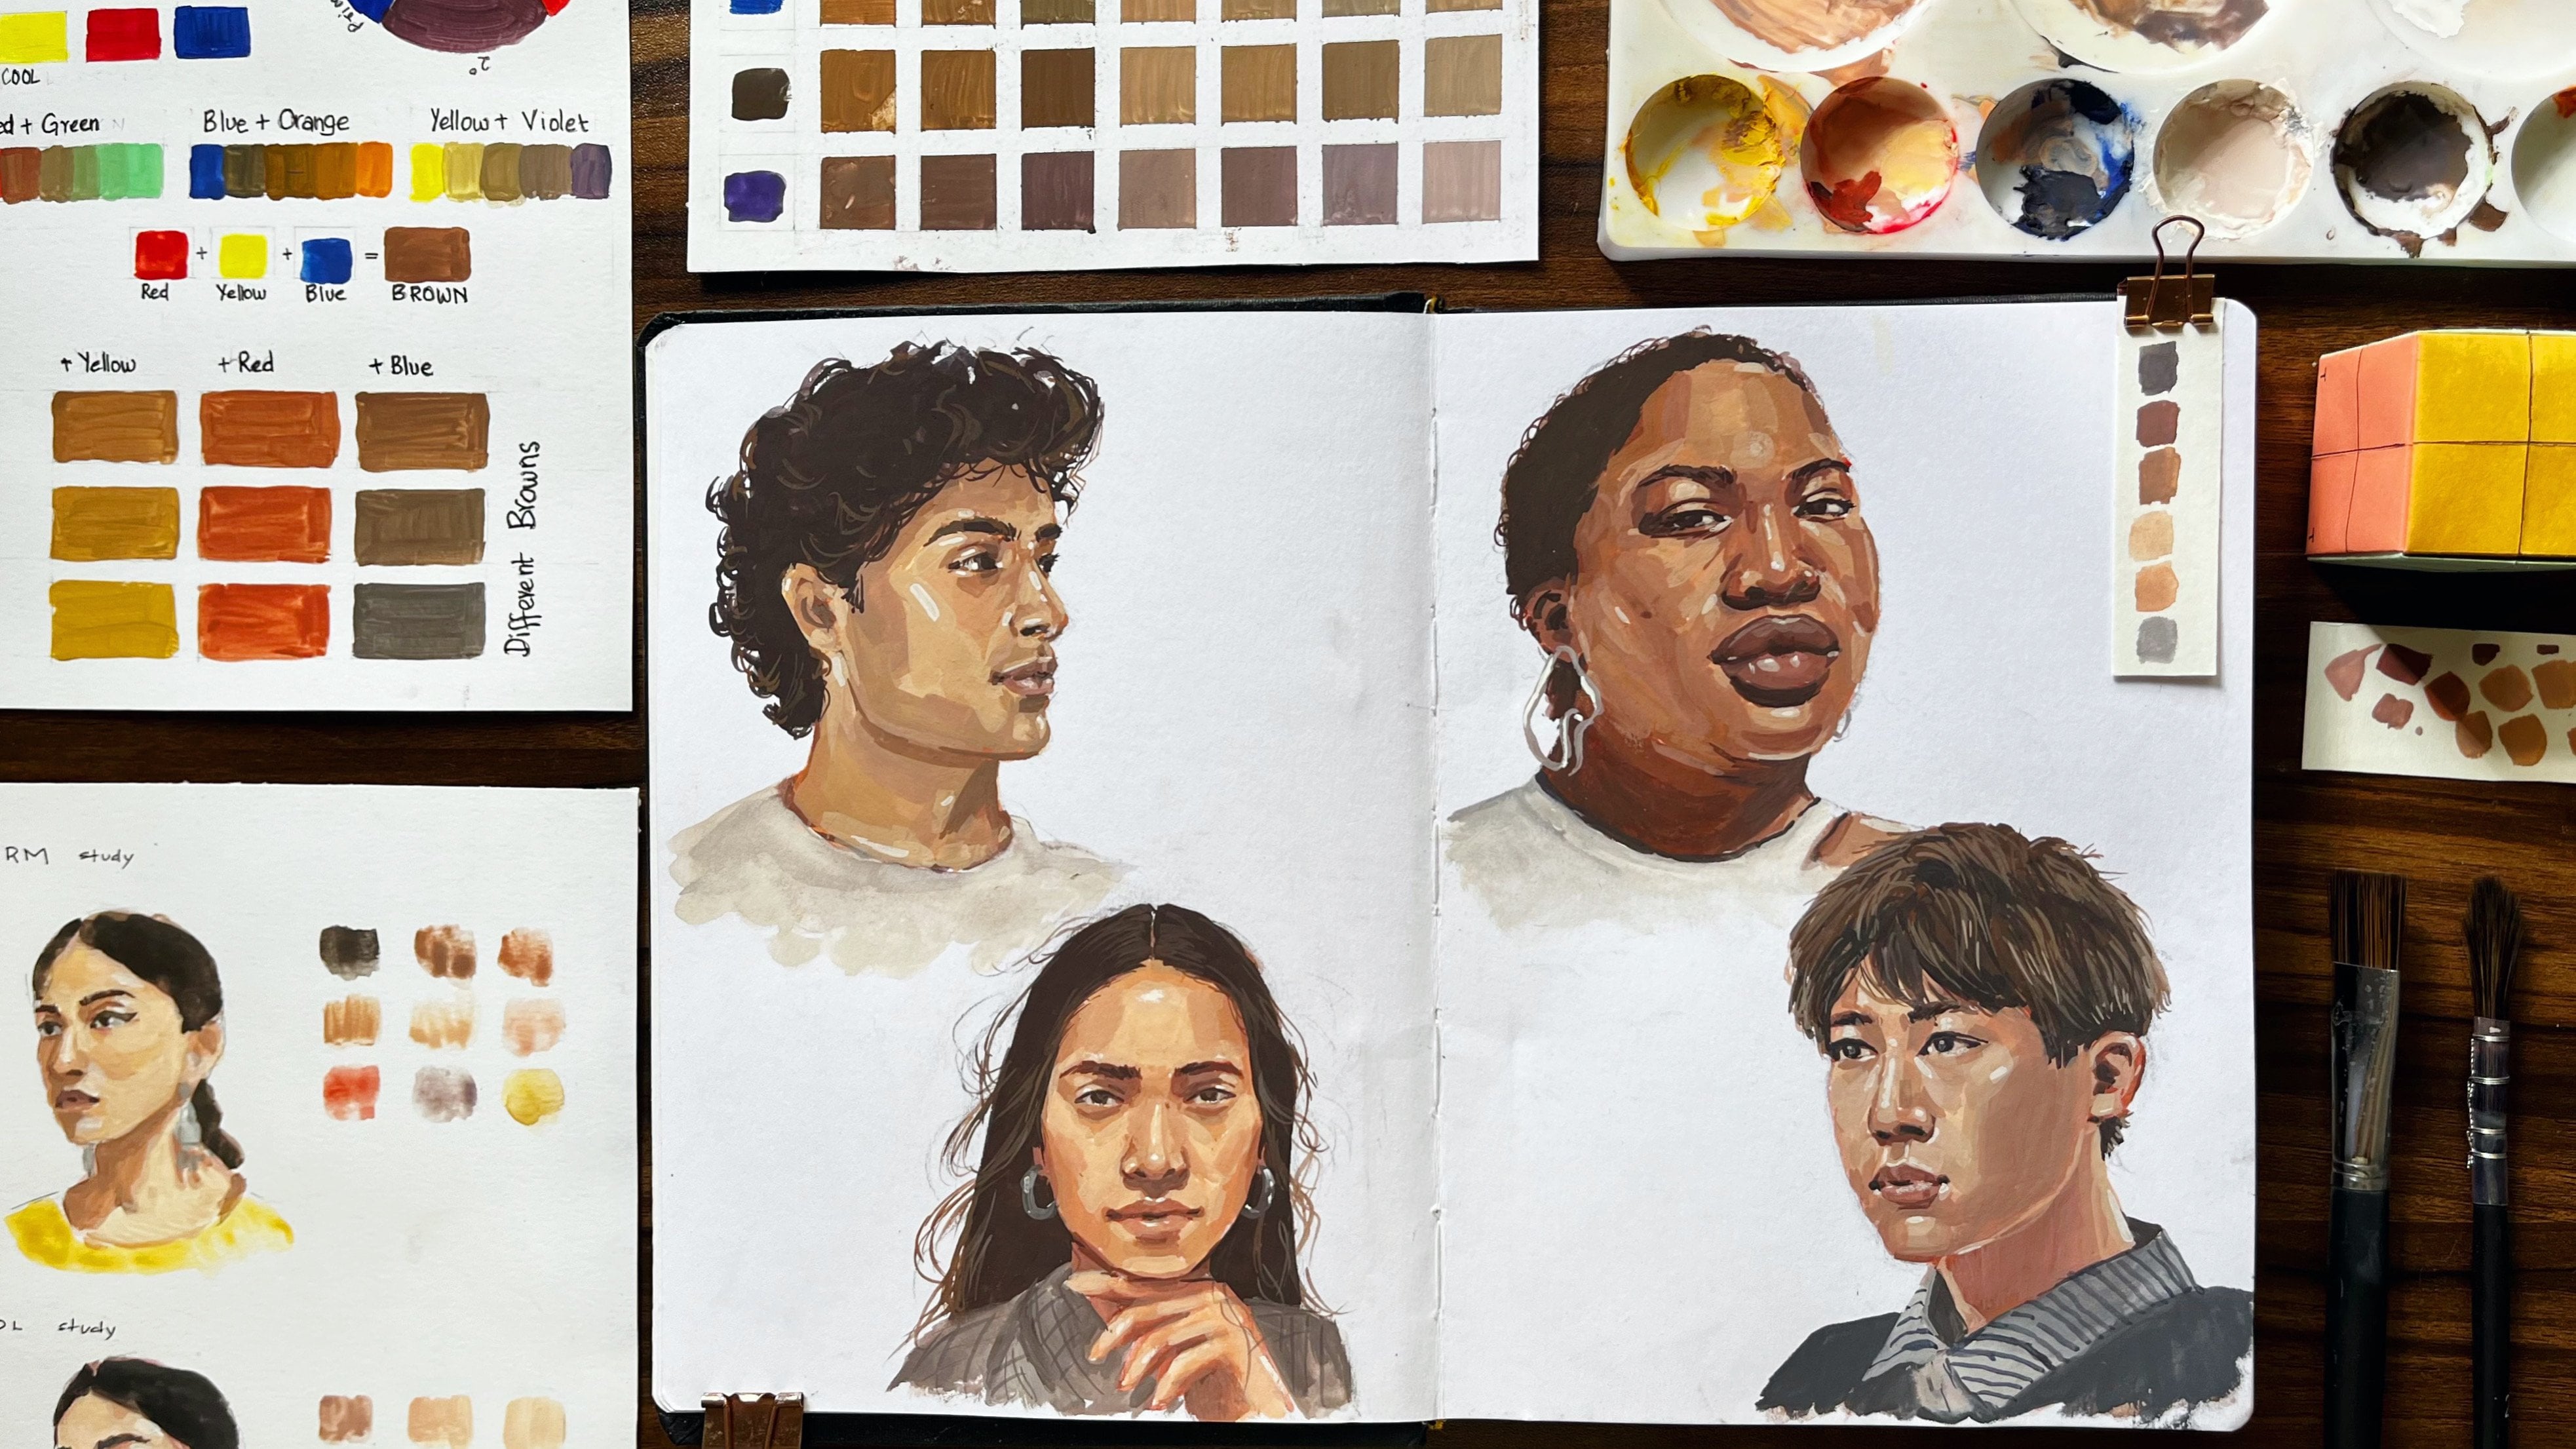
- Try drawing from the reference photo in 3/4th view
- Try practicing the extra references attached for practice (optional)
- Once done, upload your sketch to the Projects & Resources section.
Don’t worry about perfection.
Feel free to share your rough work, experiments, or progress. This is all about practice and improving with each sketch. I’ll be reviewing all projects and leaving feedback.
Happy Sketching!!

Class Ratings
Why Join Skillshare?
Take award-winning Skillshare Original Classes
Each class has short lessons, hands-on projects
Your membership supports Skillshare teachers
Learn From Anywhere
Take classes on the go with the Skillshare app. Stream or download to watch on the plane, the subway, or wherever you learn best.