Draw Cute, Professional Hand Lettering: Procreate Illustration for Beginners | Carrie Cantwell | Skillshare
Search

Playback Speed


1.0x


  • 0.5x
  • 0.75x
  • 1x (Normal)
  • 1.25x
  • 1.5x
  • 1.75x
  • 2x

Draw Cute, Professional Hand Lettering: Procreate Illustration for Beginners

teacher avatar Carrie Cantwell, Illustrator | Surface Designer | Teacher

Watch this class and thousands more

Get unlimited access to every class
Taught by industry leaders & working professionals
Topics include illustration, design, photography, and more

Watch this class and thousands more

Get unlimited access to every class
Taught by industry leaders & working professionals
Topics include illustration, design, photography, and more

Lessons in This Class

    • 1.

      Draw Cute, Professional Hand Lettering: Procreate Illustration for Beginners

      0:59

    • 2.

      Let's Do This!

      7:54

  • --
  • Beginner level
  • Intermediate level
  • Advanced level
  • All levels

Community Generated

The level is determined by a majority opinion of students who have reviewed this class. The teacher's recommendation is shown until at least 5 student responses are collected.

546

Students

21

Projects

About This Class

Jump start your lettering art!

Let's face it, hand lettering isn't easy. Achieving a professional yet whimsical and "hand done" look with lettering art takes practice. But, I found a shortcut, and I want to share it with you!

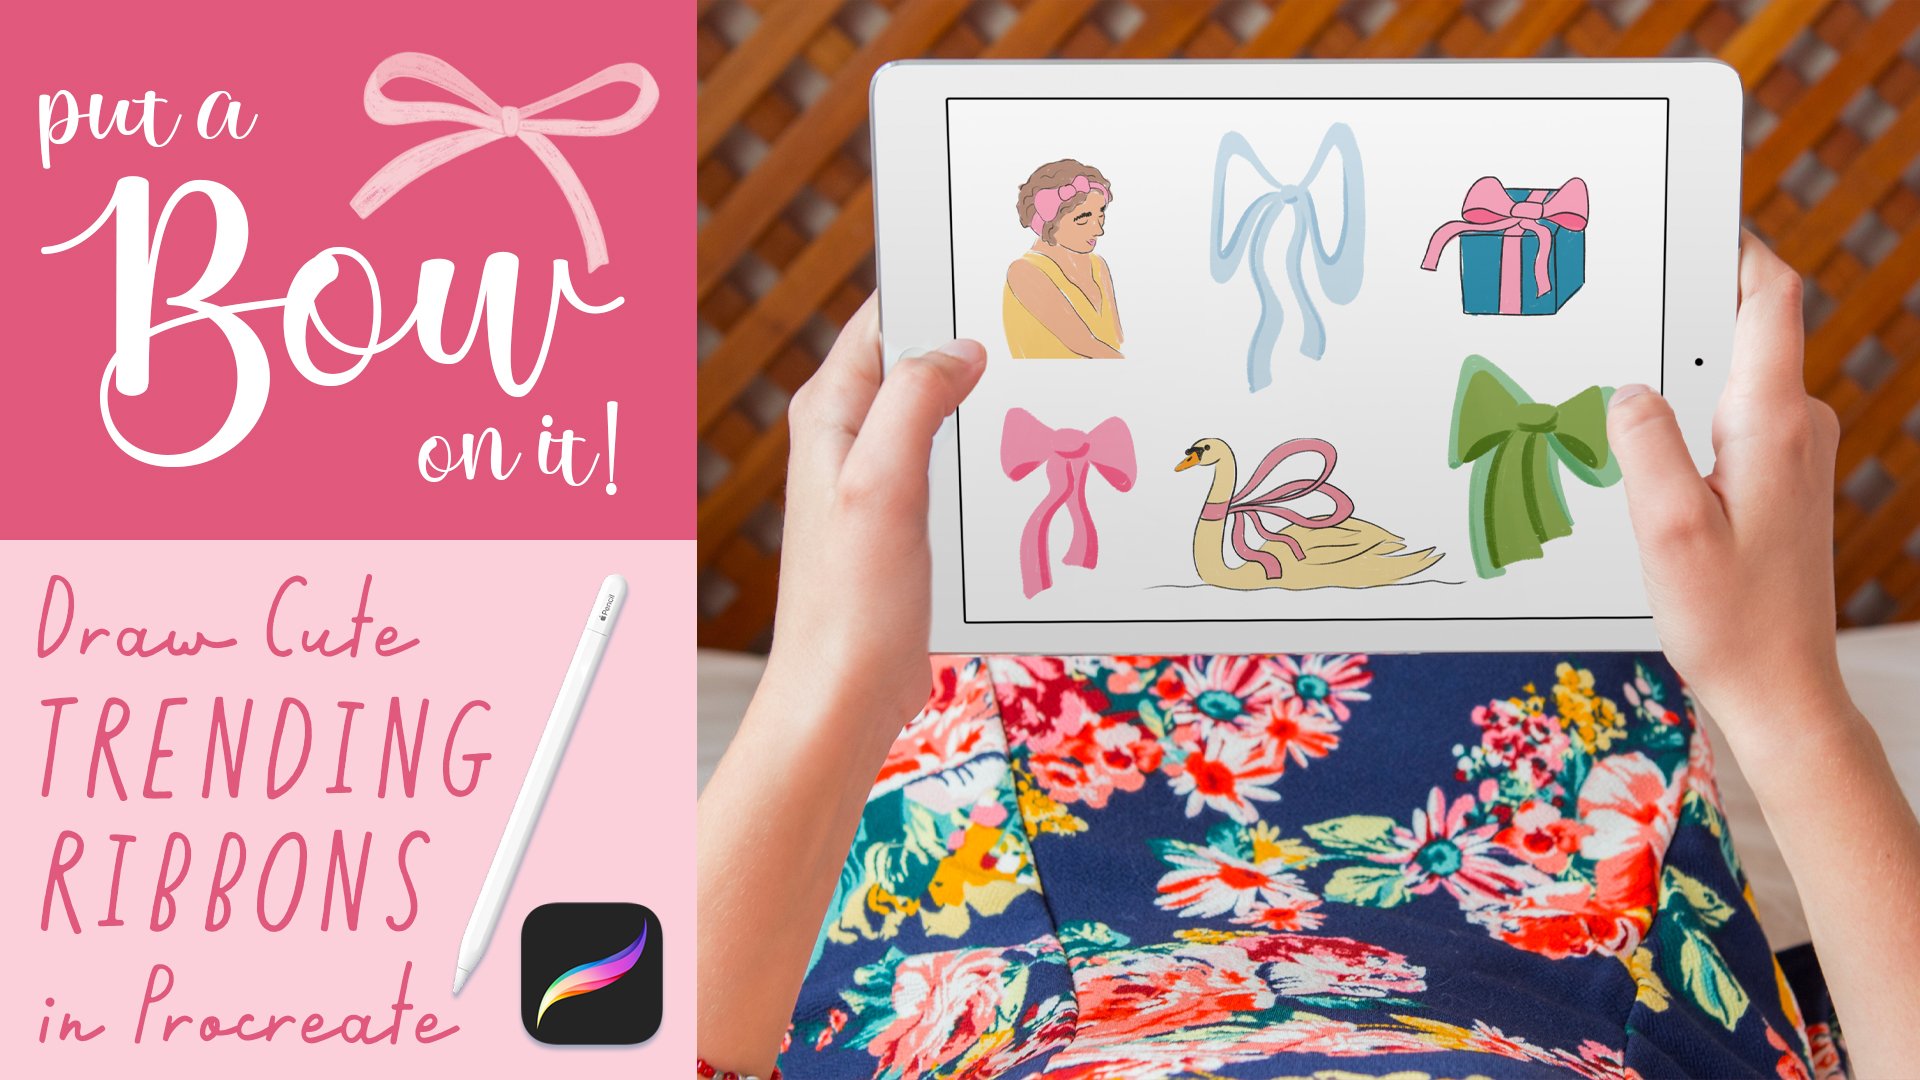
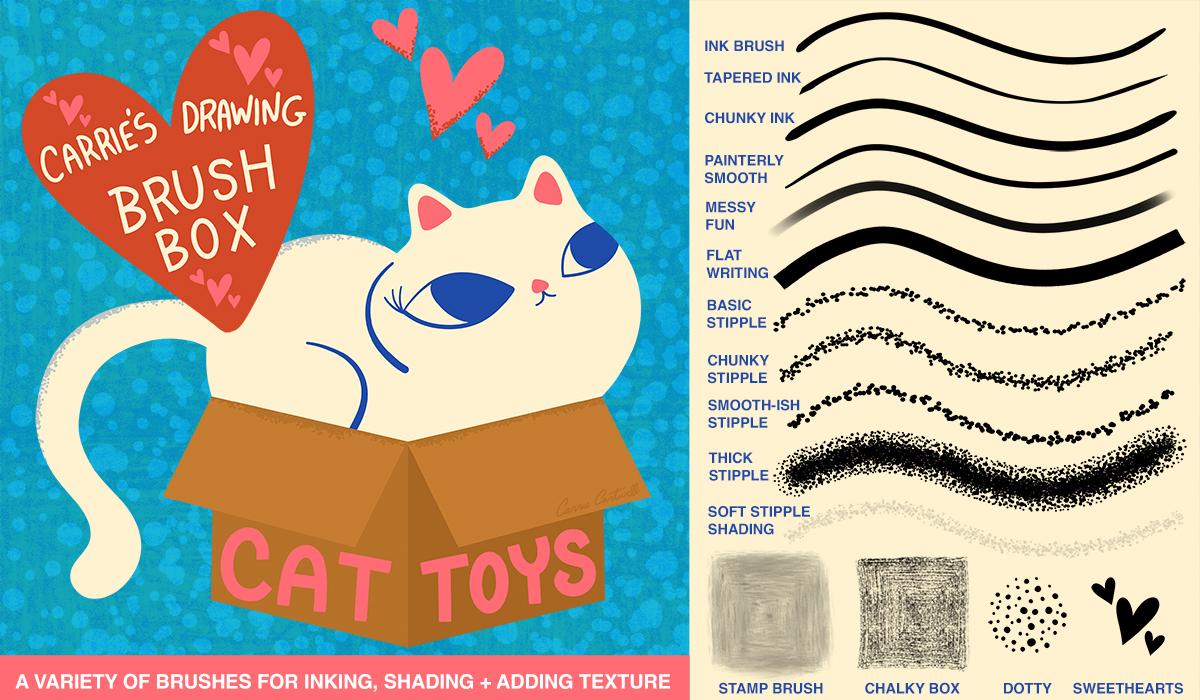
In this bite-sized class, I'm going to show you how I use a flat writing brush to create hand lettered art that looks fun, but is also readable and polished. You can use the same brush I use in the class (and for a lot of my art) by purchasing my Procreate Drawing Brush Box, which is available as a digital download from SkillShare, or you can use your own. If you use your own, to achieve the same look, you'll want to find a brush with even thickness in each stroke. 

This class is made for beginners, all you need is basic familiarity with the Procreate interface. All you'll need for this class is an iPad with Procreate installed, and an Apple Pencil.

You don't have to use a flat brush, but if you want to use the same one I use, you can purchase my Drawing Brush Box, which includes both the Flat Writing brush as well as the Painterly Smooth brush—both of which I use in this class. 

You can purchase my Drawing Brush Box   >> HERE <<

Are you ready to level up your hand lettering? Let's get started!

Music from #Uppbeat (free for Creators!):
https://uppbeat.io/t/ra/let-good-times-roll
License code: RDHQ7W13TFVAIIKU

Meet Your Teacher

Teacher Profile Image

Carrie Cantwell

Illustrator | Surface Designer | Teacher

Top Teacher
Level: Beginner

Class Ratings

Expectations Met?
    Exceeded!
  • 0%
  • Yes
  • 0%
  • Somewhat
  • 0%
  • Not really
  • 0%

Why Join Skillshare?

Take award-winning Skillshare Original Classes

Each class has short lessons, hands-on projects

Your membership supports Skillshare teachers

Learn From Anywhere

Take classes on the go with the Skillshare app. Stream or download to watch on the plane, the subway, or wherever you learn best.

Transcripts

1. Draw Cute, Professional Hand Lettering: Procreate Illustration for Beginners: Face it. Hand lettering is hard. Achieving a whimsical yet professional look takes practice. But I have found a shortcut, and I am going to share with you. In this bite sized class, I'm going to show you how I use a flat writing brush to create hand lettered art that looks fun, but is also readable and polished. You can use the same brush I use in the class and for a lot of my art by purchasing my pro create drawing brush box, which is available as a digital download from skill share, or you can use your own. Look for a brush that has an even thickness in every stroke. This class is made for beginners. All you need is a basic familiarity with the procreate interface. And all you need to follow along is an iPad with Procreate installed and an Apple pencil. So are you ready to level up your lettering art? Let's do this. 2. Let's Do This!: Is an example of one of my illustrations in which I used a flat brush to create hand lettering. I am going to recreate this in this class. In my drawing brush box, I have a brush called Flat Writing. You can use the one from my brush box or find a similar one. Just look for a brush that's an even thickness. In my drawing brush box, you will find the flat writing brush. That is what I used to create almost all of my hand lettering, including what you just saw. So if you select that, I currently have mine saved to about 40%. You can adjust it and save it to a size that you want. All you have to do is get it to that size and hit that plus sign right there. And I have mine at right now about 40% or at 40%, and this is a 12 by 12 canvas. So that's a really good size for me. So I am going to with my flat writing brush selected, I have a bright color palette. I'm going to go ahead and pick a color. I'm going to start with red. I'm going to start with a straight line, and then I'm going to hold down my Apple pencil until I get it to a place where I want it and see how it's giving me a nice straight line like that. So that is a really good starting point. Now I am just going to draw another curved part of it. I'm holding down my pencil at the end of my stroke, so it helps me create these nice smooth curves. One thing I like to do is use different colors for different letters because it gives it an extra whimsical feel, and it also tricks your eyes so you're not as focused on what a word looks like from one letter to the next, and you're not comparing letters because they're all different colors. It gives you a little breathing room and allows you to be a little less perfect. So that was not really the shape that I wanted. That's okay. I have a pencil pro. That's why you can see this little hover here. It's kind of showing me what is going to happen when I put down the brush right there. So I held down the pencil at the end of my stroke, and I actually really like that shape. That's cute. I will basically just draw again and again the same letter until I kind of get it to where I want it. That's pretty good. Now, I'm just going to do a little straight line here for the crossbar of the T and hold down the apple pencil at the end of the stroke. So there we go. I'm going to switch to a pink and I'm going to start with my little straight line here of the bottom of the eye. But I want a little dot above this, and I do not want to use this tool for that. It's just messy and not really going to work for me. I'm going to switch to my painterly smooth brush right here. You can use any smooth brush. Just make sure that whatever brush you're using, when you drag your color into the negative space, it fills in solidly and you don't have a halo. So now I have a circle for the dot over the eye. And one thing I love about this painterly smooth brush is this will allow you to fill in blank spaces without that dreaded halo effect. Now you have a nice smooth shape. I'm going to create a new layer and I'm going to switch my color to green, and what I'm going to do is trace over this t. And it doesn't have to be exactly the same, but I'm doing it similarly. Now that I have this on its own layer, I can just move this over here. I'm going to let procreate help me, and that was not quite what I wanted. So let me see if I can get this a little closer, there we go. Now, if I just hold down my apple pencil at the end of my stroke, it's giving me a lot of help. So I'm going to create a new layer. I'm going to switch to green, and I'm going to start with the curved part of the E. A Now I'm just going to draw a crossbar here that connects the left side to the right side and then use procreate to help me connect the two. I'm going to use some orange. I'm going to switch my color, and I'm going to do a letter H. I'm just going to do the line part there. I need another letter I, so I'm going to create a new layer and then trace over the existing letter I. And now it's super easy. All I have to do is move this over here. Now that we have some letters, you can use the other ones basically as templates. So I'm going to merge These two layers, and one thing that I'm noticing is that this probably needs to be moved a little bit over to the left. So I'm going to cut that out and just move it over so we have room for the rest of our word. And that is allowed. You can do that. Okay. Now I want to do a letter n. I think I'm going to use that bright blue again, and I'm just going to do not the eraser. Let me make sure that I'm in my flat writing tool. Draw the little curvy part there of the n, and now all we need is the D. I'm going to create a new layer just because for now, and I'm going to switch to pink. I want to think about this space, and the D needs to fit here. But the most important part of the D is going to be that line right there because that's where it's going to terminate. I might even make it a little curve just to make it a little more interesting. There we go. One thing you can do is cut out sections of words or just cut out letters, and you can merge layers, put them on new layers, anything you need to do to fine tune and move things around until they look right to you. Now I'm just going to draw that letter Y with some smooth curves, and I'm going to let procreate help me. There we go. Perfect. And then we need an O. I'm going to switch to red and I'm just going to use procreate to help me, and I'm just going to do a circle, and then I can just do that and let it help me. Now all I need is a letter U. I'm going to use green. I want to period at the end of the sentence, so I'm going to do the same thing I did before. I'm going to create a new layer, and then I'm going to trace over the dots over one of these eyes. So now we have our put it behind you. This is a really fun exercise in how to do some really whimsical, loose hand lettering. It's fun, it's cute, but it still has that kind of professional feel to it because everything you know, is the same width, same thickness. You know, your ts are sort of consistent, your dots are all about the same size. So you're kind of mixing the best of both worlds. You've got fun, loose, whimsical typography, but it's still readable, and it still looks professional. If you want to make your hand lettering more fun and whimsical, try rotating it or adjusting the position. For the class project, create and share an illustration that includes some hand lettering you created with the techniques you learned in this class. It's a bonus if you use a brush that's flat. And that's it. Have fun, go forth and create.