Dragonfly Dangle Earrings: a wire jewelry design | Katrina Anderson | Skillshare

Playback Speed


1.0x


  • 0.5x
  • 0.75x
  • 1x (Normal)
  • 1.25x
  • 1.5x
  • 1.75x
  • 2x

Dragonfly Dangle Earrings: a wire jewelry design

teacher avatar Katrina Anderson, DIY wire jewelry and craft tutorials

Watch this class and thousands more

Get unlimited access to every class
Taught by industry leaders & working professionals
Topics include illustration, design, photography, and more

Watch this class and thousands more

Get unlimited access to every class
Taught by industry leaders & working professionals
Topics include illustration, design, photography, and more

Lessons in This Class

    • 1.

      Dragonfly dangles intro

      0:41

    • 2.

      Dragonfly dangles

      5:35

  • --
  • Beginner level
  • Intermediate level
  • Advanced level
  • All levels

Community Generated

The level is determined by a majority opinion of students who have reviewed this class. The teacher's recommendation is shown until at least 5 student responses are collected.

1

Student

--

Projects

About This Class

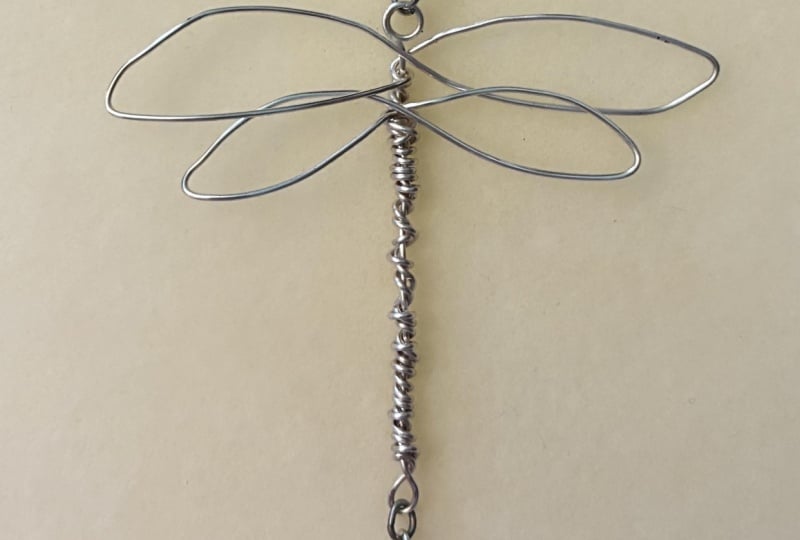
A fun summer design! Super cute as a pair of earrings, or make one as a charm!

We will be…

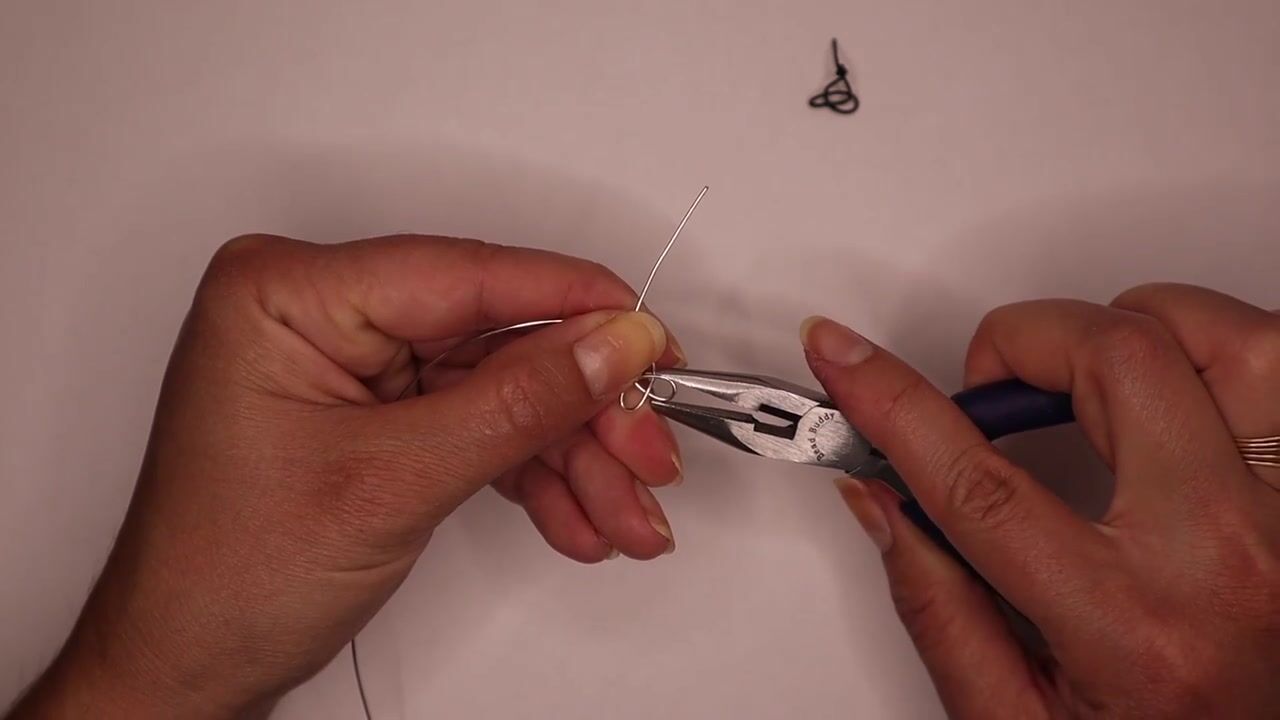
  • creating loops in wire
  • shaping wire with pliers
  • twisting wire on itself 
  • attaching an ear wire

Here is a complete list of what you will need to make everything in this class.

The tools and materials you will need…

  • chain-nose pliers
  • round-nose pliers
  • nylon jaw/plastic-covered pliers
  • flush/wire cutters
  • a file
  • 20 gauge jewelry wire in color of your choice. I used a silver-plated copper.
  • a pair of ear wires

Check out the attached file where I have linked all the items you will need for this class!

Meet Your Teacher

Teacher Profile Image

Katrina Anderson

DIY wire jewelry and craft tutorials

Teacher

Hello! I'm Katrina Anderson, and I enjoy making wire jewelry and sharing that passion with others. I began Katirose Creates as a creative outlet for my jewelry making. I hope that it will be an inspiration to you as well!

I'm so thankful that God gave us the ability to be creative! I hope that you will discover as I have, the joy that comes when you use your creativity to bless and inspire others, and glorify God.

Thank you for being here and watching my classes! I trust that you will enjoy creating and learning as you follow along.

See full profile

Level: All Levels

Class Ratings

Expectations Met?
    Exceeded!
  • 0%
  • Yes
  • 0%
  • Somewhat
  • 0%
  • Not really
  • 0%

Why Join Skillshare?

Take award-winning Skillshare Original Classes

Each class has short lessons, hands-on projects

Your membership supports Skillshare teachers

Learn From Anywhere

Take classes on the go with the Skillshare app. Stream or download to watch on the plane, the subway, or wherever you learn best.

Transcripts

1. Dragonfly dangles intro: Hello, and welcome to a new tutorial. Katrina here and today we are going to be creating some adorable dragonfly dangle earrings. Create this design on its own as a charm, or as we're going to be doing in this tutorial, we can add some ear wires and create a pair of earrings. This design is actually a lot simpler to make than it May 1 appear. Using just a couple of basic pliers, we're going to create loops in the wire. We're going to twist the wire around itself, and we will use our pliers and our fingers to bend and shape the wire. I'm so happy to have you here, and I'm excited to share this design with you, so let's go ahead and jump into the tutorial. 2. Dragonfly dangles: These dragonfly dangle earrings are both elegant and fun and also super simple to make. After sketching out and designing this dragonfly on piece of paper, I made a little prototype, and I knew it would be perfect for creating a pair of earrings. So that is what we are going to be doing in this tutorial. I'm super excited to share this fun design with you, so let's jump into what we need to create these earrings. First of all, we need a set or a pair of earrings or ear wires, and then for our wire, we're going to be using a 20 gauge wire, and I chose a silver plated copper. Next, we have a file, and for our pliers, we will be using our round nose pliers. We have our chain nose pliers. We also have our Nylon jaw pliers, and then we have our wire cutters. Now, you know what time it is? It's time to pause the video, grab your tools and supplies, and let's get into creating this wire jewelry design. I always like to start with our Nylon jab pliers to straighten out the wire to make sure that we have a nice smooth wire to start creating with. To begin the design, we are going to use our round nose pliers, and we are first going to grasp the very end of the wire and bend it around into a loop to create the head of the dragonfly. Because this is where we are going to be attaching the ear wire, we want to give it a little extra strength, so be sure to twist this loop two times around so that the wire is doubled up. After creating the loop, we want to bend it backwards a little bit so that it is centered over the long end of the wire. Now, I have my prototype here to measure the length of the dragonfly against. But if you would like to know how big the dragonfly is that I made, it's about 2 " wide for the wingspan and an inch and a quarter long. Decide how long you want the tail of the dragonfly to be, and then using your round nose pliers, create a bend in the wire. Essentially folding the wire in half, we are then going to use the Nylon jaw pliers to help us hold that bend in the wire, and then we are going to take each end of the wire, and we are going to begin twisting it around itself to create the tail of the dragonfly. We're going to continue this twisting motion all the way up to the top where we have that loop that we first created. Use your Nylon jaw pliers to straighten out the tail of the dragonfly as needed. Then we are going to take the long end of the wire and begin creating the first wing of the dragonfly. Simply using my thumb and finger, I'm going to create a slight curve into the wire. Then with my chain nose pliers, or you can use your round nose pliers, we're going to bend the wire over to create the tip of the wing. Adjusting and bending the wire as you go until you are satisfied with the shape of the wing. Bringing the long end of the wire up over the top of the dragonfly, we are then going to bend the wire back around to create the second wing, and we're going to do this in a figure eight pattern. Again, using our chain of pliers to create the tip of the wing, we are then going to bring the wire over the top of the dragonfly again and so that these two wings have now created a sort of figure eight pattern. Now we are going to take the long end of the wire and wrap it around the body of the dragonfly to help secure these wings. We're going to use this method to create the second set of wings, and I made mine just a little bit narrower than the first set of wings above it. Using your fingers or the pliers to create a slight curve in the wing and then using our pliers to hold the wire as we bend it around to create the point of the wing. Criss crossing it over the top of the dragonfly body and then back around in that figure eight pattern using our chains pliers to create the point or tip of the wing, and then bringing it back towards the body of the dragonfly. We're then going to take that long end of wire, and I gently pushed the second set of wings upwards so that it was sitting right against the first pair of wings, and then I wrapped the long end of wire around the body of the dragonfly to secure these wings. Once we have finished creating the wings and secured them onto the dragonfly, we can cut off the excess wire with our wire cutters. Then using the chains pliers, make sure that the end of wire is pressed down against the dragonfly. Be sure to use your file to smooth down both ends of the wire so that there are no rough or sharp edges. We have completed our first dragonfly. Now we can attach the ear wires. Opening the loop on the ear wire, I'm then going to find the face or the front of the dragonfly, and then I'm going to attach the ear wire into the loop or the head of the dragonfly, and on closing it, we have completed the first earring. Now repeat all of these steps to create your second dragonfly earring. You can use your first earring as a pattern or just make sure you have all of your measurements the same so that you can create a matching set. I hope you enjoyed creating these earrings as much as I enjoyed sharing the design with you. Once again, thank you so much for watching, and I look forward to seeing you in the next video.