Transcripts
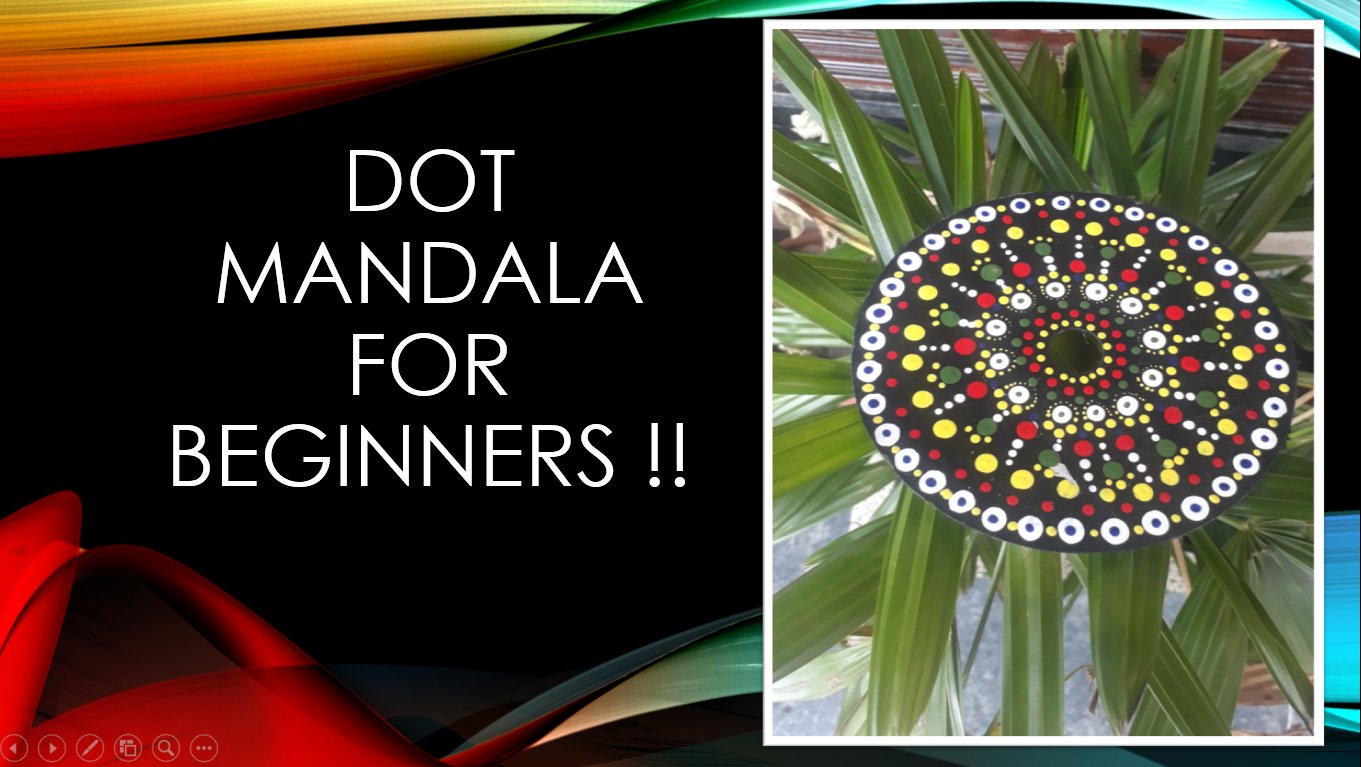
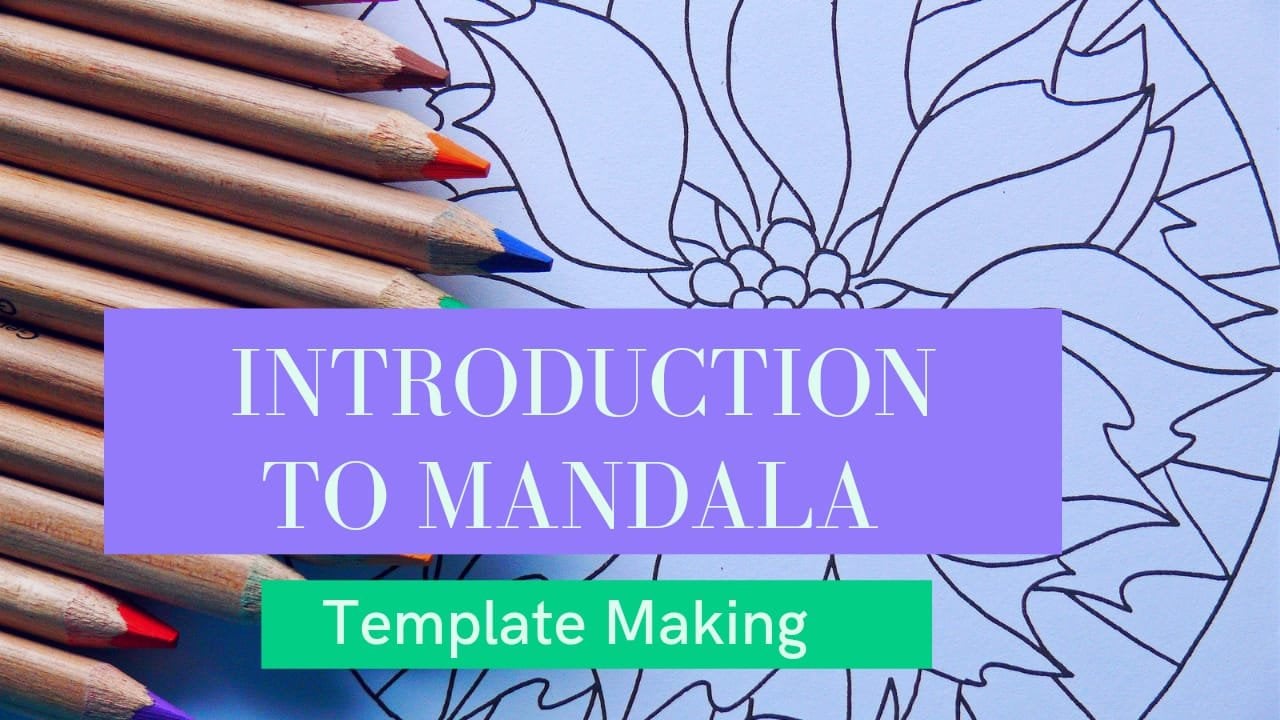
1. Introduction: Hello, welcome to my class and Judea. And in this class we will learn how to make patterned designs for DOD Mandela. And when previous class of Tuckman data, I told the very basics of document data along with all of the tricks to keep in mind while they give a dogma into. If you want to learn from the scratch, you can check out that class and learned the very basics of dogma data in that class. And this class, I will make two patterned designs, but augmented these two patterned designs, you get a note, a few new techniques that you can use in making your.me. If you haven't tried dot Mandela's ever, you can still start your dogma analyser 10K. And this class. At the end of this class, you will be able to create patterned designs for dark Mandela Ponyo. And this class, I'm going to use all CDs for making patterns over it. You can use a paper if you want. Using a CD is not a compulsory. And discuss all the materials that are going to use in this class. We're making these two patterns. And the next video. After that, we'll prepare the base to pay the oval, and then we'll make the pagans over it. At the end of this class, you have a plasma in which you have to submit the design, the pattern that you have created on your CDs are paper. After watching this class. Stack.
2. Material Required: For today's class, I'm going to use to old CDs for service rated radicals. You can use any undertake radical loads if you want. That's totally up to you. And a flat paint brash around, paint brush and some homemade doting tools, such as to pigs or ill but and small amount of water to clean the brushes after pink.
3. Preparing the Base: Let's keep a rough sheet over to protect ourselves from stains. Now, painting as first CD fathers, i'm using blue color as the base of this CDS already blue. Don't worry, is the printed, but as Rosenberg as when we're going to draw and when we're going to make patterns over it, all this will be ultimately covered very well. So it's okay if something is visible even after coating with the Agrawal column. Okay. It is now keep it aside and let's pay another CD dissimilar wavelet then this one CDs aside for about one to two to let them dry completely.
4. Pattern Design 1: Now, after one to two as the Seabees, I'll very well try. Let's keep the first CD aside and staff paintings at the false pattern design on this CD. Fathers, i'm going to use, right? A cryogenic Carlo. Do start with the basic design. Hill. I'm going to use ear bud making four dots at the very center of this CD. These four dots will be around those cento hollow. So kind of the CD will be very much at equal distance from each other. Then now directly with the white color, let's move on to the yellow color now. So I look, I am going to use that to pick avenues, the heavy side of the toothpick rather than the pointed side of the toothpick to make the dots overview. As simply took back from the heavier side to make a dot above the right dot, dot we have already made, I'm making for heavy dots just above the white dots. Now I'm going to make small, small dots along with these white dots to make it look like that this is being flood constrains too with the yellow color. Keep in mind that Ryle doing this, I'm not dipping the toothpick again and again. I'm just dipping it once and then continuing making the other dots to cover it without dipping it into the paint again and again. So vital making heavy dots, we have the debited to pick again before making even one dot. And their Hill molecular doing is simply dipping into 1s and making so many dots from this just one dip. So this means that we are decreasing the insensitive of DES dots, simply making the same kind of self-confidence to yellow silk around the white circle with all the four write dots that we have already created. Now I'm making another yellow dot at the center of the other dot that you have made. And then call conferencing yellow color only. This means that we are creating a kind of a structural hole rather than making it a proposal. And doing the same process for the other tree right? Dots, or we can say the other three small leaves to make them bigger leaves. Right? As you are not done with the second. Let's move on to the third Leo. In the third year we have repeat the same step by making one yellow dot and then decreasingly, We are going to proceed to make it a bigger leaf. Okay. All right. Now trittyes are done. Let's keep it aside and let's change the apply load to orange. For audience going out also, I'm going to use that took big from the heavier side and not the pointed site. For making the list with the orange color. I'm going to make a dot between the two leaves that is to back those of this flower and willing to make dot in-between these and then making it a heavy dots so that it can be very much visible in-between these needs as they are locally, is also a direct. So we have to maintain that balance between the colors to make all the colors resume. Now, I'm going to make a semicircle around it, right? Hill. Smes cleanse. So making a simple semicircle, edit out dust dots. Who extended. Extending it more by making one more dot. And the line, these lines into the semicircle goes as we did in two semi-circles at all the four sides. This must done for orange. But let's move on to the fathers. I'm going to make orange dot. And now just so that we can use this pointed side to make some Barton from these dots, you can observe the kind of spread the pointed side. This foresight. Now making an adult back, just selecting the center point of this odd and making a yellow dot, dot, dot actually, so that it looks more beautiful. So we're now done with the false, but let's keep it aside. Let's move onto the next pattern.
5. Pattern Design 2: Let's now keep the first CDO side and move on to the second CD for annexed design. Fathers, i'm going to use orange color first. And simply making the first layer as the circus. Or we can say the dot around the circle of the CD. Don't forget to dip. You're dotting tool every time before making the another dot. The first layer is complete. Let's move on to the next step. Find is I'm going to make a line from any other point that we have already made Hill. So select any one dot and make a particular line by using the dot or the same column. You can make the variations as per your choice, but I'm going to use the same color and going to make the line with the same column. Now, the next step to make this kind of same line in the opposite side of this line. It means that both the lines are joining somewhere in between the whole lows Local. We're now done with this line. Let's move on to the next line and thes direction. So going to make the dots between these four dots, these are four dots here and four on the opposite side. As you can also notice, now, choosing the points somewhere between these for like two on one side and o on the other side making a dot between these and similarly on the other side. Now joining these dots and making the line in the intersecting angle. Now we're on to the next step, making a dark section. It's between this complete section, we are finding the middle point of this complete arc. Similarly, making the same kind of dot at all other points. Now, making one more dot about these dots. So the primary base with the orange color is now done. Let's move on to the next column, which is a yellow color. For the next step, I'm going to make a dot above these two dots using the yellow column. After that, I'm going to make these into the patterns as we did earlier in our earlier design. Simply making the dots in a little to make it like a leaf. Now, making, using the same design, the same technique, donning it. Elif kind of structure. The seeding similarly for the third layer. Now, it doesn't have to be uniform. And the hence, I'm making the same design on the other she'd dots also. Yeah. All right. Let's move on to the next step. And one dark dots. You'll make a bad sides also. Extending these extra low points to make this look like. That is extending to meet the leaves that we have already made. We're now done with the a look. Hello. Let's move on back to the orange color. You can add an orange dot here also in-between these lines and the men dialogue. But I'm not doing so. I'm making the yellow dots and the line that will all get drawn. Let's move back to yellow and learn to make a dot on these yellow dots from the heavy side of the book. Pick making heavy dot and then seeping that big to make a design like this. Observe that while making these lines, I'm slipping the topic as these lines are very much tin as compared to the dots that we are made from the heavy side of the toothpick. I second pattern design is also complete. Let's keep it aside and let it dry.
6. Project Work: So that is the article aspartate. Try making some pattern designs for DOD Mandela on your, you can make a recreate the same designs as we did in this class. Are you can recreate any other design or you can create your own design if you want. Clinic pictures of your designs and applaud those bacteria in your project selection. And thus class. I had before joining me, good creating, give, bending my bag.
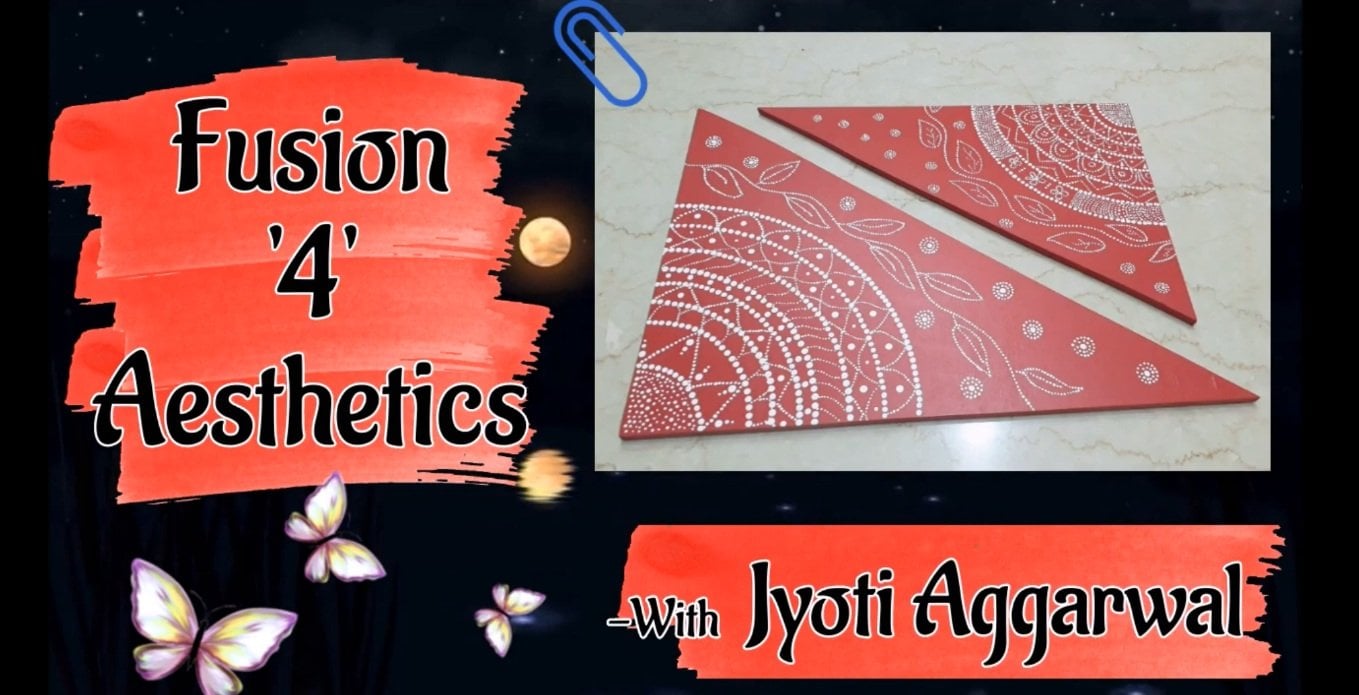
 Jyoti Aggarwal, Art and Craft Teacher