DIY Sushi Catnip Toy: 8 Minute Easy Sewing Craft | Amy Plante | Skillshare
Search

Playback Speed


  • 0.5x
  • 1x (Normal)
  • 1.25x
  • 1.5x
  • 2x

DIY Sushi Catnip Toy: 8 Minute Easy Sewing Craft

teacher avatar Amy Plante, Multi-Passionate Creative

Watch this class and thousands more

Get unlimited access to every class
Taught by industry leaders & working professionals
Topics include illustration, design, photography, and more

Watch this class and thousands more

Get unlimited access to every class
Taught by industry leaders & working professionals
Topics include illustration, design, photography, and more

Lessons in This Class

    • 1.

      DIY Sushi Catnip Toys

      0:44

    • 2.

      Project Materials

      0:44

    • 3.

      Sew the Body

      2:26

    • 4.

      Sew the Details

      2:12

    • 5.

      Stuff and Finish

      1:06

    • 6.

      Get Inspired!

      1:00

  • --
  • Beginner level
  • Intermediate level
  • Advanced level
  • All levels

Community Generated

The level is determined by a majority opinion of students who have reviewed this class. The teacher's recommendation is shown until at least 5 student responses are collected.

70

Students

1

Projects

About This Class

Learn how to DIY an adorable sushi catnip toy! This beginner-friendly project doesn't require any special equipment or experience to complete and is perfect for a casual afternoon activity.

By the end of this class, you'll learn:

  • How to sew by hand using the whip stitch
  • How to work with felt
  • How to make a fun and unique cat toy that is perfect for gifting

You only need a few inexpensive materials for this project, which are easy to find at most craft stores:

  • Craft felt
  • Thread
  • Sewing needle
  • Scissors
  • Batting or stuffing
  • Catnip

I’ll show you a simple hand stitch to put this toy together and before you know it, your cat will be in sushi heaven. So find a cozy spot and come craft with me!

Interested in making the other sushi toy designs you see in the video? Get the printable patterns and instructions for all four designs here.

Meet Your Teacher

Teacher Profile Image

Amy Plante

Multi-Passionate Creative

Top Teacher

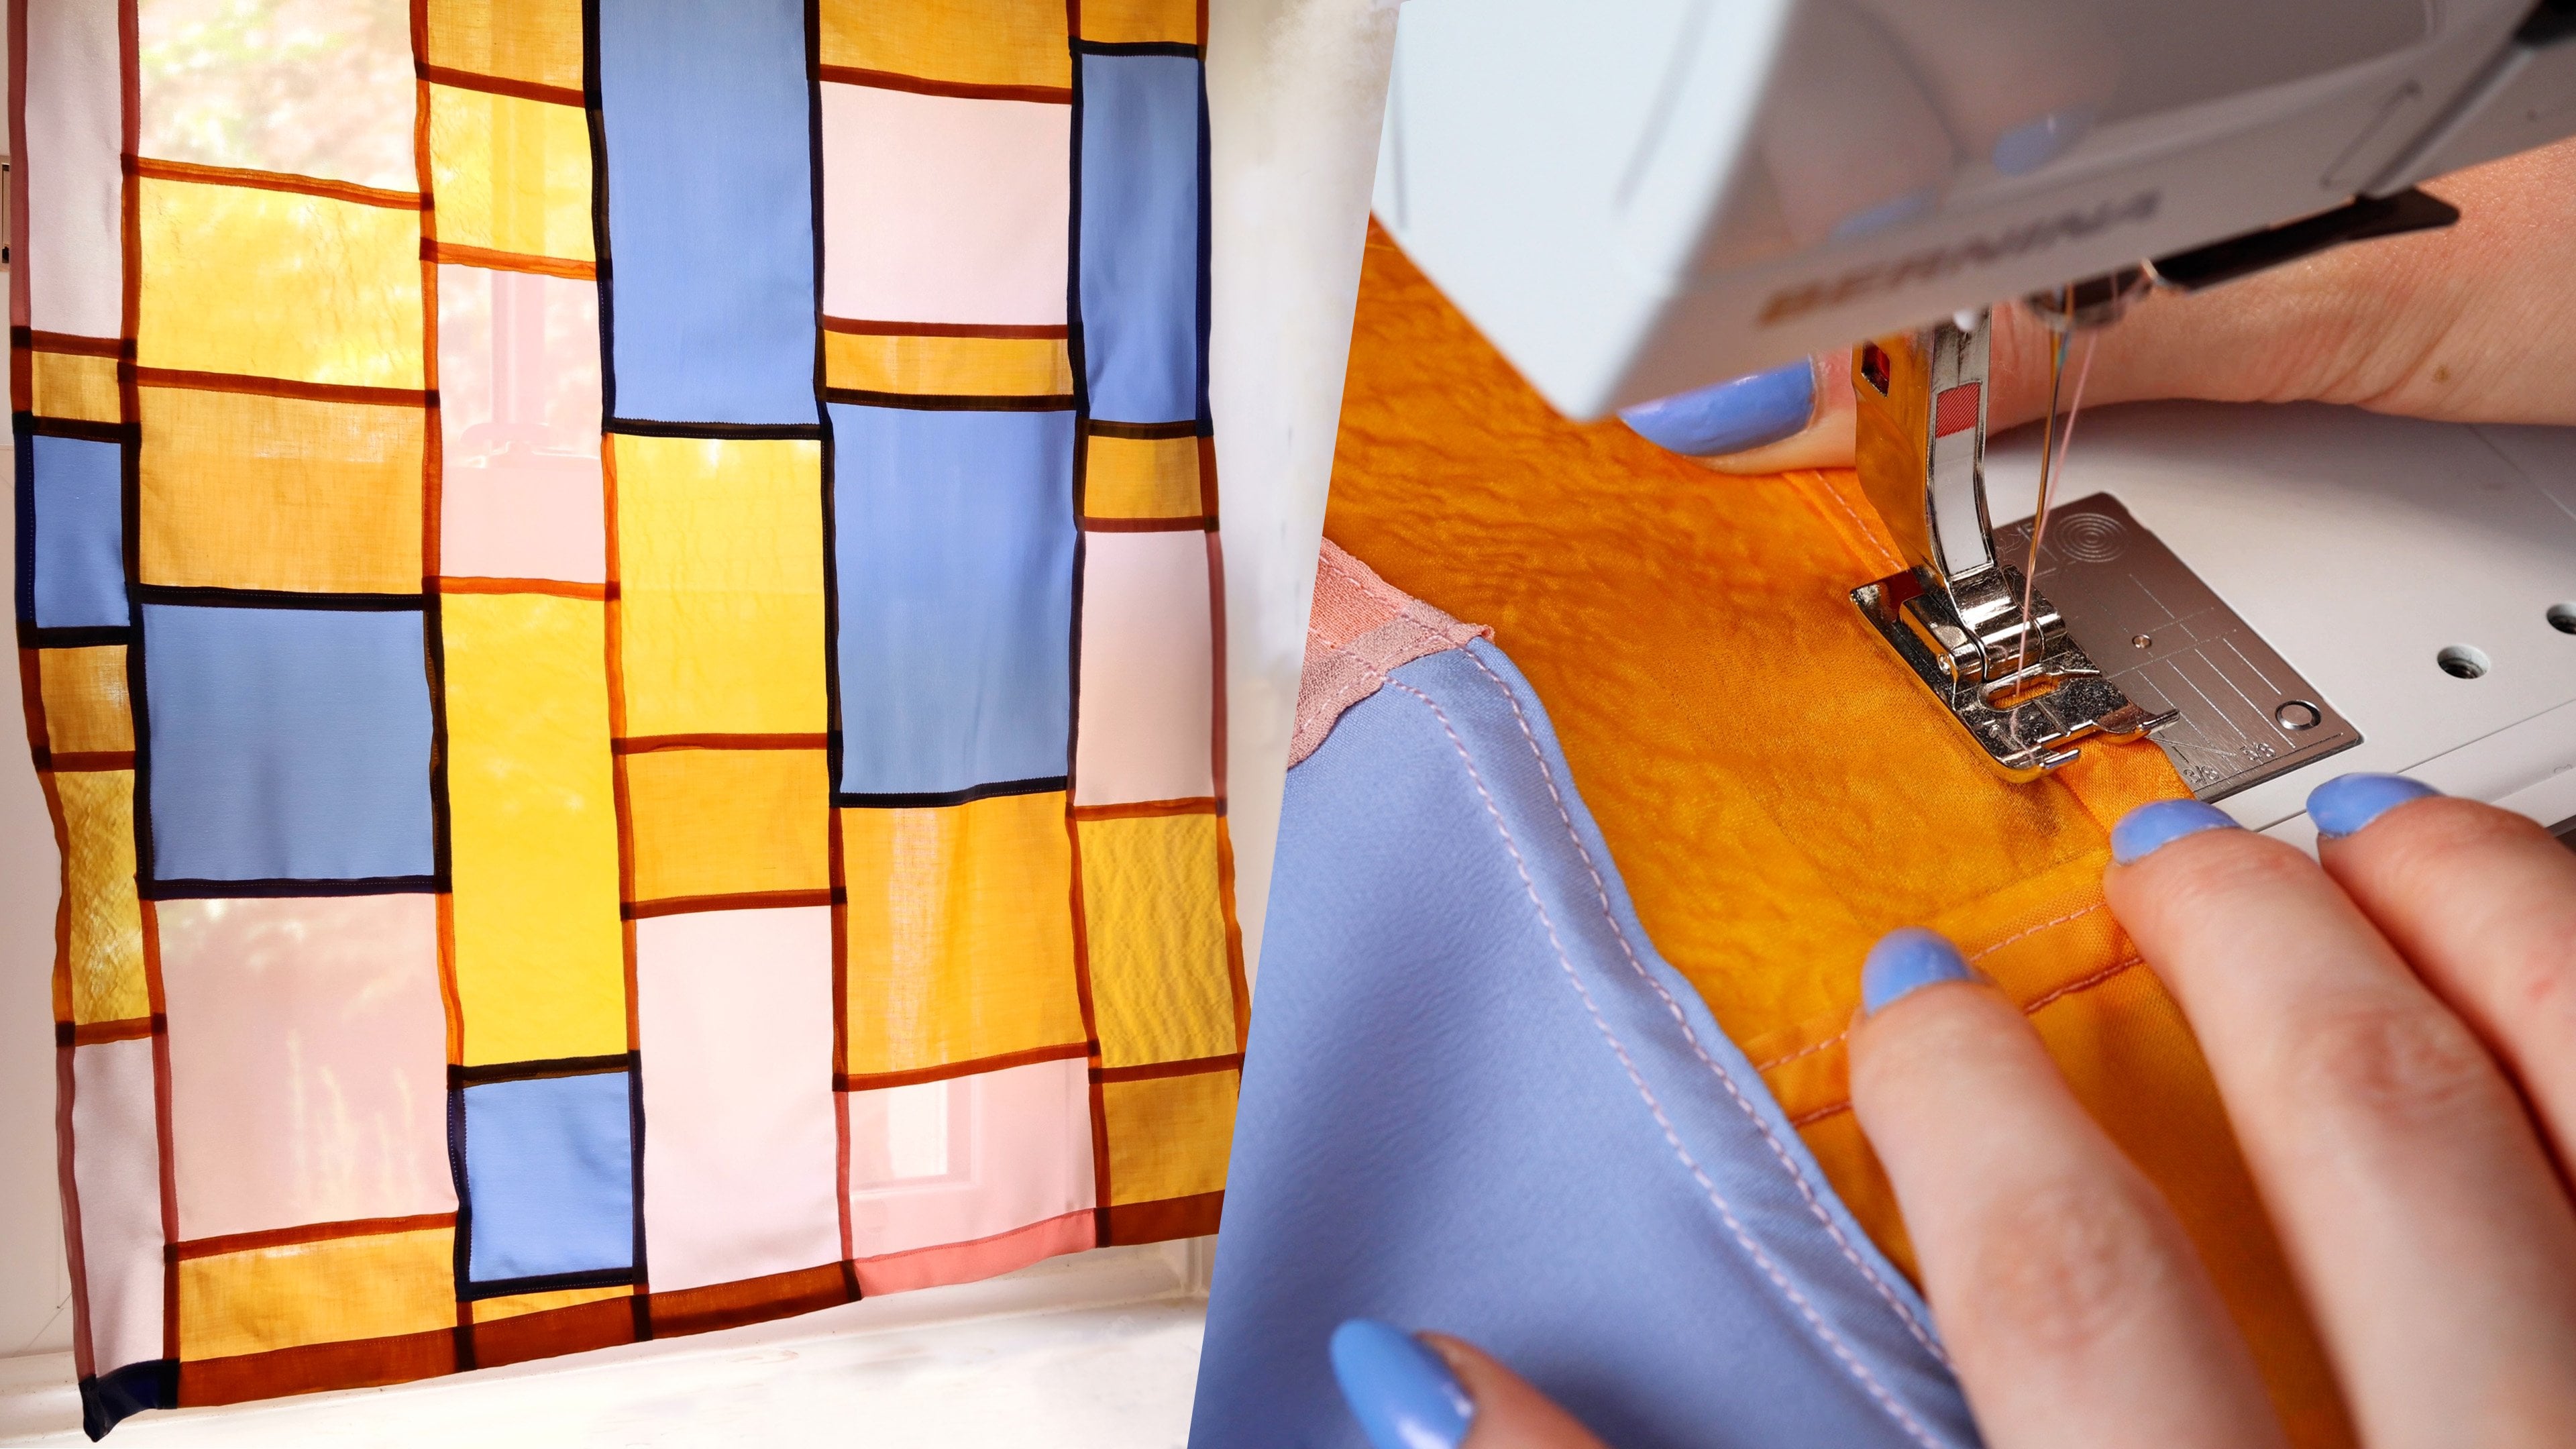
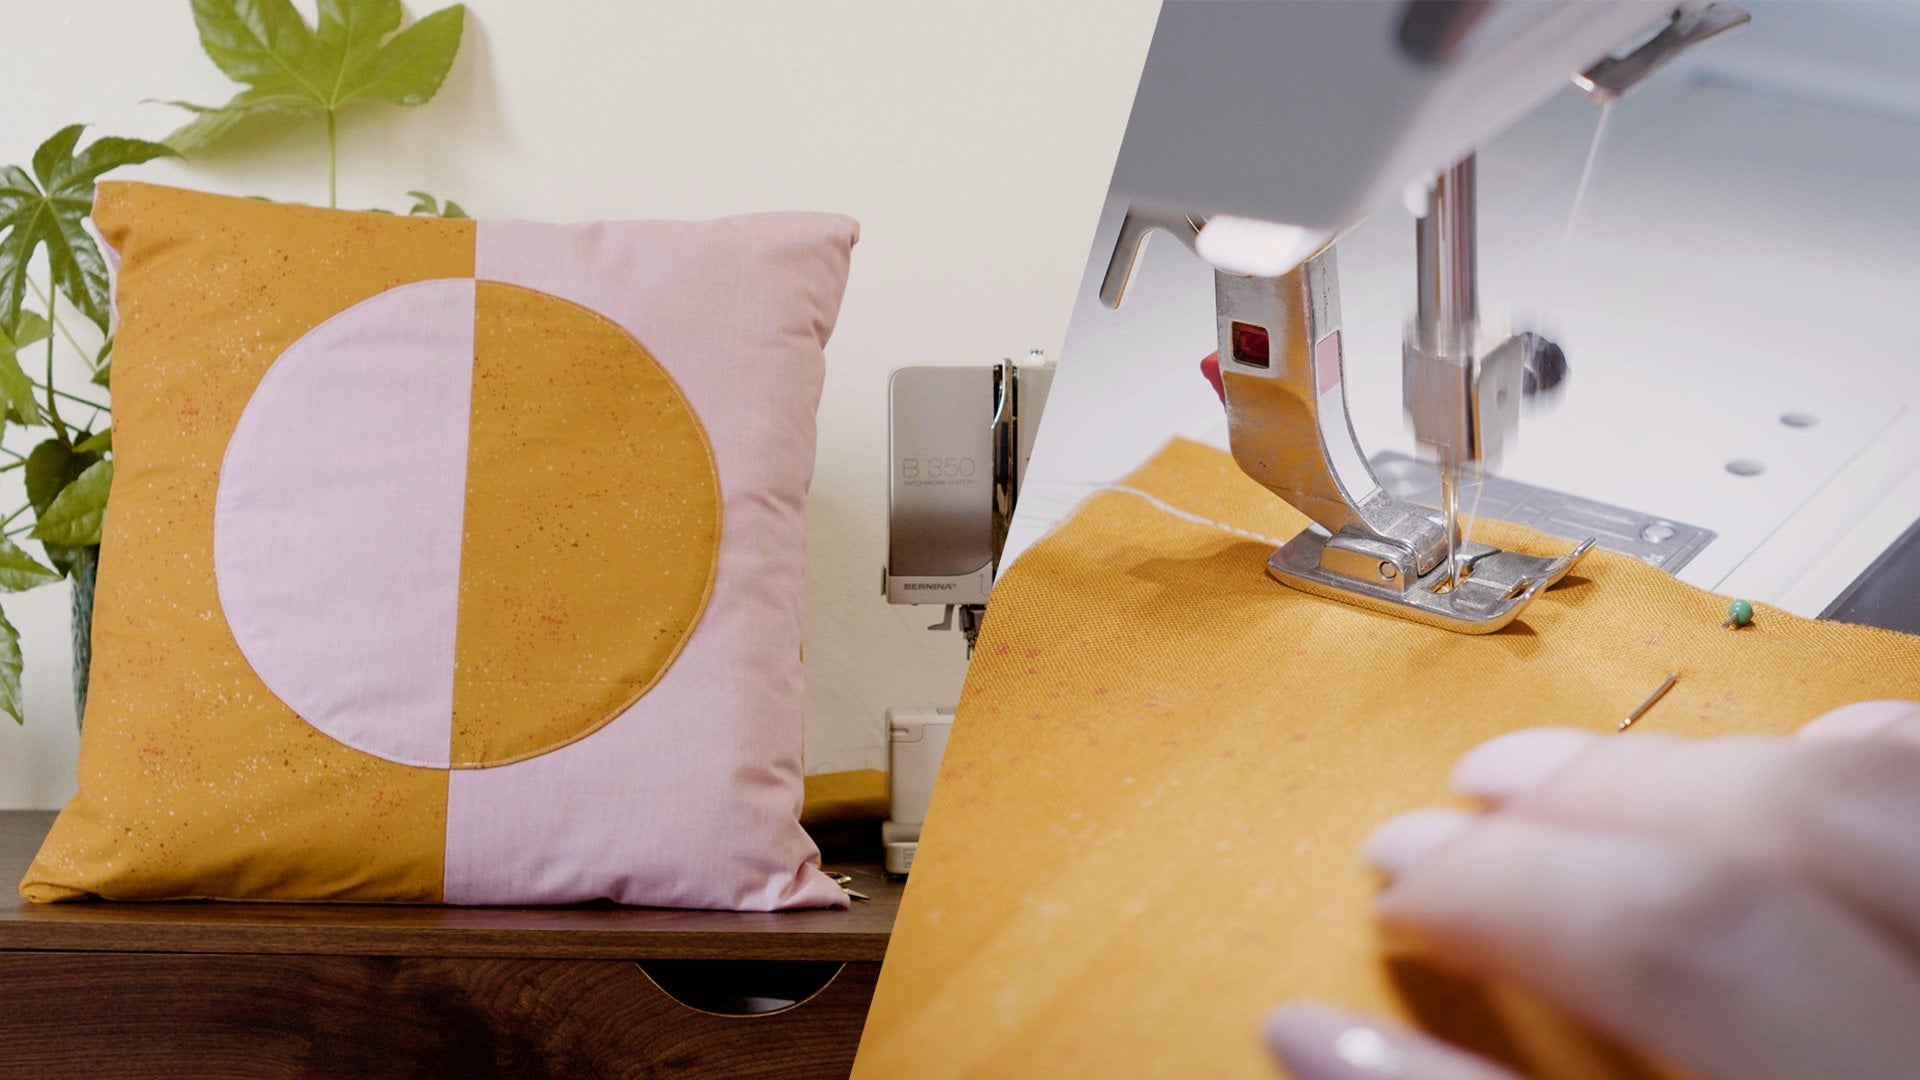
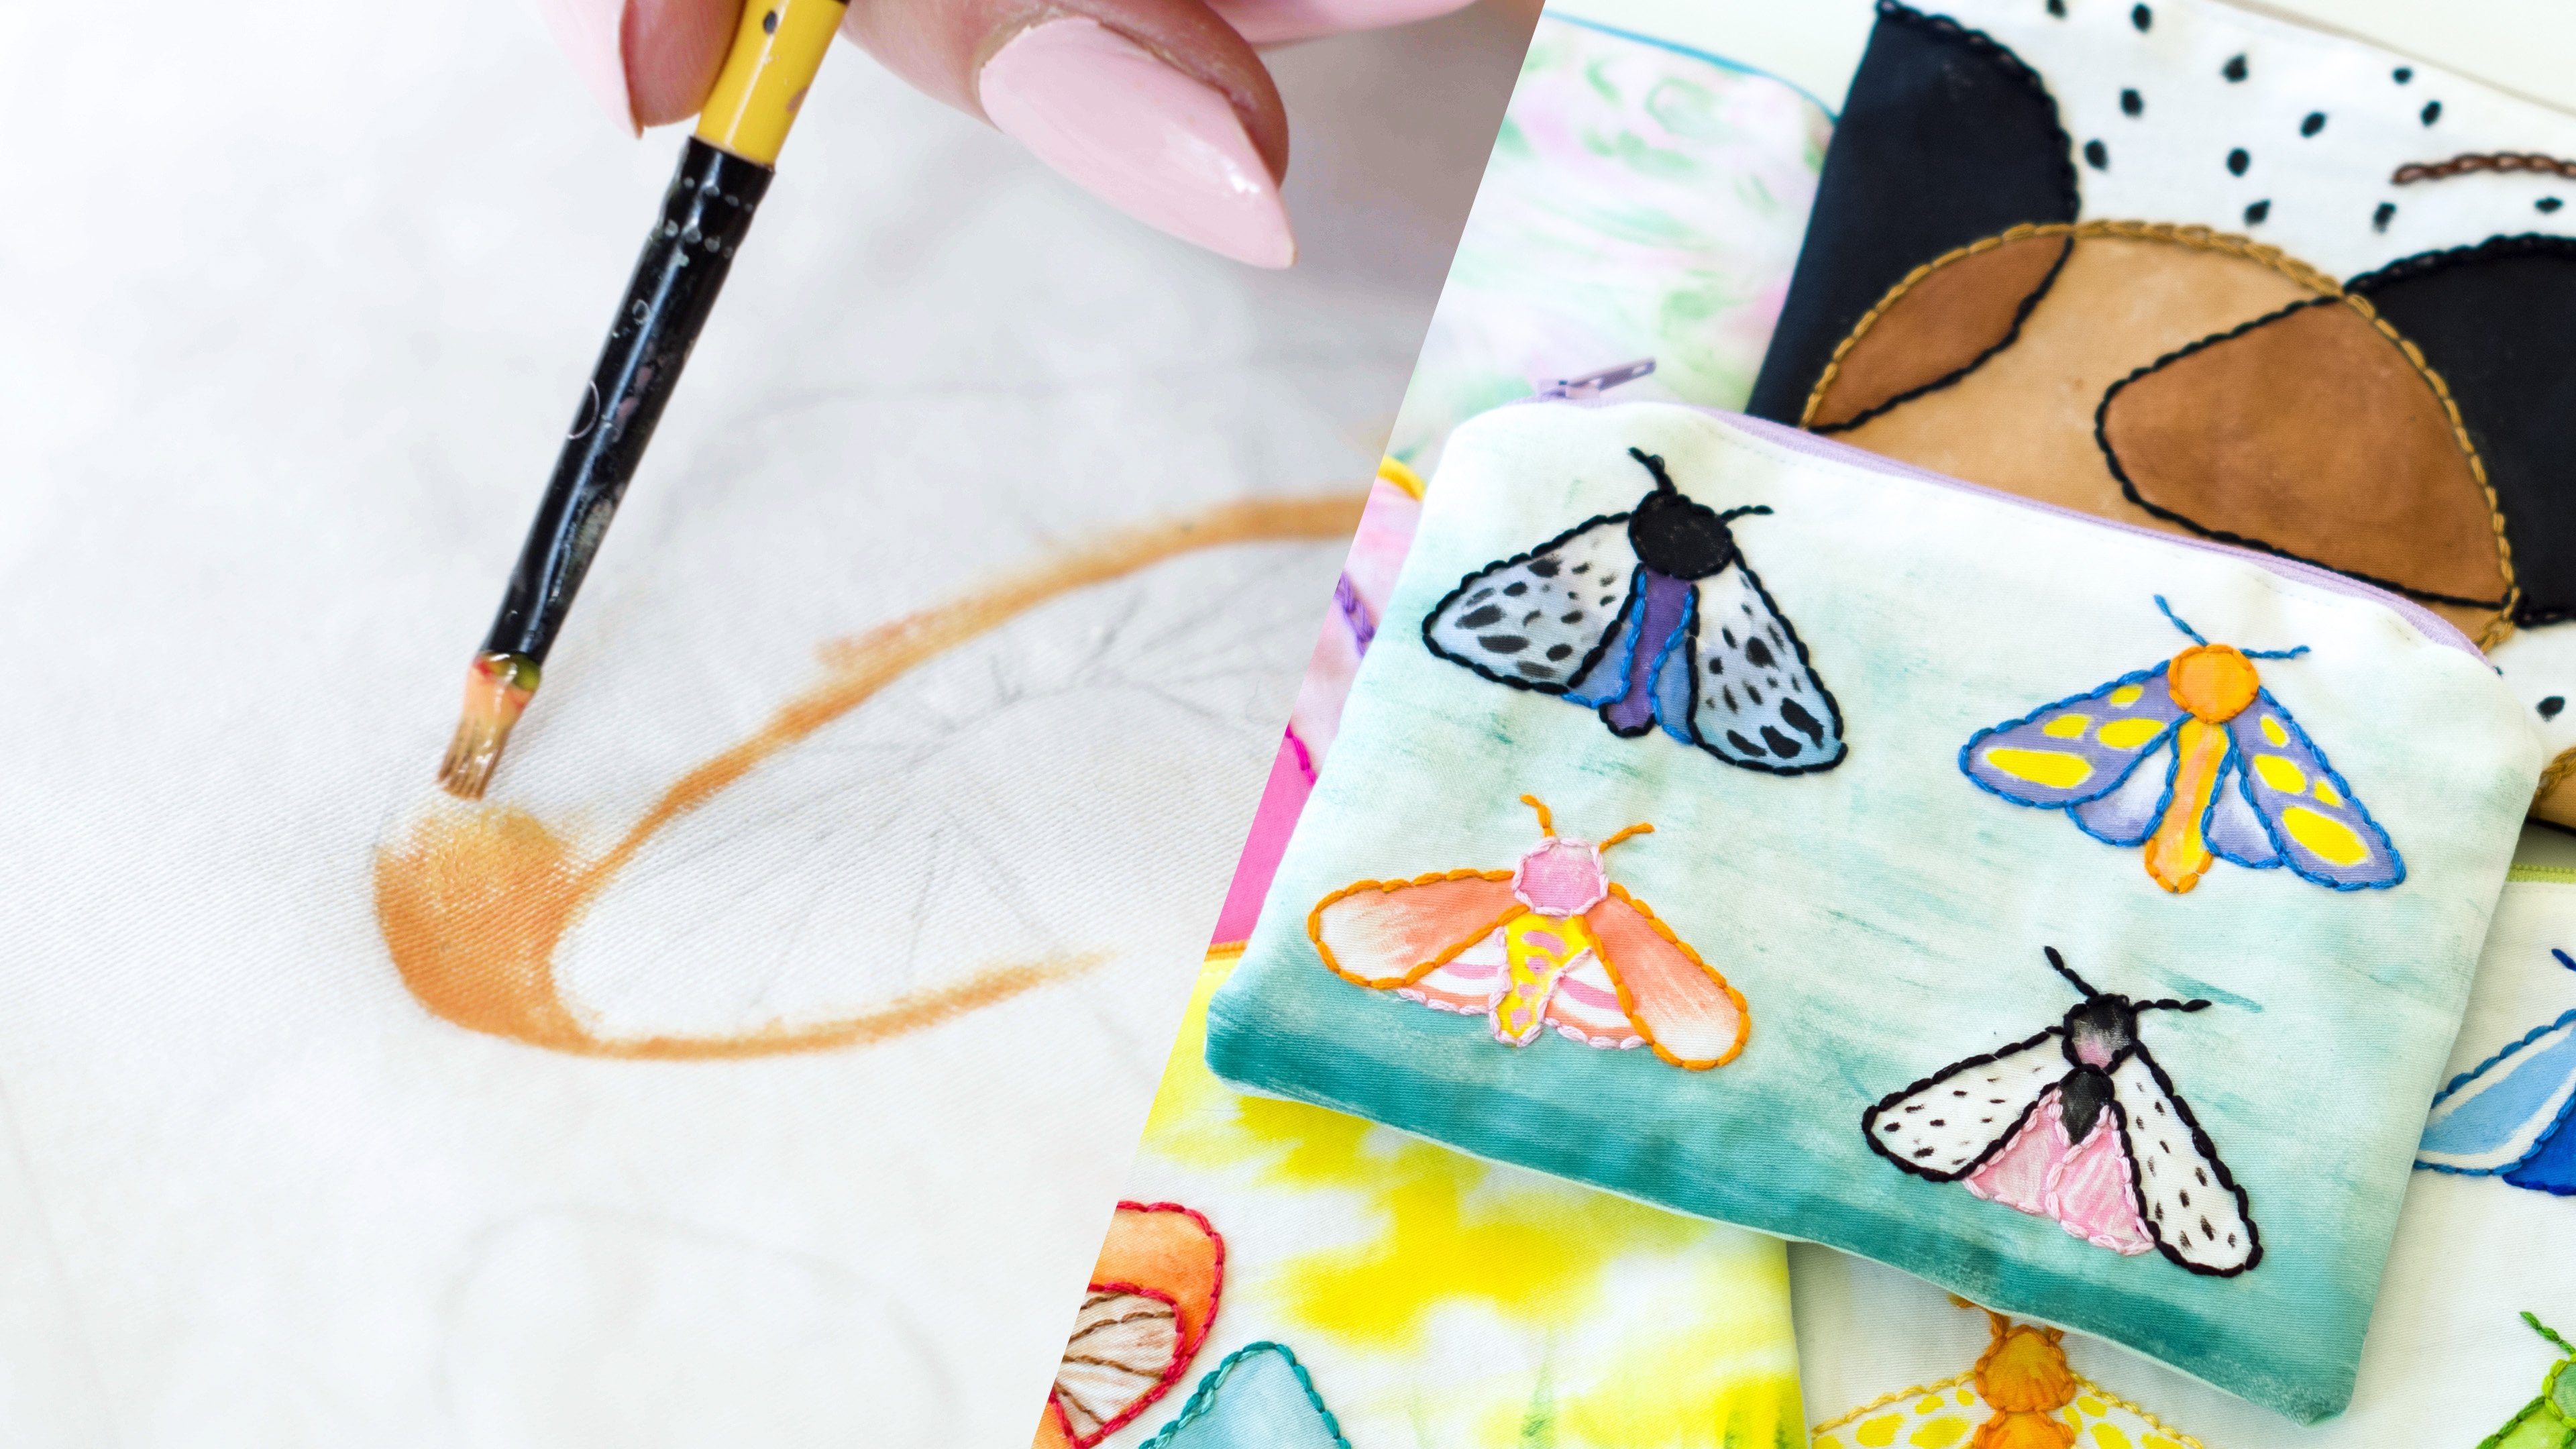
Hello, I'm Amy. I'm a multi-passionate creative, which is just a fancy way of saying I've never met an art technique or craft I didn't like! A few of my favorite skills are painting, illustration, sewing, and fabric dyeing.

I've always loved picking up new skills and teaching others what I've learned. My approach is always to keep it simple and let my students impress themselves with what they can do.

Follow me on Instagram to see what I'm up to with my own work and be sure to tag me when you share your projects!

See full profile

Level: Beginner

Class Ratings

Expectations Met?
    Exceeded!
  • 0%
  • Yes
  • 0%
  • Somewhat
  • 0%
  • Not really
  • 0%

Why Join Skillshare?

Take award-winning Skillshare Original Classes

Each class has short lessons, hands-on projects

Your membership supports Skillshare teachers

Learn From Anywhere

Take classes on the go with the Skillshare app. Stream or download to watch on the plane, the subway, or wherever you learn best.

Transcripts

1. DIY Sushi Catnip Toys: Calling A Cat Lovers, here's a quick craft for your favorite feline. Hi. My name is Amy Plant. I'm a multi passionate creative with a focus on sustainable design and handicrafts. My favorite creations combine function with a bit of tongue and cheek humor, and that's just what this simple project is all about today. We'll be making felt catnip filled toys that look like sushi. Why? Because it's adorable. You don't need any previous sewing experience or special equipment to make these. All you need is felt, batting, catnip, and a needle and thread. I'll show you a simple hand stitch to put them together, and before you know it, your cat will be in Sushi heaven. So find a cozy spot and come craft with me. 2. Project Materials: Project materials. For this project, we'll be making the Maki Shi design. You'll need black and white crafting felt along with a few other colors to create the fillings of your choice. I'll be using dark pink to look like tuna and green to look like avocado. You want some all purpose sewing thread and black and whatever colors you choose for the fillings. I like choosing a darker color for my fillings to add a little color dimension. You'll also need a hand sewing needle, some batting or stuffing. I like polyester because it springs back nicely in a toy and your favorite dried catnip. You can find the materials list for this project along with sewing patterns and instructions in the downloadable PDF guide that accompanies this class in the resources section. Coming up next, we'll sew the main body of the toy. 3. Sew the Body: The body. Let's make our make. To begin, cut all your pattern pieces out of the felt. The patterns are labeled with their corresponding colors. If you don't have a printer to print out the patterns, you can measure a rectangle that's 4.5 by 1 " and a circle that's one and three quarters inches. We're going to use something called a whip stitch to attach all our felt pieces together. Because it's difficult to see the black thread on black felt, I'm going to demonstrate this stitch for you first. I recommend threading your needle so that you'll be sewing with two threads at a time and double knotting the ends so you have a bulky knot that won't pull through the felt. Most of the seams we're going to sew will look like this with one layer of felt on top of the other. Insert the needle from the back so that it comes out a little below the edge of the felt. Insert your needle a little to the left and right above the edge of the fabric, coming out a little below the edge again. If you're left handed, you'll be more comfortable working from left to right instead. Ideally, you want the vertical distance and horizontal distance to be the same, so your stitches are equal. When you sew your toy, try to aim for smaller one eighth inch stitches for strong seams. Now that you've gotten the hang of the whip stitch, let's sow the body or middle of the mache. Take your rectangular piece and bend it into a loop. Overlap the short ends by about a quarter inch. Begin the whip stitch, as I showed you before, to stitch down the edge. When you get to the end, take one more stitch to get your needle to the back of the seam. Re insert your needle to make a loop. Thread this loop twice with your needle. And pull tight to make a knot. Trim the excess thread. Next, we'll show the details of our make. 4. Sew the Details: The details. It's time to sew on the details. Range your fillings in the center of the white circles. Choose a thread that matches the filling, or go a shade darker for a dimensional effect. Just as you did before, insert your needle from the back to hide the knot and use the whip stitch to stitch on the fillings. Don't worry so much about getting your stitches perfectly slanted for these small pieces. Focus more on getting them secure. When you're done, tie a knot as you did before by taking a stitch behind the filling, making a loop, and threading twice to make a knot. Stitch all the fillings down on both circles. Now let's stitch the tops and bottoms to the body of our Maki. Take one of the circles and place it behind the inside of the loop so that the edges are overlapping by a quarter inch. You may find it easier to draw a circle, a quarter inch in from the edge as a guide to line up the black felt to. Start with your needle in the back again and whip stitch along the edge with black thread. Slowly rotating the white circle every few stitches to make sure it's overlapping the black felt by a quarter inch. There will become a point when it will be easier to tuck the rest of the circle in to finish sewing. Don't worry about puckering, just squish it into place. When you get to the end of the seam, tie a knot, as we did before, Then inst your needle through the seam and out of the side of the black felt to hide the tail, clipping the excess close to the felt. Do this same process to attach the second circle. When you have about an inch left to go with your seam, stop and drop your needle. It's time to stuff and finish. 5. Stuff and Finish: Tuff and finish. Before we close up our seam, we need to stuff our toy. First, I like to sprinkle in some catnip. You want most of the catnip to be close to the felt because you want your cat to be able to smell it. Alternate cat nip and batting to get a good mix. Make sure your batting is almost spilling out because we want our toy to be nice and stuffed after we close up the seam. When you've gotten it to your liking, pick up the needle you left dangling and continue to stitch around the opening until it's completely sealed. Tie off your thread with a double knot and insert your needle into the seam and out through the side, trimming close to hide the tail. And there you have it, a make sushi toy for your cat to enjoy. Don't forget to take a picture and post it to the project gallery to inspire other students. Bonus points, if you show me your cat, too. Coming up next, I'll share with you some more sushi toy inspiration. 6. Get Inspired!: Now that you've made one sushi toy, I know you're itching to make more. An easy way to change up this design is to swap out the detail colors to look like other fillings. If you're interested in creating any of the other pieces you see here, I've created a downloadable booklet of all these designs with photos, patterns, and instructions. You can find the link to this bonus content in the class description. If you're giving these toys to someone as a gift, try presenting it in a creative way, like in a bento box or other fun container that the recipient can reuse. You could even use felt to recreate that fake grass you get in Supermarket Sushi. Don't forget to upload a photo of your creation to the project gallery. And if you post your project to Instagram or TikTok, be sure to tag me at art Underscore, so I can cheer you on. If you enjoyed this class, I'd love for you to leave a review to share your experience with others. Until next time, keep in touch and happy crafting.