Transcripts
1. Welcome!: Beginner sewers, here's a quick project to
use up your scraps. Stylish curtains you
can make in a weekend. Hi, my name is Amy Plant. I'm a multi passionate
creative with a focus on sustainable design, and I've been sewing
for 20 years. In this mini course,
I'll be sharing with you a sewing project that uses simple yet essential techniques that are great for beginners and also will help you use up fabric scraps and leftover odd shapes instead of
throwing them away. This project is inspired by the traditional Korean Poyagi, a wrapping cloth that was often created as a hand
sewn patchwork. We'll be practicing
that tradition of patchwork in this class, and at the end, you'll have a stylish and beautiful curtain without having to spend a penny. You don't need a lot of sewing experience to tackle
this project, but you should be comfortable
using a sewing machine. You work through the
class, I'll share with you tips for selecting
and arranging your fabric and show you step by step how to sew a
clean, finished seam. I'll also give you
inspiration and ideas for future projects you can tackle with everything you've
learned in this course. Alright, it's time to fire up that sewing machine
and come sew with me.
2. Choosing Your Fabric: Choosing fabric.
First things first, let's select the fabric
for our curtains. As this fabric will usually be displayed with light
shining through it, I recommend choosing thin
or shear fabrics that will really allow your seams to pop and create a
stained glass effect. Shear fabrics don't have
to be tricky to sew. If you're new to
sewing, I recommend lightweight cotton fabrics
which are easier to control. If you're comfortable
working with them, chiffon and organza type fabrics will look beautiful
in patchwork. Stick to woven fabrics for this project and avoid
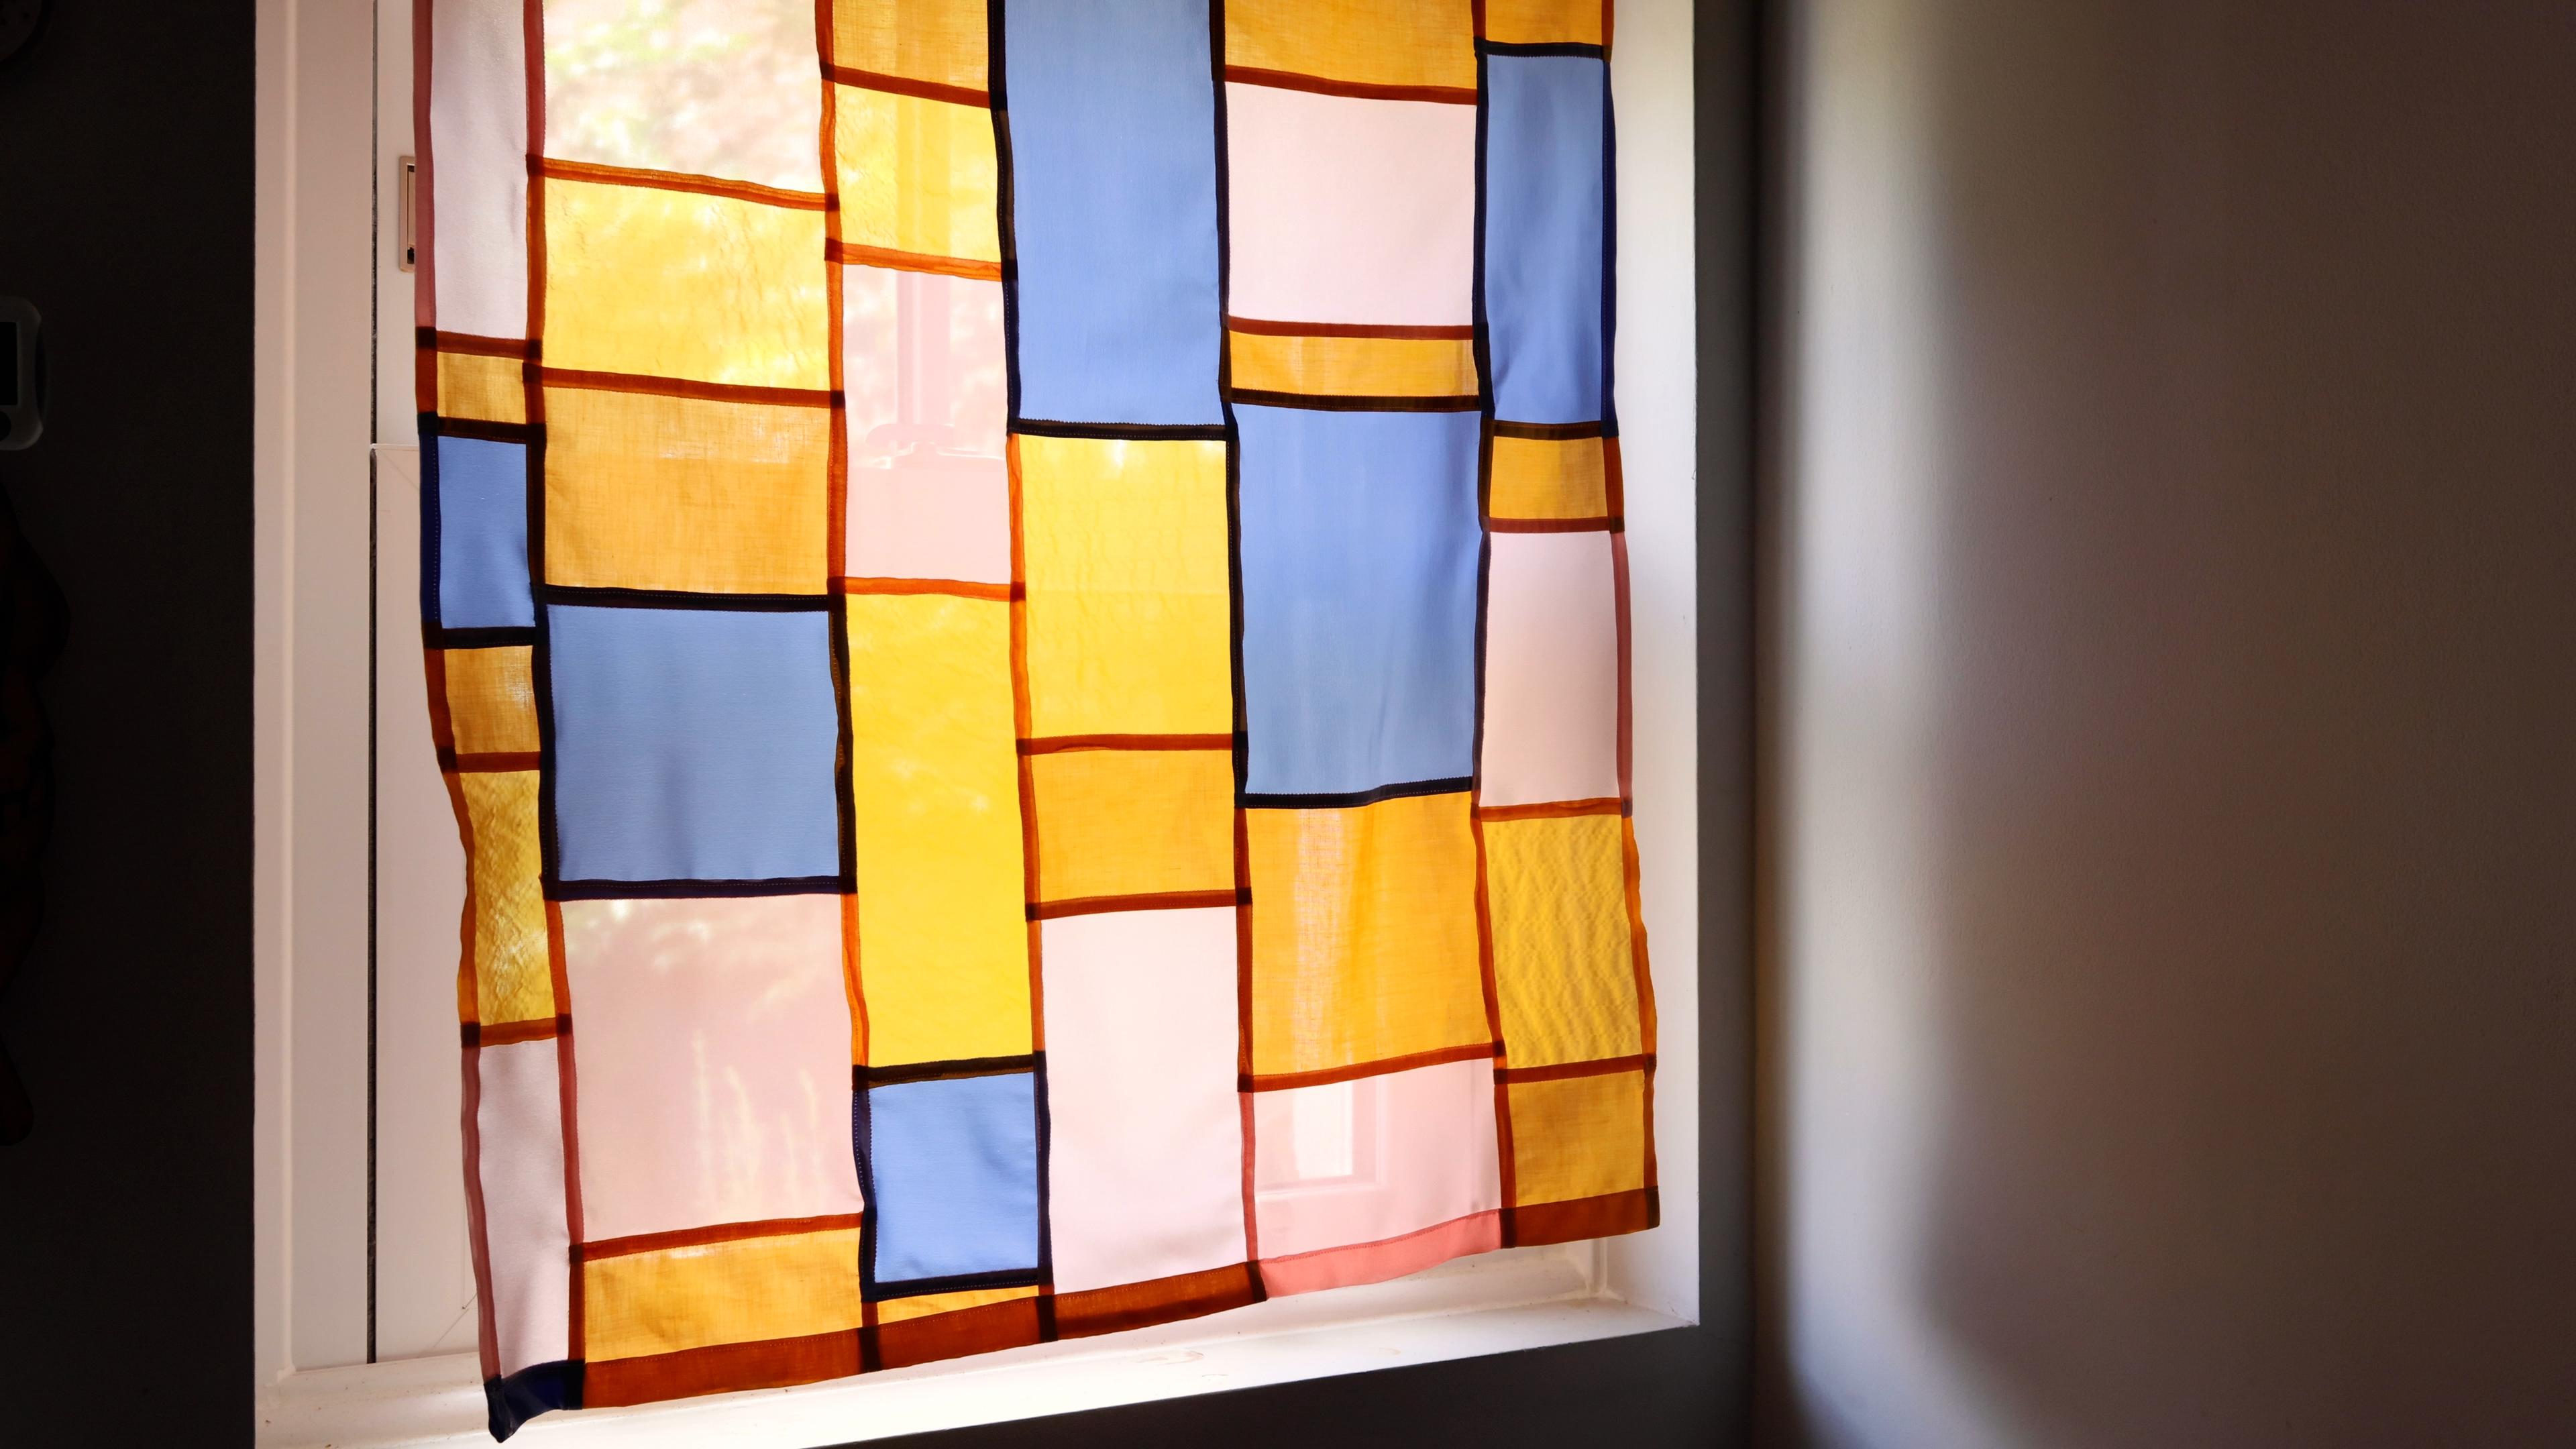
anything with stretch. In terms of color, you can get as simple or as
wild as you'd like. Choose a range of shades in
the same color family for a sophisticated look or choose a variety of hues for
a maximalist effect. I like to have a few
colors in the same family, then pop in an
accent color or two. When sewing lightweight fabrics, you want to use a needle
on the thinner side, like 60 or 70. If you're finding that stitches
look loose on the back, tighten up your upper thread
tension a little bit. As always, do a
couple sewing tests with your fabric to
dial in your settings. I like regular all purpose polyester thread for
a project like this. Depending on how monochromatic or colorful your
fabric selection is, you can choose a
thread that blends in or pops as a subtle
accent color. Now that you've
chosen your fabric, let's get it ready to sew.
3. Preparing Your Fabric: Preparing your fabric. Now that you have your fabric picked out, you'll need to cut it
into pieces to sew. We're working with squares and rectangles for this project, but no need to get
fussy with measuring. If you have a cutting mat with a grid and a rotary cutter, this part will go
really fast for you. You could also use
an L square and a fabric pen or chalk to draw
guides for you to cut on. We're just removing any non straight sides to
create rectangles. Make sure your rectangles
follow the straight of grain. That means that the
sides will run parallel or perpendicular to the
threads of the fabric. Need to waste anything
when you're cutting. I like to save small scraps for stuffing into
a throw pillow. In terms of sizes, I find
anything smaller than two by 2 " tends to be a bit difficult to work with
for this project. And depending on the
size of your curtains, anything larger than a piece of printer paper probably won't give the stained glass effect. However, I encourage you to
follow your creative muse as you're cutting and make the sizes that feel right for you. Once you have all your pieces, start organizing them by width. It's okay if they aren't
exactly the same. We're just aiming
for rough matches. If you have a couple
of oddball sizes, you can either sew them
together to create a wider width or cut them
down to match a similar. Easiest way to tackle
this project is to sew one column of
rectangles at a time. So, ideally, we want
enough rectangles to form a series of columns. The length of your
columns will depend on the overall size you
want your curtain to be. We'll be using a five
eighth inch seam allowance on each side of the rectangle. I know that's a really
annoying fraction to calculate dimensions with, so I would advise you to take a more organic approach with this project and measure your columns against
your window as you go. Remember to leave extra
length at the top and bottom to allow for a
curtain rod and hem. If you'd like to
work out the math, I have formulas to calculate
your curtain dimensions in the downloadable PDF guide that accompanies this class. Now that we have
our fabric pieces grouped, we can begin sewing.
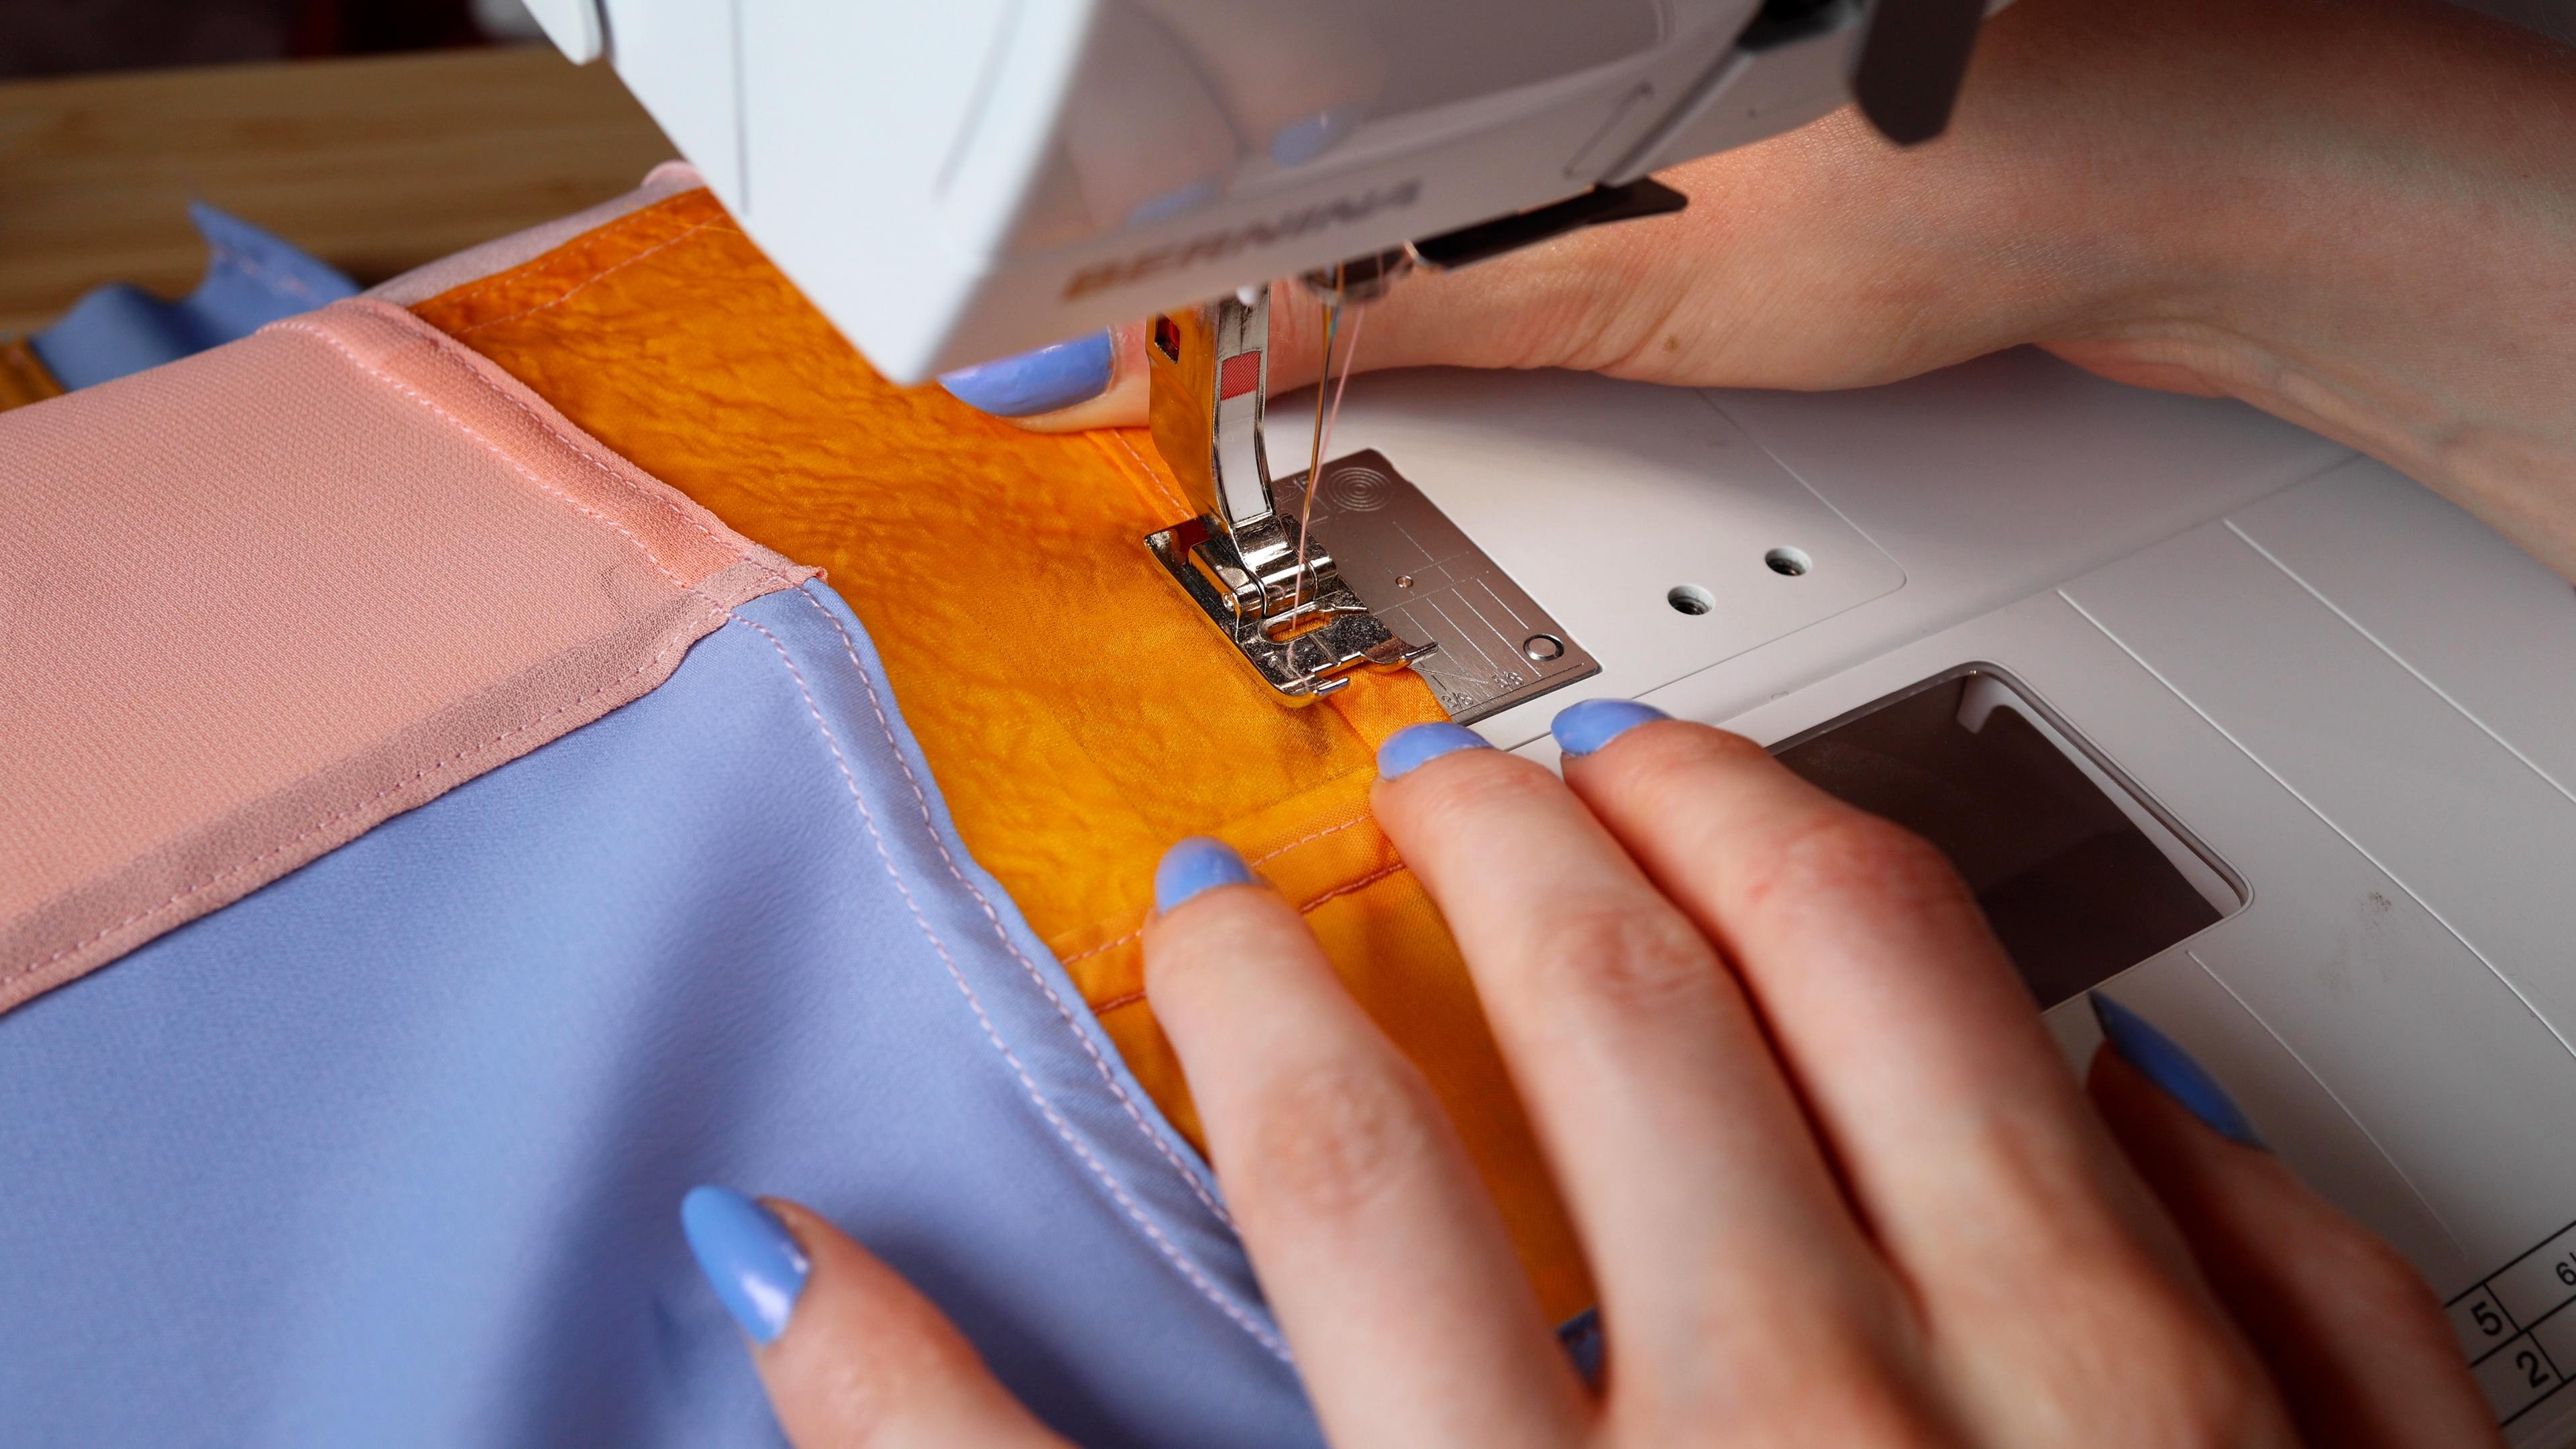
4. Sewing a Flat Felled Seam: Sewing a flat feled seam. The primary seam we're
going to be using for this project is called
a flat felled seam. If you've never sewn this
type of seam before, I promise you you will be confident in it by the
end of this project. A flat feled seam involves
sewing a regular seam, then trimming back one side
of the seam allowance and enclosing it in the fold of the other side of
the seam allowance. This fold is then stitched down, resulting in a strong, clean seam with no raw
edges on either side. Let's practice the flat feled
seam on our rectangles. Pin a pair of pieces you grouped by width so that
their edges line up. If the widths don't
match exactly, line them up at the top and you can trim the excess later. When working with light fabrics, I find it helpful to start sewing a quarter
inch in rather than the very top edge and then
back stitch to the top to start the seam and prevent the machine from
eating the fabric. Remember we're sewing with a five eighths inch
seam allowance. Sew a straight
stitch, remembering to backstitch at the
beginning and end. If one of the pieces is
longer than the other, finish stitching on
the shorter piece. Iron your seam open, then trim one side of your seam allowance so that it is half the width. Iron the seam close so that
the wider side is on top. Tuck the wider side over the raw edge of
the narrower side, enclosing it in a fold. Iron the fold as you go. If your fabric won't
stay in place, you can pin this
fold down as well. Sew along the edge of this
fold to stitch it down, staying an eighth inch or
less away from the fold. Back stitch at the
beginning and end. You've just completed
a flat felled seam. Continue sewing the
rest of the column. You may find it easier
to batch your work, sewing the first step for the
entire column before taking it over to the iron to trim
and fold each seam in one go. When you've completed a column, trim any excess fabric
using a ruler to help you. Once you've sewn
all your columns, it's time to join them together.
5. Joining Your Pieces: Joining your pieces. To
join our columns together, we're going to sew the
same flat filled seam you sewed in the
previous lesson. Line up the edges of two of the columns and sew a flat
filled seam to join them. Do this to join all the columns together to form your curtain. Trim any excess fabric
to form neat edges. If you're happy with the
width of your curtain, but want to increase the length, flip a column on its side and sew it along
the bottom edge. Remember that you should
have a few extra inches on the top and bottom of the curtain to
allow for hemming. Next, we'll sew a few finishing touches to complete our curtain.
6. Finishing Your Curtain: Finishing your curtain. We're almost done
with our curtain. Now let's finish the edges. If you still have uneven
edges, trim them to be even. To finish the raw edges, we're going to use a
double folded hem. Fold the edge over by a quarter inch and
press it with an iron. Fold it one more time to hide the raw edge, press and pin. Sew along the edge of
the inner fold to stitch it down. Do this for each side. For the bottom of the curtain, I like the look of a wider hem, so I'm using a 1 " fold, but feel free to sew a
narrower hem if you prefer. Decide which side is to be
the top of the curtain and fold it over to create a channel for a curtain rod to go through. One to 2 " is
usually a safe bet. Pin and stitch this edge down. You can now slip
the curtain onto a rod or a cord and
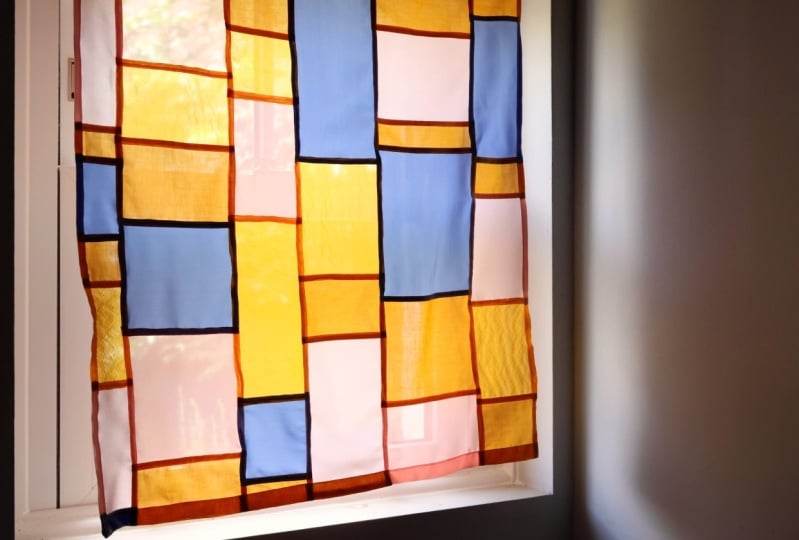
hang it in a window. Your curtain is complete. Don't forget to take a picture
of your finished work and upload it to the project
gallery to inspire others. In the next lesson,
I'll give you some ideas for your
next sewing project.
7. What To Make Next: Congratulations on
completing your curtain. Now that you know how to
make patchwork fabric with flat felt seams, here are a few project
ideas to sew next. Use more opaque fabric
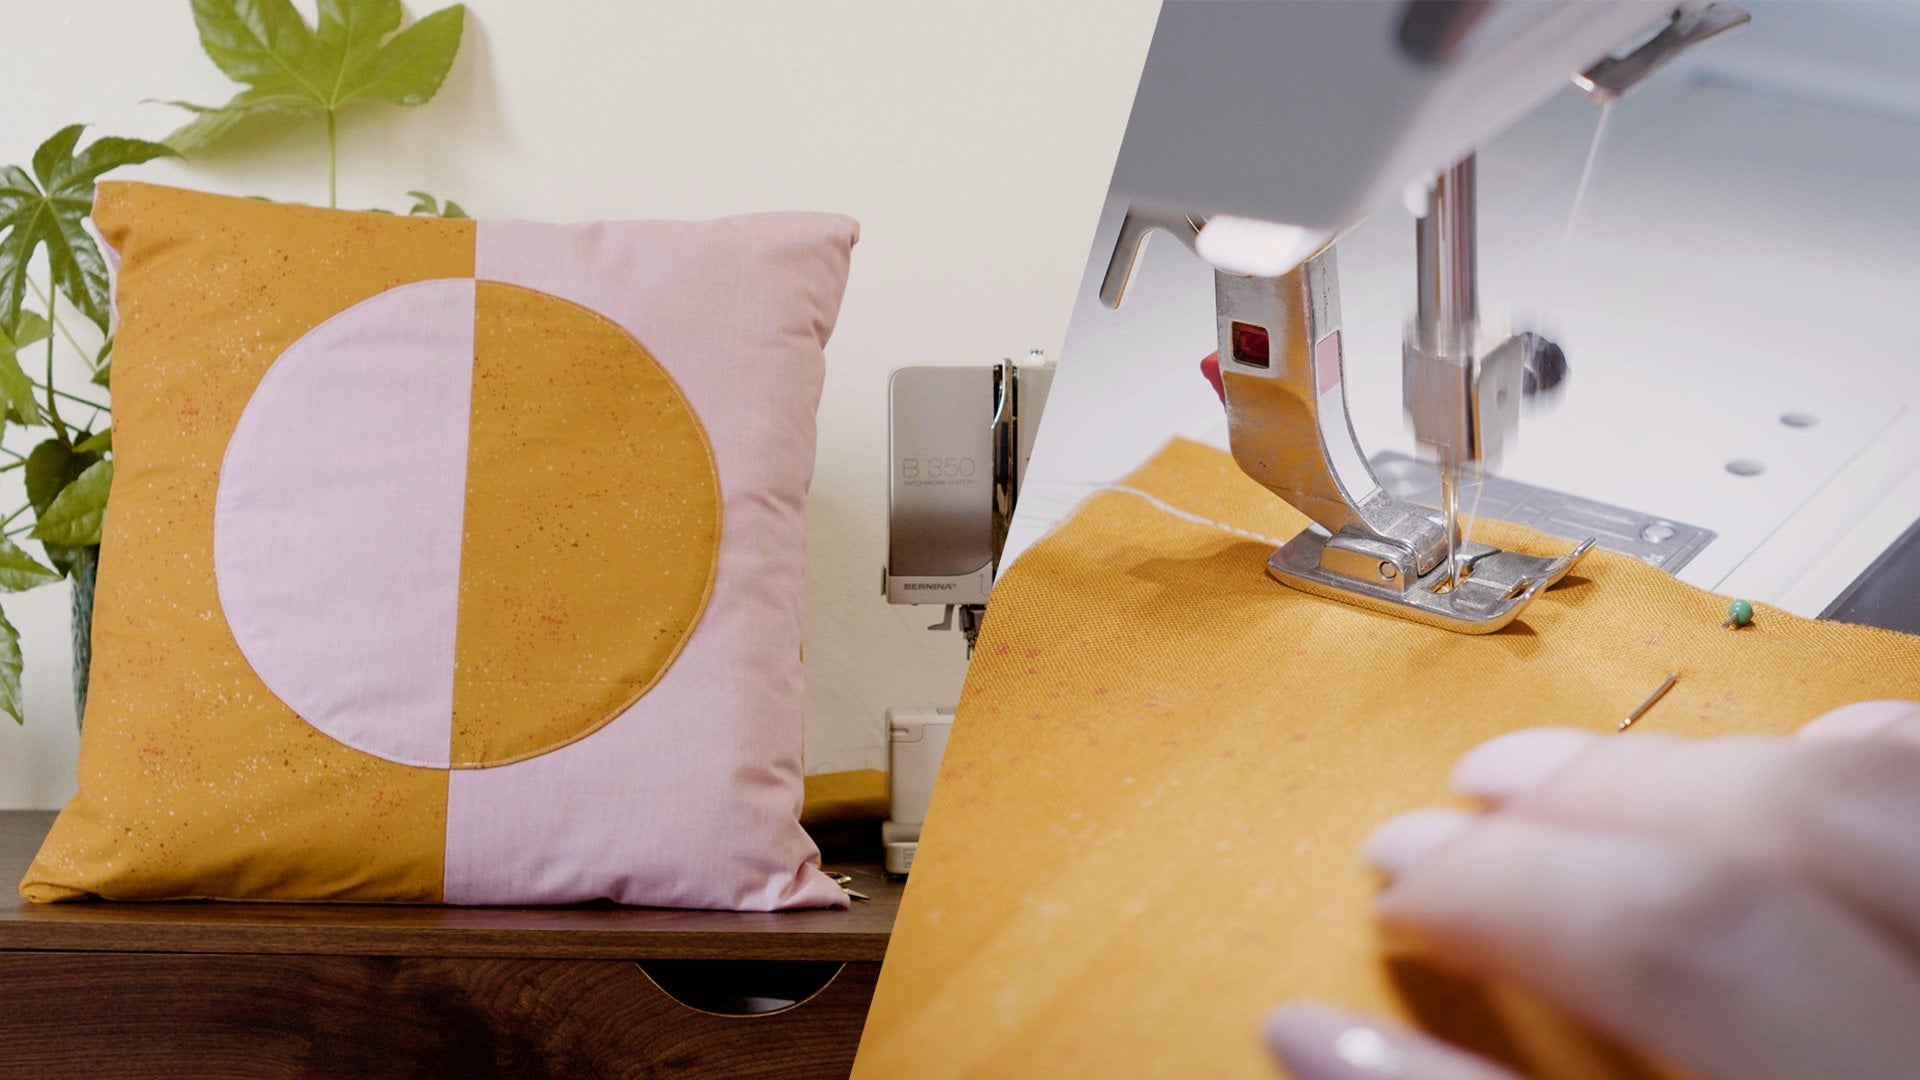
to make a pillow. Take my class, one pillow, seven sewing machine
skills to learn how to make an envelope
style pillow cover. Sandwich two rectangles
of patchwork together to make a throw blanket or
accent piece for a bed. Make a large patchwork piece, and then cut a skirt or other clothing pattern out of it as you would with
regular fabric. Thank you so much for
taking this class. If you found it
helpful or inspiring, I'd love for you
to leave a review to share experience with others. As always, keep in
touch and happy sewing.
 Amy Plante, Multi-Passionate Creative