Digitizing Your Art in Canva
 Matt Reno, Linocut printmaker
Watch this class and thousands more
Watch this class and thousands more
Lessons in This Class
-
-
1.
Uploading Your Art to Canva
0:50
-
2.
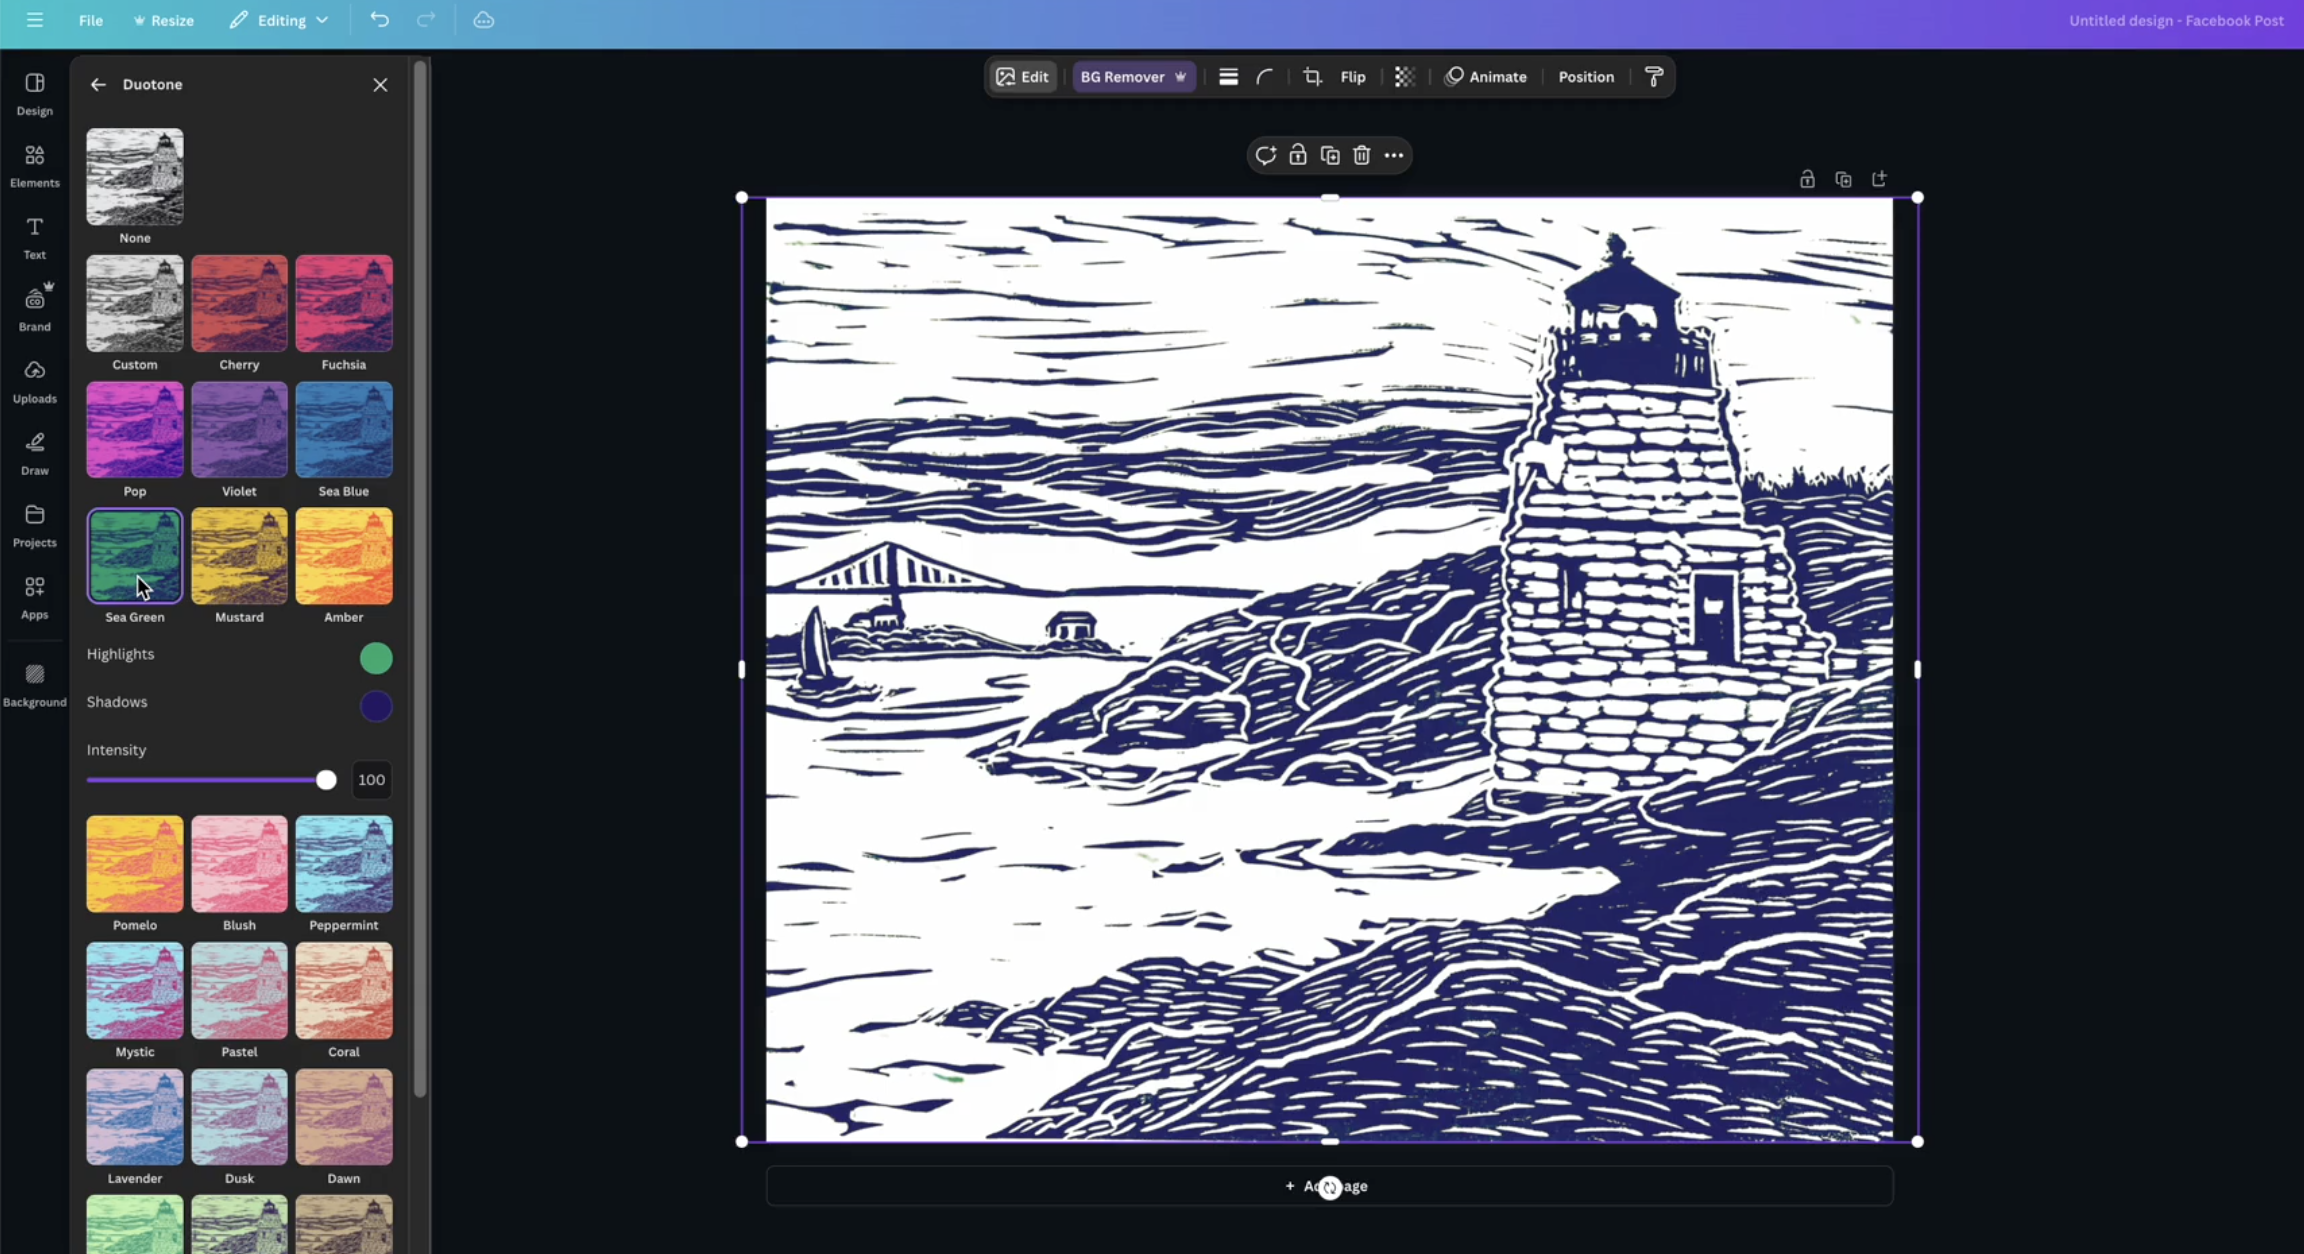
Removing the Background
1:07
-
3.
Adjusting Brightness & Contrast
0:36
-
4.
Recoloring Your Art
0:43
-
5.
Creating Mockups
1:40
-
6.
Exporting Your Final Image
1:09
-
-
- --
- Beginner level
- Intermediate level
- Advanced level
- All levels
Community Generated
The level is determined by a majority opinion of students who have reviewed this class. The teacher's recommendation is shown until at least 5 student responses are collected.
15
Students
1
Project
About This Class
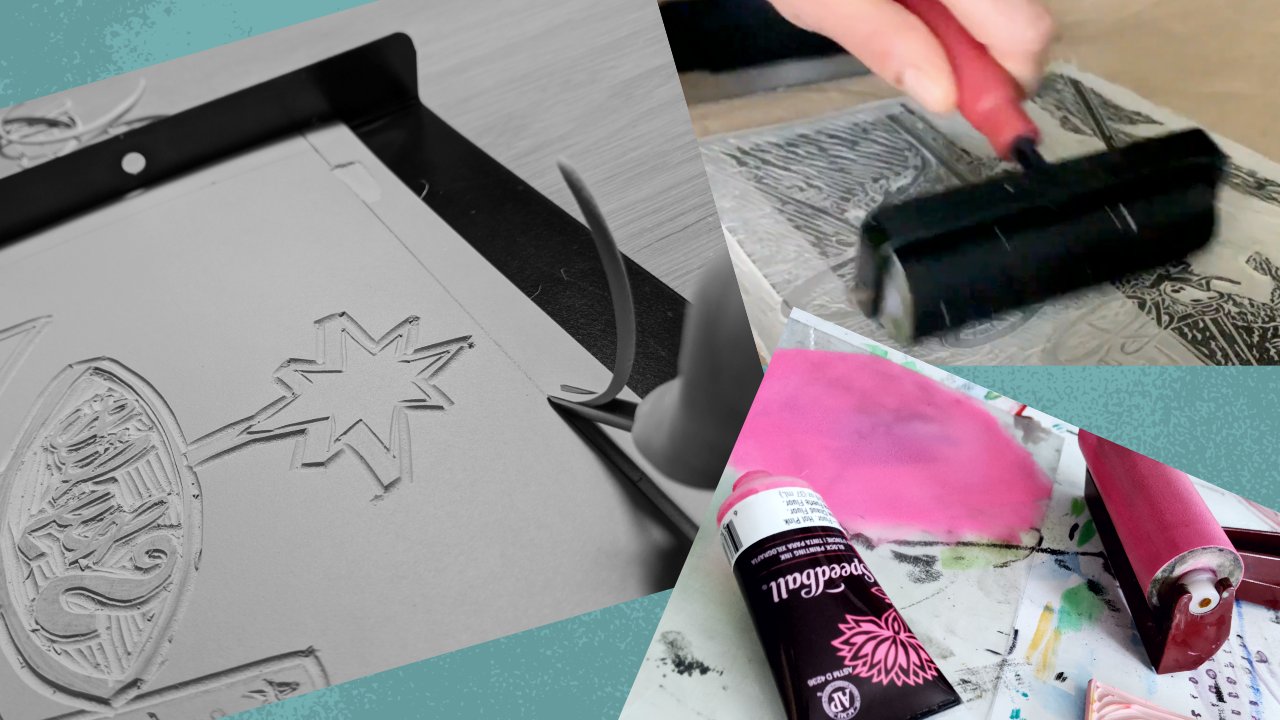
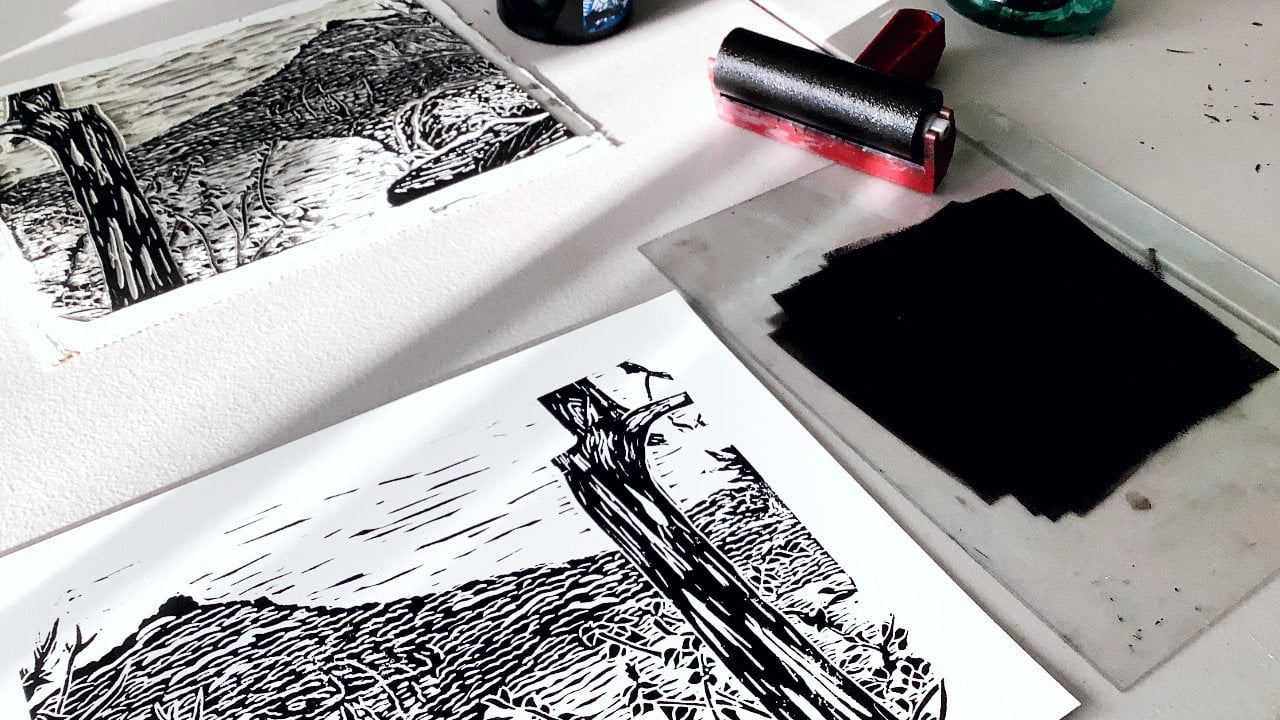
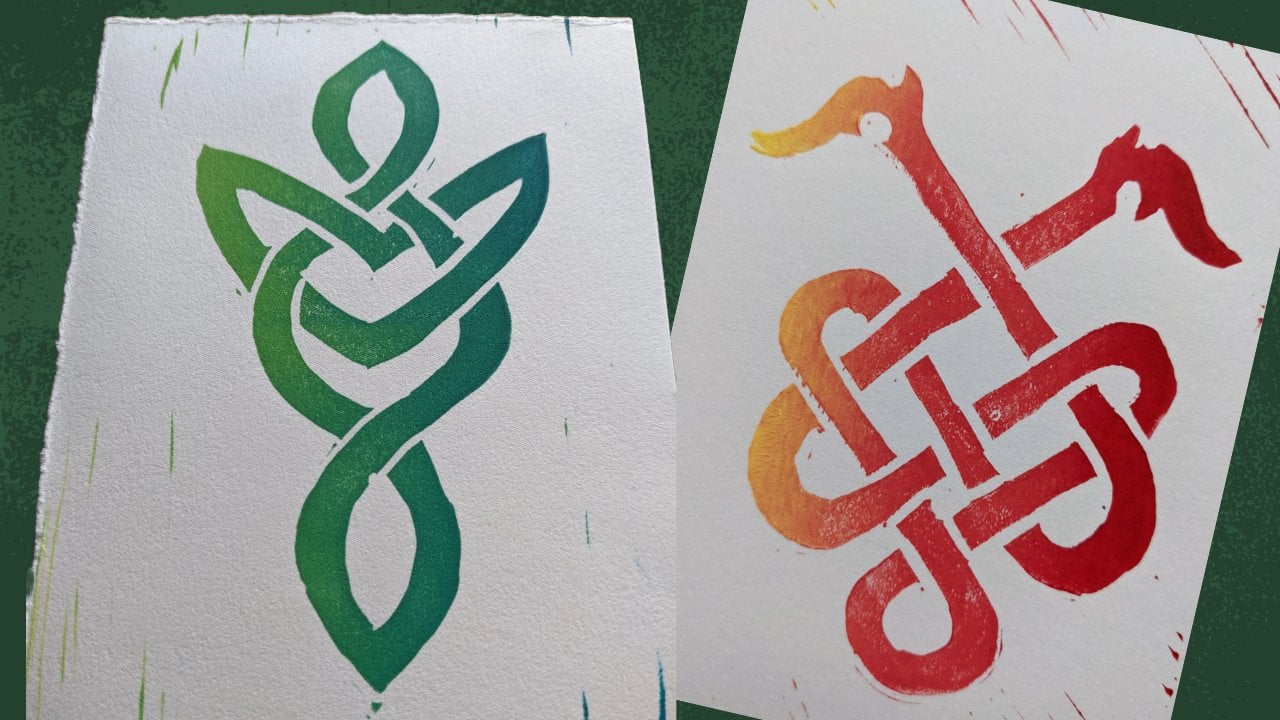
Canva is an easy-to-use tool for creating digital versions of your artwork. You can use Canva to edit images of your physical art and create mockups. In this class, we'll cover the basics of importing your images, removing the background, quickly creating mockups, and exporting your new designs.
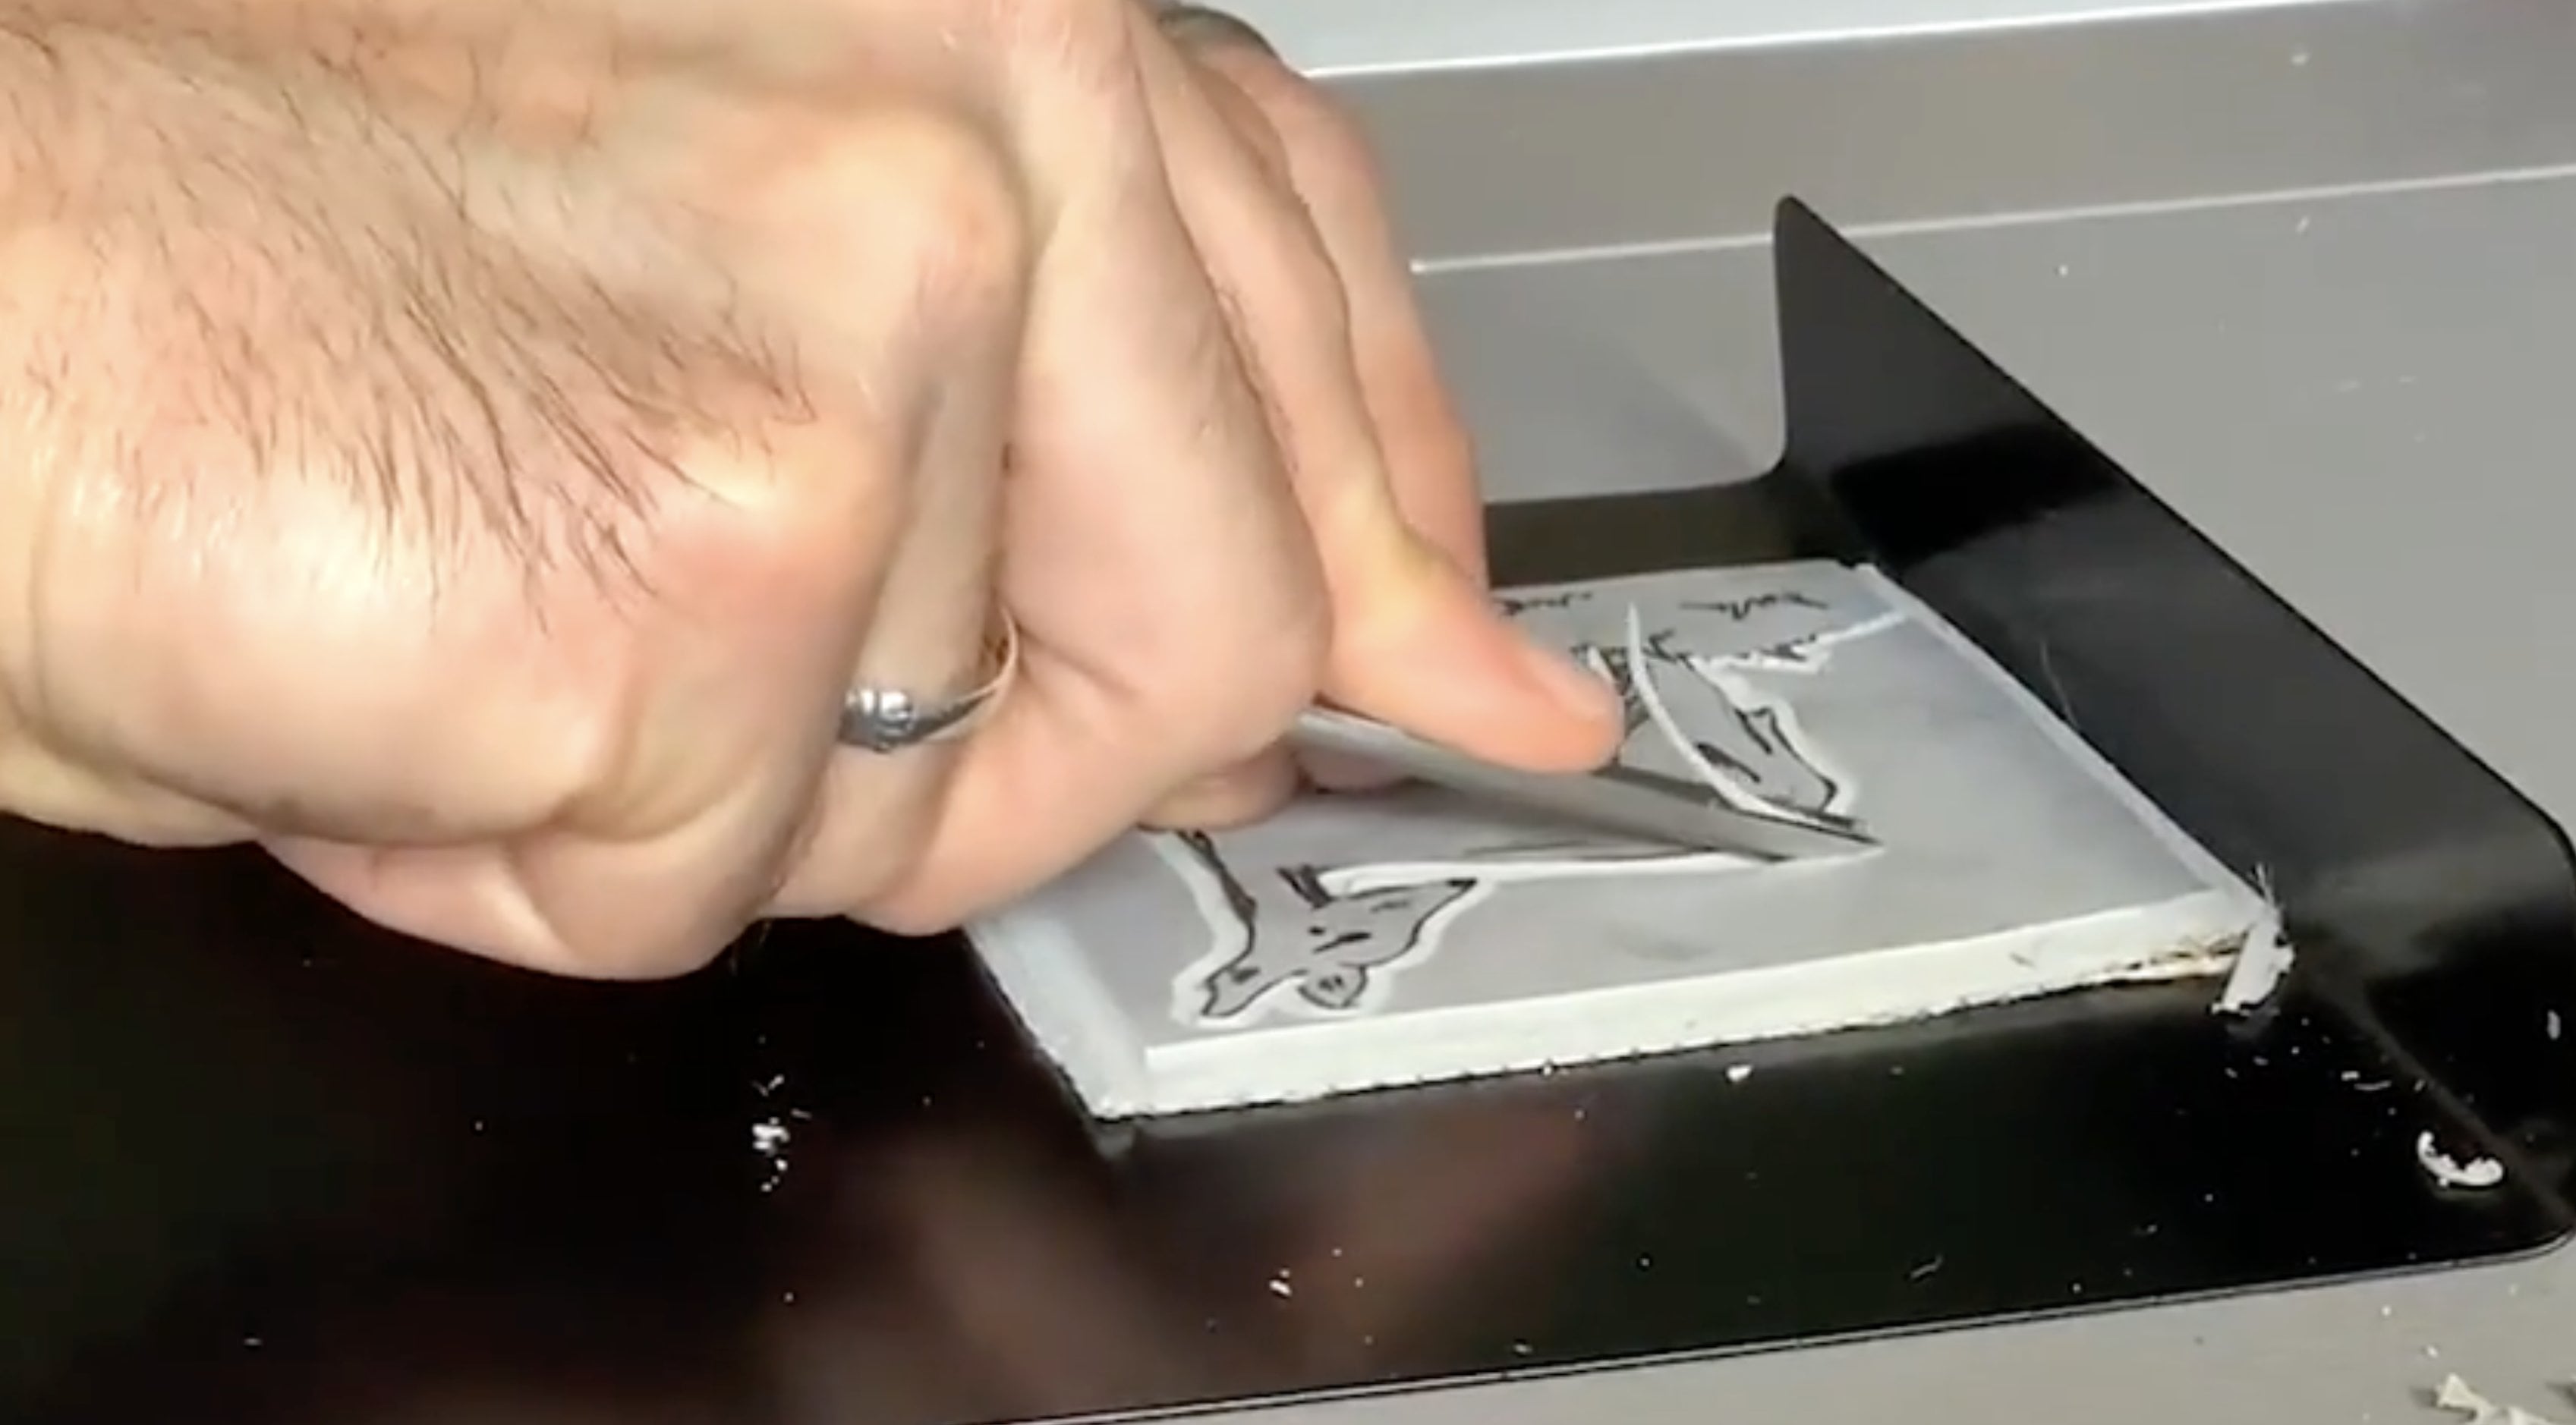
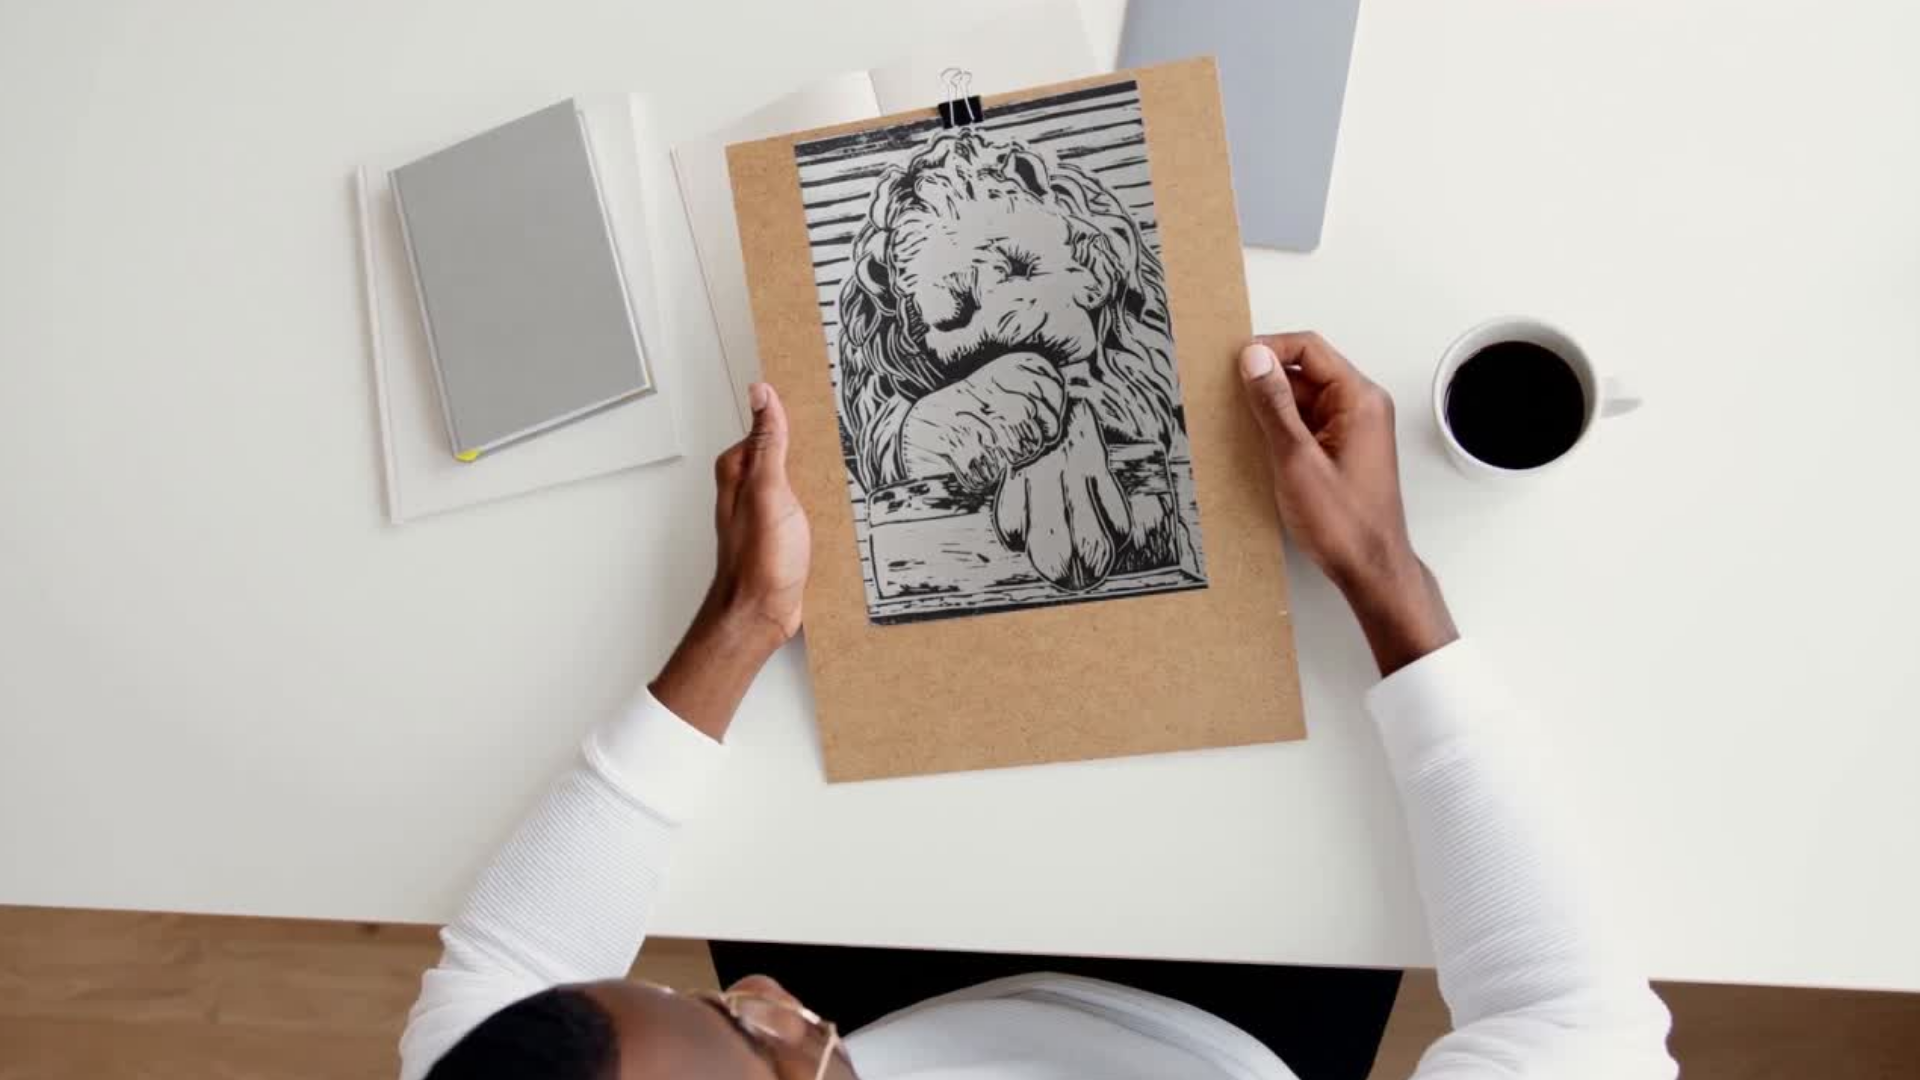
The art used for demonstration is a black and white linocut print. However, you can apply these basic tips to digitizing many forms of physical art.
Meet Your Teacher

I love traveling to new places and capturing those memories through art. That's why most of my prints are of scenic landscapes.
I also love teaching linocut to others. It's a fun art form that anyone can learn. Check out my classes, and let's see what you create!
Hands-on Class Project
Use Canva to create a mockup of your physical artwork, and share it in the class project section.
Class Ratings
Why Join Skillshare?
Take award-winning Skillshare Original Classes
Each class has short lessons, hands-on projects
Your membership supports Skillshare teachers
Learn From Anywhere
Take classes on the go with the Skillshare app. Stream or download to watch on the plane, the subway, or wherever you learn best.


Related Classes