Transcripts
1. Intro: Thanks for taking this
Skillshare class on creating Celtic Knot
Linocut Prints. This style of artists
been to create, enrich with history and meaning. Celtic Knot Art is
characterized by its use of intricate knots and
interlace patterns. But don't let intricate
designs intimidate you. Your Prints can be as simple or as complex as you
want them to be. In this class, we're
going to cover the basics of creating
overlapping patterns. You'll see that once
you learn the process, making Celtic knots is
not that difficult. After learning the
basic process, you'll be free to
continue practicing and making your designs more
complex if you choose. Before watching this class, make sure you've
watched my intro to Linocut Printmaking
glass so that you're familiar
with how to carve a block and how to
print it onto paper. Your project is, of course, to create a piece
of Celtic Knot Art. I'd love to see you
create a linocut print. But if all you want
to do is learn how to draw a Celtic knot,
that's totally fine. After you create
your Art, please share pictures and the
class project section. I can't wait to
see what you make
2. History: Before we start making our nots, Let's briefly cover some
Celtic Knot history. Your form is believed
to have originated in Ireland and the
sixth century AD, and it quickly spread to
other Celtic cultures, such as Scotland,
Wales, and coronal. Celtic Knot Art is often
used in religious contexts, and it can be found on
objects such as manuscripts, stone crosses, and metalwork. The knots are often
used to represent Christian symbols such as the
Trinity or the crucifixion. Other knots are believed to
have more secular meetings, such as protection,
strength, or love. It can be found on
objects such as jewellery, furniture,
and clothing. It's also popular in
the tattoo world. In fact, I have to
Celtic tattoos. Celtic Knot Art is a
beautiful and enduring form of Art that has been
enjoyed for centuries. It's a testament to the
creativity and skill of the Celtic people and it
continues to be popular today. Now let's get to work on
your own Celtic Knot Art
3. Materials: For your class project, you'll need graph paper, a pencil, and a pen for drawing the initial sketch
of Your Celtic Knot. I like using Micron
pens for inky. You'll also need an eraser
for once the Image is inked. To Transfer Your
Image to the Block, you'll need tracing paper
to create the Print. You'll need basic Linocut
Printmaking materials. First, Block, if you're a beginner or if you're quickly
making a smaller Stamp, speed balls, speedy
carved blocks are great. If you're making a larger
or more intricate piece, I recommend Blick battleship
gray linoleum blocks. You'll need cutters
for carving the Block. Again for beginners, speed balls cutters
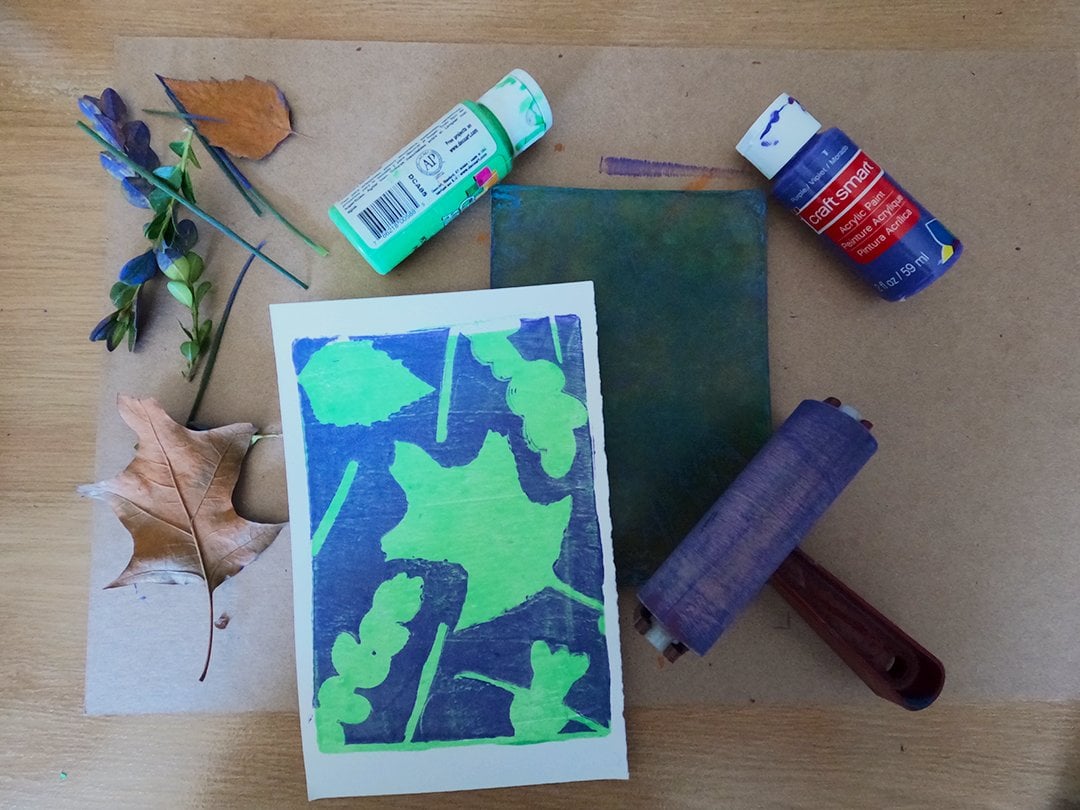
will work just fine. You'll need Printmaking, ink, Hanna's surface, you
can spread the income. Make sure it's water-soluble. If you're doing this
at home, the cleanup will be easier than
with oil-based. You should have a brayer for applying the ink to the Block. Of course, you
will need paper or fabric or whatever you're
pressing the image onto. A barren is good tool for transferring the Image
to the final surface. But if you don't have one, a
large spoon will work well. That's it. Let's get started on
drawing Your Celtic gods.
4. Drawing Basics: Okay, let's start with
the basics of drawing. You're not, you're
gonna wanna use graph paper to keep
everything symmetrical. So start by making some dots, going in a straight line, skipping one square each
time I make this line, then I'm going to make another line perpendicular
to that one. Okay? This is very basic. But now that I've got
these two straight lines, when he's my ruler and just
draw a line on either side, one square away from the dots. That's gonna give it
a uniform thickness. And we're gonna do the same
with the perpendicular dots. Alright, now I have
this basic cross. I'm going to darken one
side of where it overlaps. And now with my pen, I'm gonna go over those lines. But when I make the
perpendicular one, I'm not going to draw over
the line I've already done. I'll erase the dots. Now I've got this
basic crisscross where one line is going
over the other one. Now let's apply
that to something a little bit more complex. But it's got the
same principles. You're using the squares on the grid to make sure
that the distance between certain points is the same and that everything is symmetrical on both sides of your design. Since we're now
making curved lines instead of straight ones. All that means is the
dots are going in opposite diagonal directions and then come back
towards each other. They're going to cross how the designs curve
where they overlap. That's all up to you. The most important thing is counting the dots
and putting them in the right position so
that there'll be the same on both sides of your Knot. Once you have all
the dots in place, go ahead and connect them. That's going to
make it easier to see where you need to
thicken the lines. And it will give you a better
idea of whether you've placed the dots in the right position to keep
the design symmetrical. Now that we have the
basic line drawn out, we're going to want
to thicken it. Working with curved
lines is not as straightforward as working
with straight lines. So you're going to
have to pay attention as you're thickening
these lines to make sure that they do have equal
thickness on both sides. It doesn't come out
perfect. Don't worry. You have a few more steps where
you can make corrections, such as when you're
inking it with a pen or when you're
carving it onto your Block. Now that you've
thickened both sides, it's time to decide where the
overlaps are going to be. Most important thing about that, as no matter where you start, you have to continue the pattern throughout
the entire design. So start at any point by thickening two
sides of the line, then thicken in the opposite
direction for the next, you're always going
to want to go over, then under, then over and
under and keep repeating that. Follow the entire design
all the way around. And you'll see there are only
three overlaps in this one. So it's pretty
simple to go over, under and over again. More overlaps you
have in the design, the trickier it's going to be. So you want to pay
close attention when you're creating those overlaps. Now I'm using my pen to
thicken the outside lines, paying attention to
where I've created overlaps and making sure I don't cross those
in the wrong places. There you have a simple knot with three overlapping sections.
5. Drawing Your Celtic Knot: Now let's put what
we've learned into another Celtic knot and go
through the entire process, some drawing followed by
carving and printing. Right now I'm starting by
tracing the outline of the block I'll be using so that I know the design will
be the right size. I'm also going to make margins
all around so that I don't accidentally placed the design too close to the
edge of the block. I'll draw a line straight
down the middle so I know where the center of the
design will always be. This is going to
help keep it more symmetrical and it makes it easier to count squares from
the center of the design. Nadh is going to
be a little more complex than the last one. So I'm taking it just
one section at a time. Once I'm confident that I've positioned all the dots
in the right place. I'll go ahead and connect them before moving on to
the next section. Now that I've finished
the main portion of the not an adding another piece to
it that's going to overlap the lines
I've already done. You can add as many
pieces as you want depending on how complex
you want your design to be. Now that I've plotted all
the dots and connected them, it's time to thicken the lines. I'm going to work all the
way around every piece of this line trying to
keep an equal distance on both sides of
the connected dots. How thick you want
these lines to be as completely up to you, just don't make them so thick that lines are bumping
into each other and not creating the negative space needed for a successful
Celtic knot. Yeah. Now I'll find my first overlap
and thicken the lines on one side and then go
around the entire design, keeping the over, under pattern. Once I've mapped out
the overlaps and check them to make sure
that the pattern is intact. I'll go over the entire
design with my ink pen, making sure the
overlaps stay intact. Once I've linked
the entire design, it's ready to transfer
to the block for carbon
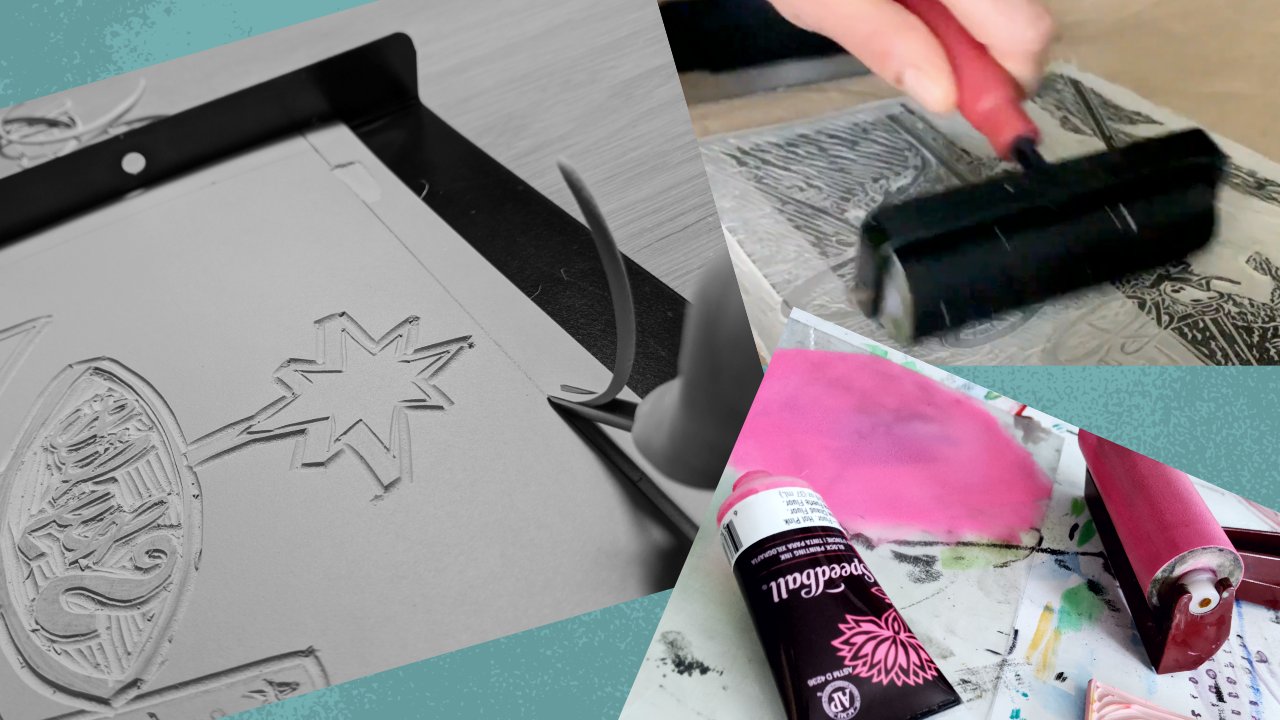
6. Transferring the Image to the Block: We've gone through this process before in previous videos, but just as a refresher, here's the trick
for transferring a drawing to a block
before you carve it. First, put a piece of
tracing paper down and use an ink pen to go over
your entire design. Once you have an ink
drawing on tracing paper, take a pencil and scribble
over the entire drawing. Next, take your tracing
block and place the tracing paper
on top of it with a scribbled pencil side down. Now take your pencil and
go over the design again. What you're doing
here is pressing the pencil onto the Block
into a mirror image. That's especially
important if you're design happens to not be
perfectly symmetrical. That way you don't have
to draw things backwards. You can press the
image onto the Block backwards so that when you
carve it and print it, it will come out in
the right direction. Now are knot is pressed onto the Block but not
perfectly clear. And that's going to happen with softer blocks like this
speed ball speedy car. So all you have to do is redraw
it in a way that's clear
7. Carving the Block: Now we're ready to carve. The important thing
about working in this Celtic Knot
style when you're carving is to make sure you're following the overlaps
very carefully. To create the illusion
of dimension, cut along the lines that
go over the other ones. This will make more
sense once it's printed. A cutting into those underlying. We'll create more of
an illusion of overlap
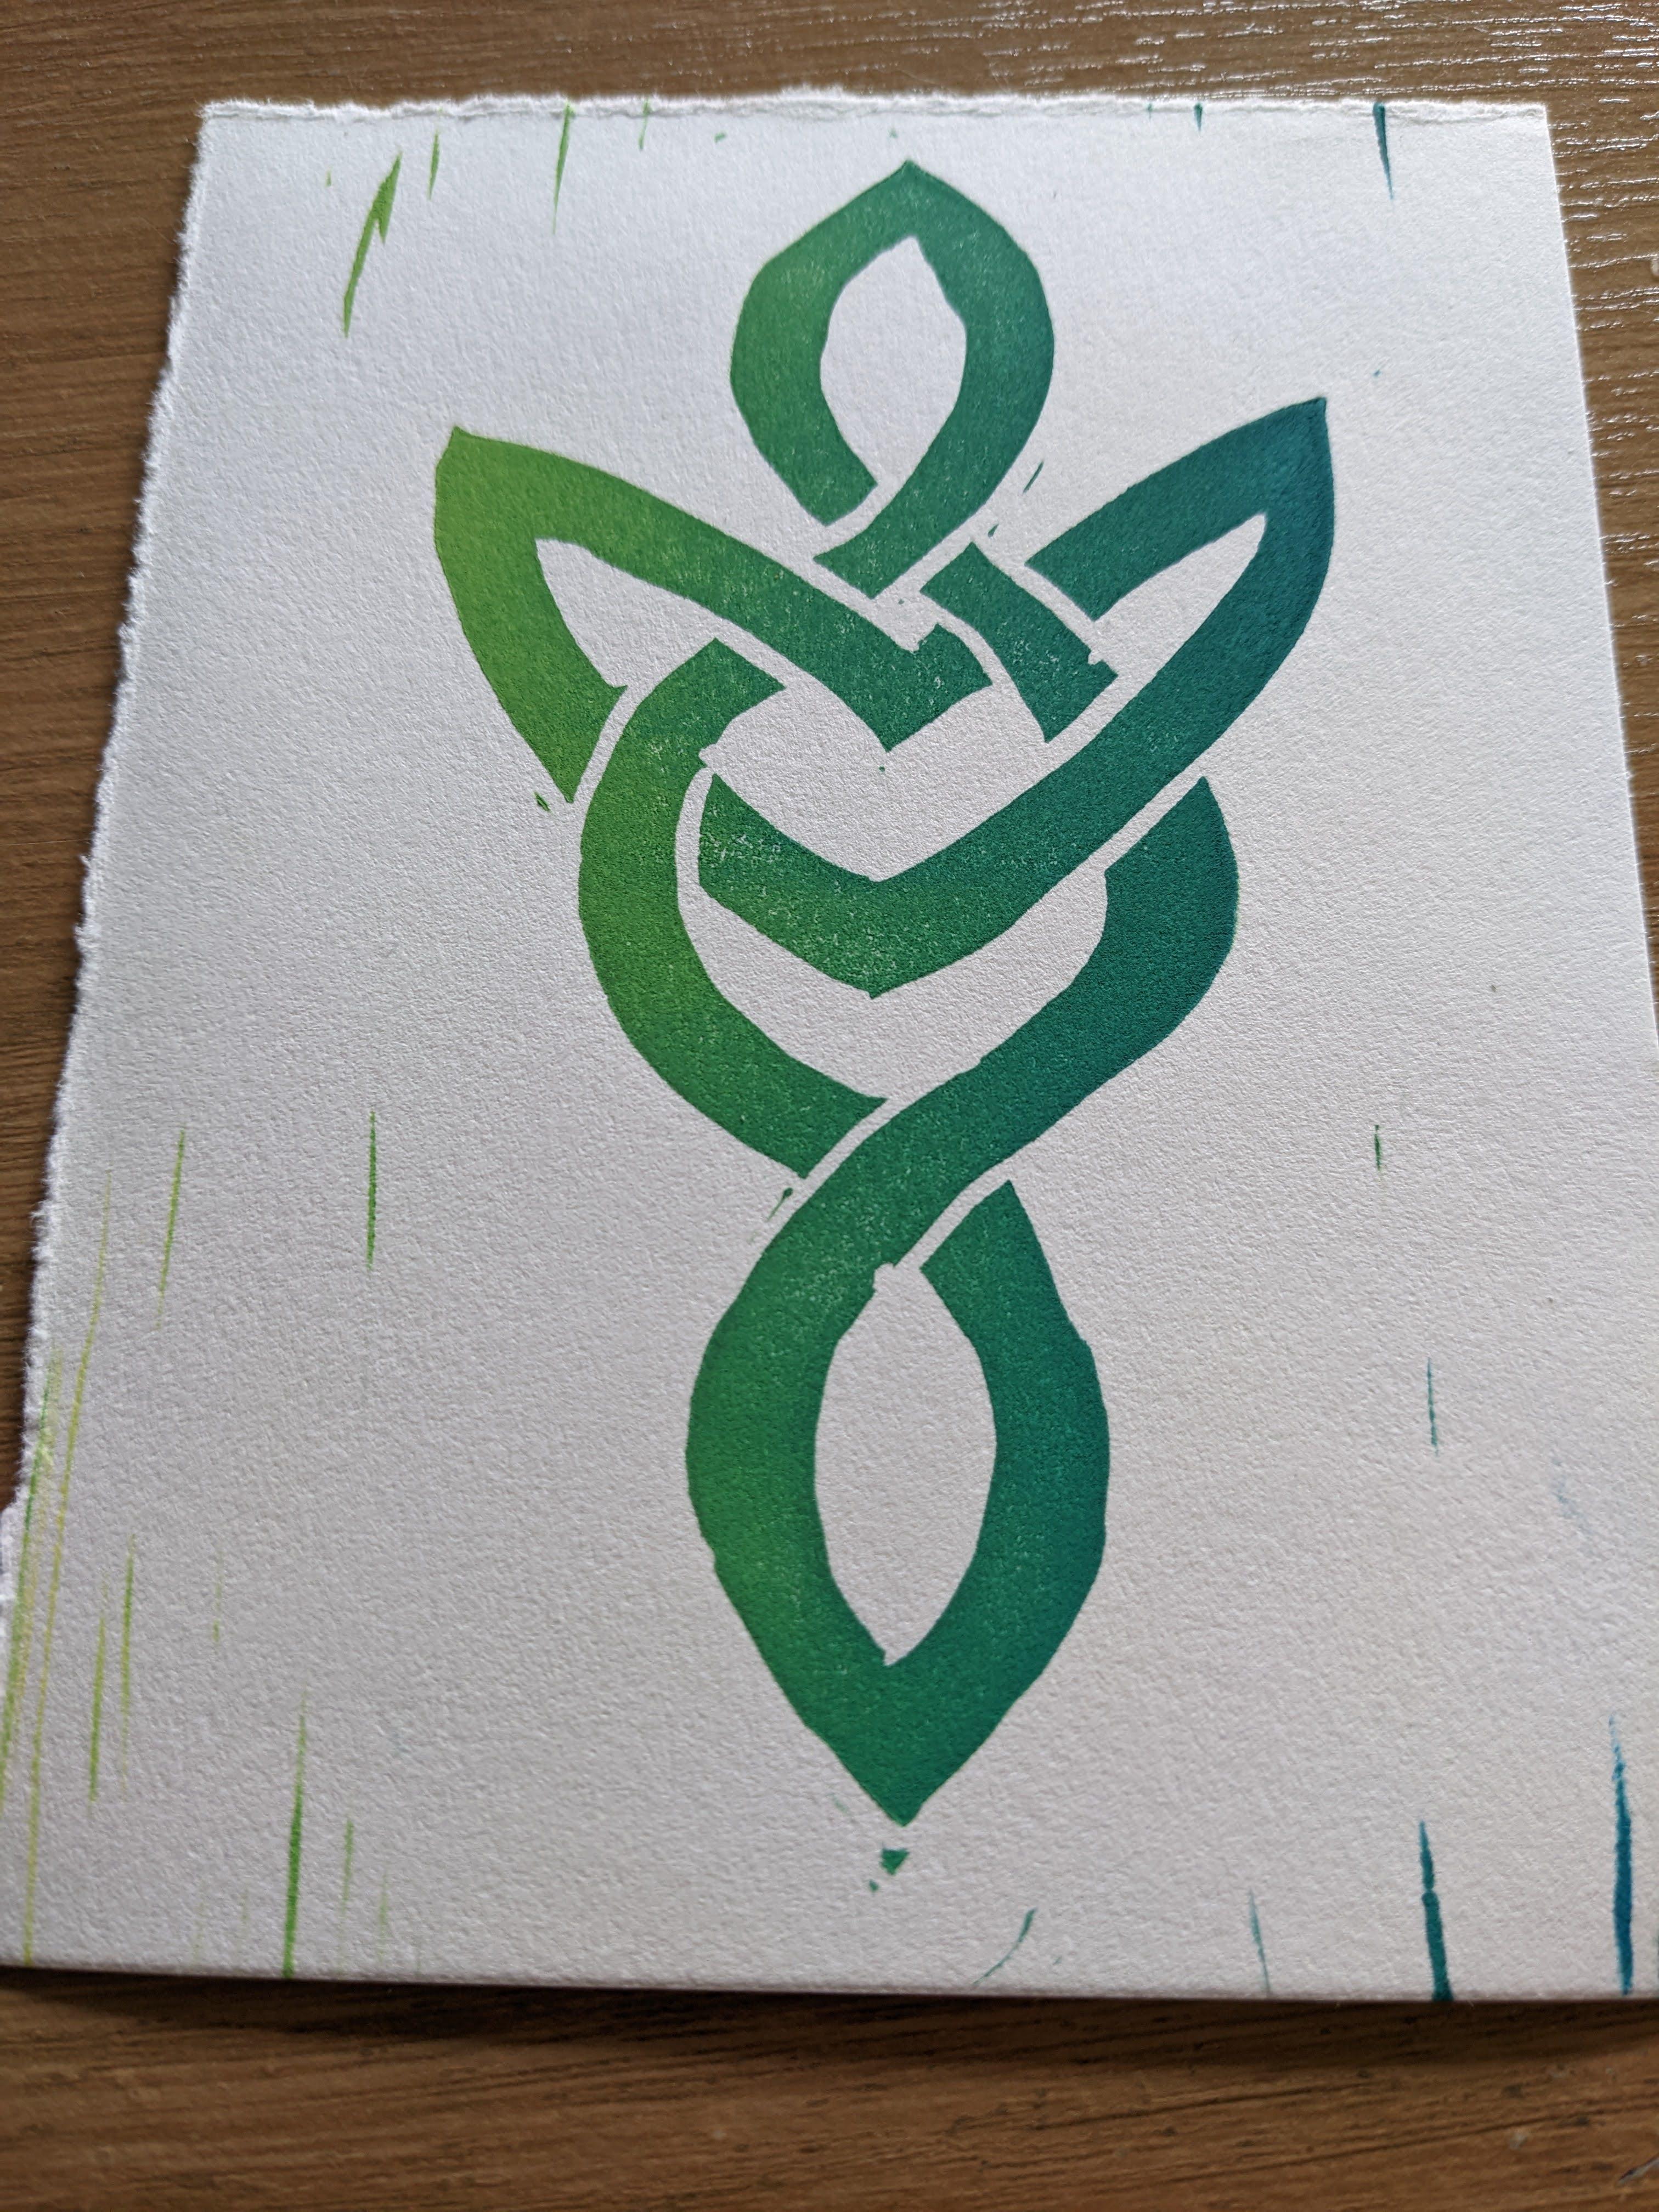
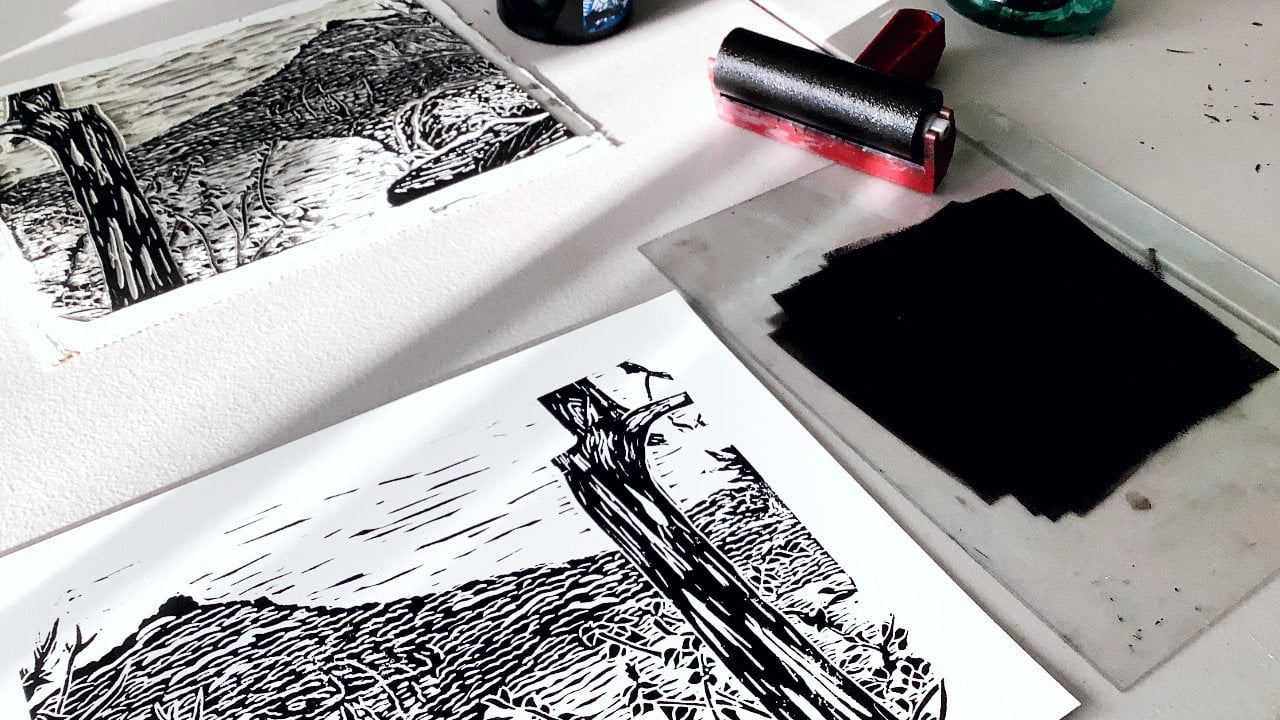
8. Printing Your Image: Now it's time to print. I'm going to print
this one in green, so I'm using yellow
and blue ink, rolling it out on a piece of plastic before I apply
it to the Block. Once I feel I've
mixed the two colors into the green that I want. It's ready to carefully place my paper on top of the Block and roll it
out with a barren. If you don't have a barren, a spoon will be just fine.
9. Printing Additional Elements: The knot we made here was
fairly small and simple, but we don't have to stop there. Cool thing about Celtic
knots as they can be, as complex and intricate
as you want them to be. Just to show an example
of doing a little extra, Ive carved out some
corner pieces. These braids are going
along the side of the Block and creating some interesting
overlap in the corners. And I'm going to put
the previous design we made right in
the middle of it. Because I've kept the
elements separate. We can do different colors. So I'm going to
start with green, but that's going to be
for the corner braids. Now to change it
up with one color that we'll contrast that green. I'm going to roll our
original celtic knot in pink. Any colors you want to use on your knots as
perfectly acceptable. You can keep it all
the same color. You can use different ones. You can use different
coloring techniques such as gradients or reduction. For ideas on different ways of adding color to your Prints. You can check out my
earlier skillshare class, multicolor madness. The paper on top. Rubber
the buret or spoon. Up. Here we are to color Prints
10. Wrapup: Thanks again for
taking this class. I hope you've enjoyed
learning how to draw and print Celtic knots. Once you get the hang
of the basic process, you can use your imagination to create all kinds of Knot work. Please share your creations in the class project
section and feel free to ask me any
questions you might have. I'm always happy to help. You can see more of my
linocut Prints and find links to all my Skillshare
classes at matt reno.com. Enjoy your journey
into Celtic Art.
 Matt Reno, Linocut printmaker