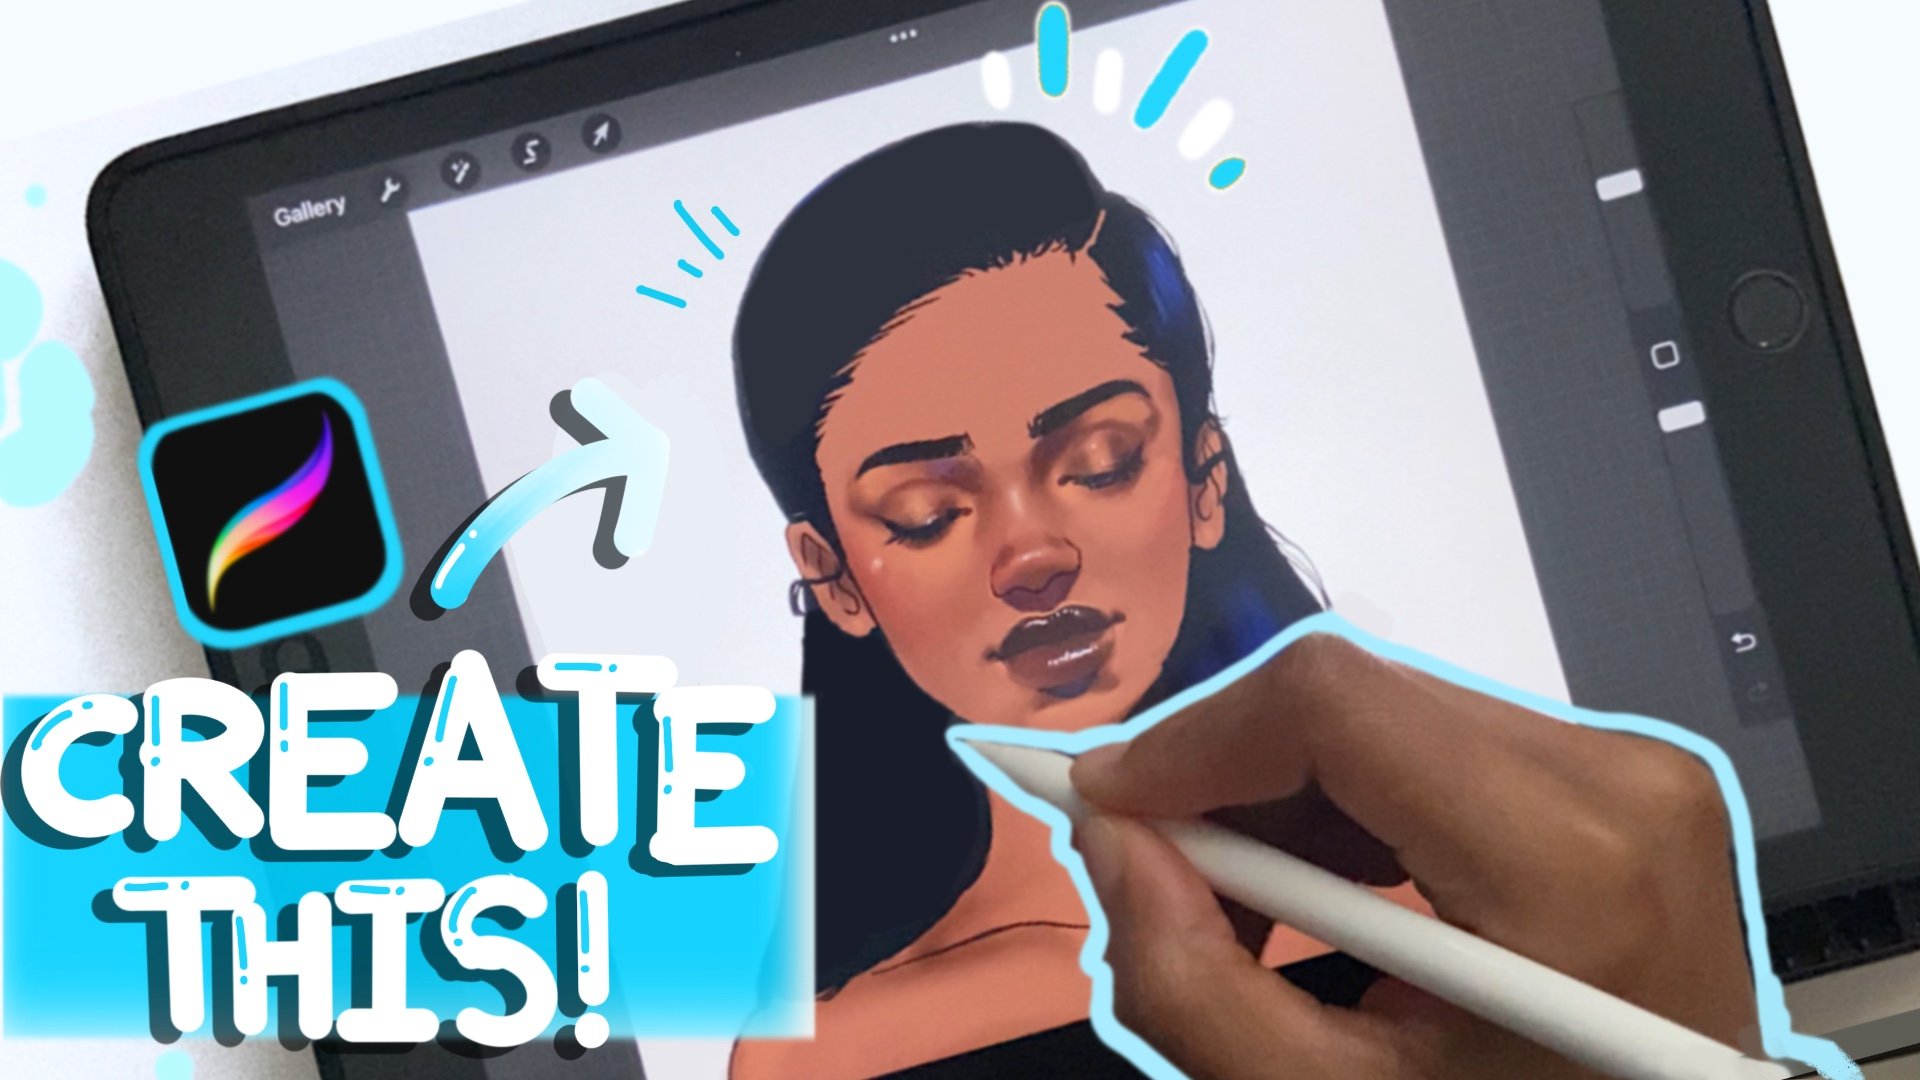
Digital Painting: How to Color Hair in Procreate Using Clipping Mask
 Lakena G., Digital/Traditional Artist
Watch this class and thousands more
Watch this class and thousands more
Lessons in This Class
-
-
1.
Introduction
0:17
-
2.
Shapes and Color with Clipping Mask
2:26
-
3.
Details and Accessories
3:01
-
-
- --
- Beginner level
- Intermediate level
- Advanced level
- All levels
Community Generated
The level is determined by a majority opinion of students who have reviewed this class. The teacher's recommendation is shown until at least 5 student responses are collected.
68
Students
2
Projects
About This Class
Ready to make cute hairstyles using a gradient effect?
In this bite sized class, I will show you how to paint hair using a gradient effect with default brushes in Procreate in less than 10 minutes. You’ll learn my process of painting hair using shapes and a simple shading style. This is an easy method to start painting hairstyles for your characters.
WHO IS THIS CLASS FOR?
This class is advanced beginners but will also help artists who have trouble with painting hairstyles in a minimal style.
WHAT YOU WILL NEED:
Supplies you will need for class project:
- Procreate … Any digital art App
- iPad/ Drawing Tablet
WHAT YOU WILL LEARN:
- Easy Painting Style using a clipping mask
- How to simplify hair shapes and form
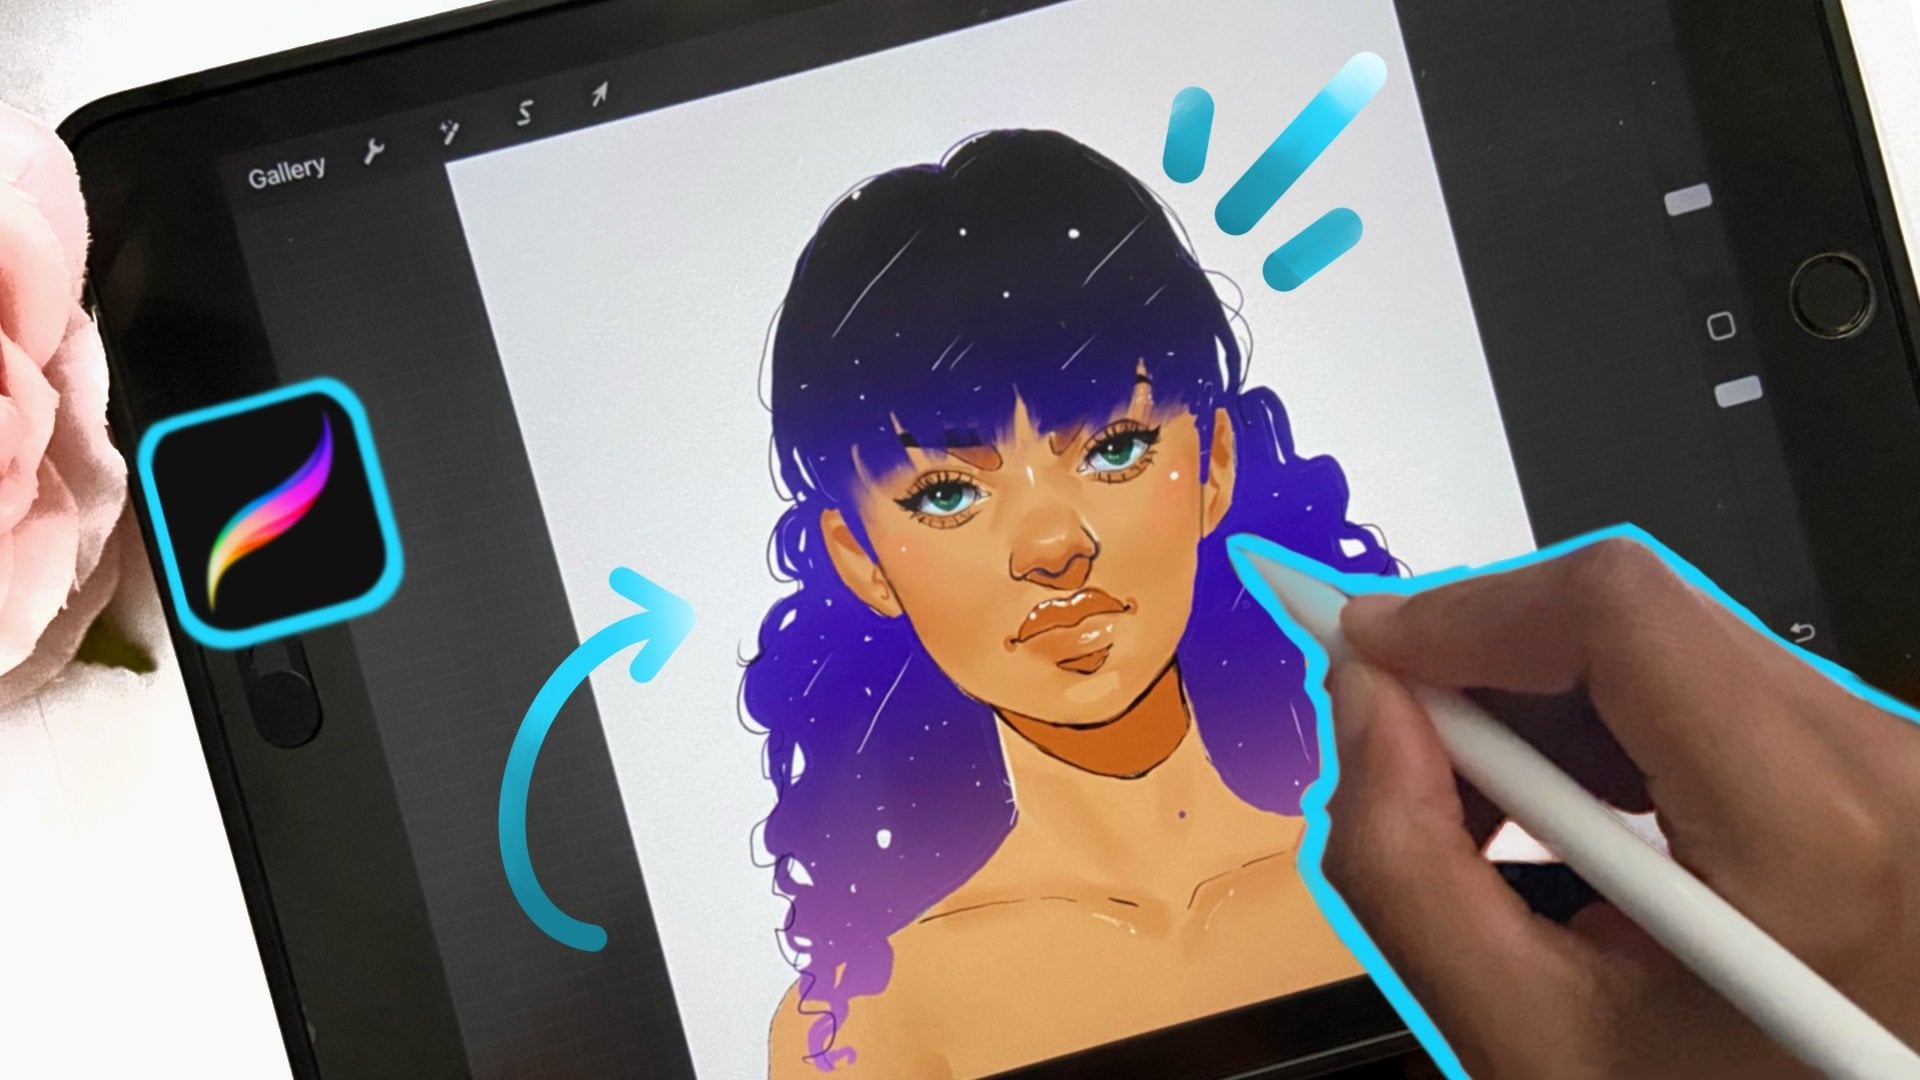
- How to effectively paint hair using gradients
- How to draw semi realistic looking hair in minimal style
Let’s Connect: Follow My Socials

Hands-on Class Project
For this project I would like you to draw the hairstyle I drew in class.
If you like more formal or casual styles you can add different accessories or change up the style of her bangs.
- Draw the Shapes
- Fill in the color
- Shade using a clipping mask
- Use the practice worksheet available
Please Leave a Review and I can’t wait to see your projects!
See attached Template Below


Class Ratings
Why Join Skillshare?
Take award-winning Skillshare Original Classes
Each class has short lessons, hands-on projects
Your membership supports Skillshare teachers
Learn From Anywhere
Take classes on the go with the Skillshare app. Stream or download to watch on the plane, the subway, or wherever you learn best.