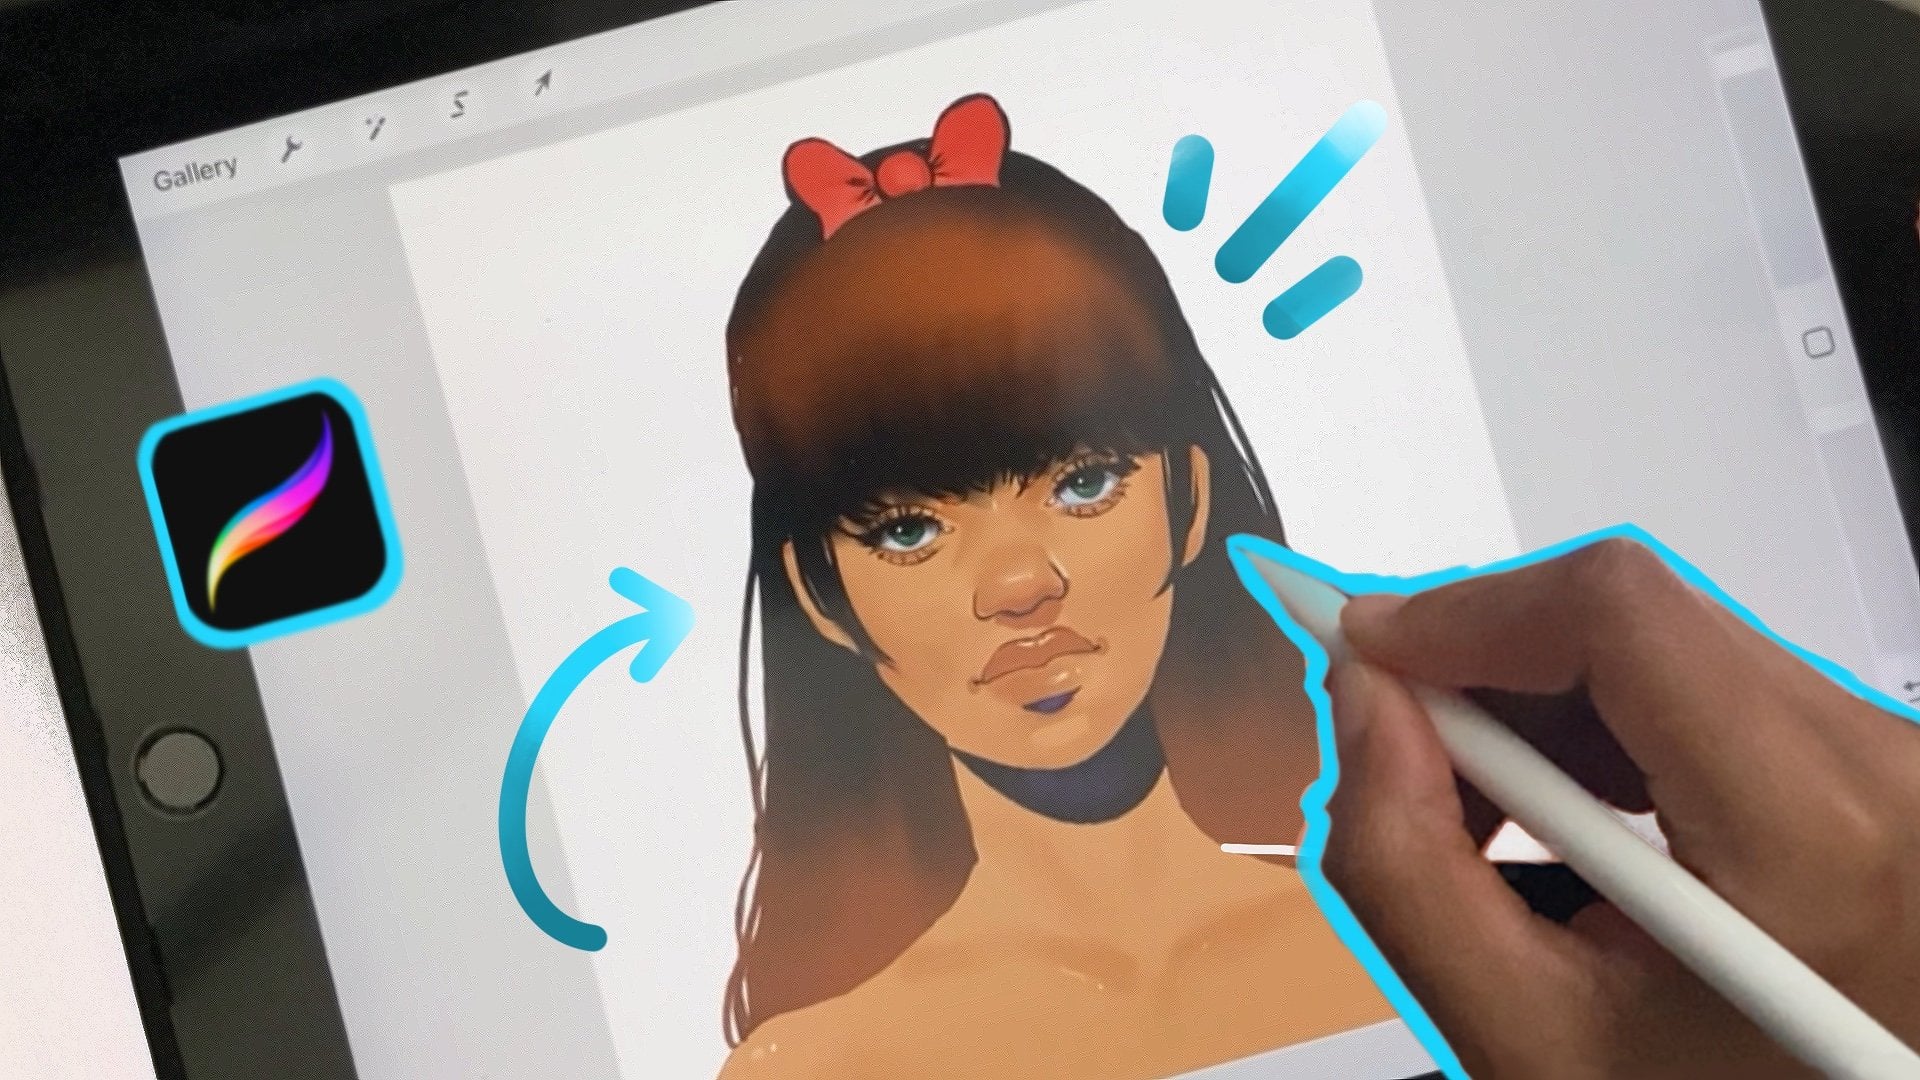
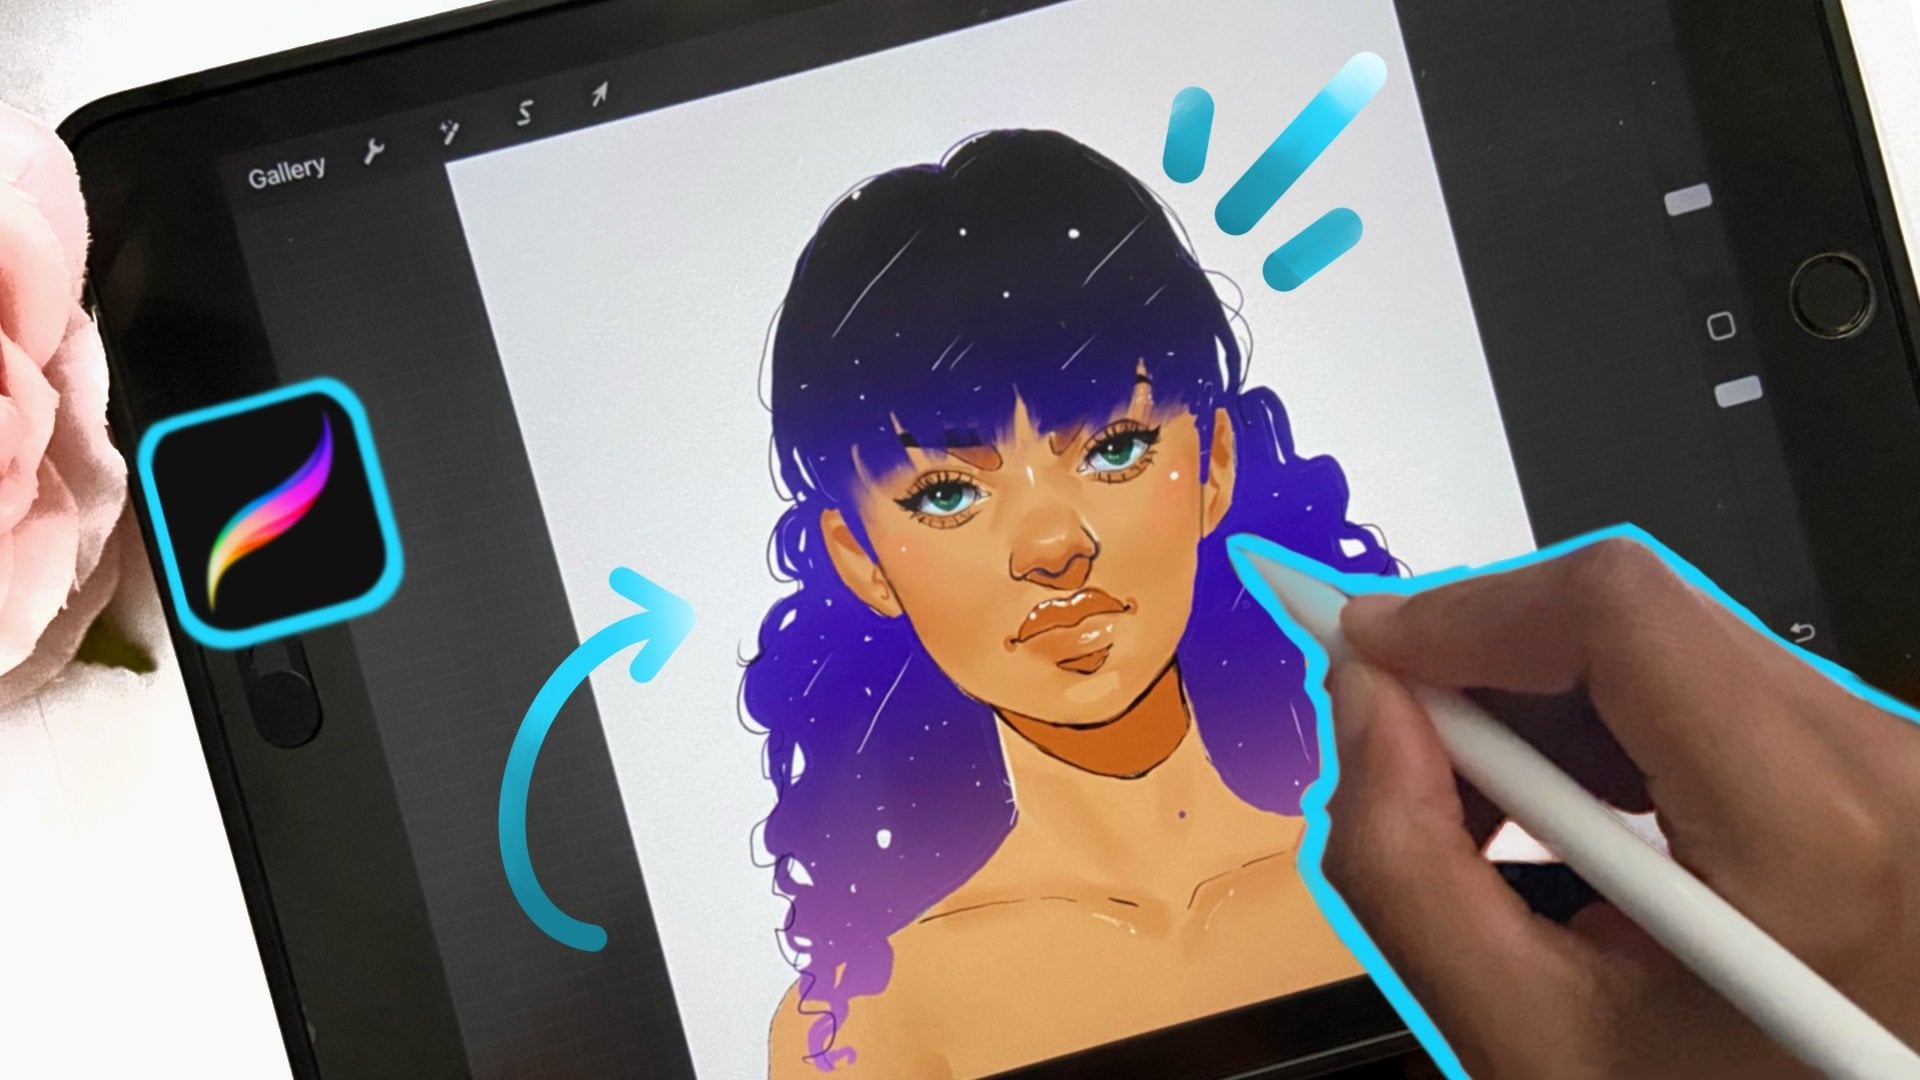
Digital Painting in Procreate: A Technique to Color Hair
 Lakena G., Digital/Traditional Artist
Watch this class and thousands more
Watch this class and thousands more
Lessons in This Class
-
-
1.
Introduction
0:40
-
2.
Class Project/Materials
0:32
-
3.
Create Shapes
1:47
-
4.
Color and Highlights
1:40
-
5.
Adding Details
1:06
-
6.
Art Tip: Change Hair Colors
0:41
-
7.
Final Thoughts
0:39
-
-
- --
- Beginner level
- Intermediate level
- Advanced level
- All levels
Community Generated
The level is determined by a majority opinion of students who have reviewed this class. The teacher's recommendation is shown until at least 5 student responses are collected.
78
Students
1
Project
About This Class
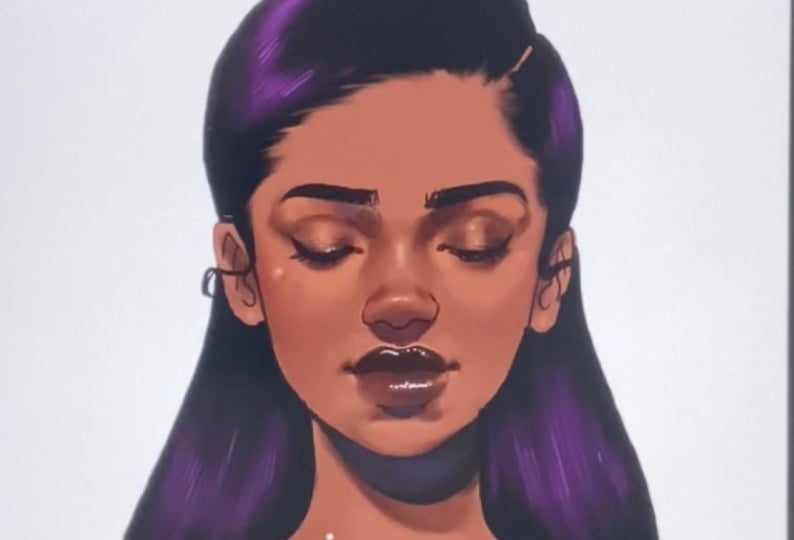
Ready to make cute hairstyles using this easy method?
In this bite sized class, I will show you how to paint hair in three easy steps using default brushes in Procreate. You’ll learn my process of painting hair using shapes and simple shading techniques/approaches. This is an easy method to painting hairstyles for your characters.
WHO IS THIS CLASS FOR?
This class is geared toward beginners but will also help artists who have trouble with painting hairstyles semi-realistically and want to learn which brushes in Procreate to use while painting hair.
WHAT YOU WILL NEED:
Supplies you will need for the class project:
- Procreate … Any Art App
- Drawing Tablet / iPad / Apple Pencil
- Figure Base Template
WHAT YOU WILL LEARN:
- Easy Painting Style for any hairstyle
- How to simplify hair shapes and form
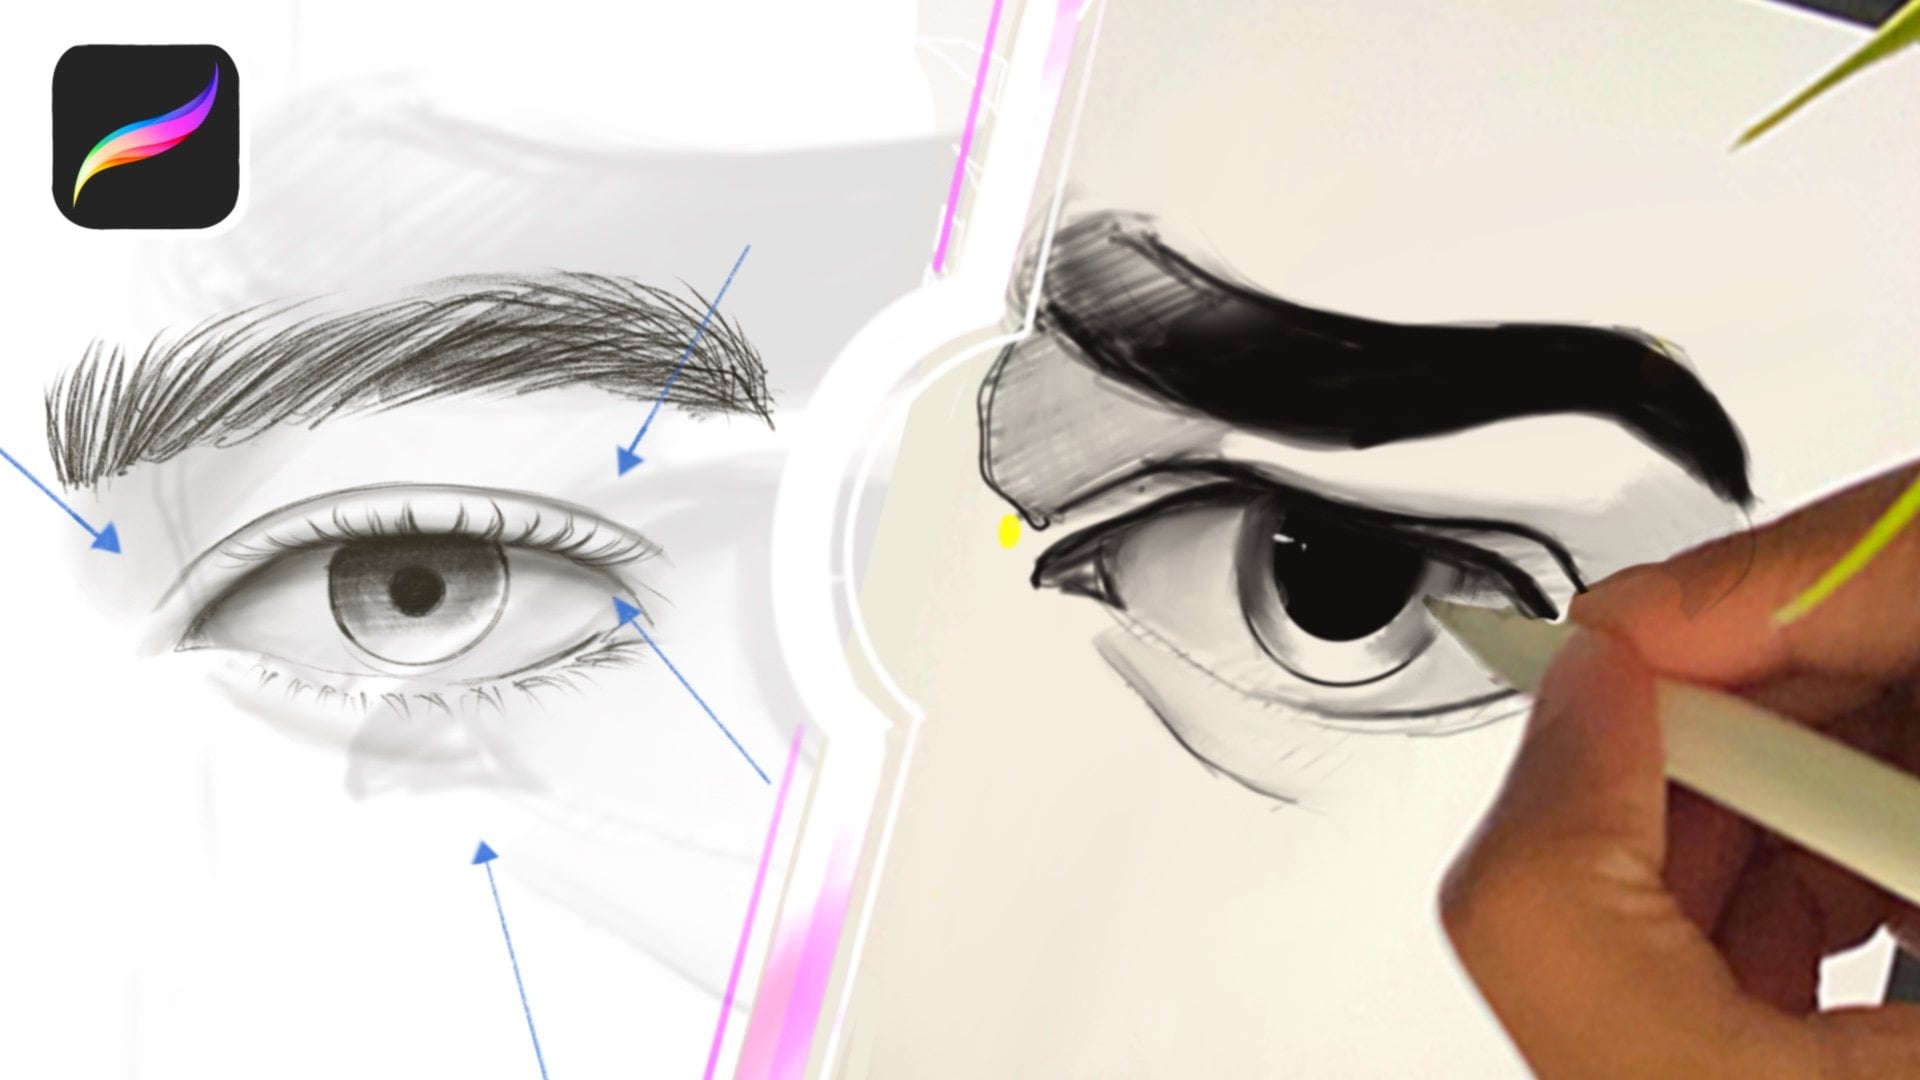
- How to effectively paint hair using three brushes
- How to draw semi-realistic looking hair in a minimal style
THIS CLASS IS USEFUL BECAUSE:
By focusing on blocking in shapes without line work you avoid overwhelm with details. You will get a basic understanding of what you can do to paint different hairstyles using a simplified technique. .
Whether you are new to digital art or simply want to learn more about painting hair, this class will show you one way to level up your art. .
HELPFUL LINKS:
- My instagram:@design2art Follow for more illustrations
- YouTube: LRoseG Sketches and Mydesigns2art for Timelapse of my drawing/ painting in process
- Remember to follow me on my Skillshare Page and leave a review.

Hands-on Class Project
What to do for your Project?
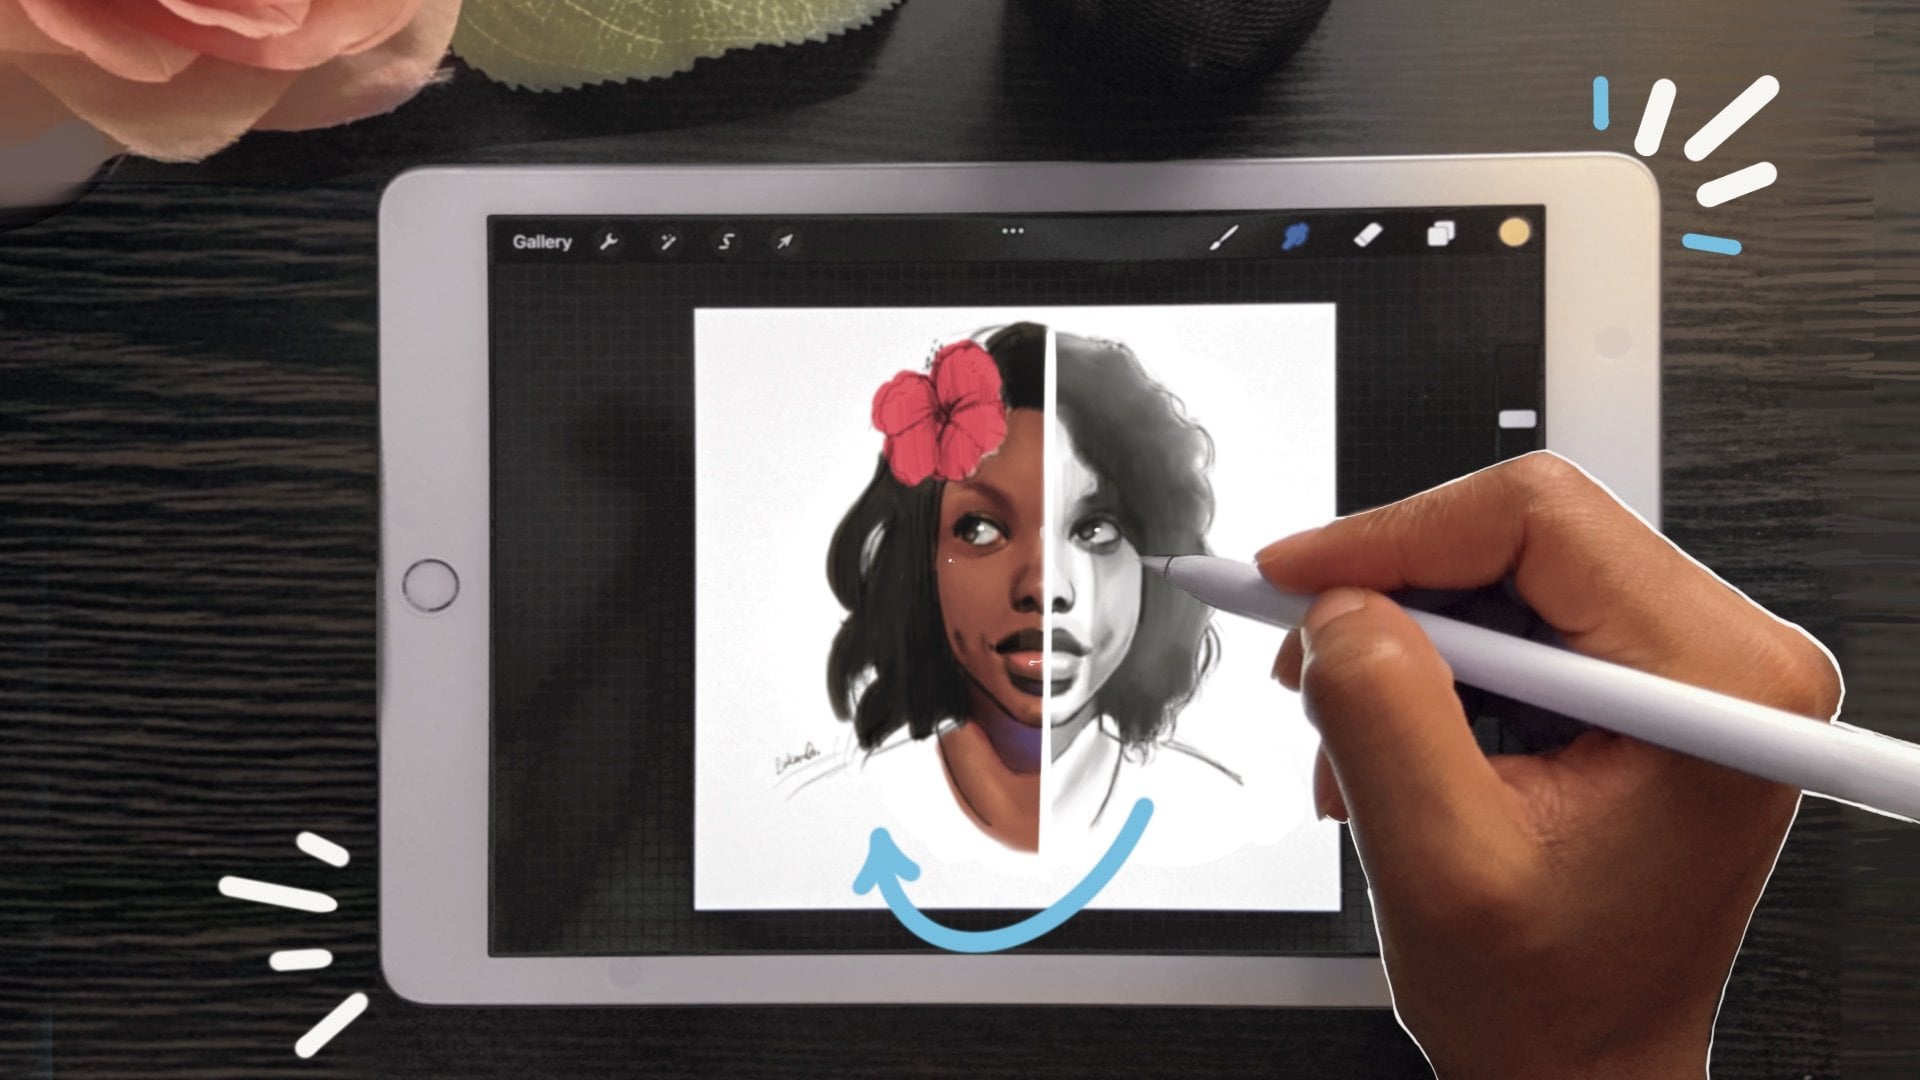
You will be painting a half up and half down hairstyle from the lesson. You can post other hairstyles but try using this technique first. I would love to see what styles you find easier to paint now.
Upload your projects to the Project Gallery and feel free to leave feedback on each others work.
Steps to Follow:
1. Use template or your own character drawing
2. Break the hair style into shapes
3. Try out the shading style
4. Add remaining details/ experiments with hair colors
Attached Files to Download:
Class Ratings
Why Join Skillshare?
Take award-winning Skillshare Original Classes
Each class has short lessons, hands-on projects
Your membership supports Skillshare teachers
Learn From Anywhere
Take classes on the go with the Skillshare app. Stream or download to watch on the plane, the subway, or wherever you learn best.