Transcripts
1. Introduction: Hello, my name is Genevieve Wilson and I have been a graphic designer for over ten years. I have also been an avid Frazier fan for also over ten years. And I love the kind of things that I like to graphic design are usually very sleek. They're very minimal, clean and they just look really pretty to me. And I noticed that certain merchandise to do with, especially my favorite TV show was really clunky and I just wasn't something that I wanted to wet. So I decided to put the two things that I'm really passionate about together and make my own minimalist, exciting merchandise. And I've loved what I've made so much that I really like to show you how you can do it with your favorite TV show as well. Whether it be the office, friends, Game of Thrones, Breaking Bad, whatever your favorite show is, there is a moment in that that resonates with you and I want to bring it to life and give you something that you're excited to weigh. This class is going to be so much fun because your homework is to watch your favorite show. I am so excited to introduce you to the class project in the next lesson. So jump across with me and let's jump in.
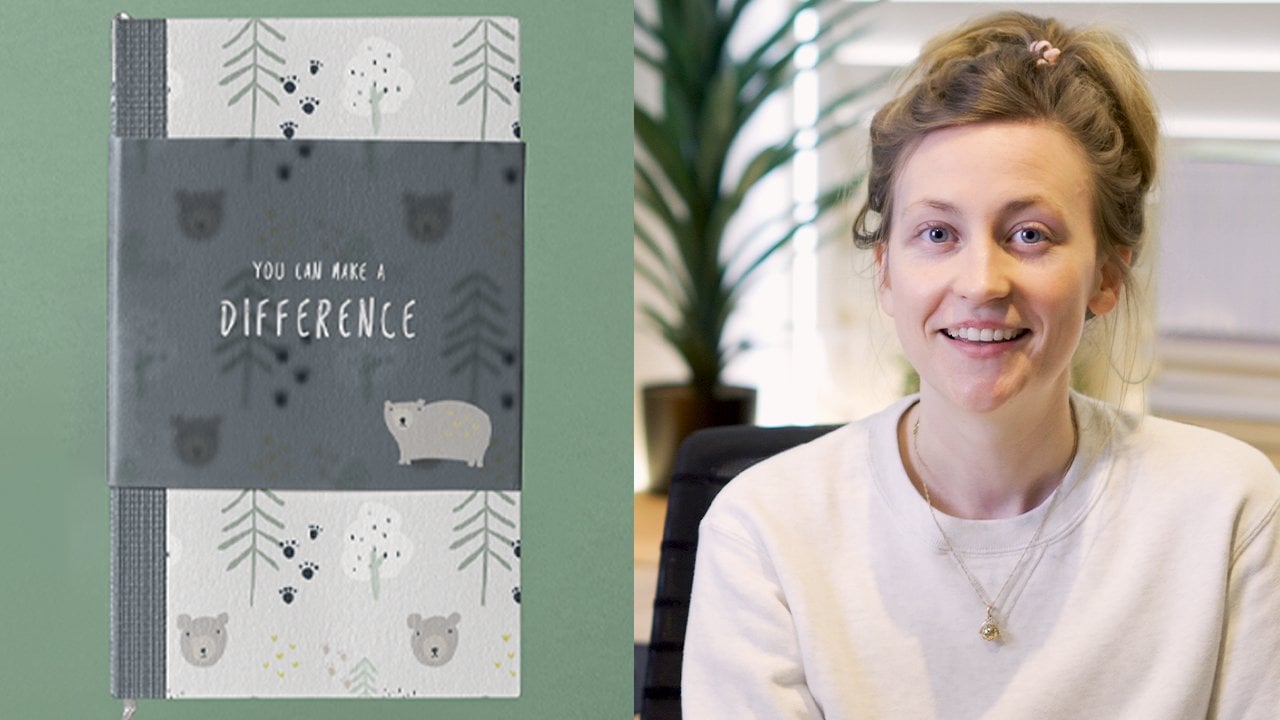
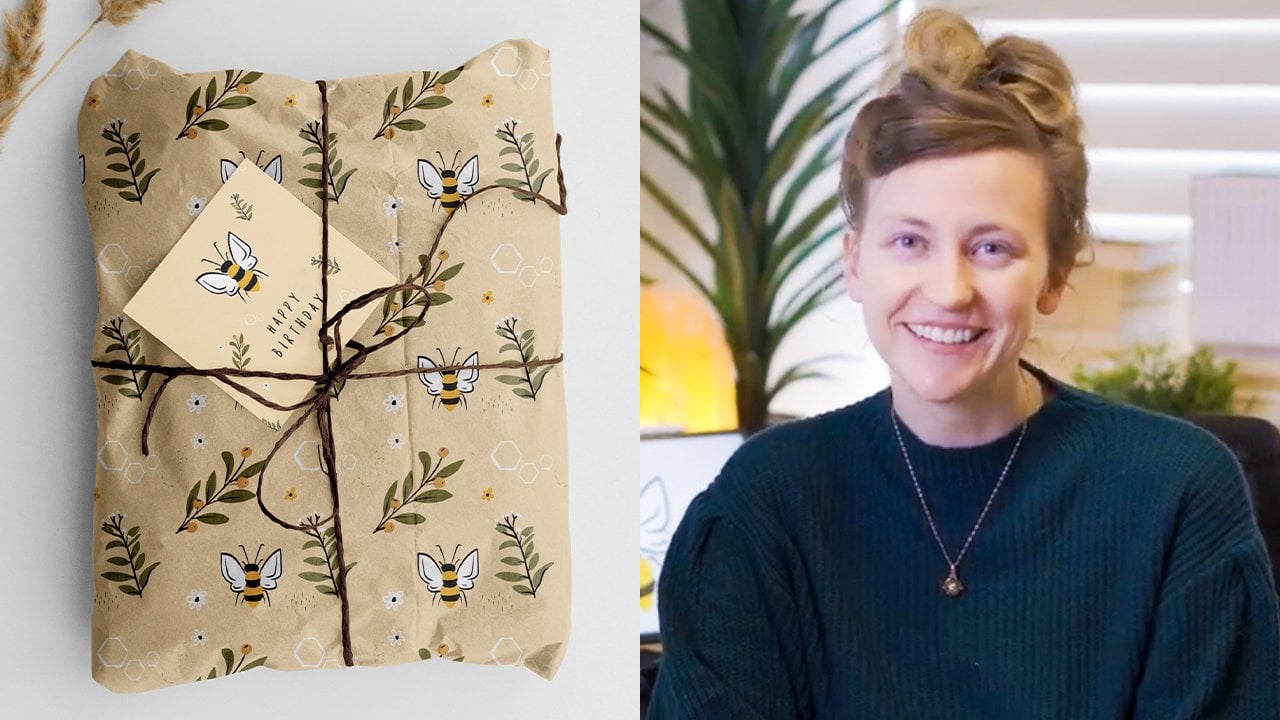
2. Class Project: I am so excited to show you the project that we're going to be doing together in this class. Firstly, we're going to find your favorite TV show where the VAT be a mini series on Netflix or an old TV show that you just love. Mine is for Asia. So I'll be using Frazier, but let's find your favorite as well. Then we're going to find your favorite moment inside that TV show. It could be a quote, it could be an image or something that's associated with that showed. And then we're just going to bring that moment to life and turn it into some beautiful, minimalist, free to use merchandise that you will actually be excited too wet. Here is what I have made. And this and I'm so excited to see what it is that you make. So please posted in the class projects. So I can have a little look as well. I'm so excited to do this. So let's jump straight in.
3. Choosing Your Moment: Oh, you caught me watching my favorite show and doing my homework. Now it's your turn. Let's find the two things that we're going to need to make yourself this merchandise. Firstly, you favorite show. And then we're going to find a moment within that show. Number one is easy. What is your favorite sharing? Mine is Frasier and that was an easy one for me, but it might not be so easy for you. Maybe your mom loves friends, maybe your sister loves Breaking Bad. Maybe your brothers are obsessed with the office and you want to make something for them or for yourself to do with any of the shows. I don't know how to find your favorite show. I have a browse on Netflix and see something that jumps out to you all. Just think about something you might want to wait around town. The next pot really is the most fun out of all of this, we want to find your favorite moment or a moment that really speaks to you within this TV show. So for me, this was super easy because when I think about my favorite show, there are few moments that just jumped out to me in my mind that I either laughed hysterically at while I was watching them or that was really heartfelt and sort of, you know, really made that shows something special to me. If you can't find these moments in this show, just go and watch your favorite show because they'll pop up, you'll be sitting there and then all of a sudden you chuckle about something and you'll be like, maybe that's what I wanna do my image on. So for me in this particular show, there's a hilarious scene where Frasier and Niles pretend to know how to ride a bike. And they are grown men who do not know how to ride a bike. And they are in a bike store and they just go on a tangent about the machines that they are looking at and they say something absolutely hilarious, which I always use in my day-to-day life when referring to a bicycle, which is too bouncy tie is in a taut chain. That's good riding. Have a little look. Call me crazy, but I like fancy tires. To match your tires and talk train. The criteria that you're looking for in this moment is basically boiled down to two things. Number 1, it's gonna resonate with you. It's got to either have made you laugh, feel something cry even, or really reminds you of why you enjoyed the show. Otherwise, what's the point of making it? Number 2? It's got to be a little bit succinct. It can't be something that's too long because at the end of the day, we want to turn this into a moment that we can put a there on a ship or a tote bag or something like that. So think about something that is short and succinct to the point and is going to come across really well when we turn it into some merchandise. I'll use another example a little bit further on in this course. I find another quote that I love in a different episode. I'll show you that clip right now. She didn't say that. She said you've got the one you've got that other one. What makes you think that you're the one and I'm done. Otherwise I'm the one giving the Bronze Age. And you are the one that invited or so that makes you know about another one. And I also love this moment because it is hilarious. It really shows the characters and it resonates with me because this is one of my favorite episodes in the series. So go ahead. What's your favorite show? Scroll through all the episodes that you love and find a moment that you're really passionate about. And let's turn that into something that you really want to win.
4. Quick Note On Copyright: So we wanna make sure that the work that we make together is able to be put on a T-shirt and for us to walk around town and where it freely without having to worry about any sort of copyright issues. So the things that you can't do is lift a logo of a company or a TV show, paste that straight onto a tissue, and then parade around town. We need to make sure that we are creating our own piece of art so that we are free to go ahead and use that 99 percent of the stuff that you're going to want to use is going to be copyright frame, so you don't have to worry about it. But if you ever in doubt about using an element or a logo or something like that, you want to make sure you personalize that and make it your own OT. And if you're still unclear about whether or not you can use that element, will that quote or that logo, go ahead and give it a quick trademark or copyright search and make sure that it's free to use. So don't panic about any of this. I'm going to show you exactly what you need to do in terms of modifying and making something you'll earn. Let's go and brainstorm together now.
5. Let's Brainstorm!: All right, So to start off, let's talk about the element that I have chosen. Remember the moment that I chose. Call me crazy, but I like a bouncy tires tires, and talk train. That's what I'm going to be working with. So that's what my mind map is going to be based on. And this might be a little bit more of a woody a mind map than you used to. But I'm really looking to elicit some sort of feeling or some sort of symbol that you'd like to take from it. The number one thing to remember about this particular step in the creative process is that there are absolutely no rules. So the first thing here is that I'm going to kind of brainstorm away from the scene. I'm not going to start in a sane, I want to talk about things that are kind of under this new rules category. So even though my scene takes place in a bike stole, I'm going to think about what symbols, what images come to mind when I first start thinking about Frasier and just sort of draw them on my mind map PF. So the first thing is, I think all of our, I mean, he's a radio host. So I think of a radio which I think headphones. Some headphones here. We can think of the dog, Eddie from the scene or the chair that lives in the apartment. These assorted the regular things that you stop thinking about when you are thinking about for Asia. So these are the known rules related things that have to do with Frazier in general. Past that let's have a look at our scene a little bit. Who's in the same? So who are the people that are in this scene going to divide this into some categories. Firstly, we've got Frazier and else. So there's always a world where I could just grab one of each of their heads or a still image from the shot, which may be Wukong find together in a little minute, we could just put them in the scene on a T-shirt and pop the quote around that maybe. So there's the first thing there. The second thing is what elements or what things are in this scene? We've got a bike because you're in a bike store. There's a helmet, the chain that goes on the bike and all that kinda stuff. So there's a couple of elements that we can go as well. This is really messy because I am moving fast because I'm just trying to unlock anything that's sort of jumps out to me. And I hope that you sort of don't overthink this too much about making this look pretty because that's certainly something that holds me back a little bit. So if I make this mind-map really messy, it gives me permission to sort of just write down anything that I feel. Speaking of feelings, let's think of what scene, what this scene makes me feel. This is a whole area. Scenes is absolutely, This makes me laugh every time I see it. It's hilarious. It's funny. So that's sort of getting, give me a tone when I'm talking about what I want to bring from this site, I'm not going to pick something to moving or too heavy, I think because the quote really lends itself to something upbeat and something that is funny. And finally, what other courts in the same that I want to use? I'm going to write them down here. The woods are too bouncy ties and a taut chain. That's good read. And I think I'll cut off the G at the end because he says ride and like a cowboy. And that's part of my favorite part of the sentence. So once you've got that, sort of find a, find a section on your page that you can just do a little bit of doodling. Think of different ways you may want to present your merchandise. Maybe it's in a circle where we could do that. We could have maybe the quote kind of going either side of it and then maybe an element in the middle. There's that option. We have sort of a square where we could have the quote either side again, and maybe an element in the middle. We could have it free where there's an element up top. Maybe the quote runs underneath it. Maybe you want just the element by itself, or maybe want just the quote by itself. So there are four options here of things that you can kind of set up here. Once you're thinking about your quote and you'll elements, if you're unsure about elements, come back to the things that are in the same comeback to the nerve rules checklist you've made. And I'm going to show you what it is that I kind of came to when I was looking at all of this bill full. Personally, I love this setup. I love number two here, where the court is sort of in amongst the elements who sues the sum element here in the middle, and the court goes either side of it. To find my element. I sort of looked at the things that I had and I'm going to change color for this because it's going to be my fun big reveal. I really wanted to put a bike and the quote, and I wanted to put the two of them into this element number two here. Now, this is a very terribly messy mind-map, but it's gotten me clear on something I want. So let's make one more page here. If you didn't have Procreate, just grab a brand new set of paper. And let's, let's outline a rough draft of what it is that we want. So let's put those elements together. So like I mentioned before, let me turn it back on. I'm going to have quotes either side of my element. My court is this, and my element is that. So switching that layer off, I'm going to have my quote and then my element was a bike. So I'm going to pretend I know how to draw a bike, but we're going to find an element that is laid out. So don't worry if you like. Now this is my horrific mock-up of something that I want. When I'm looking at this, I want to think about a couple of things going forward. What kind of font do I want to use? What kind of style element do I want something really clean and minimal? Or do I want an actual picture of a bicycle here? I gotta keep that in mind. And then also color scheme. Do we want to add some color to this? What do I want to keep it in sort of a monochromatic black and white sort of divide. So for me, I love sort of a, I'm going to use a clean font. I'm going to use a clean element. Clean meaning minimalistic. And I'm going to make mine black and white because I don't want any color on my merchandise at the end. So now that you have this mind-map and this mock-up, however Missy, it might be, that is your starting point. You know exactly how it's going to look in the overview. So let's go collect the elements, finalize this design and really bring it to life.
6. Collecting The Elements: So now that we have our mockup that we're going to use, Let's go and collect all the elements that we need and bring it to life in Photoshop. The first thing we are going to want to do is create a brand new Photoshop document. We decided on the square layout that we're going to end up putting on a tote bag. So we can just go ahead and press New and just select something that is a square. Now, you don't want something that's too small because when it's, when it's printed, you want to make sure that it's nice and crispy and clean. So something like 800 pixels, maybe a little bit too small. I recommend doing something. Maybe let's do 13 inches by 13 inches. If we're working in inches. If we're working in pixels, it's going to look like just on the, actually, why don't we round it off, make it 2000 by 2000 resolution. I'm going to increase just slightly as well because when you're printing with things, you want to make sure that you're using a really high resolution photo. So I'm actually going to make this a 100 pixels per centimeter. Eight bit is fine because it will keep you all RGB colors true and go ahead and hit Create. And here is our blank canvas ready for us to bring some elements into. So the first thing we wanna do is go ahead and type out the quote that we're going to be using. Just going to use some regular old black ink, grab the text tool, bring it over. Whatever font I was lost using is going to be the one it says. So the quote is too bouncy ties taught chain. And then I'm going to have the other one actually separate because remembering our mock-up, I split them up. So I'm going to have a different text layer and I have it saved. That's good. Leiden. And that's all it's going to say. So I've just written them lowercase because it's just how it started and we can figure out if we want them lowercase or uppercase based on what you want. All right, so there's element one is our court. It's in here. I'm not going to move it around yet because we haven't collected all of our elements yet. The next thing we need to collect is our bike, because we wanted to put a bike in the middle of this quote. If you want to draw something over an existing sort of symbol or something, let's say your favorite show is Harry Potter. And you want to draw a golden snitch and make that sort of artistically your own. I'm going to show you actually how you can do that. When we show you an alternative method to just collecting an element that already exists. So stick around if you want to draw your own element. But for this exact example, I'm going to choose something that already exists. So there's a great website called flat icon. So if we go ahead and go to flat icon, it looks like this and it gives you access to a ton of free to use vector icons. Now, vector means it can be scaled indefinitely without being pixelated. But you don't really need to worry about any of that because the scale that we are going to be making our merchandise on is pretty generous. So let's just type in 5k or bicycle. Start with bike and find ourselves the element that it is that we're going to use. So again, my sort of designing style is quite minimalist, so I'm going to be looking for something with not a lot of lines. This one right here is far too busy for my style, so I'm going to scroll right past that. This one could definitely do the job. So this one right here is definitely my style is minimal lines here that make up the bike. And as I hover over it too, it also says it is a free icon. So all I need to do is I can either save it as a PNG, which means it is a background free photo, or an SVG, which is a Photoshop format file. Either of those doesn't matter. I'm just going to go ahead, pick the highest resolution that I can, 512 pixels. Go ahead and hit Free Download. All right, so that gets saved right there to my downloads folder. So I'm going to just go ahead and drag that into Photoshop underneath. And bam sits right in the middle. There's our bicycle. So we currently have a bike and our quote, and they are at two elements. So now we can stop getting super creative and start moving them around so that it fits the mockup that we drew for ourselves in our brainstorming phase.
7. Putting it Together: So our bike was definitely in the middle. So I'm going to pop that right in the middle of the page. I'm using these Photoshop borders to help me sort of snap to the center. I'd like to have that off the top and that's good riding down the bottom. Now, first thing I'm noticing is I'm really not loving the layout of this text. I feel like this shouldn't all be on one line. So I'd like to split this up into two lines. Before I do that, I'm also going to just make sure it's centered. I'm actually going to make them capitals because I think that it would look a lot stronger if everything was in capitals and I think I am right, so go ahead and click the layer. Hit capitalize on the other side, I already feel like that looks a lot stronger. So coming into this top layer here, I'm going to try and split it exactly in the middle, get rid of that space, and hit enter there and try and find the exact, the exact middle. All right, So I've split that up into two separate lines, but I still think that it's too small. So go ahead and hit, hit Transform and drag it a little bit bigger until it sort of looks right to you. Now, I've already actually made this on recreating something that I've already made, but I just want to make sure that it is exactly right and that feels about right. So double-click on that. Let's see what size that font is that in 9.24. Let's make this one match it. Let's carry 39.24. All right, so now that both layers of my texts are the same size, I can go ahead and try and line those up so that they're centered. I'm already liking how this looks. I think that it's set up really well, want to make sure the bike is exactly in the middle of both of those things. And once it is, I'm going to highlight all of our elements here and then transfer them, foam them so that they are as big as we can possibly get. Because when we are printing merchandise, we want to make sure that it's not pixelated and blurry. And if you start from a really good, strong lodge picture, that's less likely to happen. So once they're all in place, go ahead and lock them. Lock them in. If you're unsure of what font you want, just highlight it. Go ahead and just, just scroll down the list and see what fits best for your particular style. I think this is kind of very Frasier as well. And I've made some much in the past using this font because I loved that. If you're a Creative Cloud member, you can go ahead and use some of the fonts that come with Creative Cloud. Otherwise, any of these built-in fonts that come with Photoshop are really clean as well. So you something that feels right for you, Phil, simple, that you really enjoy. I actually love this font railway, which is the first we actually started with. And I want it pretty bold. I'm going to go ahead and go black. Because I think that that is nice and strong. Also, when you're thinking about pairing elements together, you want to make sure that they sort of look uniformed. This thickness of the wheel on the bike here is sort of my guide with how thick I want to keep my font. So if the font is really thin on purpose, that can look really great. But if you try and get them to match, you see that that's sort of a very similar thickness. And I think it makes the whole thing look really cohesive. But once that's all in place and you are happy with the layout, I'm gonna come in here, make one more change. This w here actually has a couple of different options here. You can have sort of a crossed over w. We're just a plain one, like the plain one there. So I want to make sure that that is also matching. There we go. Awesome. And then if you do want to change the color of any of these elements, just double-click on the layer, bring up the Layer Style panel, which is going to look like this. And you can just click Color Overlay and select a color that feels right for you. Maybe you wanted a bright red bike or you wanted a green bike or something like that. You can leave that out the way so you can see it better. You're just selecting a color to go over that entire layer. Now, I don't like to work in complete black. I usually like to make it quite dark gray and that's what most of my mockups have become. I'm going to select a gray that is almost black. Something like that. Perfect. I'm going to make my font the same color. So click the font, click color and just drop from the, you can see the difference there. Just drop from the fonts that it's exactly the same and the same for this last part. Here they go. Alright, so now before we continue on, I need to make sure you know exactly how to save this so that you can get it printed on just some merchandise late us. So if we were to save this as is, it's going to have a white background and always be a square. And if you could try and get this printed on a t-shirt or a tote bag, it will actually print this white box behind it as well. And we don't want that. We want it to be completely transparent underneath our design. So the way to get around this is by unselected your background layer so that you see this giant checkerboard behind here and that indicates this is completely transparent. The only thing you're going to see are our elements. And in order to keep this true, when you save it, we're going to go File, Save As. And before we name it or give it a place to go, we're going to make sure we're saving it as a PNG. This is probably your most important step at this point because anything you make will be printed exactly as is on a t-shirt or a tote bag, et cetera, et cetera. So I click PNG, given a name. Choose where to save it and go ahead and press Save. So just save this down here to the desktop. Let's have a quick look. Let's close that. Let's have a little look at what it looks like. Perfect. So here is our mockup, ready to go ahead and get printed onto something. You'll see it doesn't have a background. It's completely transparent and ready to go.
8. Drawing an Alternate Idea: So sometimes we might want to take an element out of a show and make it our own artwork. It might be Dwight shrewd glosses from the office. It may be Snoopy from the peanuts series. It could be the Golden Snitch from Harry Potter. I'm going to show you using Frasier and Miles is face how we can take something out of your TV show and draw over it and turn it into our own artwork. So I'm going to find myself the image that I'm going to be tracing. You can find whatever image you want from your show or that has to do with your show. I'm going to type in Frazier and Niles. Let's go across two images. And you can look through these and choose one that you want. This is such an iconic image for me because this is the original box cover for acronym used to be VHS tapes. And so that means a lot to me. So I'm going to save that to my photos. And then I'm going to go ahead and import that into procreate. So I'm going to pop across to procreate. And in order to do this, if you're not using Procreate, if you're using Photoshop instead, just go ahead and open the image up into Photoshop. If you are using Procreate, you can go to this tool here, this little spin up, and you'd click, Add and insert a photo to your Canvas. I've already done this in advance, so I'm going to go ahead and turn the layer on. Here is our image, so this is our base place to start. Then I'm going to do is make a layer on top of that. So brand new layer here. And then I can get my pen and choose a very thin pen so that's resize my pen. And then I'm going to zoom in and start drawing all around the outside of what I would like my layer to be. So I'm going to start this really roughly. And then you'll be able to see me doing this over at the end. But you can just select some of the most major sort of lines that you're seeing and go from there. And then everything will come together as you trace these lines from the element. So you can come in here with the eraser tool a few times, thin out some of these lines just to give it more of more of a finesse to look around the outside so you don't have to trace everything that's here. It would look way too cluttered. Try and use as minimal lines as you can, especially going around these sort of fiddly, intricate areas like this. I definitely thinning out those lines to look more like a cartoon outline because that's what I'm going for. Take some creative liberty in places like this. You don't have to trace the entire outside of this table. I've actually designed my own bottom of the table here you can see it's not the exact one. And this is what I mean by making this really your own. You're taking the idea of this image, the idea of what this image means to you. You're making your own personalized artwork. All right, so once you are happy with your outline, these are on two separate layers. So switch off the picture and back on so to hide that layer from yourself and backhaul, and whenever you're unsure of whether this looks good enough, maybe you haven't grown enough lines. Maybe you've drawn too many. Switch that picture on and off so that you can just sort of keep up with what it is that you're drawing. So once we had done, once you're happy with your outline, go ahead, turn your photo layer off for good because we do not need that at this point. We are done with that and now we're left with our own in our own outline. I've also switched off my background layer. If that was on that we would have a bright white background. And remember, we don't want that because that will be printed as well. So we want to switch that off, have it be fully transparent, and then save this as a PNG. So we're going to press Share PNG and it's going to export it as a PNG and ask us what we wanna do with it. I'm going to add drop this straight across to my computer so that I can bring it into Photoshop and add some text to it.
9. Bringing Your Design To Life: So now is the most exciting time of this whole project where we get to mock out cells up a design and make some decisions about what kind of image we want to put our design onto. So now that we have our design here in Photoshop, go ahead and open up this canvas tote bag mockup, which is free for you to use in the project files. If you double-click on that, it's going to open this up for you into Photoshop. And it's going to allow us to see what ad design actually looks like on the product we want to mock it up into. Don't worry about any of these margins or borders or anything. I really want to say is what does our design look like in the center of a tote bag? So how do you do that? The PNG that we saved earlier, we're going to drag that straight in and add, add design to this layer over here. So I'm going to move this across because I actually had mine saved over here on the desktop. All I'm going to do is drag this PNG in, let it drop into our Photoshop. Give it a moment to load. All right, so there's AB design come in at the moment. I'm going to move it just to the side for a second because firstly, I want to get rid of the one that is here as an example. So let's zoom in just a little bit. We can get a clear idea and find the layer, this red one here, just switch that off. And our one too bouncy tie is just drag underneath the one that you've just switched off, going to make this full screen again so that we can see fully what we're working with. Cool. So now we're over on our own element here, hold the command key and sent to that in the middle of our tote bag. Press Command T to transform it, make it the size that you want or that you feel fits best for the tote bag. Wait for those lines to help you center it. And once you think that is done, I think That's probably best. That looks better to me. Hit the Move case that you don't get anything out of place. Zoom out and have a look and see what your design looks like on a real tote bag. And if you're happy with it, we can move on to the next step, which is actually getting this made for ourselves. And I am thrilled with this. So let's go ahead and do that. If you're not excited about a tote bag, go and find yourself a picture of a T-Shirt or a sweater or a hoodie or something that feels right for you. And you'll piece of merch, pull that photo into Photoshop, and just add your PNG layer on top, move it around until it looks right. And then you'll be able to have yourself, your own mockup on something that feels right for you and you ought. Awesome. So let's go and get this vein. I'm going to be doing this on a website called T spring. If you are located in the US, this is probably your quickest and easiest option of doing that. So it's T spring.com. I actually got mine made here at this place, code print lacA because I'm currently in Australia. So if you're in Australia, US, these guys, they were fantastic. Okay, so T spring is super intuitive. It depends what kind of product you want. If you go up here and click how it works, There's a great explanation here on all the different kinds of products that you can use in terms of a base for your merchandise. If you want to do a tote bag, a T-Shirt, a hoodie, a mosque. At this point, you can put your design up on anything you like. So all you have to do hit Stop creating. Use that PNG that we created together. Upload that when it asks for an image, whether it be on, you'll have till your shirt or your tote bag and then go all the way through, choose your size, colors, et cetera, and press order. It is going to ask you whether you have the rights to use the imagery that you're getting printed. Message may look something like this. Just make sure, again, this is your own artwork and that you're free to use that for yourself. So hit order and please show me what it is that you have made.
10. Final Thoughts!: I am so excited. I hope you enjoyed that as much as I did. I would absolutely love to see what it is that you have made. I hope that you have some merchandise that you're really excited about and want to use where around town and all of the above. If you enjoyed this, please check out some of my other Skillshare classes where I walk you through a ton of basics to do with Photoshop, graphic design, and all of the above. Thank you so much for taking this course and I hope to see you again really soon.
 Genevieve Wilson