Design a Gingham Pattern in Procreate + Add a Textured Overlay
 Michelle Marks, Surface Pattern Designer
Watch this class and thousands more
Watch this class and thousands more
Lessons in This Class
-
-
1.
Introduction to Create a Gingham Pattern
1:12
-
2.
Lesson 1 - What You Need for this Class
0:12
-
3.
Lesson 2 - Set Up Your Artboard
0:24
-
4.
Lesson 3 - Create Your Gingham Grid
3:15
-
5.
Lesson 4 - Recolor Your Gingham Pattern
0:47
-
6.
Lesson 5 - Create a Seamless Texture Overlay
5:43
-
7.
Lesson 6 - Export Your Gingham Pattern Tile
0:40
-
8.
Lesson 7 - Share Your Class Project
0:33
-
-
- --
- Beginner level
- Intermediate level
- Advanced level
- All levels
Community Generated
The level is determined by a majority opinion of students who have reviewed this class. The teacher's recommendation is shown until at least 5 student responses are collected.
61
Students
8
Projects
About This Class
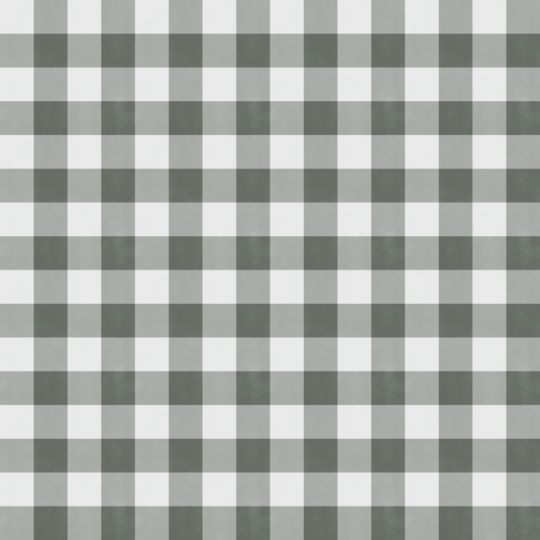
Would you like to learn how to create a seamless repeating Gingham check pattern in Procreate? This beginner-friendly class will show you the process step-by-step.
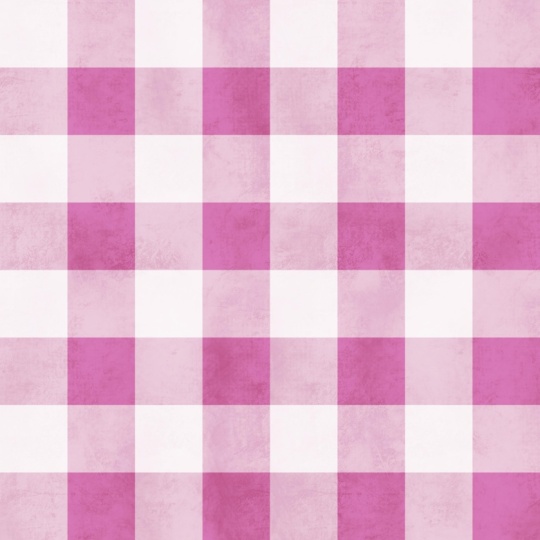
As a fun extra, I'll show you how to create a seamless repeating textured overlay for your pattern—one you can save and use for your other patterns and illustrations too.
By the end of the class you will understand how to create a Gingham pattern ready for craft and sewing projects, to compliment other pattern collections, or for art licensing.
You will learn how to:
- Prepare your artboard as a pattern tile
- Work with layers and transparency in Procreate
- Create a Gingham pattern grid
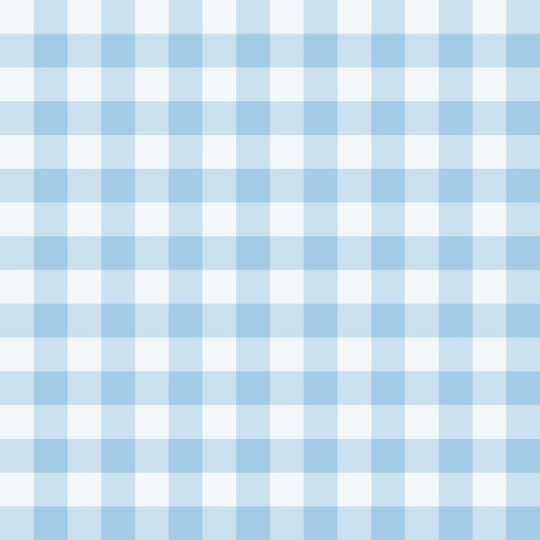
- Quickly recolor your Gingham
- Design a seamless textured overlay
- Export your pattern tile
Class suitability:
This class is best suited for those wanting to get started in surface pattern design especially if you:
- Are just starting out in pattern design
- Want to learn how to use Procreate
- Experienced designers learning how seamless patterns work
- Want a new skill under your creative belt
What you'll need:
For this class you'll need:
- iPad
- Apple Pencil
- Procreate (or you can achieve similar results in Adobe Fresco)
About the teacher:
Hey, I'm Michelle, surface pattern designer and educator here to help you enjoy creative projects. As a former graphic and brand designer, I'm now on a mission to bring more creative joy into your life by teaching you how to illustrate your own patterns, and what you can do with your patterns afterwards (hello stationery!)
If you have any questions about this class, or would like feedback on your designs, feel free to reach out on the Discussion section of this class.
Happy illustrating!
Meet Your Teacher

I'm a surface pattern designer and creative educator with a love for teaching others how to bring beautiful, practical designs to life using tools like Procreate and Adobe Fresco. I'm here to help you confidently create your own repeat patterns and turning them into digital products or patterns for your own crafts.
My classes are relaxed, beginner-friendly, and focused on helping you actually use your artwork--whether for profit or fun!
See full profileHands-on Class Project
This is a practical, hands-on class where you'll be able to design your very own textured Gingham pattern. I can wait to see what you create.
For your class project I'd love for you to share either:
- A screenshot of your Gingham pattern tile, or
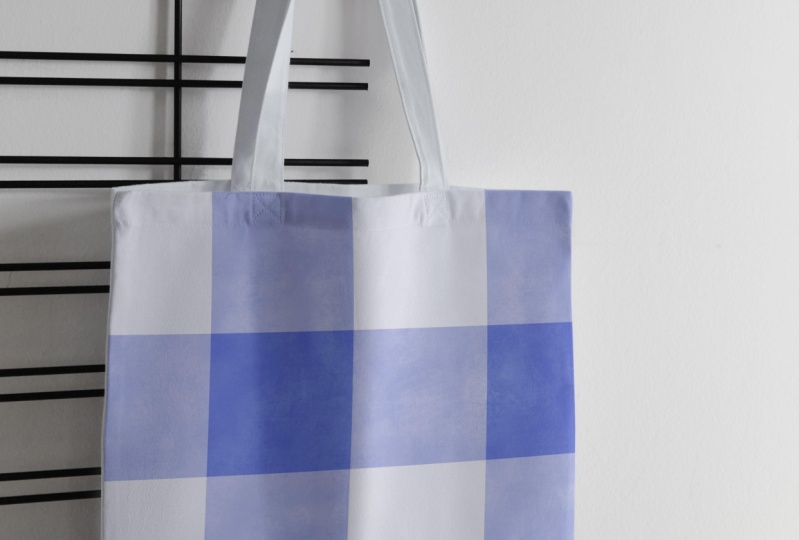
- A mock-up image of your Gingham pattern on something like a tablecloth, pillow, wrapping paper etc.
I'll take a look at your pattern, celebrate your new creative skill, and provide helpful feedback.
Good luck and enjoy the class!
- Michelle
Class Ratings
Why Join Skillshare?
Take award-winning Skillshare Original Classes
Each class has short lessons, hands-on projects
Your membership supports Skillshare teachers
Learn From Anywhere
Take classes on the go with the Skillshare app. Stream or download to watch on the plane, the subway, or wherever you learn best.