Transcripts
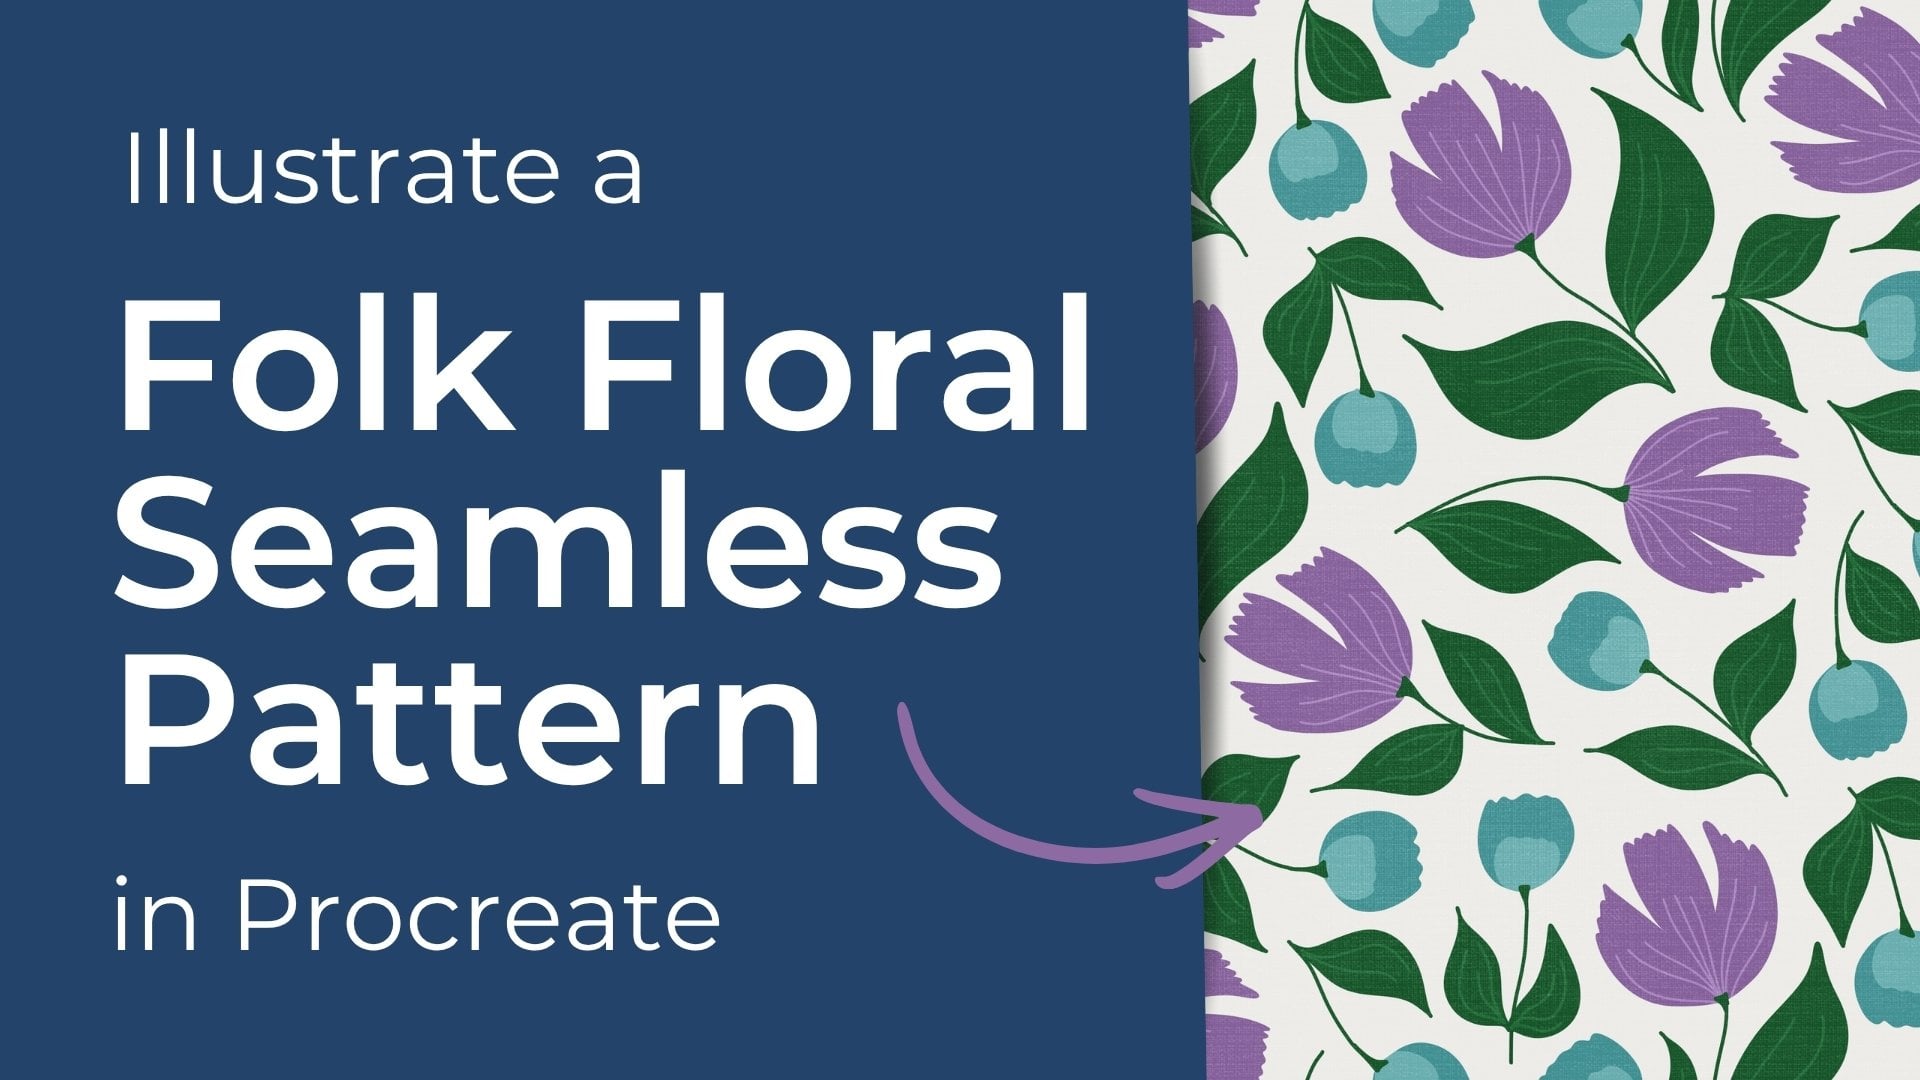
1. Introduction to the Class: Welcome to this quick
pattern design class, perfect for when you've got a little bit of time for
some creative therapy. Today we're going to design a cute floral repeating pattern. But instead of drawing
each flower individually, I'll teach you how
to draw one flower and turn it into a
stamp brush inside of Procreate so you can
quickly fill out a gorgeous seamless
pattern in no time at all. This is a great skill with
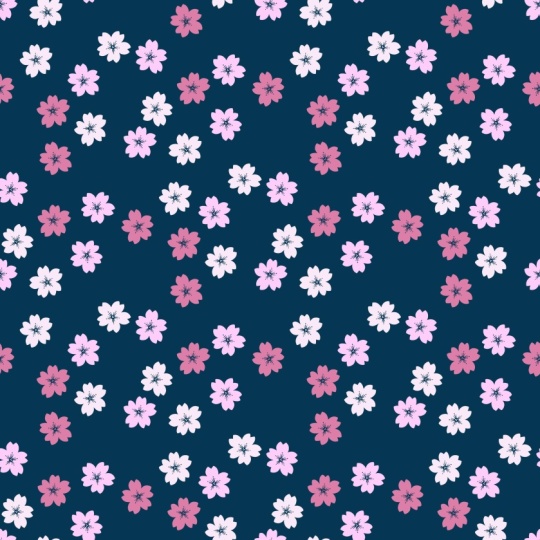
a variety of uses such as adding filler flowers and other elements to more
complex patterns, creating ditzy floral patterns, background textures or for creating simple
blender patterns. We'll begin by illustrating
a simple flower. Then we'll turn your flower into a custom stamp brush where I'll provide all the
settings and steps you need to create
your own brush stamp and then I'll show you how to use your brand new
stamp brush to create a seamless
repeating pattern. To follow along with the class, you'll need your Apple iPad compatible with an Apple Pencil, as well as the Procreate app.
2. Step 1 - Illustrate Your Flower Shape: The first step in creating our pattern is to
create our canvas. If you've already
got one at 3,000 by 3,000 pixels, go
ahead and use that. If not, let's create
a new canvas, 3,000 pixels by 3,000
pixels, 300 DPI. It's okay if you want to
go larger or smaller, but if you're following along, that's the settings
that I'm using. Our first step is to
create the flour that's going to become our stamp brush. To create our stamp
brush, ideally, we want to draw our
stamp in black and gray. Because our stamp is not
going to have any color, the color is applied when
we select our color, just like when we use
our normal brush, we choose the color
we want it to be. So while drawing our flower, let's keep it nice and simple and draw using only
black or gray. Black is going to be
fully saturated color. So let's say I draw
a flower in black, but when I use my stamp, I choose red or perhaps pink. The black areas of your drawing are going
to be in this color. The more gray or the more
white you add to it, the less saturated
it's going to be. Okay. This will
make sense later. Let's start with black, and let's draw the
outline of our flour. Because this is a
cute little flower, it doesn't actually
have to be perfect. I'm going to draw the
outline and fill it in. Okay, now I'm going to draw
the inside of my flower. So this right here is
going to become our stamp. You can resize it if you like, but it doesn't really matter as long as you can see
it quite clearly.
3. Step 2 - Create Your Stamp Brush: Okay, our next step
is we're going to actually create our stamp. So come in to your layer that
holds that has your flower. And please make sure that your flower doesn't have
anything on its background because this next process
is just going to take just your artwork and anything that's on the
artboard in this layer. Okay? So if you've
got, let's say, if you've got some color
in this layer here, your brush is going to
pick that up as well. So make sure that your artwork on just make sure that your
artwork is isolated. It doesn't have any
background color. Tap your layer and
then tap copy. Okay. Let's hide that layer, create a new one
for our next step. Now we're going to
create our stamp brush. If you're coming to
your brush library, you can I'd recommend choosing from your inking section
using the drawing brush. We don't want to change the settings of this one because we want to keep this brush. So instead, we're going to swipe left and we're
going to duplicate. Tap on it to adjust the
settings under stroke path, adjust your spacing to the maximum so that instead
of having a long line, you've just got spots. And this is essentially what's
going to create our stamp. If you see how I just tap
it and it gives me my dots, but instead, we're going to replace the dots with our flour. I can still draw a line, but the spacing is the
space between this shape. If I reduce the spacing, you'll see that they
come closer together, that's what creates our line. So we want it at the max. Stabilization does it matter,
tap or doesn't matter. The shape is the
important part here. The shapes pulling
it from the circle, so we're going to adjust that. Click Edit, import,
and then paste. It's pasting the layer
that we selected earlier. If you have got a black
flower with a white outline, give it a tap with two fingers
to make it a white flower, a white or gray flower
with a black background. Okay. So that's
our flower stamp. Now we're going to click Done. So you can see our dot has now turned to our
little flower shapes. Okay, there's two more
settings I want to adjust. When we come down in
your shape settings, we want to come down
to shape properties, adjust scatter can you see
how my little flowers, some of my flowers are turning? This is making the rotation randomized so that it is not exactly the same every time
we put the stamp down. So that just gives it
that bit of variety. Now, please come
down to properties. We're just going to adjust
our brush behavior. We would like to increase the
maximum size of our brush. You can see it's making
my stamp larger. Bring it up. Doesn't have
to be all the way up, just up to a a reasonable level. So variation so that we can actually have more choice
over the size of our brush. Okay? That's it. If we come down to
about this brush, we can give it a new name. So let's call it
flour simp then done.
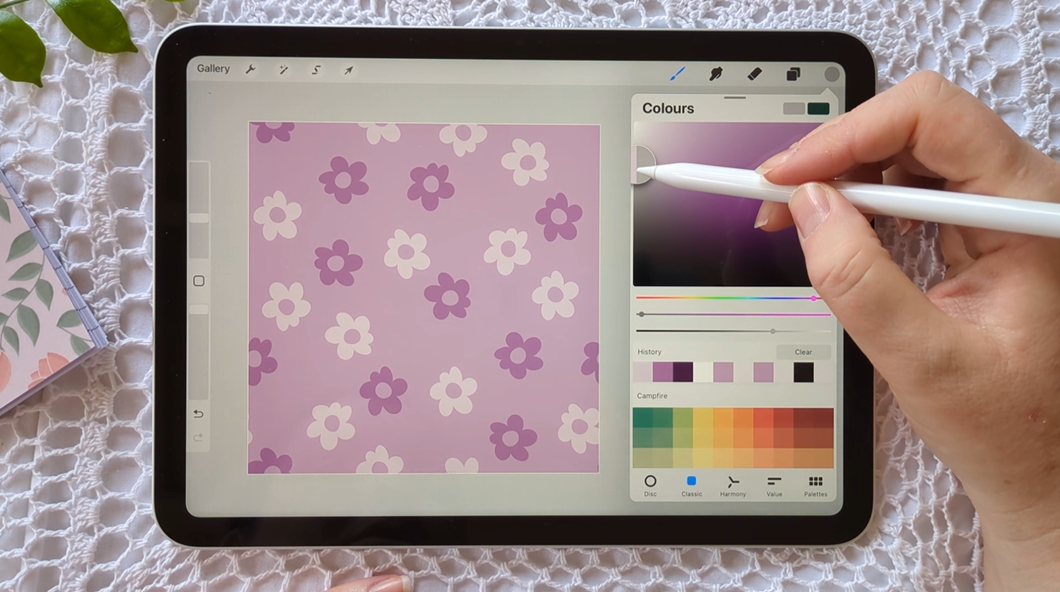
4. Step 3 - Design Your Seamless Pattern: Okay, now that we've
made our brush, now it is time to create
our pattern layer. So choose a color for your back. Oh, I'm going to stick
with this purple. On one layer, add your
background color, then create a new layer. I'm going to so next, we want to choose the
color for your flour. So as you see, you'll remember that we created our flower stamp
in black and gray. However, your stamp
is going to take on the color characteristics of whichever color you choose. So if I choose white, my stamp is going to be white. If I choose dark purple, it's going to be
dark purple. Okay. So that's what our next step is, is just choosing our colors
and laying our stamp down. So what I'm going to do is just increase the
size of my stamp. Yeah, happy with that.
So our next step is we want to start creating
our seamless pattern. So I'm going to use a
diamond guide for this. So I'm going to on a new layer, I'm going to color in. Then I'm going to hit rotate rotate 45 degrees,
fit to Canvas. There we've got
my diamond guide. I'm just going to
reduce the opacity of that because I only
want to just see it. It's not going to appear in my final artwork unless that's
the look you're going for. But this one, I'm not going to, it's just a guide. Okay. So what I want to do
then is choose my color. I'm happy with my dark purple. I'm going to do
some dark purple, and I'm going to do some white. So I'm going to go
just a bit darker. Let's see. Yeah.
Okay. All right, so just hot stamp down. Keeping them within or close to the diamond guide
is recommended. Then I'm going to go
slightly lighter. Add some more in there. There there. Maybe there. You have to be
careful near the edge there. Yeah, that's okay. Because I know that this flower here is also going
to appear here, so it's not too close to that one, so that
should be fine. Okay, and now our
next step is I'm just going to move my
diamond guide underneath, and I want to group
these two together. Which is my flowers
and my background. Okay, so I want to create four duplicates of
this original layer. This one is going to
remain in the center. This one and the other duplicates
will form the corners. But what I first want
to do is just make my background layer opaque. I don't want to delete
it because it's helping me select the entire board
instead of just the artwork. So I'm keeping it there, but I'm reducing the opacity
down to none, and then I will duplicate
that another three times. So I want one central copy that the background
color is visible, and on these four,
the background color is going to be invisible. So now I want to move
them to the corner. You can see here if I kept
the background visible, I wouldn't be able
to see beyond there. Okay, so just positioning
them in the corner, we need to make sure that
we see the gold guides, as that is essential in having our perfect seam
the most difficult yet rewarding of pattern design
is lining up these edges. Okay, there we go. We have our
seamless pattern tile now. And so you've got
two options here. You can just group
it all together. Or if you would like to
keep your artwork and your if you like to keep your artwork and
your background separate, you can go through and ungroup them then delete your layer and just keep your Artwork
on the same layer. So here, let me show you. So I have artwork on one layer and the
background color on the other. And that might be
helpful for you. Say, if you wanted
to change that, let's say maybe we wanted, I don't know if we wanted
to go gray or something. I think that's going
to look very nice, no. But for whatever reason, if
you want yours separate, you can certainly do that. But let's have a look
now at our pattern. Let's zoom out. Let's
test the seams. Let's step back and see
what it looks like. Because it's important to step back because even though your pattern tile
might look great, when you view it as a repeat, it might not look as good. It's a good opportunity
for you to test the seams, to test the spacing, and to see what it looks like
as the finished product. Okay? So the seams are good. There's no white line there, and the spacing, I'm quite
happy with that as well. If you want to keep reducing yours down, you absolutely can. Otherwise, there's your pattern.
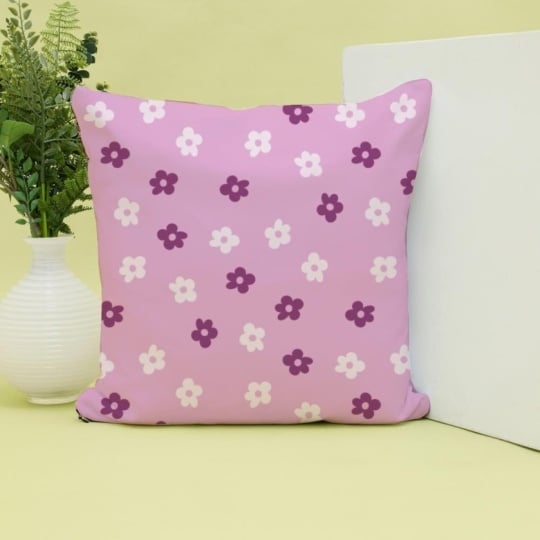
5. Step 4 - Share Your Class Project: This is my favorite
part of the class where you get to share your
beautiful work with me. To share your class project, go to the projects and resources
section of this class, click Create Project, and upload an image
of your pattern. You can either share an image of your floral pattern as a
seamless pattern tile, or you can share a mockup
image where your pattern is superimposed onto
another photograph to make it look like it's
on a piece of fabric, clothing, or a notepad. This is such a beautiful
way to give you a visual of what your pattern will
look like in real life use. You can create these
mockup style images inside of software like Canva. Thank you for joining my class. I hope you gain some
new skills while having some creative
fun at the same time. See you in the next class.
 Michelle Marks, Surface Pattern Designer