Transcripts
1. Introduction: What's up, guys? My name is random dude. And in this class
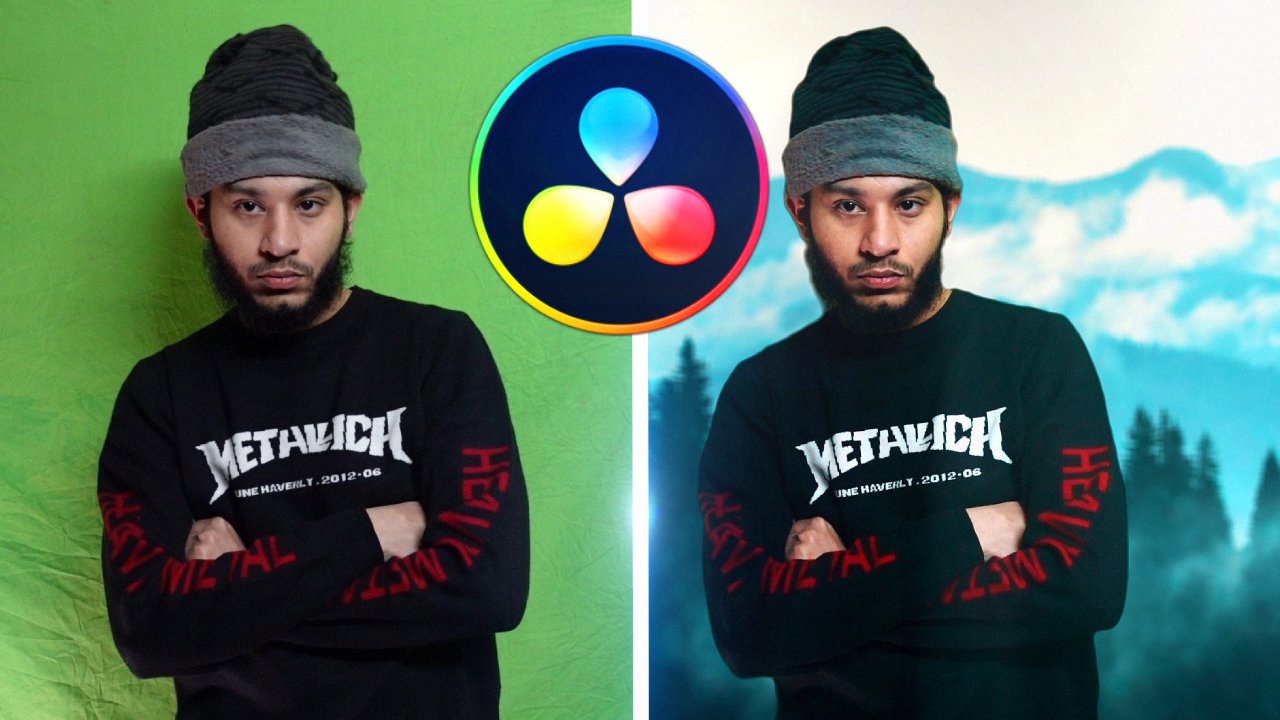
you will learn to turn this grab your footage into this master is if you are interested in the winches
of color grading, then joined this
course right now, there's plenty to learn from.
2. Color Grading: This is our clip. Now the first thing you
need to do is go to color, select your node and
go to this curve. This one. Now go to Hue
vs Saturation and select the red point and bring this
point up right about here. Select the yellow one and bring this up just a little bit. Don't push it too far.
We are fine here. Now we are increasing
the saturation of red color in this graph. Now go to hue or sees you, and take this line and bring this line up just
right about here. Now as you can see, we have this mass. We are going to fix this bias, select the red point, and bring this point below
the line right about here. Now if I do before and after, you can see what
we have achieved. Now the next step is
to increase the offset because there is no
light from this area. So what we need to increase
the offset in our shot, right about here,
38 in each value. Now we need to decrease
the gain like this one, and we need to increase
gamma by 0.01%. That is so much white
in our short right now. So to counter this, we need to decrease the
lift right about here. So if I do before and after, we just add some white in
our shot by doing this. Now, right now in my four-day, there is so much red color
I can see in my footage. So to counter this, just add in the color Robert, go to the color and select this wind and push
it to the blue side. Like this. Don't
push it too far. Just right here we are fine. Just write about it. Now in the gain, add
some yellow, like this. Now in the old set at
some, read about here. If I do before and after, we just add some
color in our shot, we just cleaning up
the shot a little bit. Now I'm going to
add another serial. Let me demonstrate you
by decreasing the gain. To show you what I'm
going to do in this node. So as you can see in the graph, we have so much red in the shirt right now to counter this, we need to select, go to the color of buttons, select this point and bring
these to the green side. Does 2. Now in the offset, push it to the green
side, right about here. If I reset my gain, you can see if I do
before and after. We just clean the shower, leaders add some
green in the shot. Now there is so much light
from this ADN, from this area. We need our degrees this
by decreasing the gain. Right about here. This is before, and this is after. Our subject is lost in
the shot right now. So we are going
to add some light around him to draw
attention to it. To do that, we need
to add a serial. Go to the mask window and select this circular mask and
take this, this area. The subject around
the subject had press Shift Edge to
see the mask area. Now increase the size and increase the softness
of this mask. Now go to your primaries. And in the gain increases again, just a little bit and
increase the contrast. Right about here. Press Shift Edge once again and go to curve
to see the result. This is before and
this is after. And you can also play around with the
contrast and the Gamma. This is fine. This is
before and this is after. Now I don't want the viewer to focus on this area of the shot. I'm going to blur this area. To do that, we need to add another cereal and
go to your Open FX. And this time I'm going to
add a directional blur node, a particular blur, just
a directional dot. And go to your masking window, scroll down and select
this gradient mask. I'm going to mask this area. Now if you want to
soften this mass, just select this arrow and
bring this to the right side. Right about. Now I'm going to
increase the blur strength. Right about here is fine. Now still get viewers attention. What I'm going to do
is go to your curve. Go to your curved simple curve. Select this one and
bring this down. Right here. We need to add some
contrast to it. Now if I do before and after, you can see now the subject
is getting all the attention. And not this particular
part in our chart. You can also soften the more
this mask. And this is fine. Now we're good to go. Now the final step is
to add another cereal. And I'm just going to hide
the Open FX for this node. Go to the masking
window and add a circular mask around
your subject. And increase the softness of this mask and increase the size. Now press Shift Edge and go to the curve and increase
the highlight in the curve. Right about here. And degrees the shadow part
AND curve right about. Now go to the masking window
and press Shift Edge. In grades the softness
of this mask. Just a little bit. Now if I zoom in, I showed
you before and after, you can see we just encounter these greenish light from this
area and from the subject. Now go to the second node, degrees the green
value in this node. Now select this masking node and play this mask
right about here. Now go to the curve, this point rabbit, Walter, and take this one and
place it right about here. Now add another node in this primary of
this node in Greece, the blue light on maybe
decrease just a little bit. Now if I select all my nodes and show you before and after, you can see we just done this graph into
this masterpiece. Now you can apply these gray
to annual of your footage. Don't go to the gallery. Radically care and grab
stated, this is our steel. Now add a glib. Now go to the gallery, and this is our steel. Right-click it and
apply the grade. Now I will grade is
applied to this. This is how you can apply your color grade to any
of your other footage. Now you can do another thing
to clean up the footage. Furthermore, go to the curve, select the final node
and add highlight in the curve and
decrease the contrast just a little bit about. Here. Don't push it too far,
just right about it. Before. And this is after. We are increasing the
highlight of our alley for.
 Faizan Amjed, Video Editor,Filmmaker & Youtuber