Transcripts
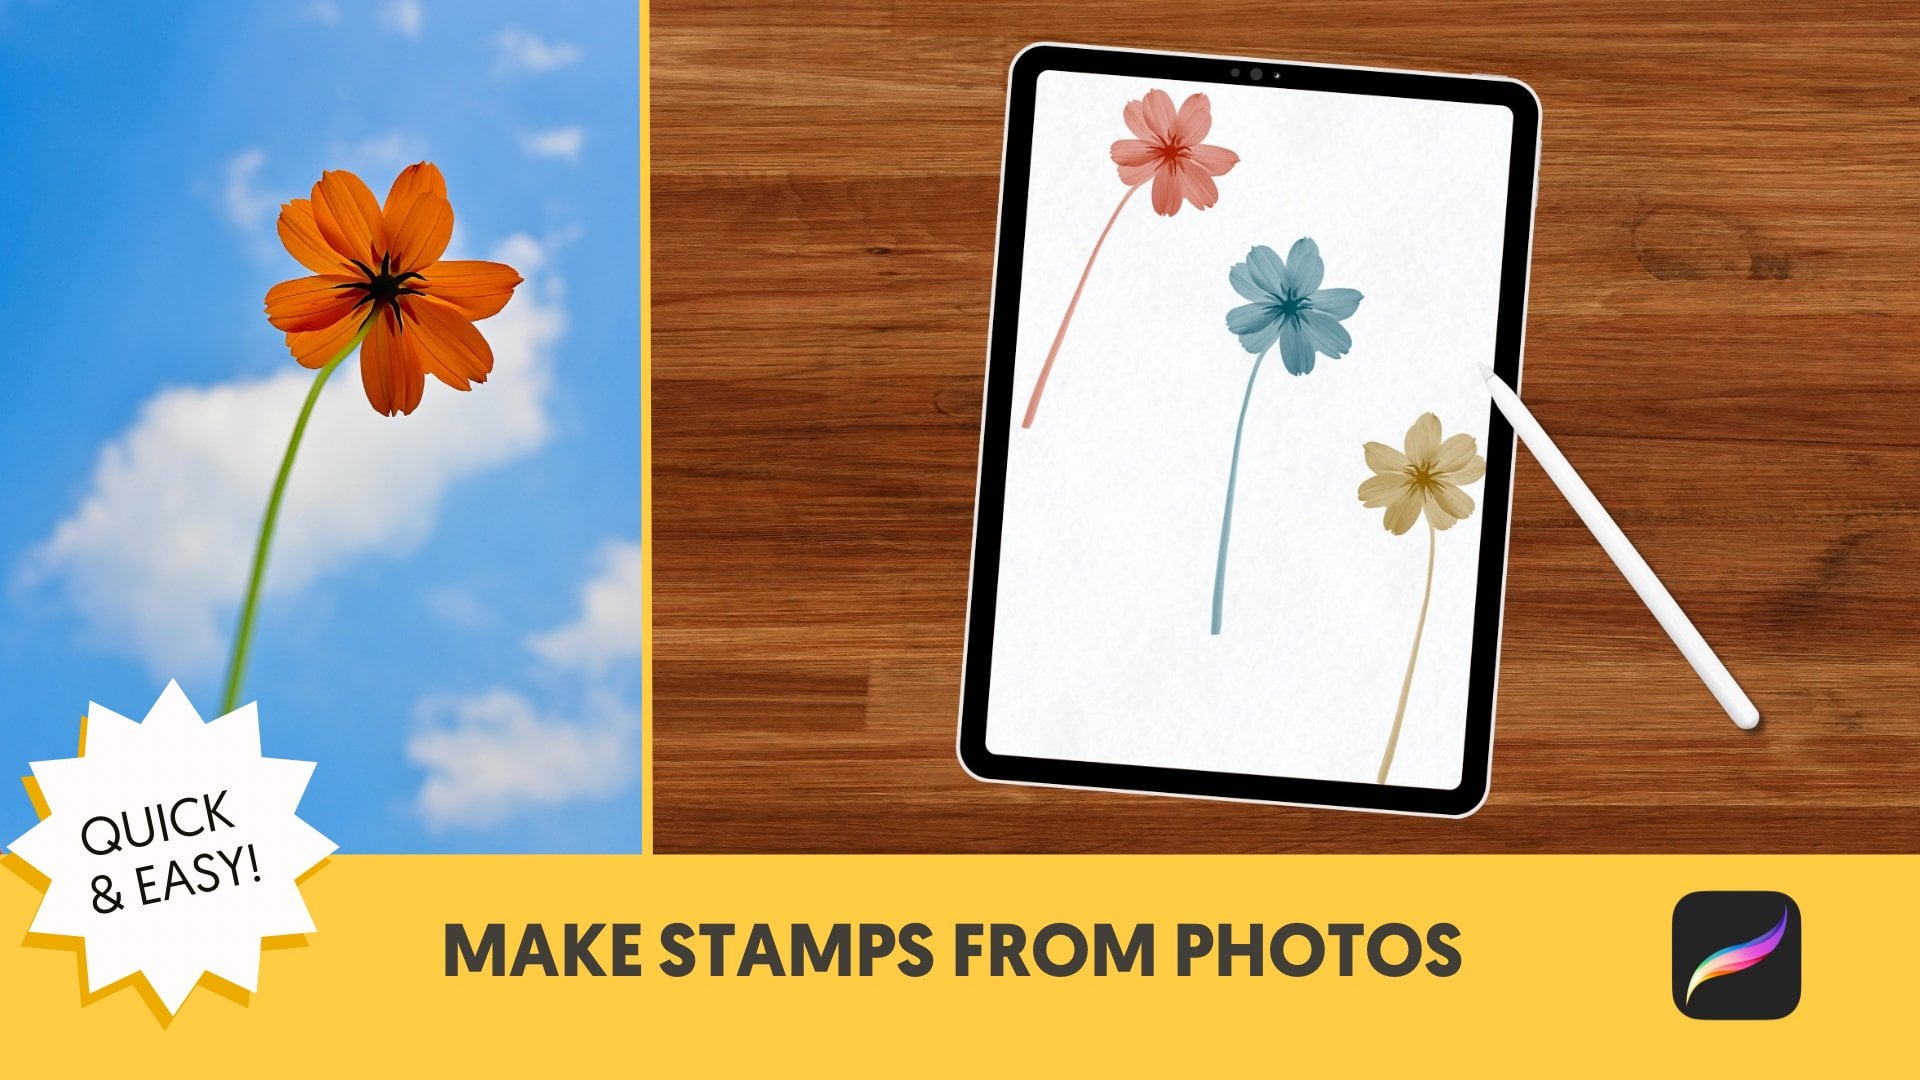
1. Intro: Photo Stamps in Procreate #2: Mmm. Hi. I'm Kelley. In my last class, Make Photostamp Brushes In Procreate: A
Quick and Easy Tutorial, We created Procreate
stamp brushes. This time, we're doing another quick dive into
the Brush Studio to make those brushes even more versatile by tweaking rotation, hue, and size, giving you more creative
control with just a tap. And as always, I have some
class assets for you. We'll explore them
in the next lesson.
2. Class Resources: Your Free Assets: Welcome back. You'll receive these free
resources for this class. First, you'll receive
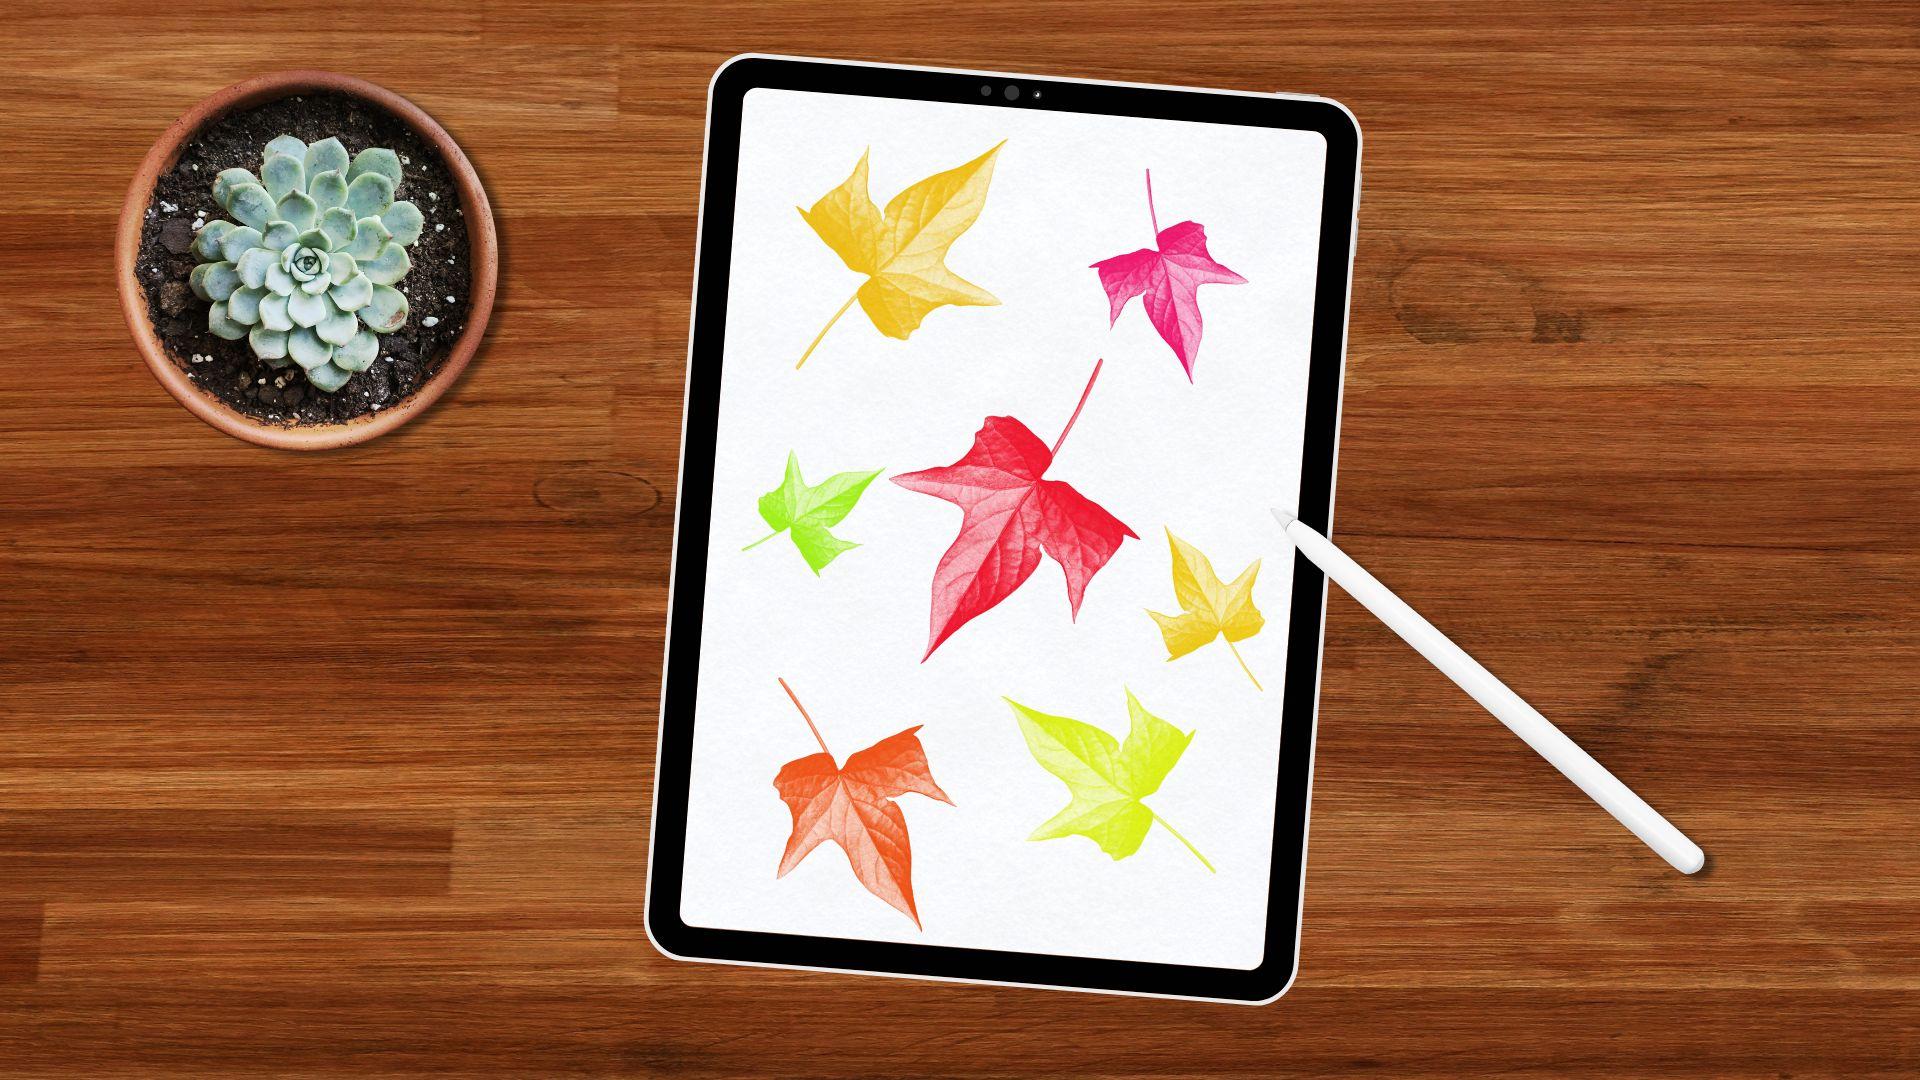
a leaf stamp brush. We'll duplicate this brush
to create new brushes. You'll also receive
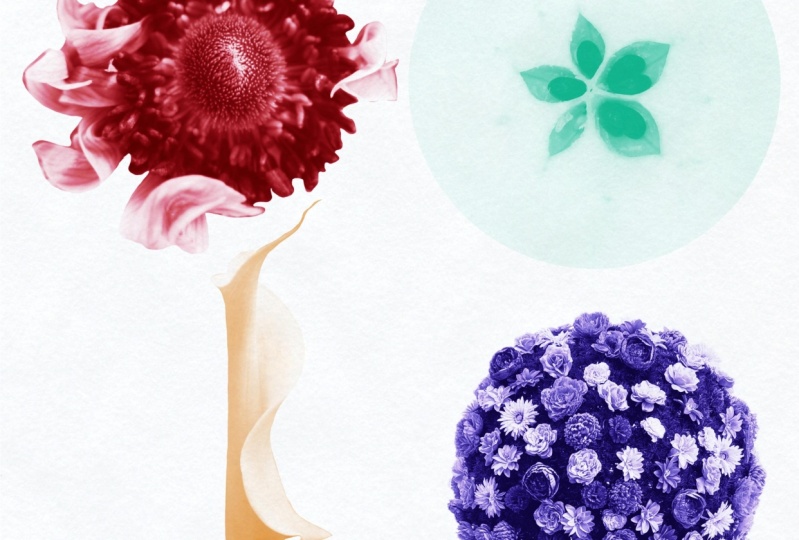
eight isolated images from my collage kits
to use as stamps. You'll also find a
natural paper texture in the Class Assets. It's a high quality
texture file to add depth and a handcrafted
feel to your stamp brushes. But wait, there's more. You'll get a step by
step guide to adjusting Brush Studio settings for
rotation, hue and size. Next, let's head into the Brush Studio and
explore how to give your stamp brushes some
fun variations.
3. Adjusting Jitter for Rotation & Direction: Welcome back. In this lesson, we will set up our
canvas and then we'll adjust some settings under
Shape in the Brush Studio. Let's get started. We'll create a new canvas for our brushes. You want a large size. So
let's do a 12 by 12 inch. I'm hitting Plus and Folder, and I'm labeling this
"Brush Making Canvas." We can use one canvas
throughout the class, and I am changing it to inches, and I am changing
it to 12 by 12. You want a square canvas with a white
background for stamps. So I'm going to hit
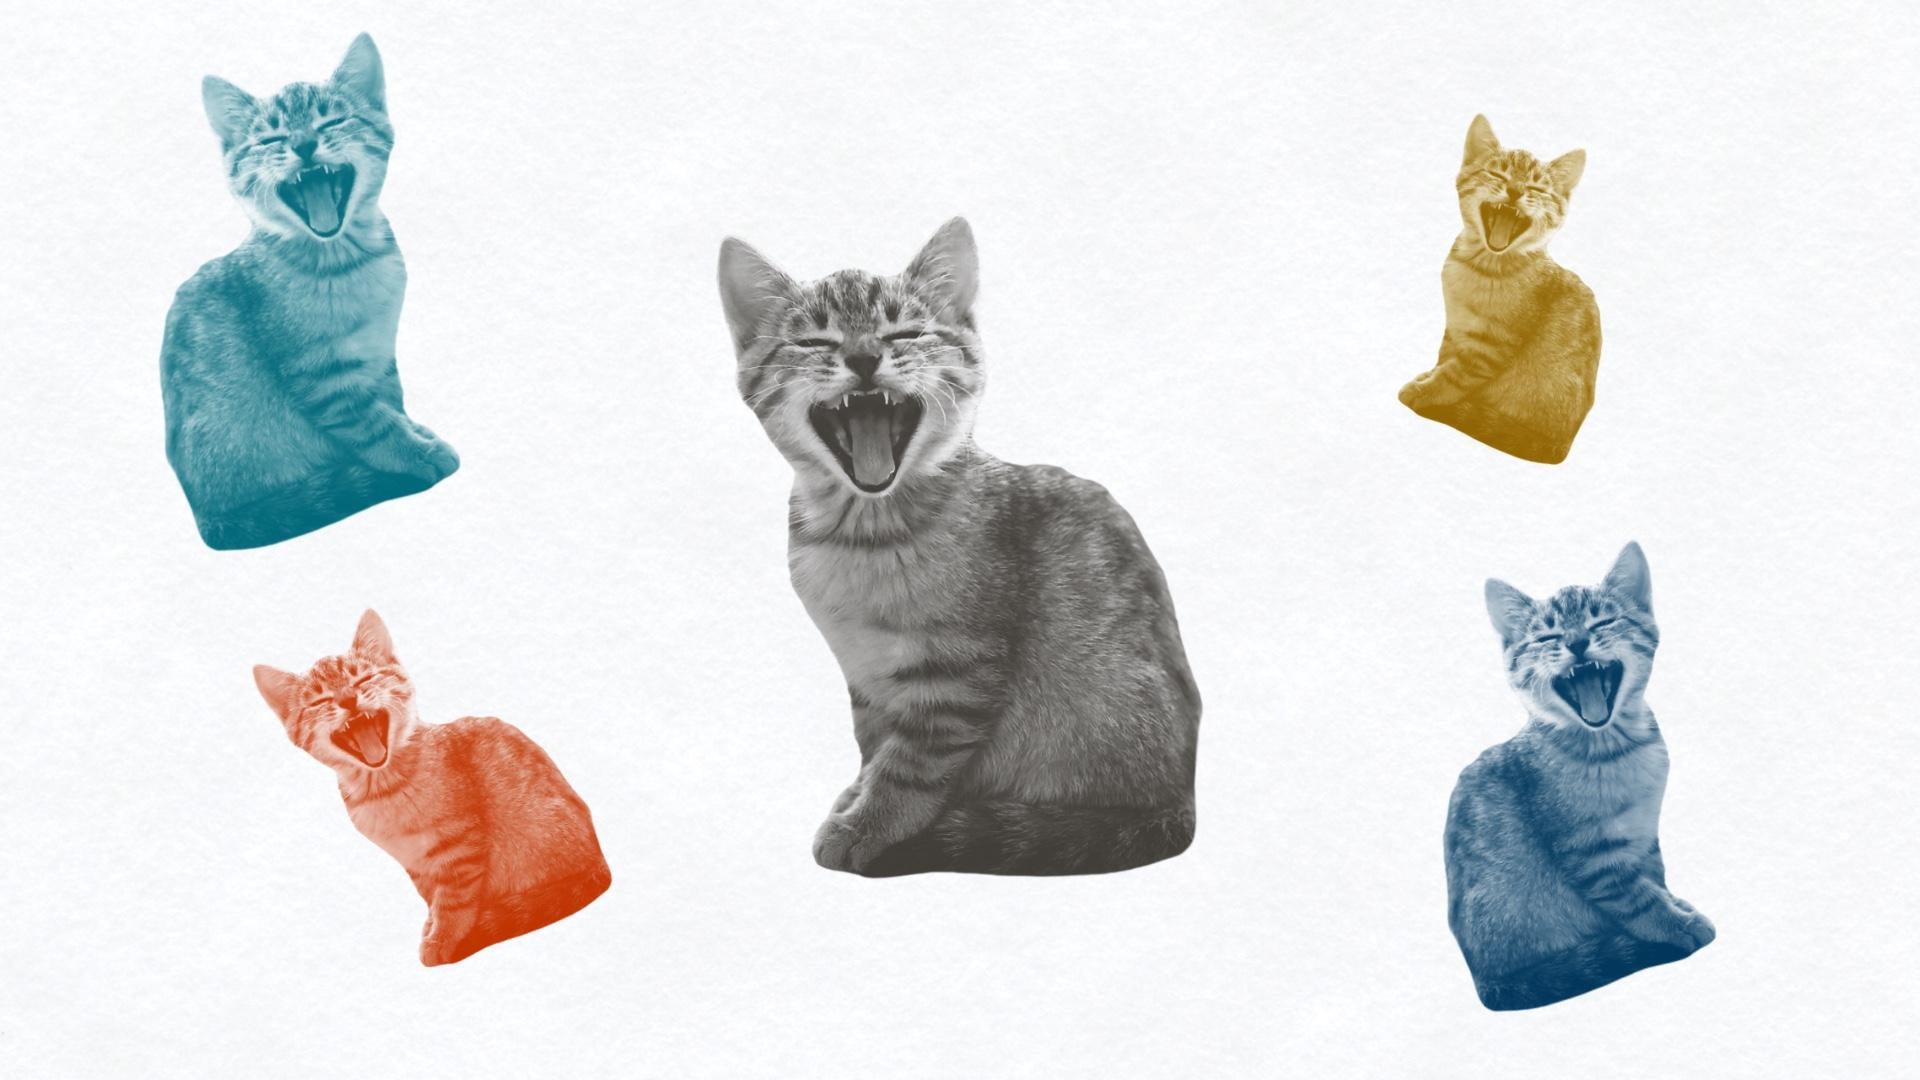
Create, and here it is. I'll be using this cat
throughout the class. You can use any
isolated image that you would like. So here's my cat. I want only the cat and
not the background, so I'm just going to
copy the cat layer, and I am going to go to
the Brush Making Canvas, and I am going to hit Paste. And here is our cat. She's from my Collage
Fusion Collage Kit, and we want to make her black
and white for our stamp. The first thing I
am going to do is desaturate her; Magic Wand, Hue, Saturation and Brightness; bring the Saturation
all the way down. And then we go back
to Magic Wand, Curves. I'm doing all these steps
pretty quickly because I went over them in my first
class, but we are on Gamma, and I create three points, and I just kind of
move them around looking for maximum contrast. We want a sharp image with a lot of contrast between
the white and the black. And you can tap Preview if you want to see.
This is before, This is after. Before, and After. I think that looks pretty
good. I'm going to hit Apply. We're going to do a Three Finger Drag Down and hit Copy All, so we copy both the cat
and the background. And here is the set that I gave you in the class resources. It is a leaf stamp that I made. So what I'm going to do is
Duplicate this, tap on it, hit Shape, hit Edit, and then import the
cat by hitting Paste. And here's the cat.
She looks like a photo negative. That is good. So I'm going to go
back and name her "Cat." Let's grab the
subtle paper texture from the Class Resources. It's right here, and I'm
going to Copy the layer and go back into my brush stamp. And I'm going to hit Paste. And I'm going to bring
that to the bottom. You don't want to
use any texture when you're actually making a stamp, like when we imported
the cat image. But what we're doing
for the rest of the class is just tweaking settings on the brush so we
can use this paper texture. Let's look at where our
cat brush is right now. We can stamp it. We can make it smaller. We can change the color. You'll notice here that she's always standing up
straight and there's no variation unless we tweak the size and
color ourselves, but that will change
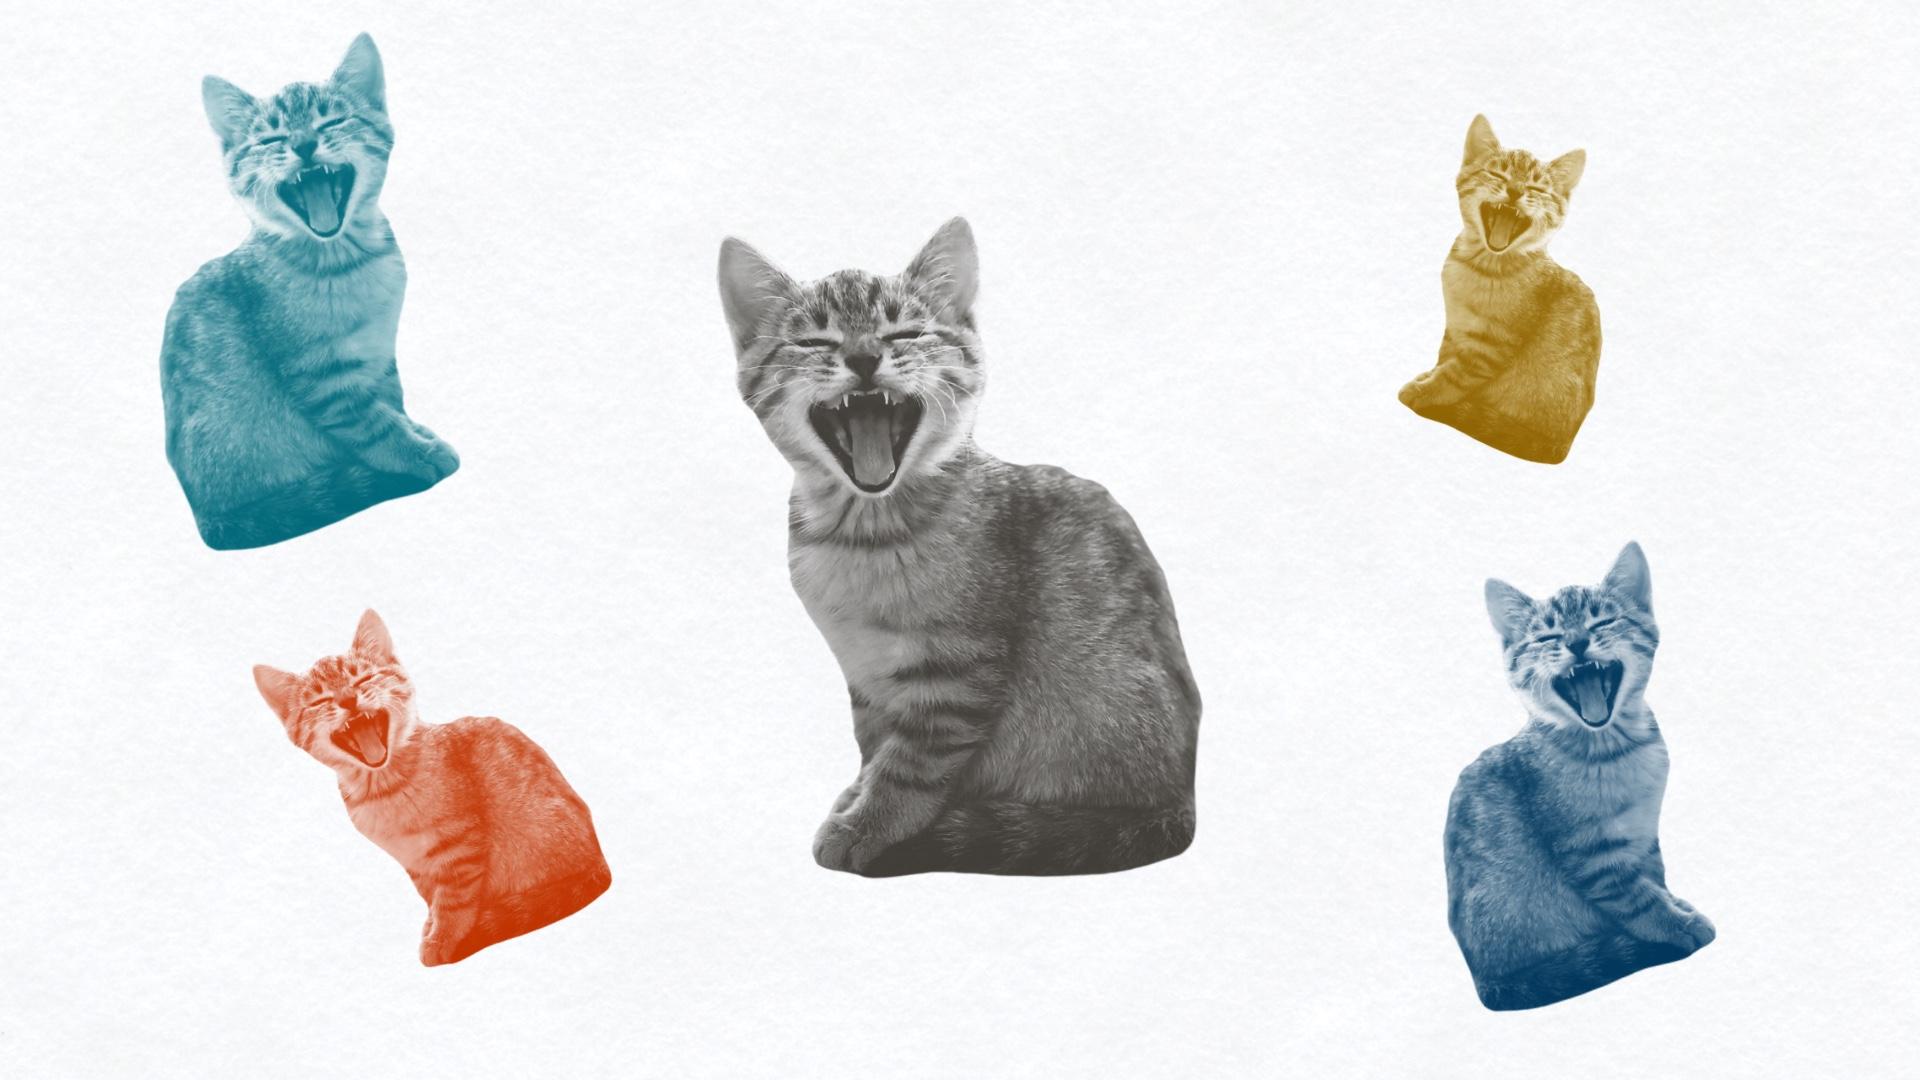
as we go on in class. So here we have our cat brush, and I'm going to Duplicate it, and I'm going to call
this one "Cat Scatter." And I'm just going to tap some cats around here
and I'm going to adjust the Scatter
so you can see what happens when we're
adjusting the Scatter. Let's just bring the
Scatter to about 100%. If you ever want to clear
your Drawing Pad here, you can tap here and
hit Clear Drawing Pad. And so anyway, here's our
cat scattered at 100%. We are also going to go to About This Brush, and Create
New Reset Point. I'm also going to quickly personalize this by
adding my photo. There's a picture, and
I can write my name. You can sign it, or you can just do a little
heart like I do. So here is our Cat Scatter. You could use this technique for creating a pattern
of scattered cats, but let's give it
even more variation. Let's go back into the Brush
Studio and go to Shape. And let's go to, I'm just going to put some things on here so we can see
it, Randomized. So when you have Flip X
and Flip Y toggled on, it will give even more
variation to the cat, changing its orientation
vertically and horizontally. Let's go take a look. So here is our flipped and
randomized cat. And if we compare that to
the first set of cats, I'm not sure it looks incredibly more randomized,
but apparently it is. We are going to
rename this brush to "Cat Scatter, Random, Flipped. So we have the maximum rotation
variation with this cat. Let's take a quick break. In the next lesson, we are
going to give our cat stamp a little variation
in color and size. I will see you in
the next lesson.
4. Hue & Size Variations in Brush Studio: Welcome back. Did you know that you can change the color of your stamp brush? Well now you do, and you're
going to learn how to do it. So we're going to
take our Cat Scatter, and I'm going to hit
Create New Reset Point. I don't know if I did that, and I am going to Duplicate that. And we are going to call this
brush "Cat Scatter and Hue." And we are going to
go to Color Dynamics, and we are going to go
to Stamp Color Jitter, and we are going
to change the Hue. Let's start with 25%. And you can't see
hue changes here. So we are going to go
back to our Canvas. I have this gold color selected, and you can see here that it is changing the hue slightly. And it is still
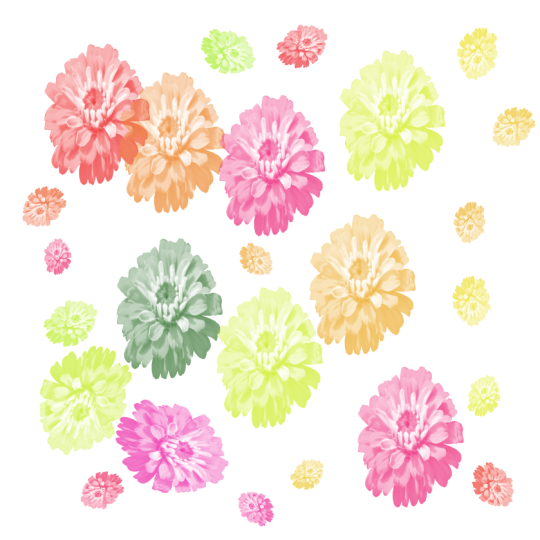
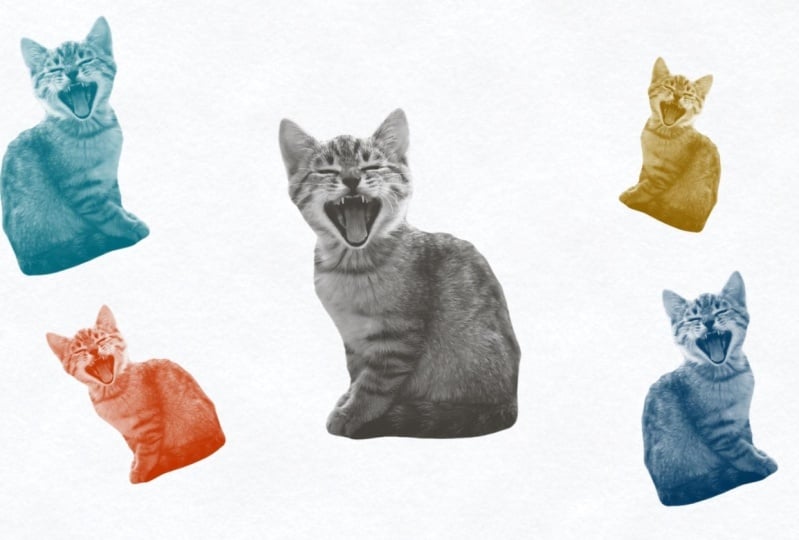
randomized and scattered. And it's at 25%. If we wanted a more drastic
color change, we could bring it to anywhere. Let's go to Max. Okay, so I have this gold color selected. We have cat scatter and
hue, and it's 100%. So we have more variation
in the color of our cats. But if we change to
a different color, let's go to this
teal color to start. We will have a cat
variation in colors, but it will look a
little bit different than here because we started
out with a different color. So you can play with
different effects. Let's do orange and a new layer. Oh, that gets some
pretty funky things. I think it has to do with
how bright the color is among other things. Let's
try this turquoise. Yeah, a brighter color will
yield brighter colors, a less saturated color will yield less saturated
colors, and so on. So there is our Cat
Scatter and H ue. I generally like
it at around 25% because I like my hues to
be similar to each other, but it depends on the
effect you're going for. And so I'm going to go
to About This Brush, hit Create a New
Reset Point, and Save. We have one last quick
adjustment to make, and that is changing the
size variety of the stamp. So we are going to take
Cat Scatter and Hue, Duplicate and we
are going to rename this brush "Cat Scatter, Hue, Size." And we are going to go to
Dynamics and Jitter, Size, and I will make it
the max difference, and let's go into here. And here we have a large
variety of cat sizes. I don't know if you would really want that much
variety in general. Let's bring it back
to, like, 32%. And add a new layer, we'll grab a new color, purple. And here is cats that
have a variety of sizes, but it's not as dramatic
as the other one. So that is how you can
create variety in rotation, size and color in your
Procreate stamps. And this isn't just for photos. I'm going to show
you real quick how to do this with a shape. I'm going to grab
the Monoline that was in your class set, and I'm going to draw a star. Quick Shape on, so it's
helping me. That looks fine. We'll fix it later, but I'm just going to drop the colors. So I have black in there, and I'm going to continue filling. So here we go. I can see that
there's a little leak here. These aren't connected, so the color would have
leaked out there. So, here we have a star.
It's not the greatest star. That's okay. We're
going to hit Erase, and we're going to use the
same brush to clean it up. I have to remind
myself that creating a perfect star is
not the point here. It's teaching you how
to make a star brush. So here we have an
okay looking star. I am going to stretch it out, and I am going to center it. And here we are. I am
going to hit Copy All. Oops, but you know what
I need to do first? I need to turn off
this paper background. Because otherwise, we'd have
a subtle square around here. So we have a white background, and I'm going to hit Copy All because we do want
the background with this. I'm going to Duplicate
the last cat, and I'm going to go in here
and change the shape to the star by going to Shape,
Edit, Import, Paste. And here we have our
hand drawn star. And I'm going to rename
this "Star Scatter, Hue, Size." I'm going to Create
a New Reset Point. I'm going to hit
Save, and we are going to see what our
star brush looks like. I am going to grab
a yellow color. So here is our star, and it has the variation
in hue, size and rotation. So you could use this to
make a nice starry night. We could put a blue background behind there and make
it look real dreamy. You can use these brushes
for a template to create anything with
any kind of shape, whether it's a hand
drawn image or a photograph or anything
else that you can dream up. So now it is your turn
to share your work. You can start with
a leaf brush from the Class Assets or
a brush that you made from the last class
and change the hue, size, or rotation of it, and then share your new stamp variations in
the Project Gallery. Thank you so much for
joining me today, and I hope to see you soon.