Transcripts
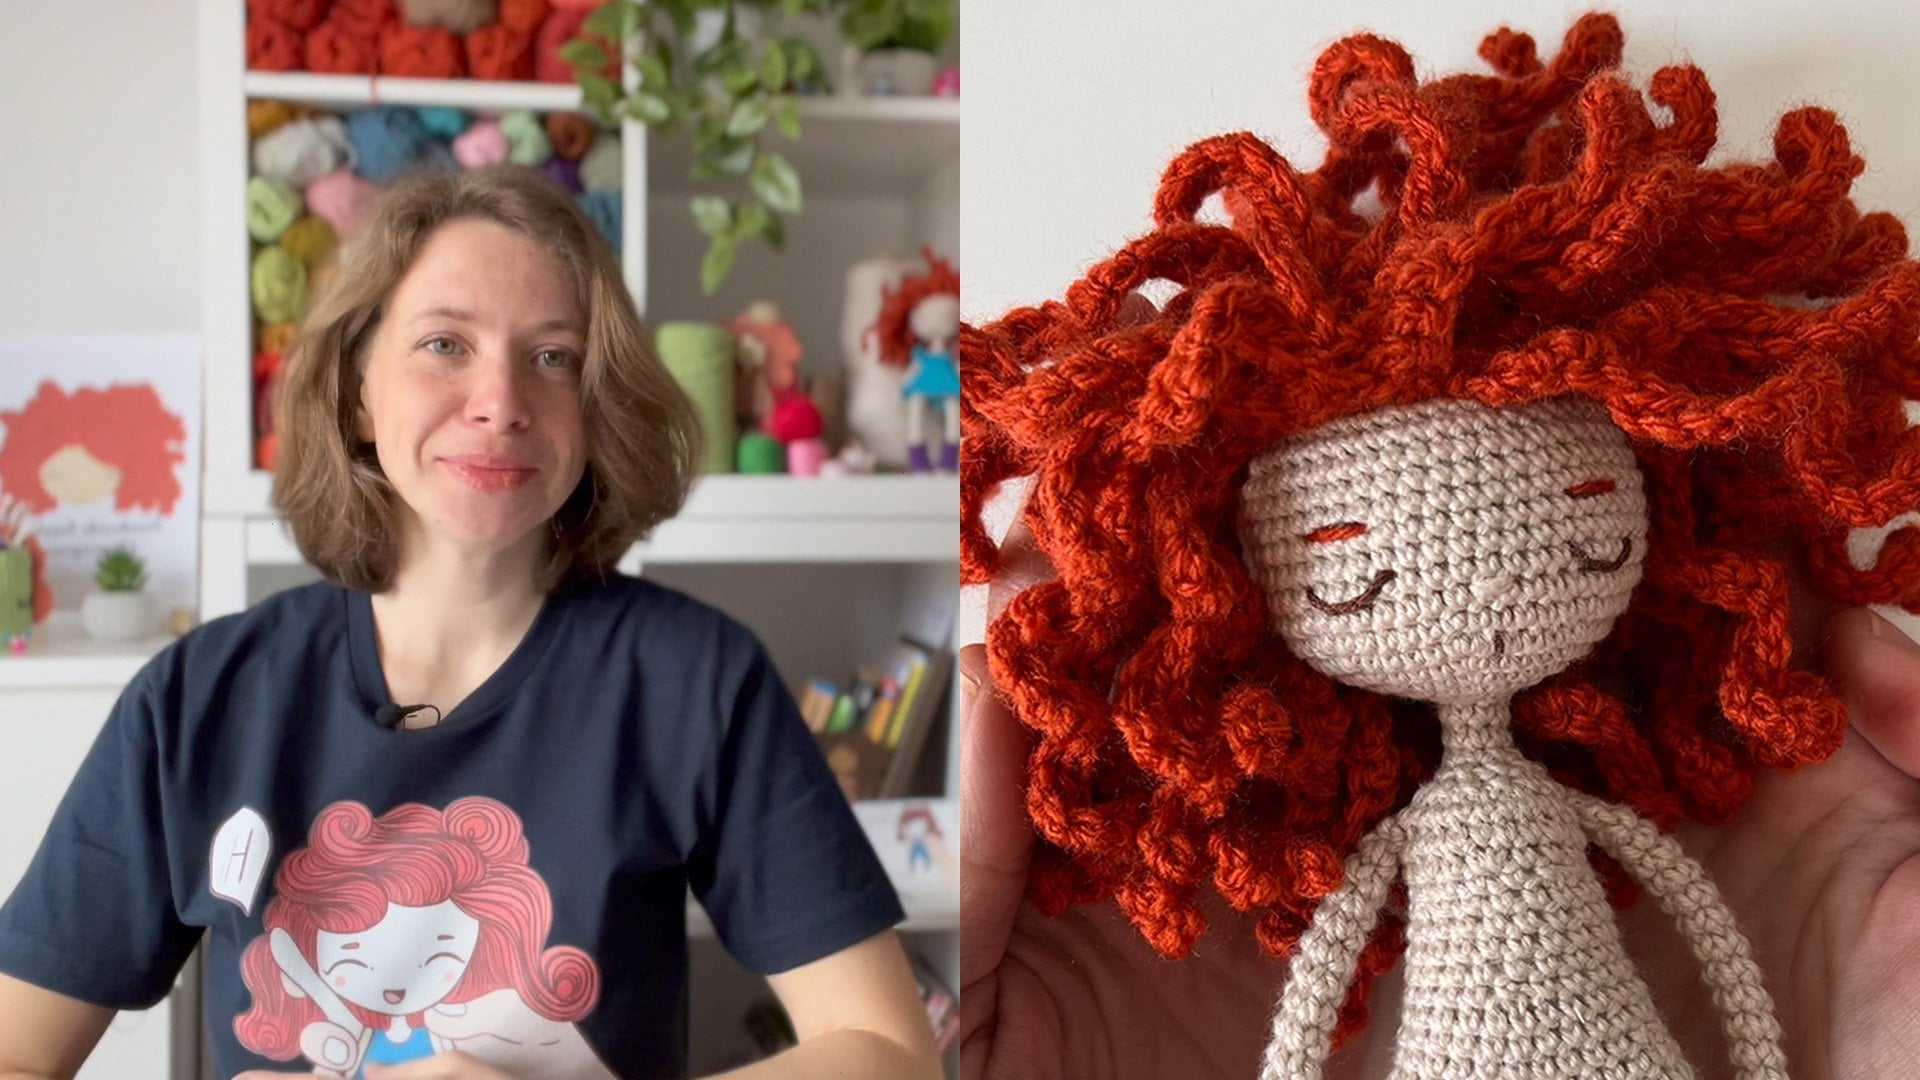
1. Introduction: [MUSIC] Hello, My name is Olga. I am doll maker, eco-friendly designer
and a teacher. I started to make
dolls in 2017 when I was breastfeeding my baby
boy almost all day long. I wrapped a hook and
made my first doll. I published photos of my doll on Instagram and people started to ask me for the instructions. So I learned how to write
instructions for other people. Now I sell my own
patterns on Etsy. I make dolls for orders for
people from around the world and I create tutorials on YouTube, Instagram
and Skillshare. Amigurumi is very popular now. You can make almost
anything just using the crochet hook
and a bit of yarn. When I was a girl, I was making paper dolls and designing their
clothes and accessories. I was having so much fun. Now I make the same, but instead of
pencils and paper, I use crochet hooks. You can feel yourself
as a child creating tiny characters and their
clothes and accessors. Throughout this
class, I'll teach you how to make a
basic doll's body. So then you will be
able to customize it and create your
own unique character. It would be great if you
know how to crochet. My class is for
intermediate crocheters. You can learn about the
main crochet stitches in my Skillshare
class for beginner. You can find the link in
the class description. But I will show you all
the process step-by-step. You can definitely try it if you are not very
familiar with crochet. You will need some simple
materials and tools; A ball of yarn of the skin color and crochet hook
suitable for your yarn, stitch markers, or a piece
of yarn of interest color, a yarn needle to
suit the arms on the doll and hide
the ends of yarn. Fiber fill to stuff the body
of the doll and scissors. You will be able to make
few timid dolls for you. You can customize them
and make those for sale. [MUSIC]
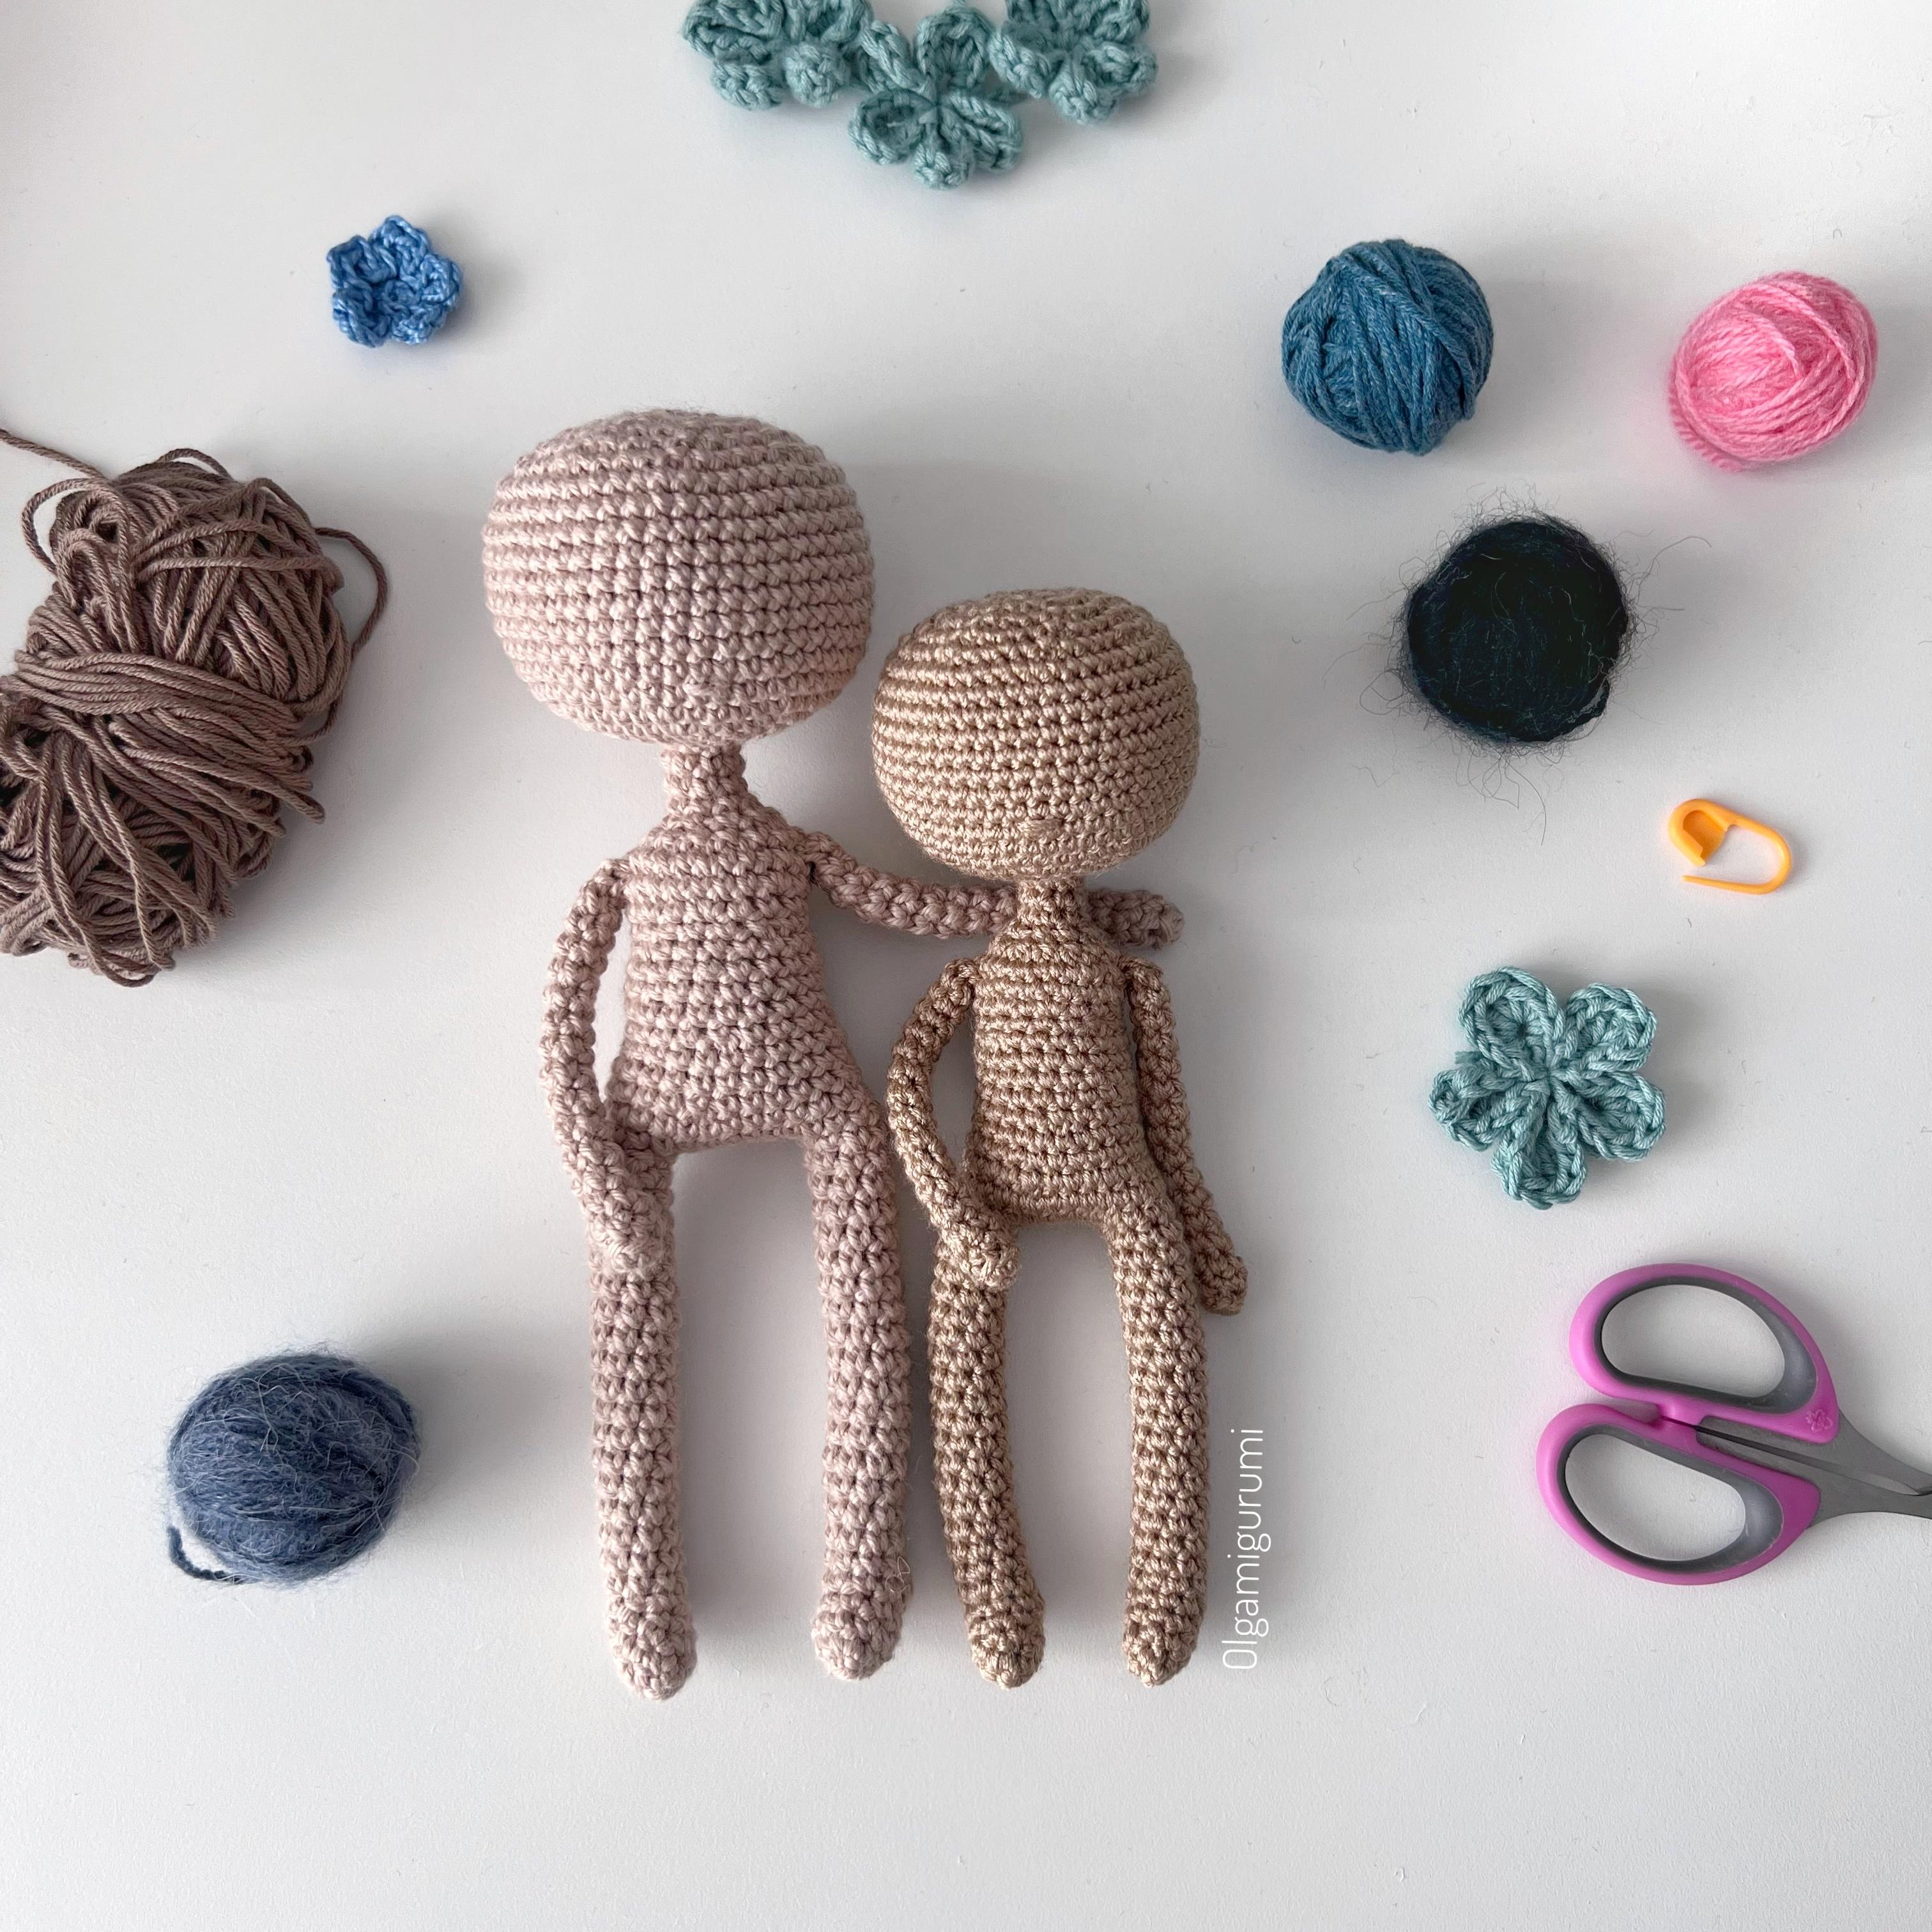
2. About the Class Project: [MUSIC] In the class, we will make a basic
Amigurumi doll's body. You'll then be able to customize it and create your
own unique character. First, I will show you
how to make a foot. Then we will crochet
the legs part, stuffing it in the process, and then join two legs together. We will continue to crochet
the main part of the body. Waist part, shoulders, neck, and finally the head. Separately, we will make the arms and sew
them with the body. You can download written
instructions on how to crochet the body in the
Project and Resources tab. You can have access to the
tab only from your computer. To open the PDF file, it is required to
insert the password. You can see it on your screen. You will have a
full crocheted body of the doll that
you can customize. Make your hair, face, clothes and accessories. How to customize your doll I will teach you in
my next classes. Feel free to share with me
and with other students all the steps of your process in the
class project gallery. You can share which color
you choose for the skin, or your doll, or you can
show your finished doll. [MUSIC]
3. How to Make the Foot: [MUSIC] [FOREIGN] starts
with a magic ring. Let's make it. Make a
big loop with your yarn. Pull the yarn for the loop. Now you have a little on the loop end of the yarn
for this little loop. Now, make four simple
crochet stitches into the magic ring. [MUSIC] Pull the end of the
yarn to close the ring. Now, let's make four increases. To make an increase just to work two simple crochet stitches
in the same stitch. [MUSIC] Now make two rounds of eight
simple crochet stitches. In the future, you can play
with the number of rounds so you can make more rounds and the photo
futile will be longer. I put my stitch marker always on the first
stitch of the round. [MUSIC] I make the second round. [MUSIC] Now make one chain stitch
and turn your work. Keep the chain stitch and make four simple crochet stitches. Turn your work. Skip one stitch and
make one single crochet stitch then, make a decrease. I want to hide this
thread into the foot. Now let's finish the foot. Make one stitch in the mortar. Then make four simple
crochet stitches, interface stitches. [MUSIC] One stitch in the border and two less stitches
to finish the foot. The foot is ready. So now you can staff
it a little bit.
4. Let's Finish the Leg: [MUSIC] To finish the leg, we'll just need to work 18 rounds of eight
simple crochet stitches. I will show you how
to use this piece of sewing thread to
mark your rounds. I think it is very useful, and you shouldn't
count your rounds. I put the thread on the first stitch of
the previous round, and I start to work. I make my first round. Now I pull the shorter
end to make it longer. Now I put this longer end on the first stitch
of the previous round, and I start to work. I make the second round. Now you can see a red line, and I know that I
made two rounds, so one line is equal
to one pair of rounds. For example, if I
see three lines, I know that I made six rounds. When I see nine lines, I know that I made 18 rounds. To finish the leg, we just need to work 18 rounds. I recommend you to
stop every six rounds, and stuff your leg
in the process. I work this way. I make three pairs of rounds, then I remove the yarn, my marker, I stuff the leg, and then I continue to work. Do not stuff too much the leg. Make a sleep stitch
to secure the yarn, and cut the yarn, but only for the first leg. Now make the second leg, but do not cut the yarn
of the second leg. In the next video, we will join them.
5. How to Join the Legs: [MUSIC] Let's join
the legs of the doll. I prefer to put them this
way, the toes inside. It looks cute and childy. To join the legs we need to make several single crochets
stitches if it is necessary, of course to come to the center of the inner
part to the second leg. In my case, I make two stitches. Now I make six chain stitches, and find the center of the
inner part of the first leg. The last stitch that I made
I mark with a stitch marker. Now I just work around round the first
leg eight stitches. Hide these thread into this
stitches that you are making. [MUSIC] Then six single
crochets stitches around the chain of six. Carefully find the chains
to not to miss any of them. [MUSIC] Then I work eight stitches
around the second leg. [MUSIC] Add six single crochet stitches around the chain of six on
the other side of the chain. [MUSIC] This part of the body was a
little bit tricky for me at the start but with
practice I got the trick. You just need to
use stitch markers and control your
stitches and chains. In the next lesson, we will continue to crochet
the main part of the body, making the waist, shoulders, and the neck. [MUSIC]
6. Let's Crochet the Main Part of the Doll's Body: [MUSIC] Now we will crochet the main part
of the body using increases and decreases to make natural curves of the body. Stuff the body little by little. Do not over stuff it in the
process because you can get the pieces of fiber fill by hook and mix them
with your yarn. The stuffing should stay inside, not outside of the body, of course, if it isn't
a part of your design. From the second round
we'll start to decrease. Now we will make the waist part. In the next video, we will make the
neck and the head. [MUSIC]
7. How to Make the Head of the Doll: [MUSIC] Now we will make the neck because I
think it is very important, and then we will make the head. But before I would
like to stuff it more. I think it needs more stuff
to make the neck just work for rounds of eight simple crochet stitches or 32 simple crochet stitches. Bigger head and smaller
body look much cuter. You can experiment with the sizes of the
body and the head. Choose your own
favorite proportions. You can find the
return instruction of each part of the doll in the
project and resources tab, so you just need to
increase then you work 10 rounds without
increases or decreases, and then you decrease
to finish the head. Use your favorite
stitch markers to mark the start of the round. To make the head stable, I use cotton swabs, for two or three into the neck. Also, you can use wire or
you can use wooden stick. I think there are a lot of materials
that you can use but I prefer cotton swaps. If you have another idea
you can share it with us. In this step you can start to stuff it. Staff it more. The last round just
eight decreases. Leave alone tail
and cut the yarn. Now we need a needle
to close the hole. Taking only front loops on the stitches rock this way
each of eight stitches, and then pull the yarn
to close the hole. I use the same thread to
broad the nose of the doll. I search for the last
increase on the head and then go up two rounds on this level I make the
notes for my doll. Two stitches to the right, I make a stitch. Then another one, and I finish the
head of my doll. Now to secure the yarn, I make a knot and I hide the yarn
into the head, you can repeat this
one or two times more. Cut the yarn and let's go to the next
video where we will make the arms of the doll and we will
sue them to the body.
8. Let's Crochet the Arms of the Doll and Sew Them: [MUSIC] To finish the
body of the doll, we just need to make the arms
and sew them to the body. Let's go in the middle crane, we will make five
simple crochet. [MUSIC] The next round, we will work only in back
loops of the stitches. [MUSIC] Round three, I make say simple
crochet stitches. [MUSIC] Round four, I decrease and for simple
crotchet stitches. [MUSIC] I don't start the arms. I prefer them to be
softer and more flexible, to be able to put on the
clothes without any force. Now, let's hide this end, and now work 12 rounds of
five simple crochet stitches. Use your stitch markers
to mark your rounds. It is very important, so you will not lose any stitch. If you miss even one
stitch in your round, your arm will be too
narrow or too long. At the yarn, even
though long tail for sewing and make the second arm. Now let's sew them. Fold each arm in half and sew work in the stitches
the two literals. I prefer to sew the
arms because sewing, you can put them
on the same level. Another option, you can
crochet them before the body and then
working with the body, you can crochet
them into the body. But as we work in spiral, so one arm will be a little
bit lower than the other arm. Sewing the arms, you can fix this. You can use pins to mark the
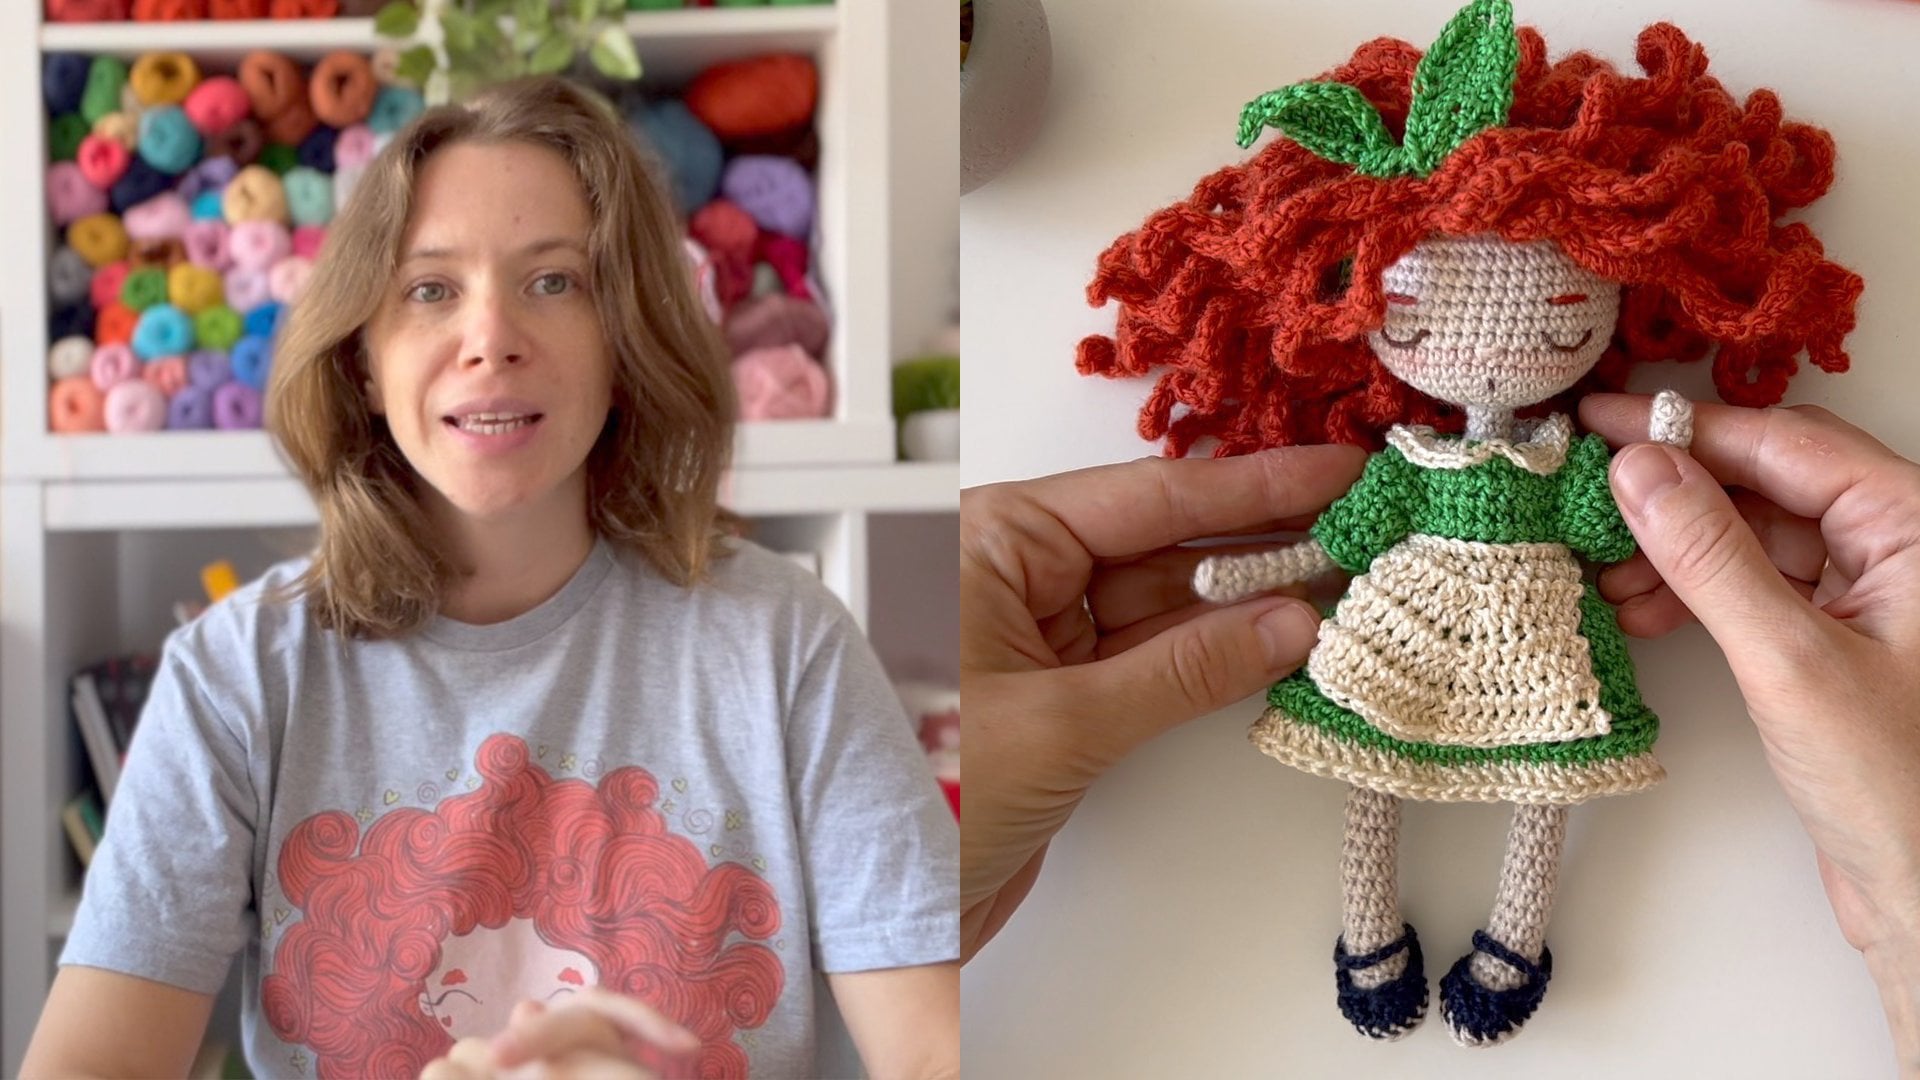
place when you should sew the arm. [MUSIC] Our doll is ready. Look at it, isn't it already cute? Now it's time to think
about its personality. Is it a girl or a boy, what color of the hair
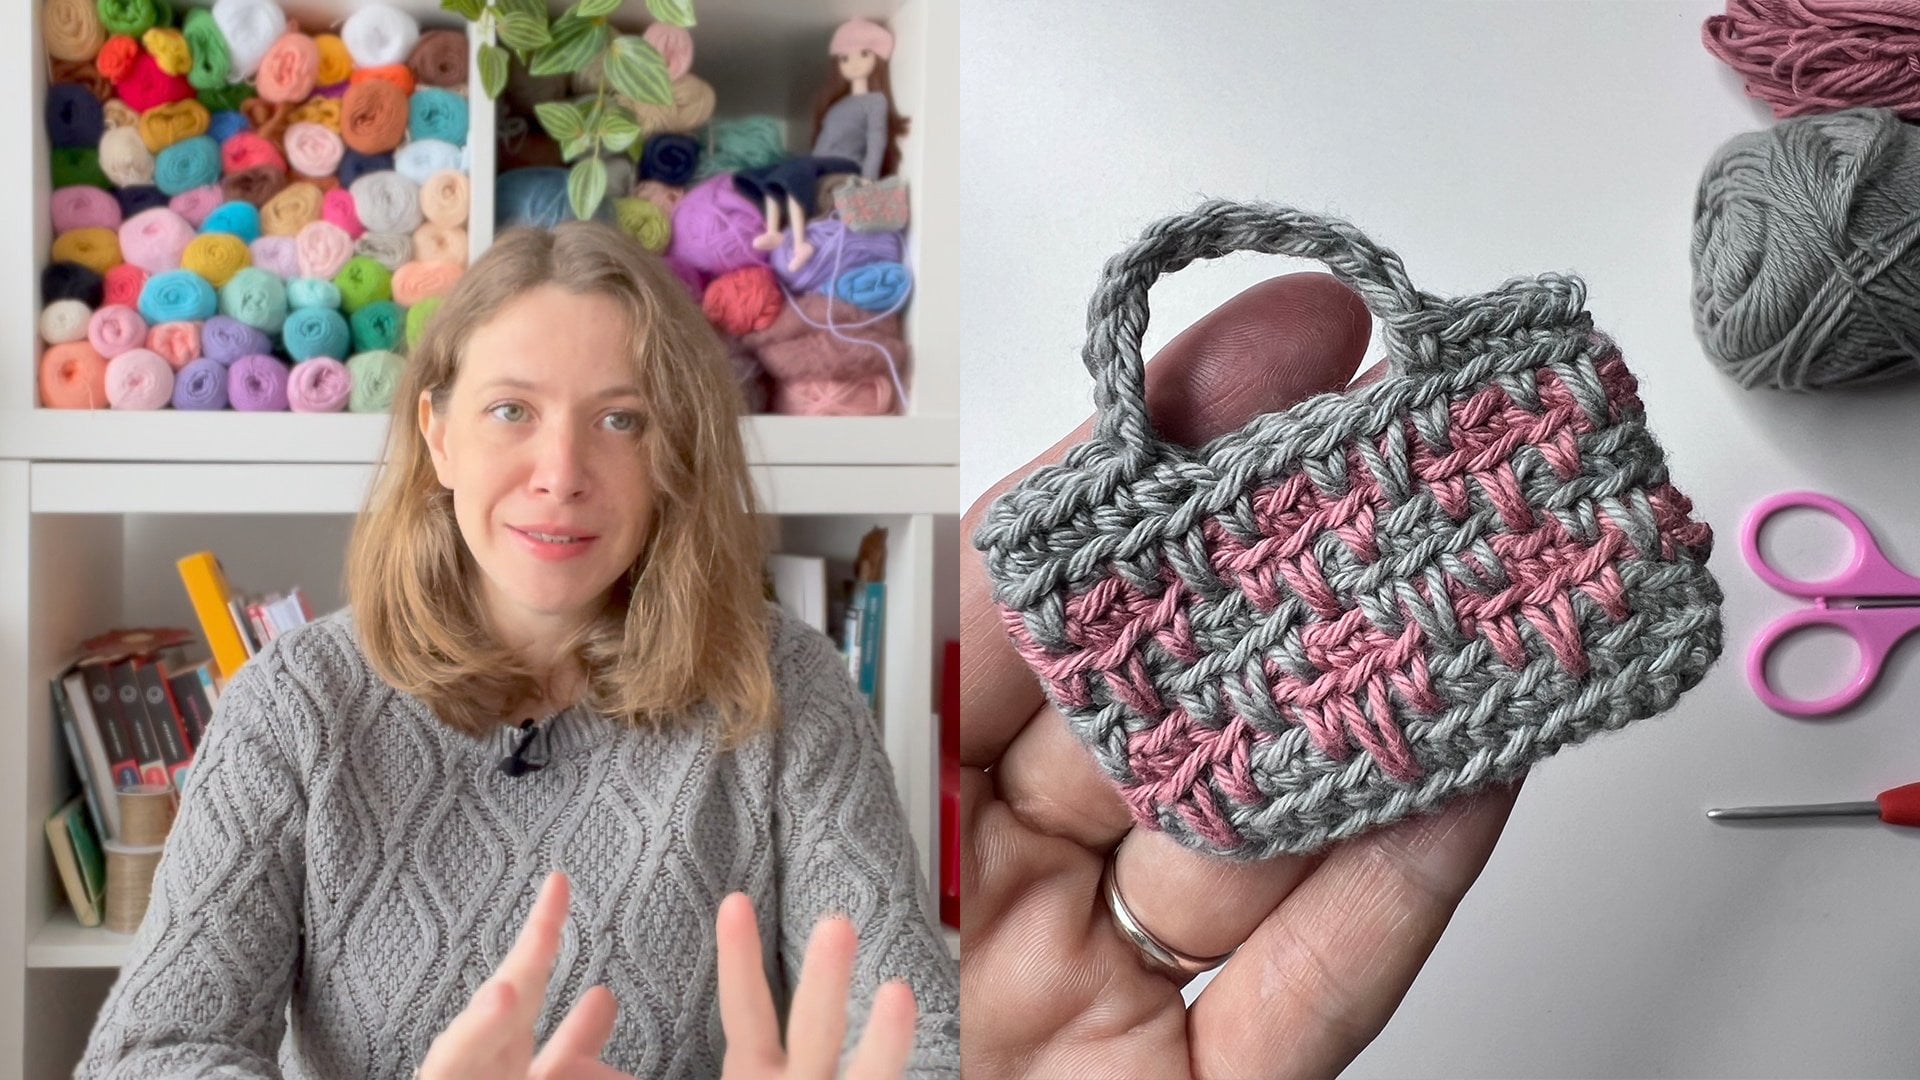
should he/she have? What details of the face? Freckles, birth marks, etc. What clothes would you like
to make for your character? What's next?
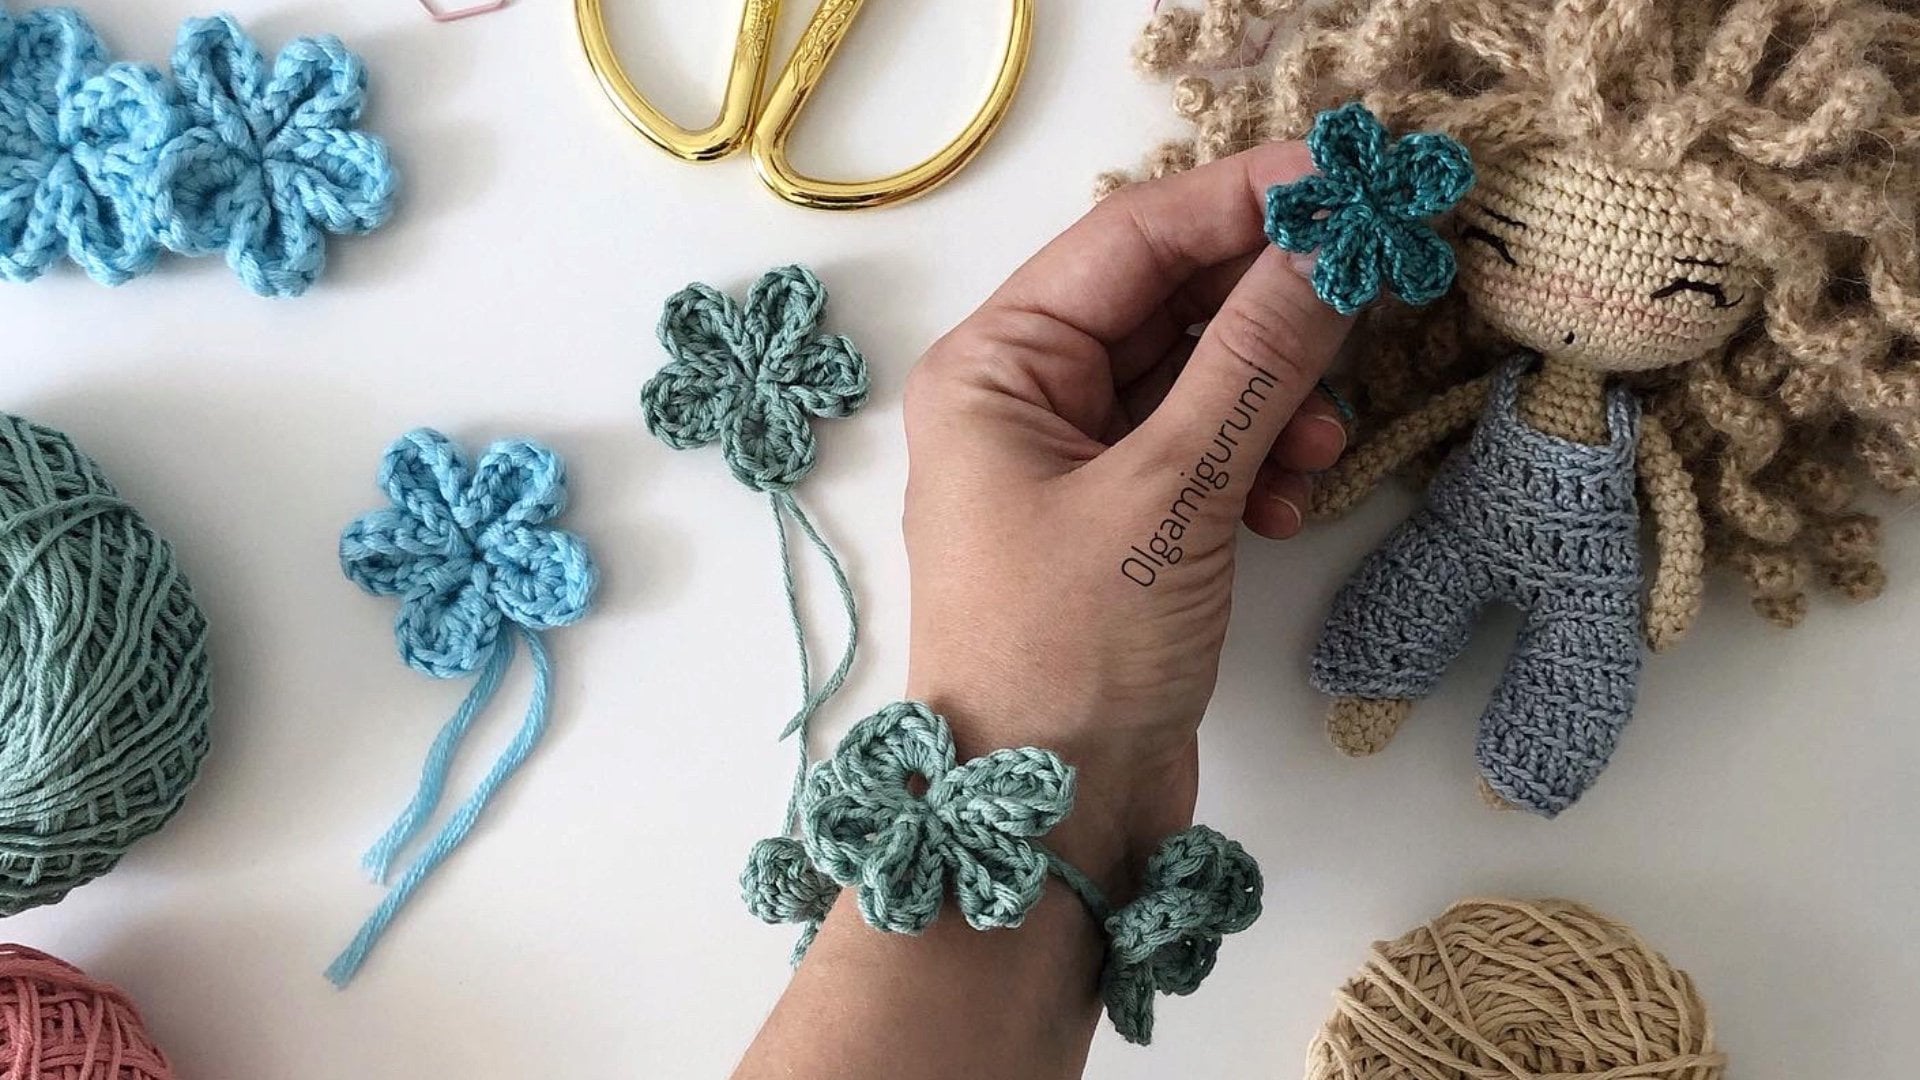
9. What Can You Make with Your new Skills?: [MUSIC] Now you can make
amigurumi dolls. You can play with
proportions and make your own doll's body. You can customize it and add personality so each
doll will be unique. Share your characters
in the project section, I would like to see them. Let's make the project sections
full of little creatures. Now you have a little character
that needs your help. She or he needs to
have a face, clothes, and maybe little or big
house with furniture. Let your fantasy fly. You can make custom dolls
and sell them on web pages for handmakers such
as Etsy or Amazon. You can design and make your own buttons and share
them for free or sell them. This is the first class on
the set about doll-making. See you in the next classes. Thank you for
crocheting with me. [MUSIC]
 Olga Bortniak, Crochet designer, dollmaker Olgamigurumi