Transcripts
1. Introduction: Hi there, I'm Olga pork NAC also know is Omega
Rumi as a crusher, designer, toolmaker and teacher. I'm passionate about
creating those, designing cruise ship
patterns and sharing my knowledge on various
platforms like YouTube, Instagram, TikTok,
and Skillshare. For me, every room is like
drawing the yarn and took, and the possibilities
are endless. As a child, I enjoyed making paper dose and designing
their outfits. And now I love using
crochet hooks and urine, needles and threats to bring
my imagination to live. In this class. Show you how to crochet wavy hair for your
immigrant metal. So you can give your creations a unique Luke and personality. You only need to know the
basic crochet stitches like the magic green chains teach single crochet stitch and
slip stitch to get started. Whether you are an experienced
stemming Rumi maker or just a beginner. This class is perfect
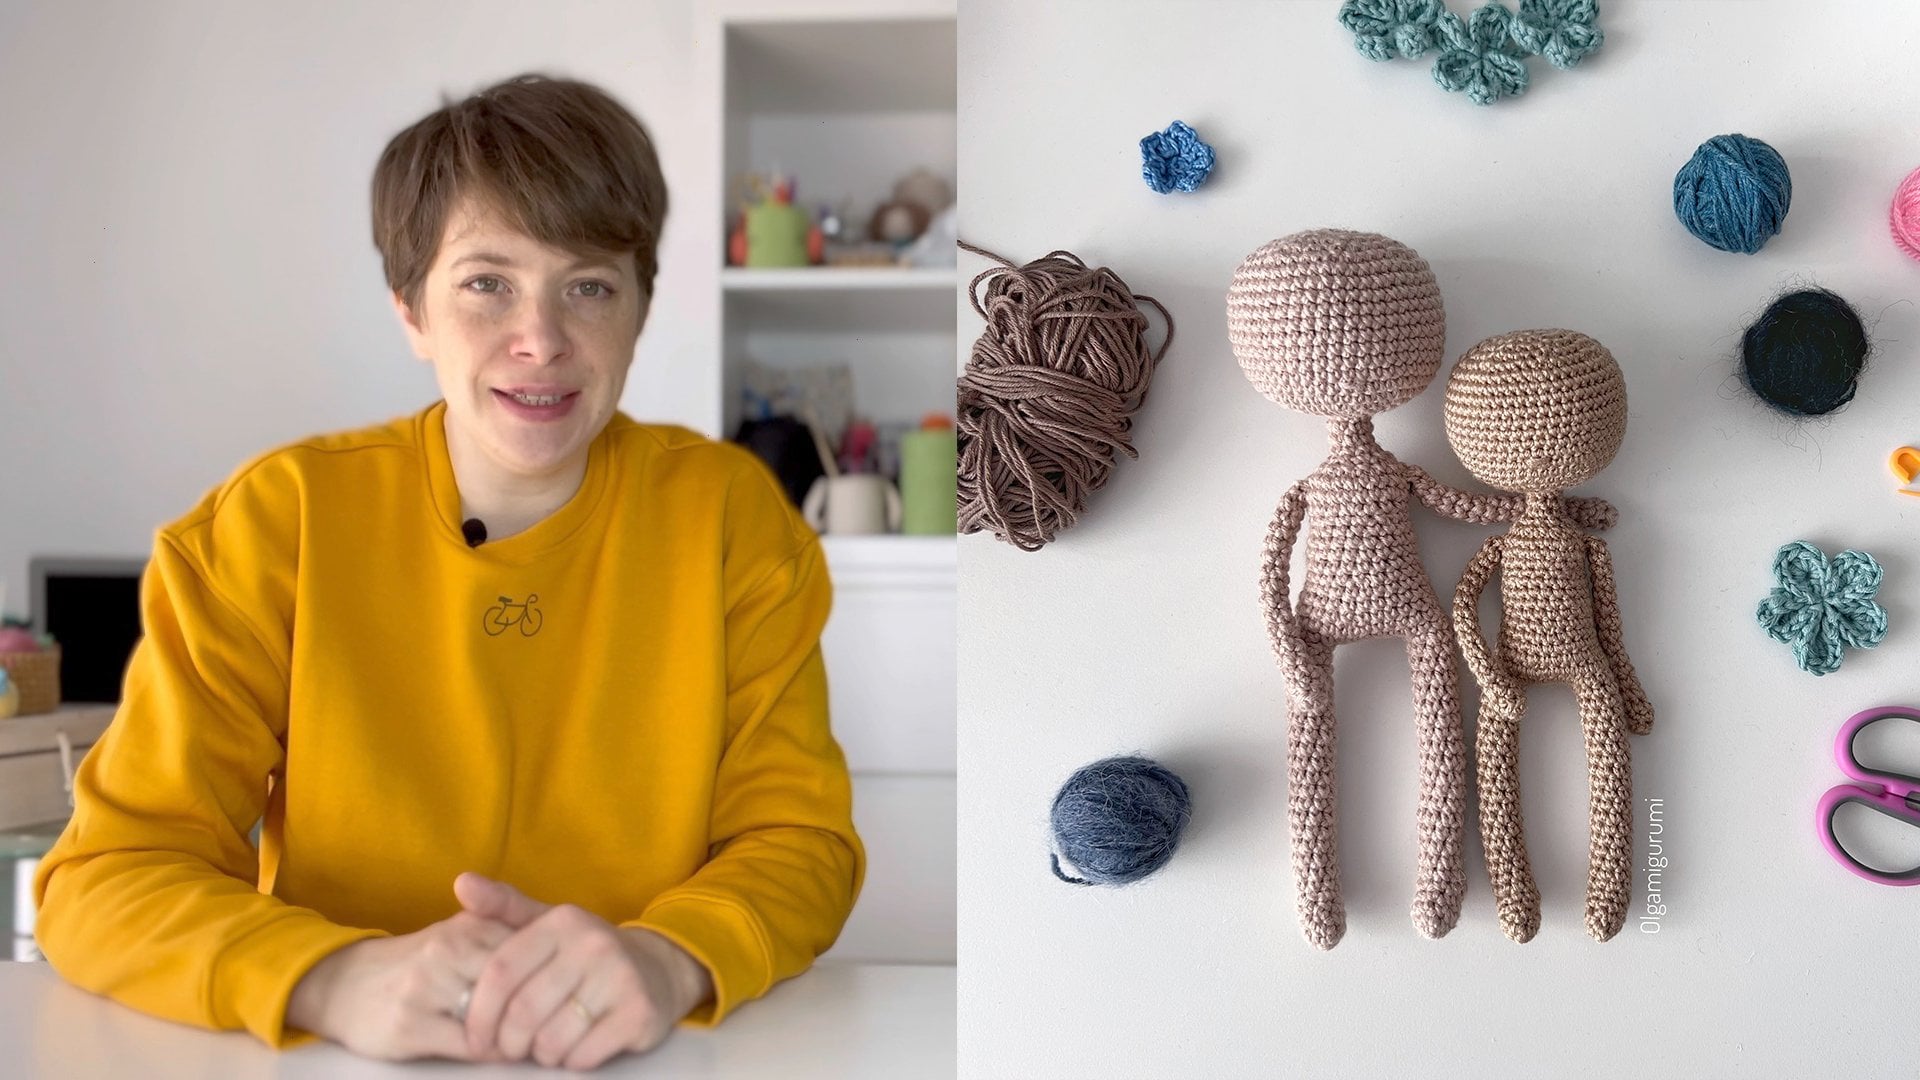
for all grow shaders. If you haven't made an
emic Rumi body yet, you can follow my
class, crochet, your unique character, basic
amine group metals body. Also, you can learn
how to embroider acute phase for your
aiming group mental. My second class, embroider, adorable character freeze
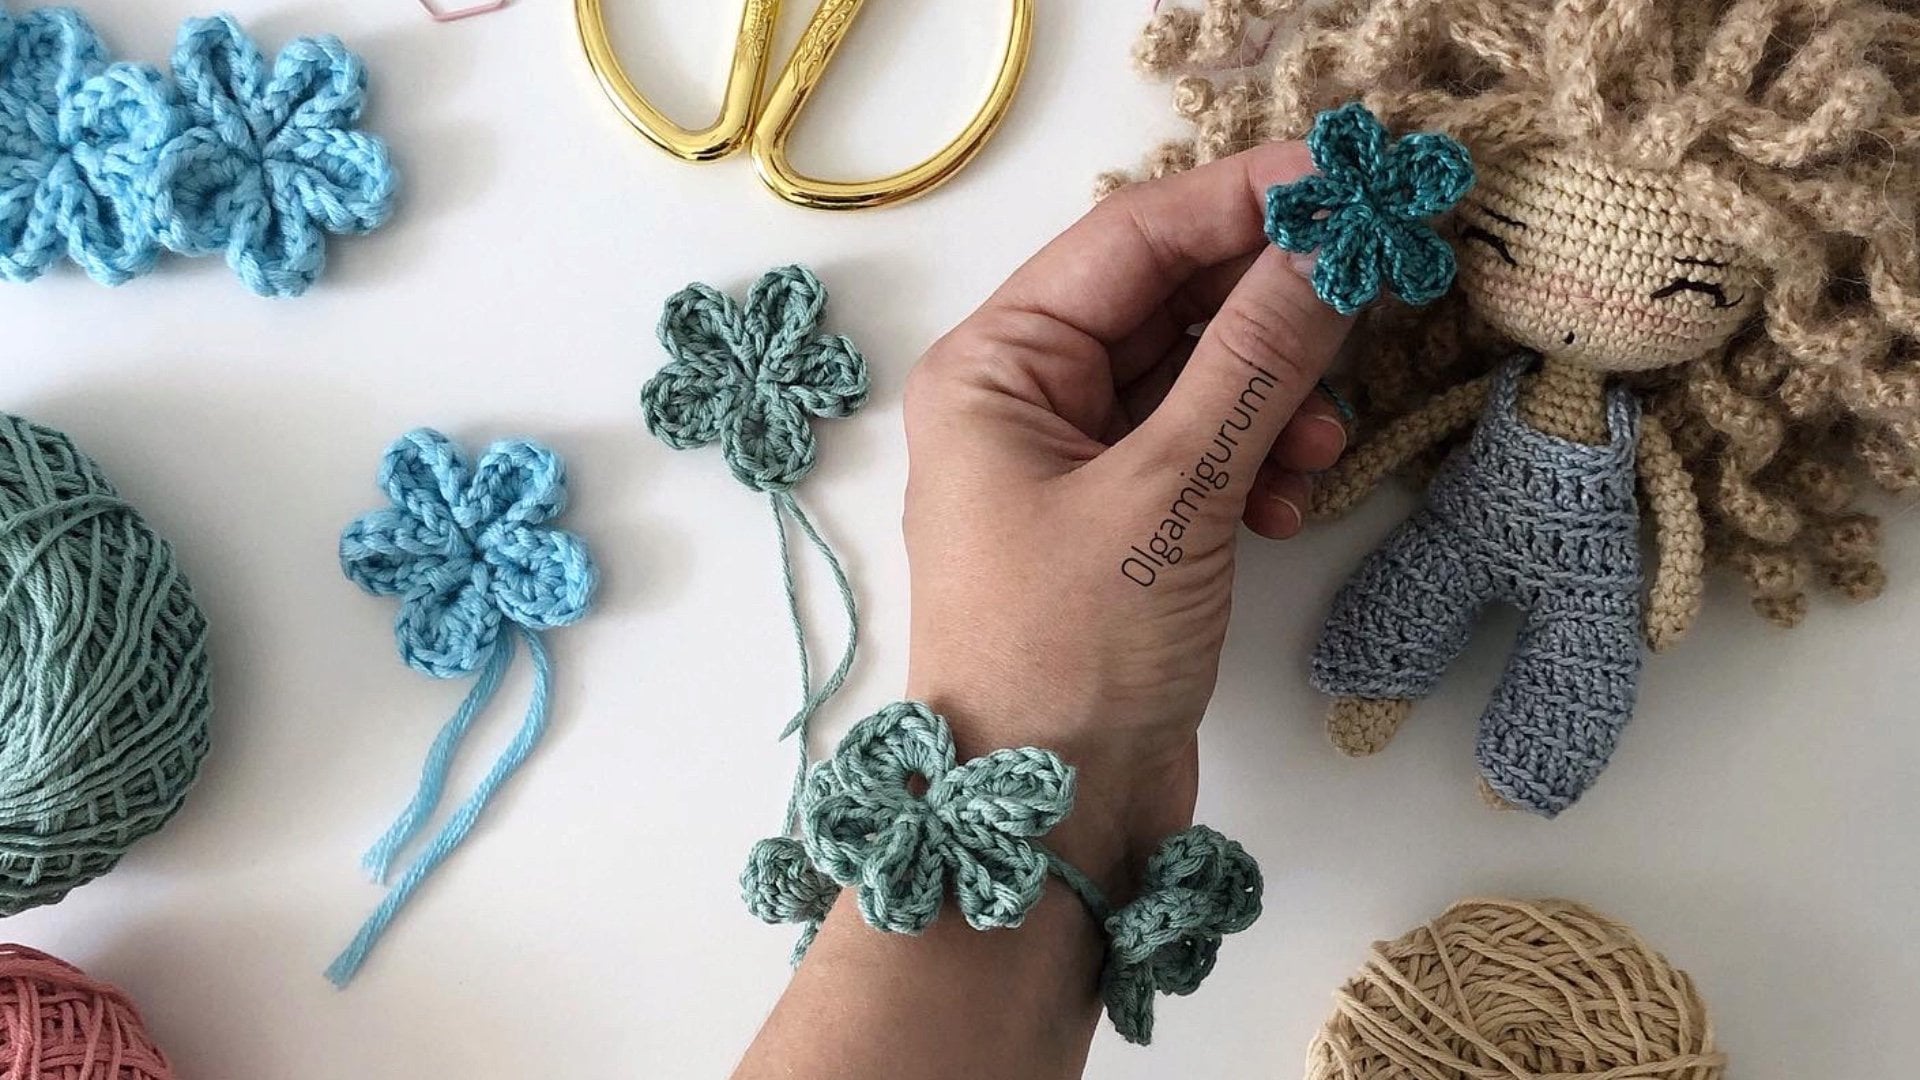
for your Amy grew metal. By the end of this class, you'll have a lovely
little character with its own Chairman style. You can make custom
doors to sell on online marketplaces
like Etsy and Amazon. Upgrade dose for yourself, your kids, or your friends. So let's unleash our creativity
and start to crochet.
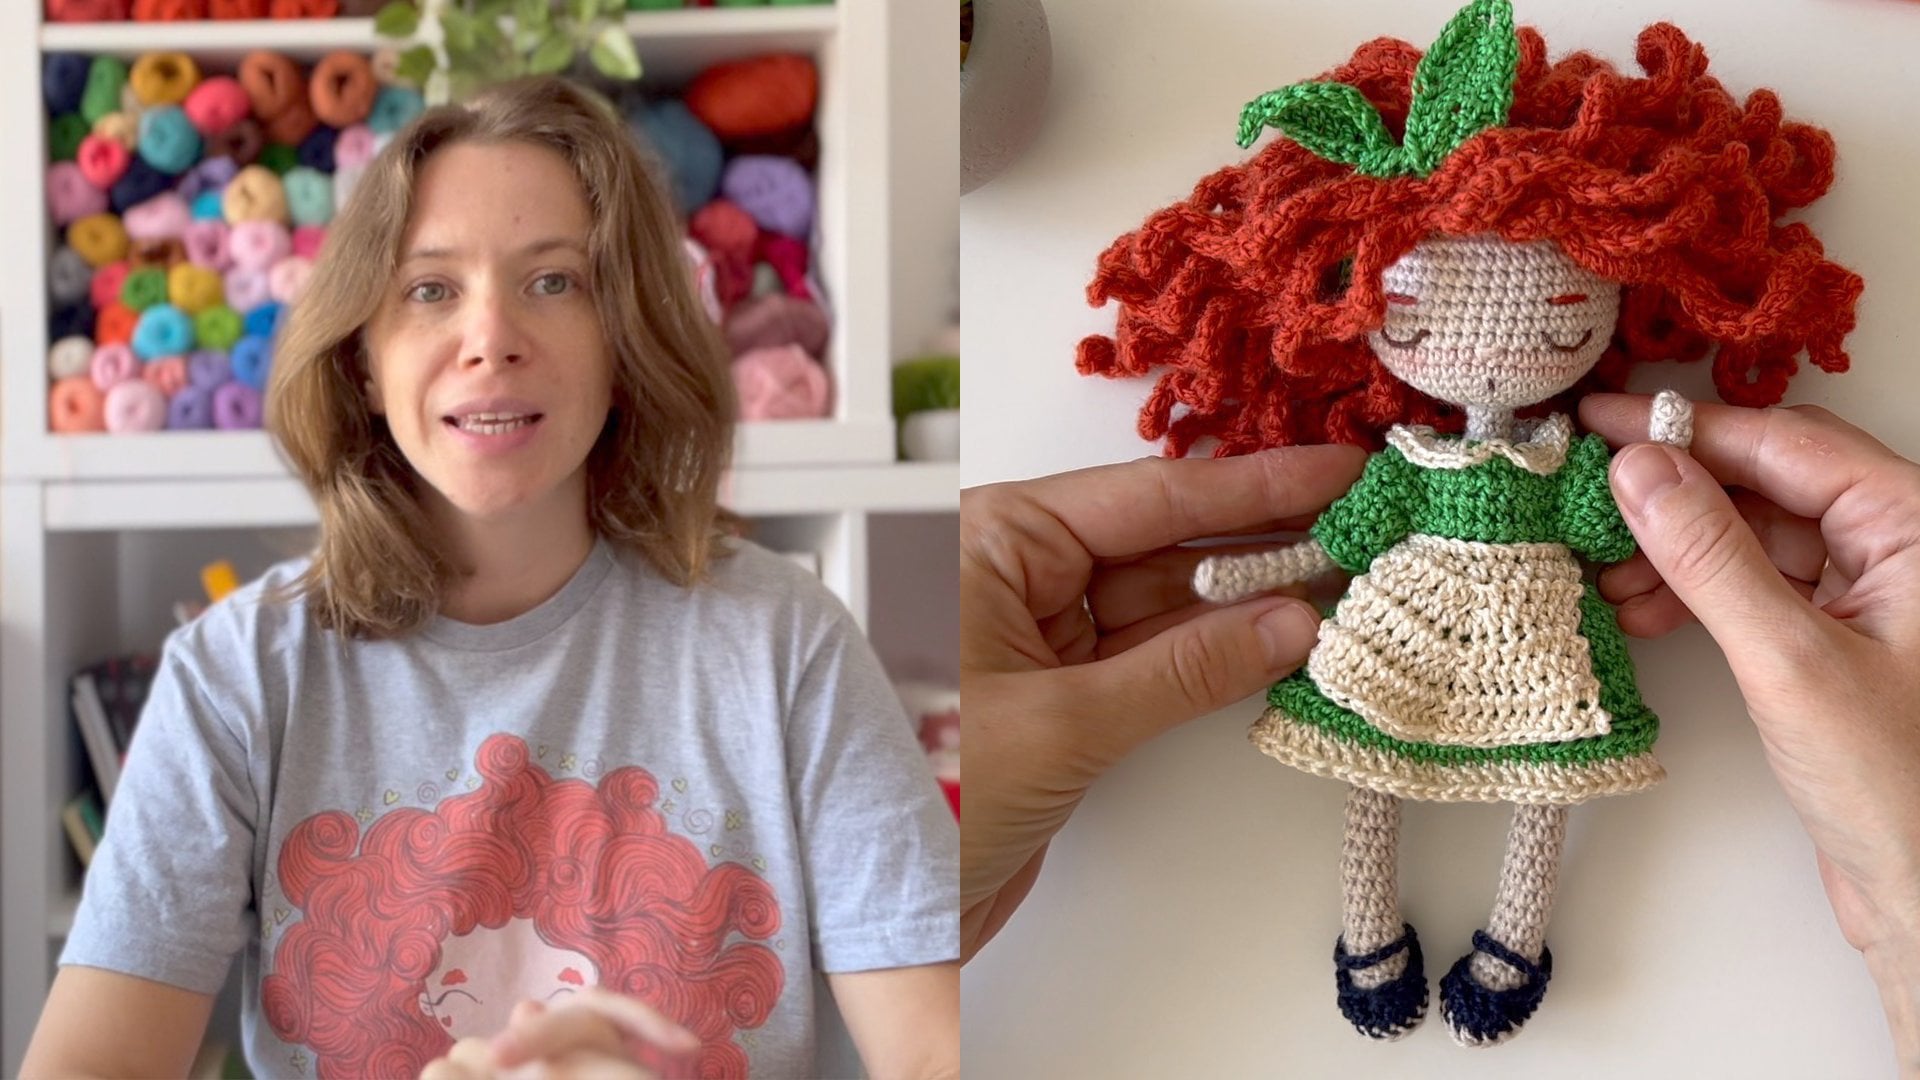
2. About the Class Project: In this class,
you'll learn how to crochet curly hair for
your amigurumi doll, I'll guide you through
the process of choosing the right yarn and
making curls or waves. So you can create the
perfect hair for your doll, I will start by selecting
the yarn for the doll's hair. I'll show you how to choose the right yarn that's suitable
for curly hair. Next, we'll crochet a circle, which will serve as the base of the wig. Then, we'll move on
to creating curls. I'll demonstrate
two types of curls, So you can choose your favorite. You can adjust the length of the curls by increasing it every round
or keeping it the same. We'll make several rounds
of curls going from the edge
of the circle to the center. One of the most important parts of this process is sewing the wig
to the doll's head. I'll show you how I do it.
To help you follow along, you can download
the written instructions for making the hair in the Project & Resources tab. Please note that you can
only access this tab from your computer, and you'll need to enter a password to open the PDF file. You can find the password in the
second video (About the Project) of the class. By the end of the class, you'll have a doll with big (or not so big) curly hair
that you can personalize with different
colors and lengths of curls. Don't forget to share your progress and final results in the Class Project Gallery! I'm excited to see all the beautiful dolls you'll create.
3. Materials and Tools: Now I'll show you how I
choose yarn for my dose here. Normally, I use cotton
yarn to make the body, but I don't like cotton
to make the hair because it is very tight and
the hair turns out heavy. So I prefer to use
lighter voluminous yarn, such as acrylic or wool yarn, to choose the right here. And you can try this trick. It can look all the same
thickness as the body's yarn. But if you stretch it, it looks thinner so the strands are not
twisted too tight. You can see that this
yarn is more fluffy. Really Qian has a lot of
variations and colors. So try to find
your perfect yarn. You can use angora hair Yan from wherever they
are more expensive. You will need a suitable
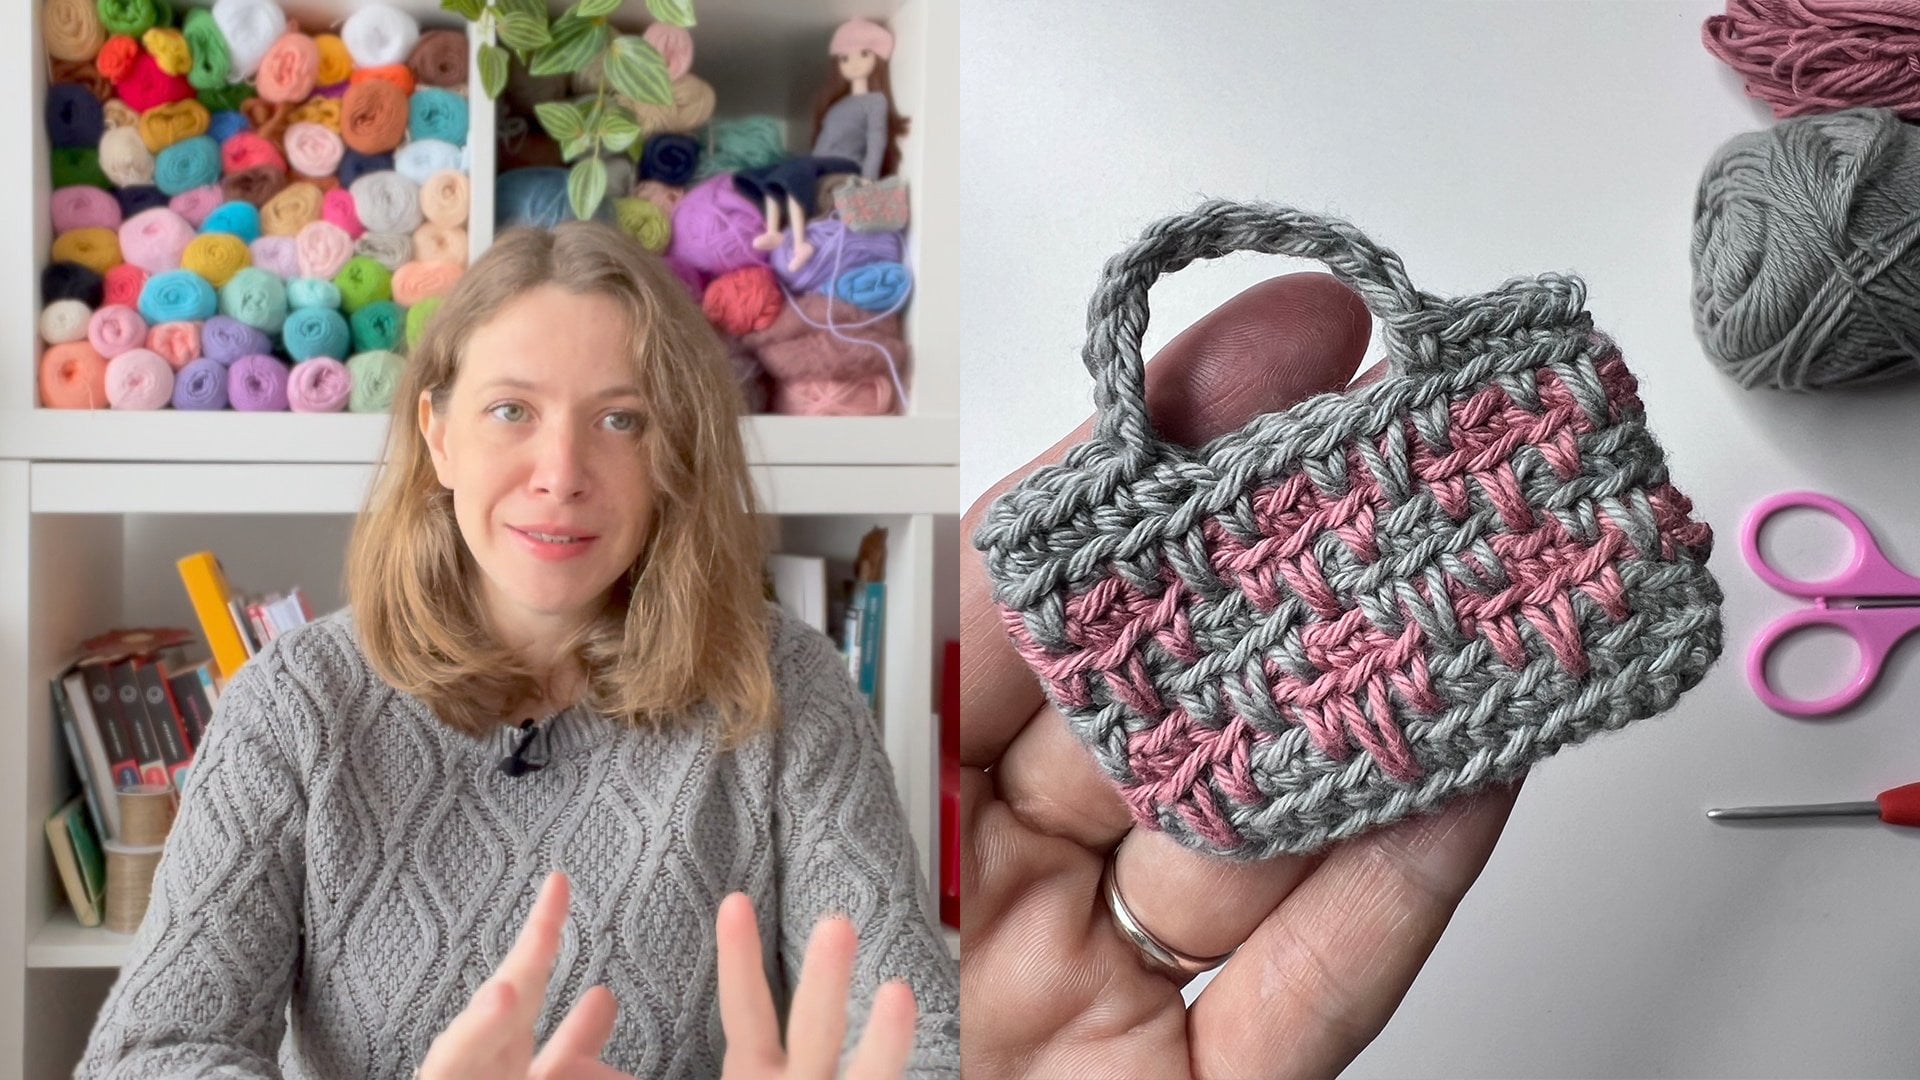
crochet hook for your yarn. How to know which size of the
hook is good for your yarn. You can find it on the
label of your ball of yarn. Also, we will need scissors, certain beans, and a needle
to sue the head to head. So let's go.
4. Starting With the Base of the Hair: Let's make the base of the hair. It is a circle. So we will start
with a magic ring. I make six single
crochet stitches into the magic green
and close the ring. The circle should cover
the top part of the head. For my dolls, I make six
rounds with six increases for each round to have 36
teachers in total. At the end. In the future, you can
experiment with different sizes so the base and find
your perfect formula. But I will show you mine, all the rest up around the base. What can the back
loops only leaving the front loops for
using them later. For the second round, I'm making six increases. Now I have 12 stitches. Remember to work only
in the back loops. If you use a different
body of the dough, I recommend you to
try this circle in the process to measure
it. If it is okay. The third round, one single
crochet and one increase. Repeat this five more times. This thread we will hide
when suing the hair. If you don't want to count this teachers or
it is impossible. I recommend using a
stitch markers so you don't need to worry
about losing his teach. Now, we have half
of the base made. You can see the frontal lobes. The fourth round, two single crochets
teachers and one increase. Repeat this five more times
to get 20 false teachers. Try the circle on the
head of your toe. I will make two more
rounds and start to make girls that fifth round, three single crochet
stitches and one increase. Repeat this 54
times two stitches. And the last round, in my case, for single crochet stitches
and running Greece. Repeat this five more
times to have 36 teachers. So here is the base of the hair. It should cover
the head this way. In the next lesson, we will start to make girls around the
edge of the circle, going toward the center of it.
5. Two Ways to Make Curls: Here is our circle. Well, actually it is a hexagon. The first round of girls, we will work in the back loop. So the last round of a base, in the first stage we
will make a slip stitch and then a long chain
as a base of a curl. We will make one curl
every two stitches. That means that we will skip
one stage after each girl. Then the next we will make
a slip stitch and the curl. And so we will work till
the end of the round. Now I will show you, let's make the first girl. We have already
made a slip stitch. So now I make a long chain. I'm making 21 chain stitches later you can adjust the length
of the curl as you want, but you just need to
know that the curl will be shorter than
the original chain. Let's try the length of
the chain on the DOE. Use a pin to put the center of the hair at the
center of the head. This part of the curl will be straight and the rest
will be super curly. So the real land
will be like that. Let's see it in practice. Actually, I have two
ways to make girls. I prefer. The second one, you can try both of them
and choose your favorite. The first one is to
make very curly hair, and the second is for wavy hair, skip one chain and
start to work in the second chain from the
Pope to make the first style take the one loop
of chain only and make a single crochet
stitch work this way. All the chains teachers taking
one loop only over chain, don't stretch the chain. Otherwise your current will
be two straight and boring. After making several speeches, you will see your
chain twisting. Skip one stage, make a slip
stitch in the next one. Now you can see the real
length of the coral. So you will be able to
adjust it for your needs. Now, I will remove
this girl and show you the second style that I love
more to make wavy hair. Instead of one loop, take two loops of the chain and work this
way on all the chains. You will see that the
girl is different. It is a bit tighter and not so twist it and it
looks a bit thinner. Skip one stage and
make a slip stitch, make the second chain. You can see that the
original chain is longer than the finished girl. Now I will make curls around
the edge of the circle. I will have 18 curls in total. You can pause the
video and cruise ship, then return to see
the next lesson. You can watch the instructions
more times if you need and practice your
favorite type of girls. If you have any
doubts, questions, feel free to write to
me in the discussions. I like to try the hair on
the dough in the process. Here I have a teen girls, and now let's move on to
the second round of girls.
6. The Second Round of Curls: To find the next round where
we will attach new curls. I searched the nearest to
the hook frontal lobes on the same ground of the base
and make a slip stitch. Then I moved to the
previous rounds of the base that search the nearest to
the hook from flu pod around. Here we will work around this circle using the
same instructions, making one girl, then
skipping one stage. Here, I may change teachers. I had five chains more every round to make the girls
longer than previous. After practicing with me, you can change the
number of chains to make the hair with
different lengths of curves going toward the center and you can make longer
curls or short-term. So in my case I make 26
chains for every curl. Always skip one chain. It is a turning chain that
helps you to achieve that corrected for your
next row of teachers, they will have 15 girls. At the end of the round. You can pause the
video and crush it. Then returned to see
the next lesson. Here I have 15 girls, and in the next lesson
we will finish the hair.
7. Finishing the Hair: Now I find the next round where
we will attach new curls. This time I search the nearest
to the hoop front loop. So the next round of the
base and make a slip stitch. And I moved to the previous
round or the base, the third, searching the nearest to the hook
front loop or the round. Here we will work around this little circle using
the same instructions. Making one girl, then
skipping one stage. I had five change to a
ritual to make them longer. I make 31 chains
teachers for every curl. The third round or the
base has 18 stitches, so I will make nine
curls if you want, skip the fourth round
and make cursor need. Then on the third, the **** would have too many girls heavy
and not very accurate. So I prefer to skip
some rounds to maintain the hair
lighter but voluminous. As always, I tried the herald
at all in the process. It is so beautiful to see how the hair is changing her look. So I recommend you
try it on your door. When you have more experience, you want neat patterns
on instructions. Just relaxing and
grow shading girls. I have made nine girls. I'm ready to make the
last round of girls. We will make them on the
first round or the base. I make a slip stitch into the second round of the
base to skip it and make a slip stitch into the nearest Front blue for the very first
round of the base, use the same instructions, making one parole than
skipping one stage. I add five more change
teachers to every girl. So my list, three
girls have 36 chains. Each one. Here is my finished here. You can try it on your
toe one more time. Cut the yarn leaving a very long tail to
switch to the head. I live 50 cm approximately. Also, I will use the same tail
to embroider the eyebrows. In the next lesson, I will show you how I sue
the harasser to the head.
8. Let’s Sew the Hair to the Head: So let's sue the
hair to the head. Here is my long thread
to sue the hair. First I will sue the base
circle to the head and then pilot touch several girls on the back part of the head. Also, I will add another
layer or the curls on the back part to color the holes between
the first levels, girls, I use a thick needle with a suitable
hole for my yarn. You can use certain
things to help you keep the hair in
place if you need I enjoying the center of
the hair in the head and pull out the needle at the
front top part overhead. Now you can hide this
thread under the hair. Now I will attach the h
or the girl to the head, stitch by stitch around it. Don't hurry. Take your time. Make your stitches as
accurately as possible. Tightening them. Follow the same
round of the head as a guide in the hair this way, you can easily remove it if you are not happy with the result. Just uses teach Reaper
to break the students teachers carefully without
damaging the hair. E.g. you have a
dough in your store, but no one buys it. You can change your
hairstyle or color for hair easily and try
to upload it again. Or another example, you
are selling a doll, but your customer tells you that she wants a dome like this, but with another
color of the hair so you can change it
faster and make a sale. Some dough makers use glue to
put the hair on their toe. I think soon the
hair is more secure. Tengo the thread with the girls. If it happens, untangle
it at the same moment. Now I will attach
some girls to cover the nape and suit every girls at the bottom
parts of the head, starting at the center bottom, and then going up to the left. Five girls these way. But you can adjust
this number for you. I will make the same on
the right side opening. You just need to cover
the big parts of the head and leave the
rest of the girls freely. If you want, you can sue
more curls to the head, to the hairstyle, more fixed and not so flexible. Let's sue them. Finally, we just need
to cover these holds. I take the girls from the second round and sue
them with the first girls. I don't insert the
needle into the head. I just do the girls together
clothes in the space between them and covering
them with another girl. So I'm making another layer of girls here on the back
part of the head. The hair is ready
and they want to use this same yarn and
embroider the eyebrows. I just make two simple
lines above the eyes. I think the eyebrows so
this color look better. I secure the thread, making notes and passing the
needle through the head. I repeat this several times, then cut the yarn. She's ready.
9. Wrapping up the Class: Congratulations. You can now create
beautiful curls, have any size for your doors, and experiment with
different colors and materials to give them a
unique, personalized look. To forget to share your
progress with me and fellow students in the
class project gallery. I can't wait to see the amazing dose you create
if you enjoyed the class, please leave a review. Your feedback is essential to help me improve as a teacher, I'd love to hear what
you like the most. You can make custom
doors to sell on online marketplaces
like Etsy and Amazon. Create goals for yourself, your kids, or your friends. This is the third class in
our series on tall making. Now that your dog has
beautiful wavy hair, it's time to dress
them up in style. Stay tuned for more exciting
classes in the future. Thank you for learning with me.
 Olga Bortniak, Crochet designer, dollmaker Olgamigurumi