Crochet a Cozy Pumpkin: Learn the Alpine Stitch Step by Step
 Emilie Bolduc, Crochetmilie - Modern Crochet
Watch this class and thousands more
Watch this class and thousands more
Lessons in This Class
-
-
1.
The Cozy Pumpkin Preview
0:55
-
2.
Project Intro
0:35
-
3.
Materials & Techniques
1:12
-
4.
The Pumpkin - Main Part
12:28
-
5.
The Pumpkin - Assembly
8:00
-
6.
Final Words
0:19
-
-
- --
- Beginner level
- Intermediate level
- Advanced level
- All levels
Community Generated
The level is determined by a majority opinion of students who have reviewed this class. The teacher's recommendation is shown until at least 5 student responses are collected.
48
Students
2
Projects
About This Class
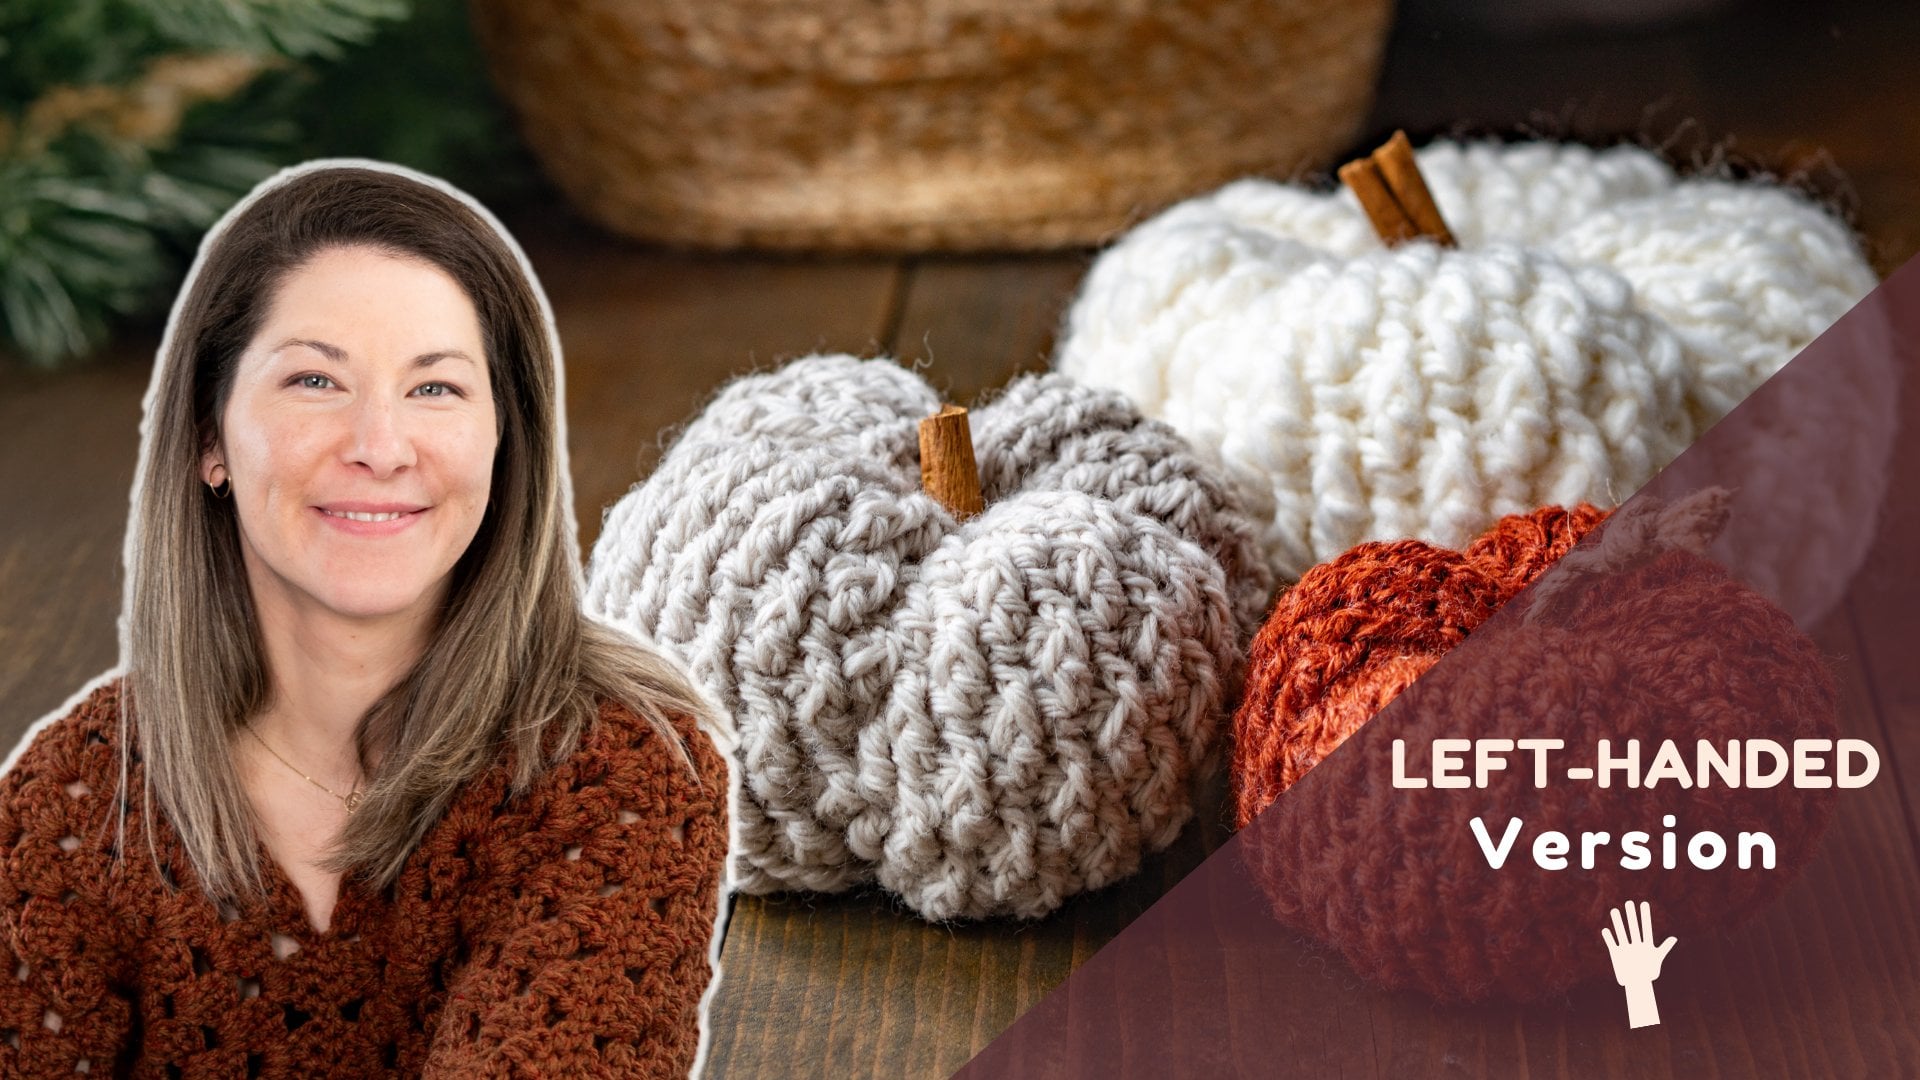
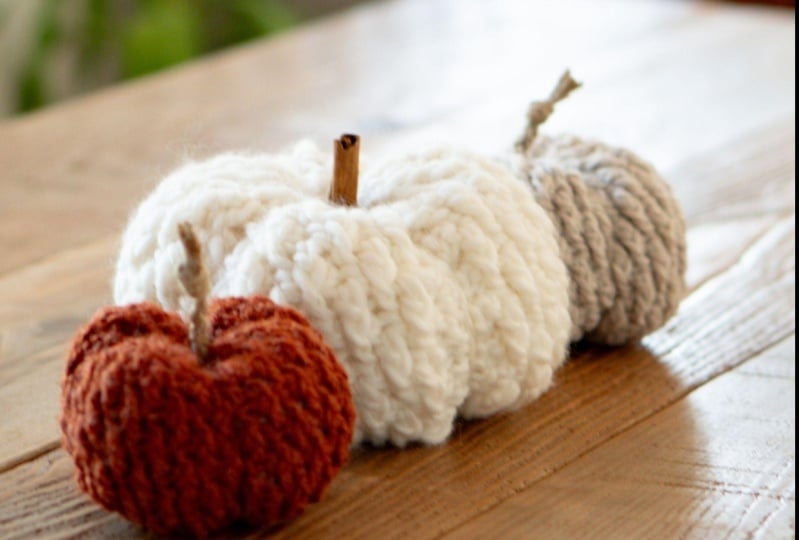
🍂 Crochet your own cozy fall décor!
If you’ve already taken my Beginner Crochet Course, this class is the perfect next step in your crochet journey. In this class, we’ll use the Alpine Stitch to create beautiful textured pumpkins — perfect for adding a warm, handmade touch to your home this season.
You’ll learn:
-
How to work the Alpine Stitch step by step
-
How to shape and assemble your pumpkin
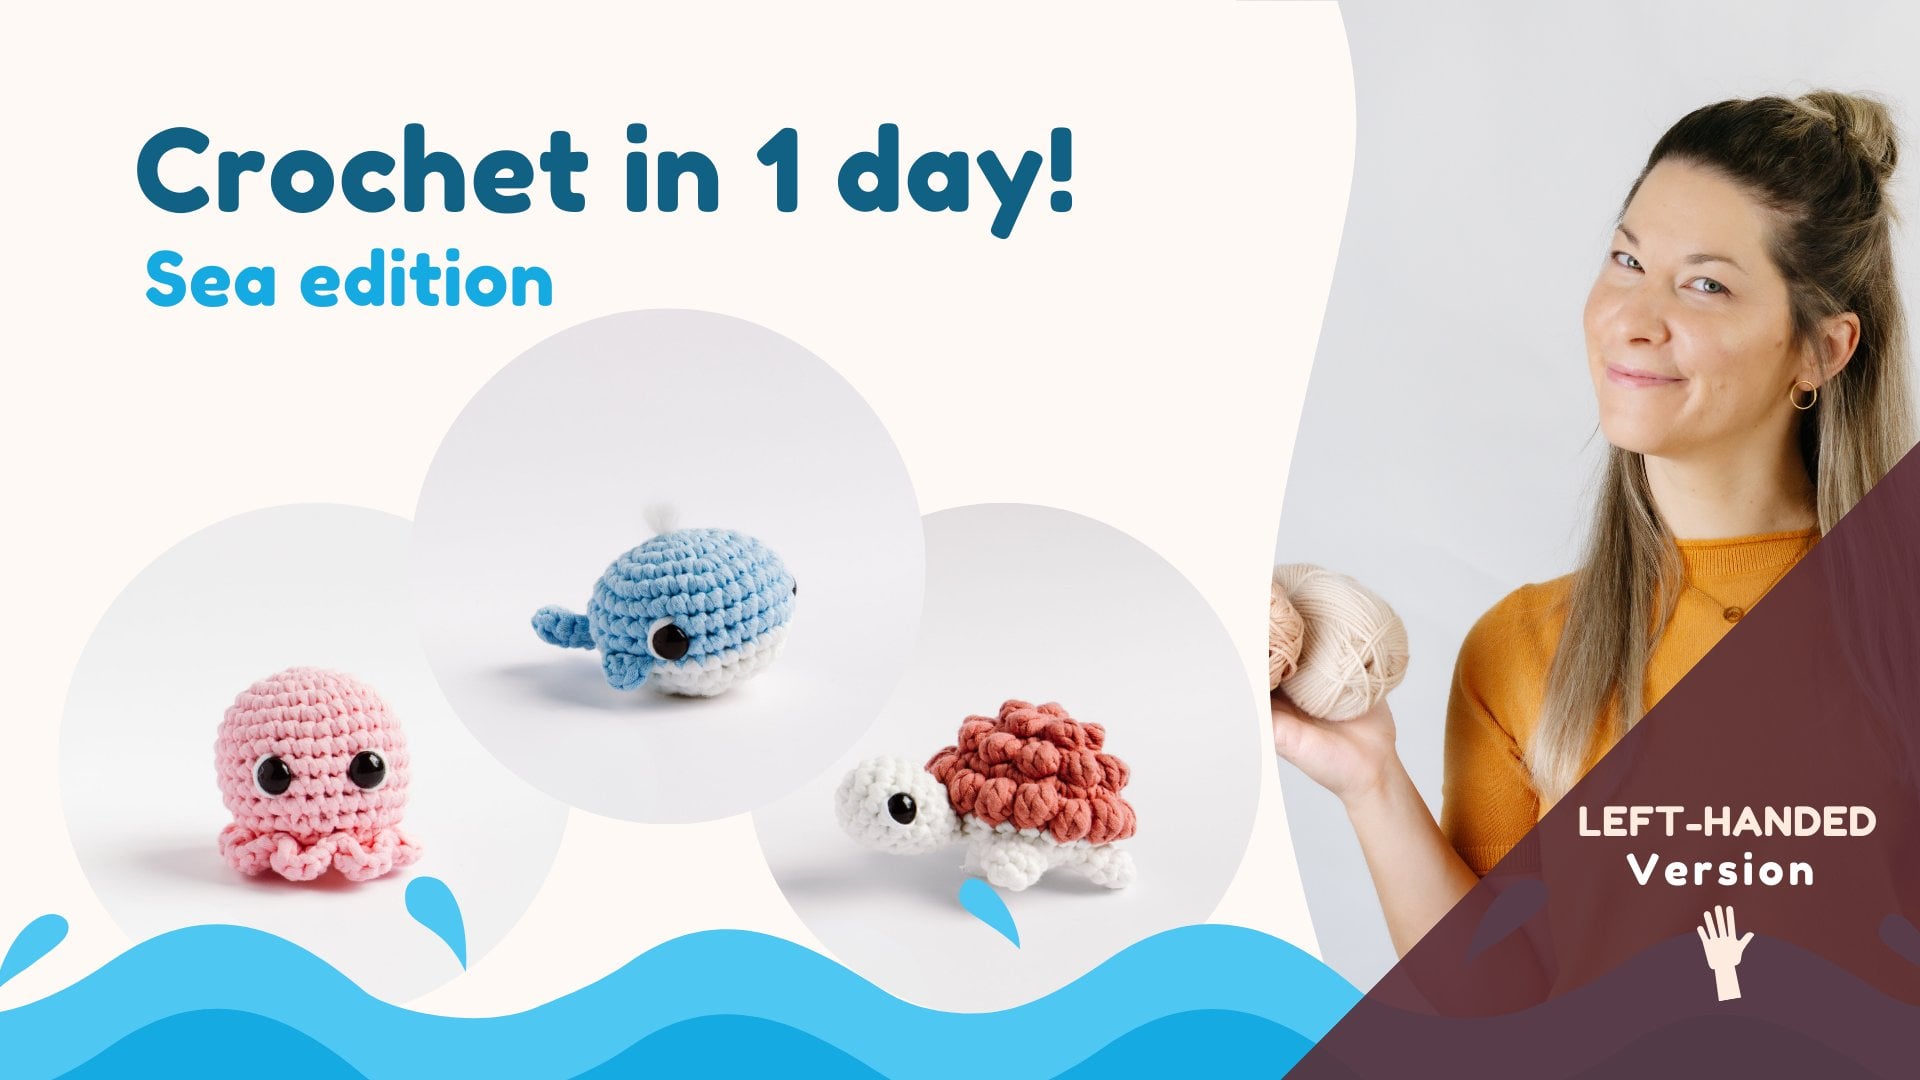
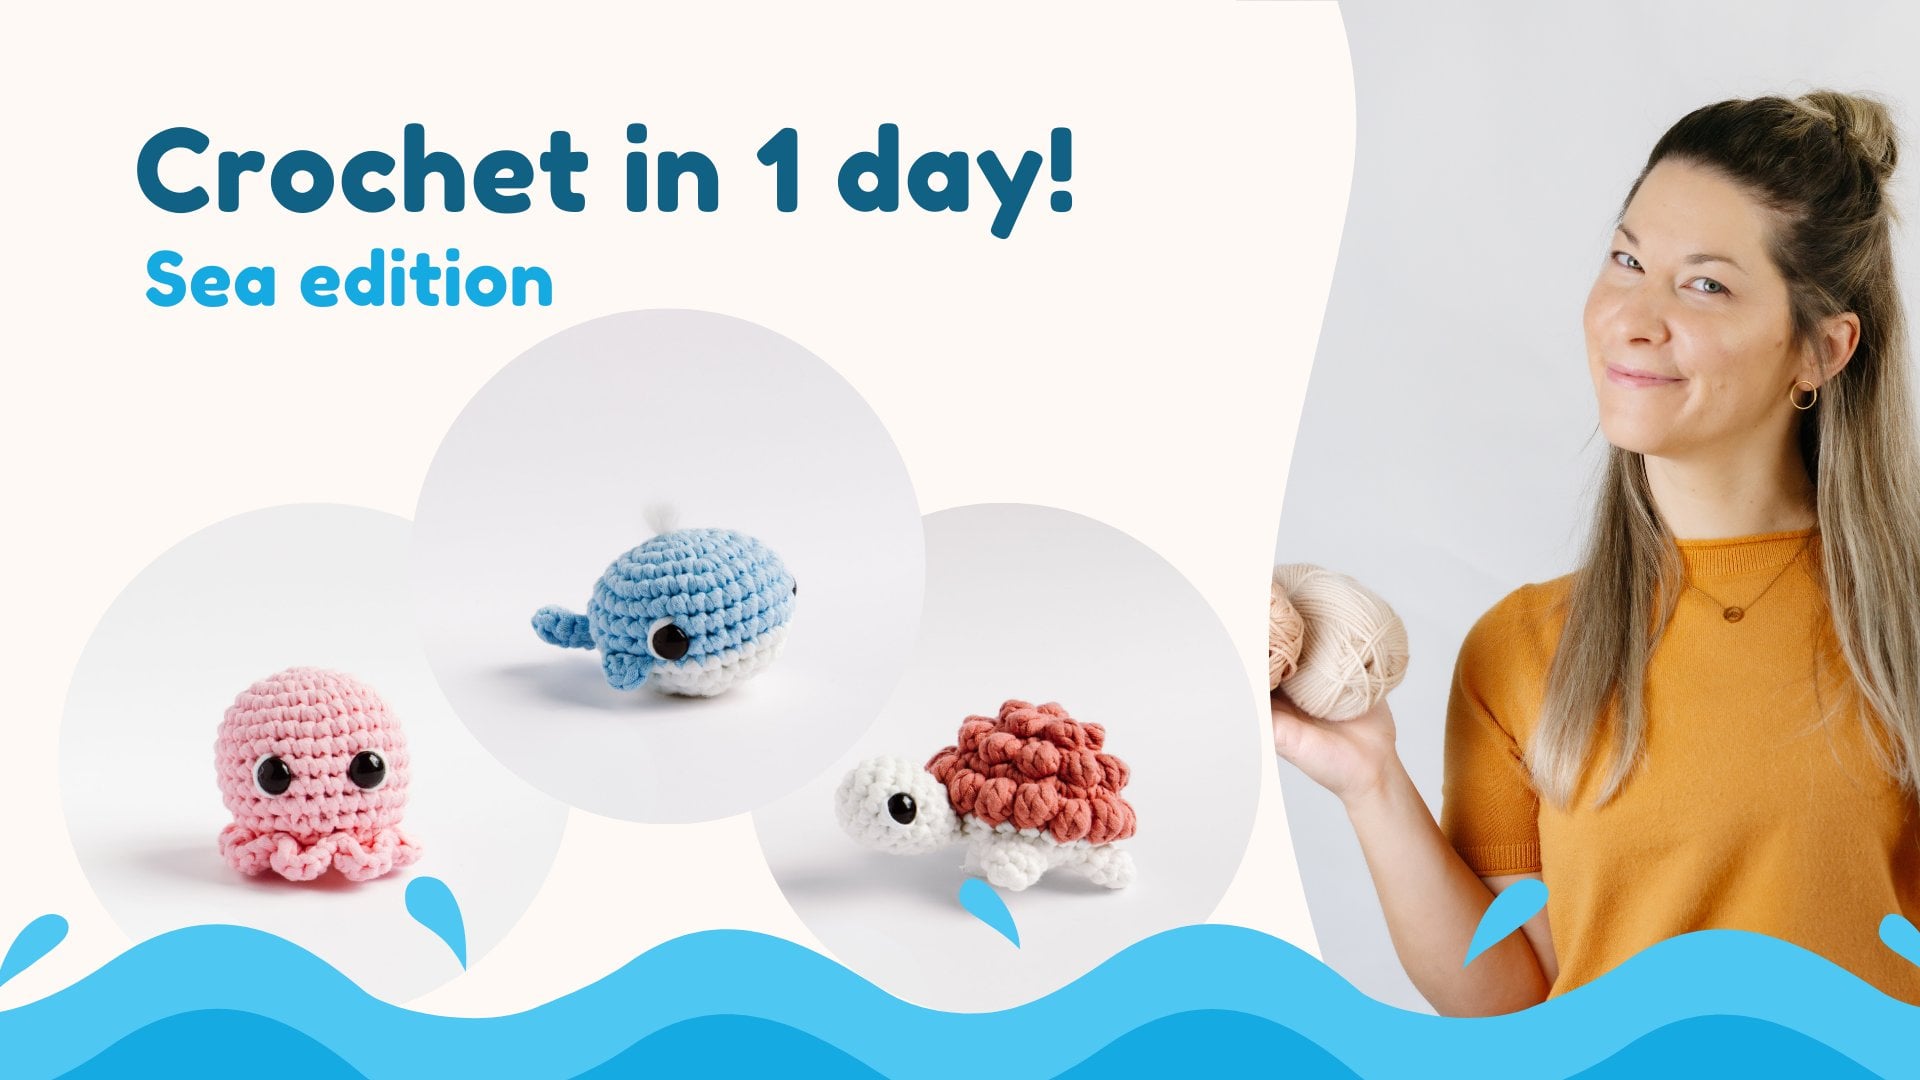
This class is designed for anyone who knows the basic stitches (chain, single crochet, double crochet) and wants to level up their skills while making something seasonal and fun. Whether you are right- or left-handed, you’ll be able to follow along at your own pace. (Link for the left hand version below)
By the end of this class, you’ll have at least one finished pumpkin and the confidence to make many more — a great way to decorate your space or create handmade gifts for friends and family.
Let’s bring some autumn coziness to your home — one stitch at a time!
You will need :
-
4mmm, 5mm or 6mm hook depending of the yarn you choose
-
Worsted weight, Bulky Yarn or Super Bulky yarn
-
Yarn Needle
-
Scissors
-
Polyester stuffing
- Cinnamon stick or Jute thread (optional)
You can follow the Crochet course for beginner HERE
Left Handed Version of this class HERE
Meet Your Teacher

Hi! I'm Emilie Bolduc, a crochet designer from Quebec, Canada. When I was 8 years old, my mother showed me how to crochet and it became a real passion for me. In my twenties, I discovered that crochet could be modern and tasteful. My childhood dream of having my own little crochet company became reality!
In 2015, I started my ETSY shop and since that time, my brand has grown stronger.
I had been featured in :
Simons Store Etsy's Instagram feed"Les idees de ma maison" Magazine, November 2021
"HELLO CANADA" Magazine, March 2021
"CHATELAINE" Magazine, November 2021
"CHATELAINE" Online Magazine, February 2021
Rebecca Page Crochet Summit 2021, as a teacher
I really enjoy making my own crochet patterns. Whether for a baby or... See full profile
Hands-on Class Project
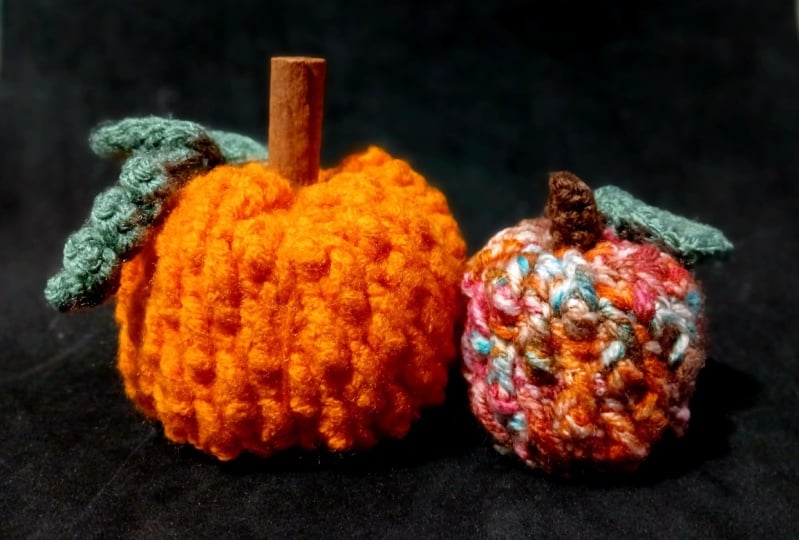
In this class, you’ll crochet a beautiful, textured pumpkin using the Alpine Stitch — the perfect project to bring cozy fall vibes into your home.
We’ll go step by step:
-
Crochet the base using the Alpine Stitch
-
Shape and assemble your pumpkin
-
Add final touches for a polished, handmade look
This project is a great follow-up if you’ve already taken my Beginner Crochet Course — you’ll use the skills you learned (holding your hook, working in rounds) and build on them with a new stitch and shaping technique.
You will need:
-
5 mm hook (or the size recommended for your yarn)
-
About 110 yrds of bulky or worsted weight yarn (any fall color you love!)
-
Yarn needle
-
Scissors
-
Polyester stuffing
- Cinnamon stick or jute thread (optional)
Even if you’ve just learned to crochet, you’ll be able to follow along and finish your first pumpkin with confidence. I can’t wait to see your cozy creations — make sure to share a photo of your finished pumpkin in the Project Gallery!
-Emilie
Class Ratings
Why Join Skillshare?
Take award-winning Skillshare Original Classes
Each class has short lessons, hands-on projects
Your membership supports Skillshare teachers
Learn From Anywhere
Take classes on the go with the Skillshare app. Stream or download to watch on the plane, the subway, or wherever you learn best.