Transcripts
1. Introduction : Hello, my lovely
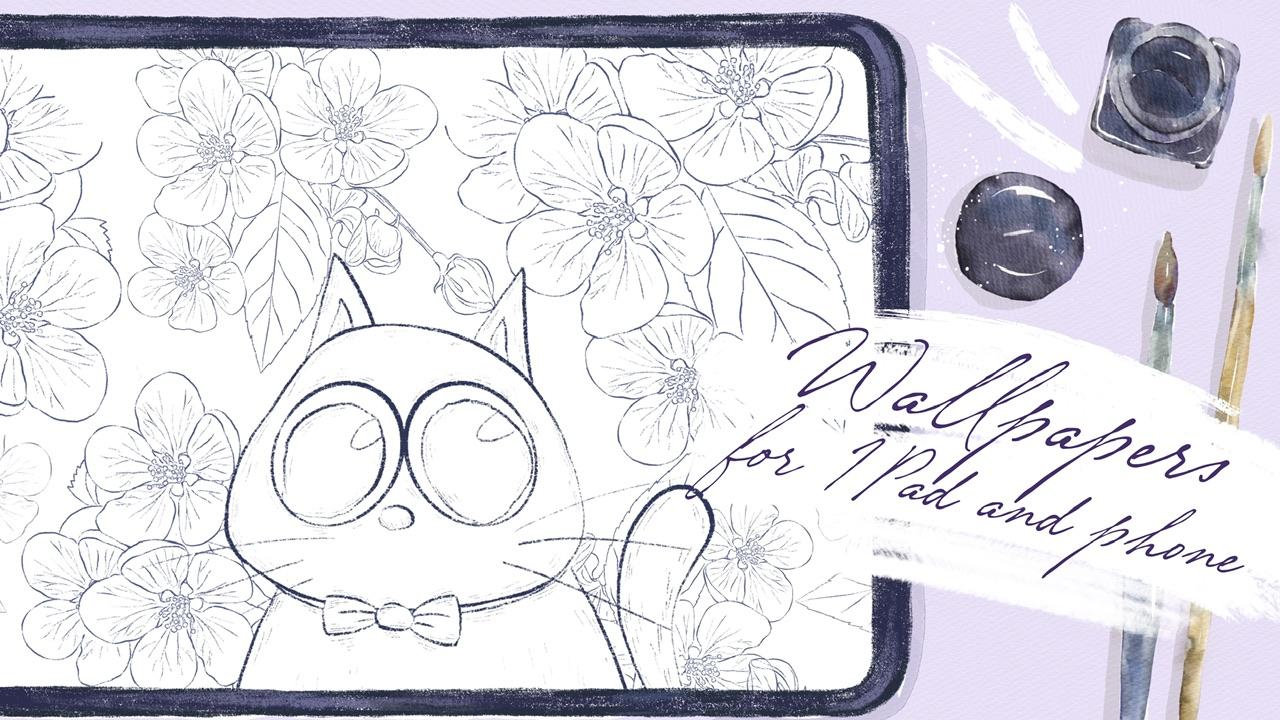
Skillshare community. During our today's class, I'll show you how to create
lovely will papers for iPhones and iPads
in the Procreate, and that will be fun and easy. My name is Zynga you and I'm an artist, freelance
illustrator. And during my classes, I constantly share some
useful tips and tricks. How to use Procreate
in fun and easy way. If you don't want to
miss my new classes of freebies that I constantly
shave is my community. Please hit the subscribe button. And guys, your opinion
is very important to me. So you can share with
me what you think about my class in
discussion section. I'm going to take you
through the whole journey, my whole creative process. First of all, I will show you where to find
all my freebies, how to input them
into the procreate. After that, we're
going to create a few sketches for
iPad and your phone. And after that, finally, we can start coloring. Our next step will be, I'll show you how to add
shades and highlights. And our final step, finite, finite will be, will be, I will show you how to add
texture to your love the art. Additionally, guys, I will
show you what is hue, saturation and brightness,
how to use them, how to use cars, how to use clipping mask, and also why do we need modes and bleach
modes we should use? I will show you how to add
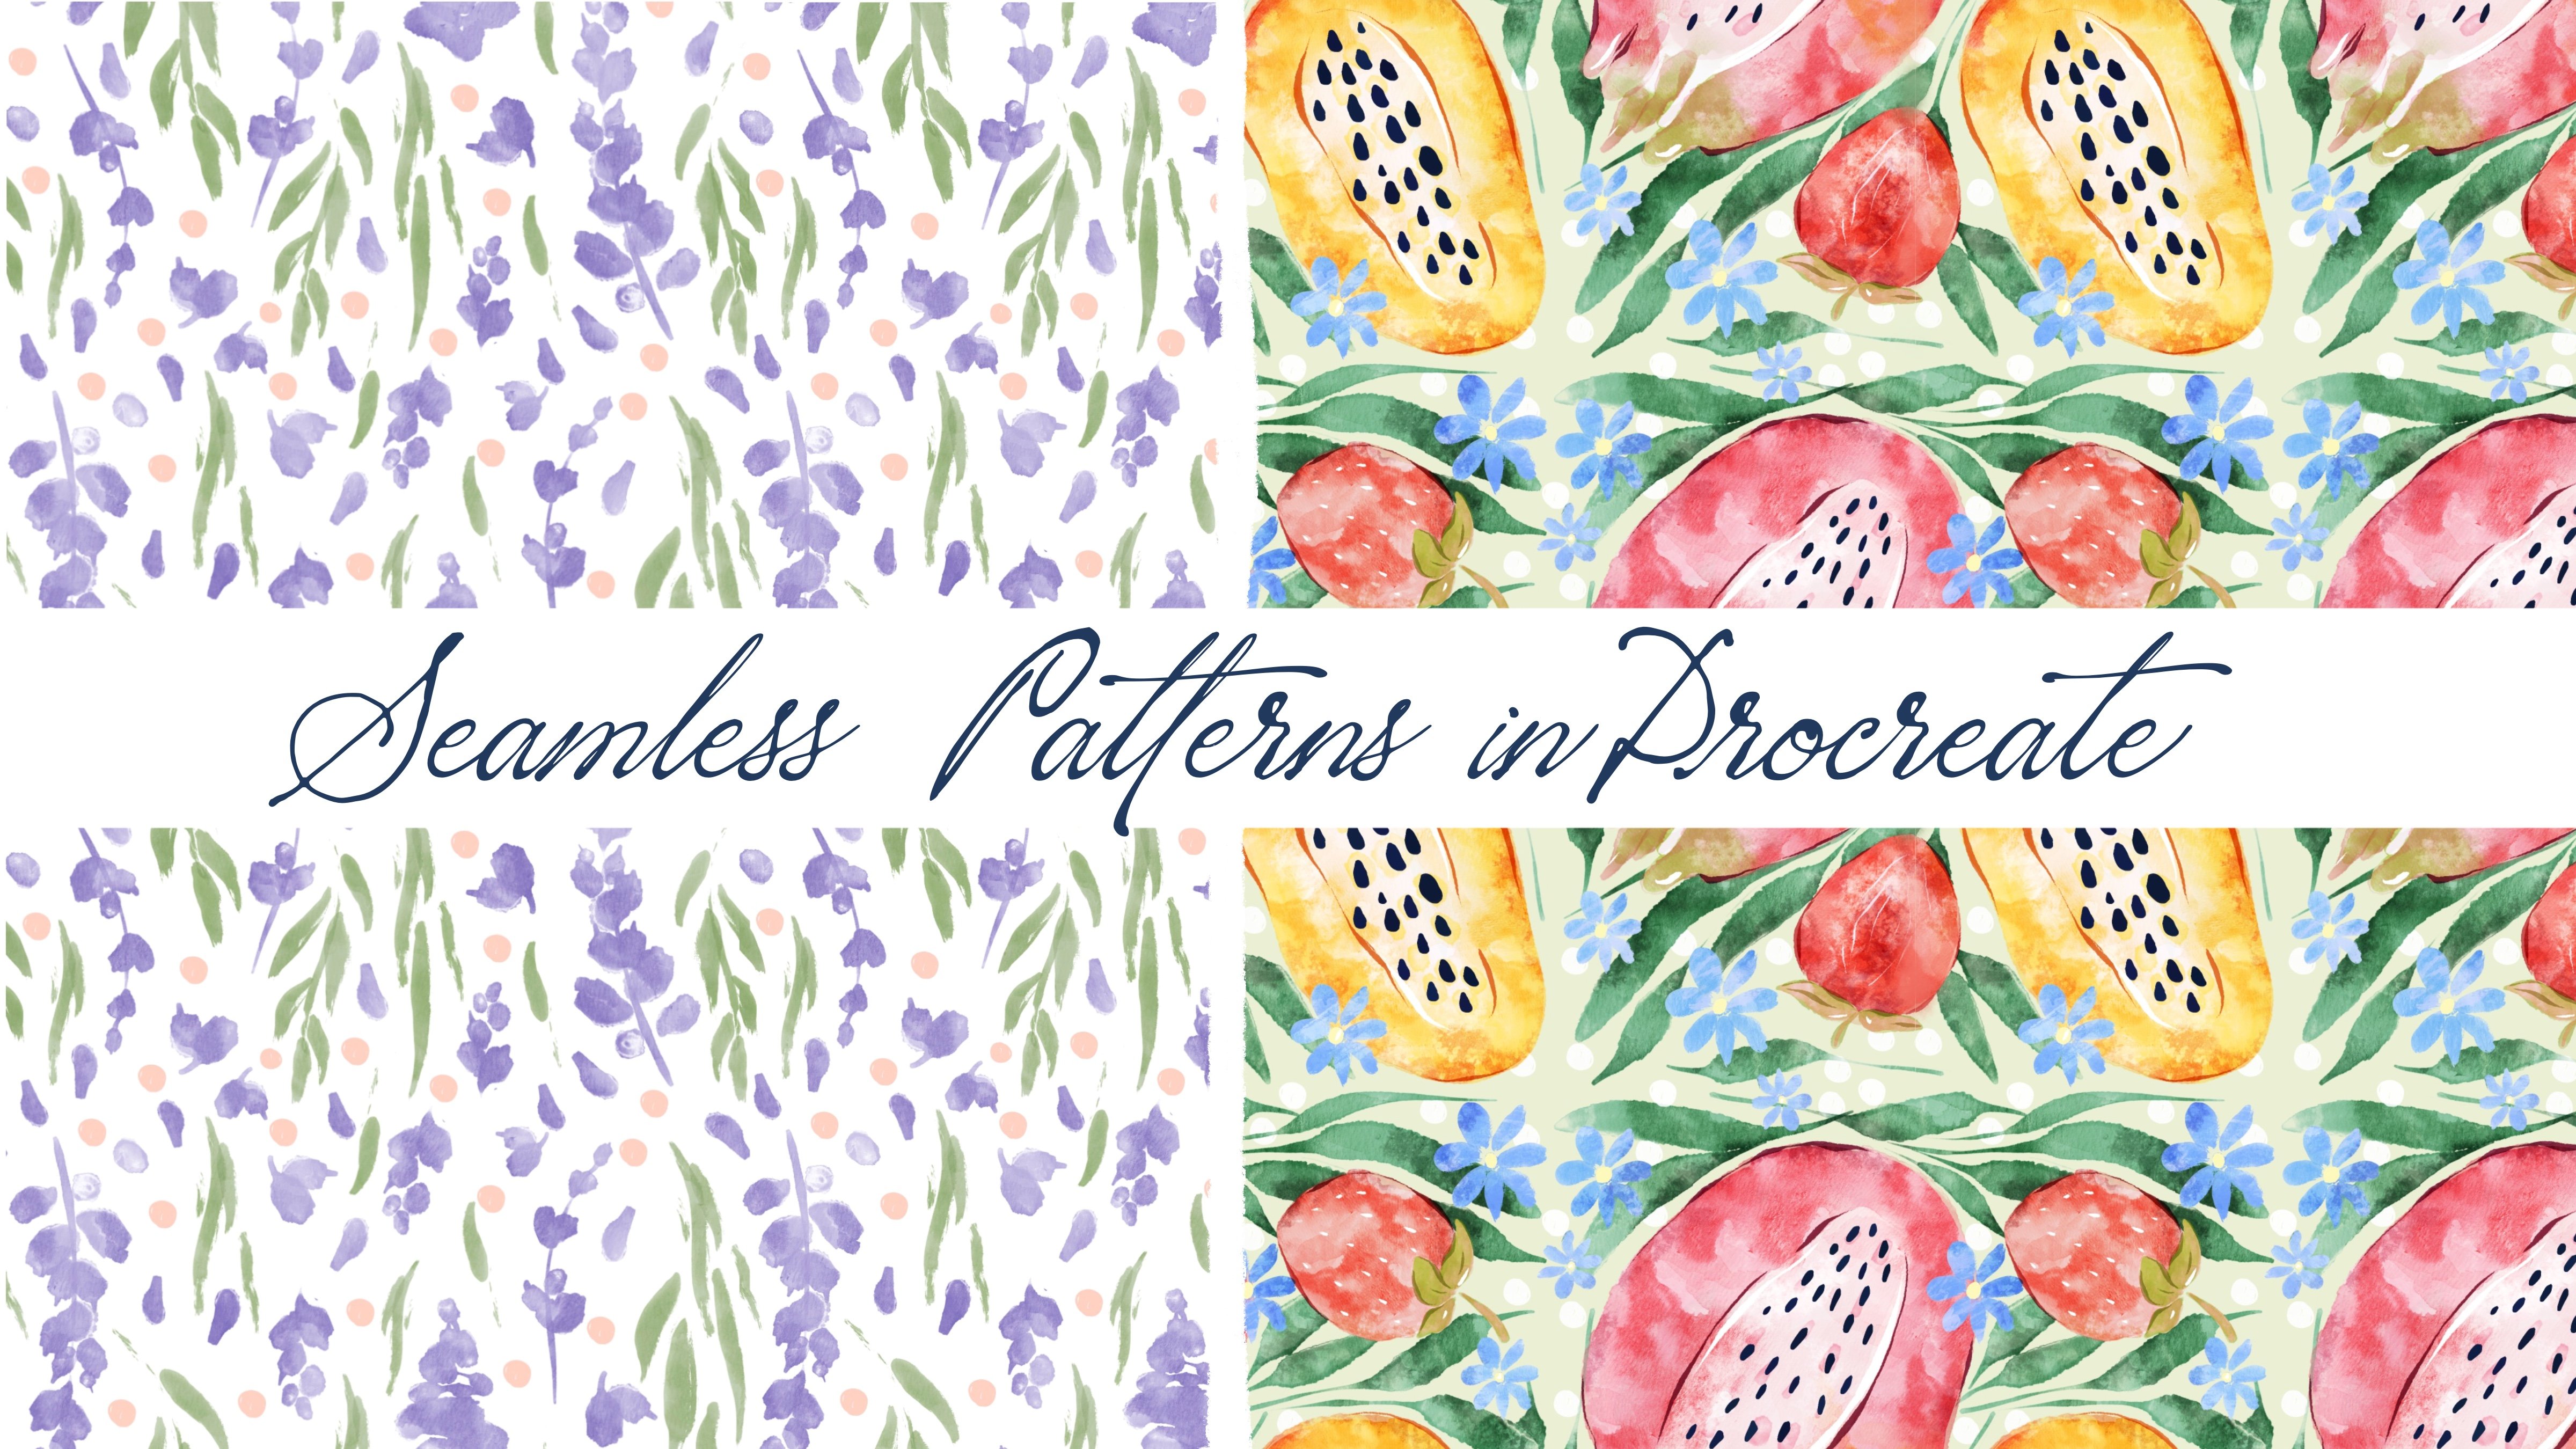
playful mood to your art. And in the end, we will have lovely floral wallpapers
for our devices. I'm going to focus on painting beautiful floral background
illustrations for iPhone and iPad as
our final project. Your project do
the same to create flower illustration
in any way you like. And you can choose
any sketch you want. And that will help you to
enjoy creative process. And as a bonus, I'll shave is your custom brush set color
palette that I created. I will also add file of
my pictures that I drew. Feel free to use it for
your own art projects. This class is great for
intermediate level, also can be useful
for beginners. If you've watched my
previous classes and experienced artists,
probably here, you can find an inspiration and your ways how to create flower
background illustrations. I really want you
guys to join me. I tried my best to make this
tutorial, fun and creative. Completing this class will
help you to learn new ways, how to paint lovely
wallpaper for your devices. And also to get general
knowledge how to wisely use space and add cute elements
to your illustrations. I can't wait to
start this class, and I definitely can't wait to see what you upload
to project section, please feel free to
enroll and let's enjoy our page and
process together.
2. Getting ready: Let's start our
painting journey. During this part of the class, I'm going to share with you where to find all my previous, how to import them
into procreate, and how to get started. So grab your iPad, Apple pencil, and
let's start painting. Let's get started. For that. You're
open, Procreate. And here you see, I already
created two canvases. First one is iPhone wallpaper, iPhone sized whole paper. Here I have, I took the
size of 14 max-product. And the second one
is iPad or paper. So this is a size of pipette. Once again, if you have another phone and either they
mentioned you might just go to the vocal and check
size of your screen, of your phone and
create cannabis. How to do that? So you need to tap Plus after that here we have custom size. And depending on which
size you might find, it can be pixels or inches. You might create size, specific size of your wallpaper. And as you might see, so e.g. if it interests, you will
type Nian Paris 16.5. If I'm not mistaken, this is a size of
iPhones for paper. And here we might have dpi 300. And after that we need
to tap create 99.5 ". We have the size of
iPhone, our paper, and we have the size of
iPads, wallpaper for iPads, this is like from my iPad, this is 27, 32 per 2048 pixels. So let's start with
iPads wallpaper. I decided to create
during our today's class, one iPad wallpaper and
won, I find wallpaper. And you might grab disadvantage
you like once again, double-check the
size of your device. Now speaking about freebies, where you can find all of them. When you opened my class, youth can be Chrome or
Safari, or Chrome or Safari. Because if you do it
in Skillshare app, my free bus might
not be reasonable. You open freebies in browser. After that, you go to Projects
and Resources section. And in the right corner under
the headline resources, you will find all my freebies
and mLs of freebies. I added to you some reference
pictures that I took. After that, I added
wallpapers that I created some sketches
that I created already. You might create your own
sketches or use mine. I just want to ease
your painting process. After that, I added
to brush sets that I created for this
class and color palette. You don't need to have
watercolor paper for this class. So now I'm ready to
show you the brushes. First one is flower mean
is set with brushes. Let me show you that I created. So controls the size. And as you might see here, I decided to share with
you different kinds of flowers because our today's
topic is floral background. So we're going to add some
floral elements like sad. I like CISC picture or some
sunflowers or saccharide. As a brush set that I prepared is called
flyover background. Here I have native
Procreate brushes. I prepared for you
some stamp brushes, my watercolor brushes
that will be useful for some of the wallpapers,
those pressures. And very useful brushes that I truly likely
to incur brush, Blackburn brush, which has native Procreate brushes since the pencil and mercury brush. And speaking about stem brushes, I want to add some playful
elements to our wallpaper. So I was thinking it would be a great idea to add
some lovely kits. Here are the stem brushes are speaking about
color palette. The current parasites
we're going to use is called floral background. And here I have for you
some color variations. So here we have the
first color palette you see is the first row. Those are the colors that
might suit together, might look very
beautiful together. And this is the
second color palette. This one, thoughts a logger one, guys, the last three
colors are cats colors. And I think that those three
colors might go perfectly with any color palettes that you choose for your illustration. Sketches I already
prepared as you see, this is a combination of two brush says here
we have loved kids. And also the second sketch,
those I just loved, it follows, but that's
actually what we're going to create today. And what I want to tell you, I will show you how I
created this sketch and what I was planning
to do with it. So guys, we're going
to create a sketch in the next part of our class. Now let's move to
iPhone wallpapers. Because this is iPhone
wallpapers, that one. I actually already
played with it. And I can show you
what I created. I think this is pretty too,
also lovely illustrations. It's very easy to make
and I'll show you how to create this
exact illustration. I like the color
variations. So awesome. If you think this a
little bit too Dao, you might add some
elements like e.g. maybe cats, bulbs. You see here. It adds a little bit of
this childish wives, but I think it's pretty
suitable for the style. And maybe you want to
add also some character. Yes, so if you want to have
to create some playful mood, you might add Slavic the cat. Yeah, like this magician kid, with a skewed face
expression and also color it accordingly to
the background colors. So I decided to make it
pretty bright, not too dark, because if we paint our
cat in dark colors, it might be not harmonious. If you want, you can
grab a nasa kids, maybe add more shades,
more elements. If you don't want, you might turn off this horse. I was thinking maybe I
want to add some birds. Traces, likes it. Because this dark color
to this darker cat. Or you might change
the direction. So if you're going to
play with it and you can experiment and see
what we like more. Or if you don't want, just turn off everything and keeps this lovely
floral background. Okay, so let's get started. Let's move to next part and
second part of our class. I'll show you how
to create sketches.
3. Creating Floral Sketches: During this part of the class, if you're going to create
sketches and I will show you the easiest
way how to dose it. And I were thinking to create some sketches for iPad
wallpapers first, let's turn off the
sketch once again. Those are some references. If you want to save time and if you don't want to create
skate by yourself, you might grab follows
this two sketches that I feel adds to our class. You can find evidence. I can grab this purple color, maybe leave a dark. And here I will go
to Florida mini set. And I were thinking about
both love or seven, this one. So I'm going to make it
smaller a little bit. If you want to have
some reference, you of course, feel
free to do it for that. If you need some
reference ministration, if you need to go to Canvas. And after press reference, I have to say I'm going
to create one more layer. Let's just duplicate
it and add 10 fluoro. Does a new layer. Why I need
to do that to the new layer, because I want to
rotate it cards. And I want to have an opportunity
to do is add proudly, I want to put it
here a little bit closer and you see
the size is bigger. Let's create one more layer. One floral. Don't forget to rotate it. So as a first layer of flowers will be colored to
see like this tool. And the second one is u here, I already have also
some sketches, all the flowers
but say are wide. I don't want to draw
our attention from main flowers and I don't want to put too much of the flowers. I can't like sad. So guys, this is a first layer. And I'm going to merge
together all sorts. Florals like sad. Let's just rename it
and write lovers. Base. Now let's duplicate here. We're gonna add flowers white. Like what do we have on our
reference illustration. But you see, unlike this one, I decided to make, to add a little bit more colors. Now, I want to love
herself positive for now. And be careful try not to interfere with our
original florals. I want to put it here,
create one more layer. Thinking to make it smaller. For the teens is scarier. Create one layer. Yes, Our here. The last one I'm going
to place in this part. So now it's a little bit messy. So I'm going to merge together
all the layers like that. This is flowers white. And now we're going to lower
the opacity of lovers wide. And in Greece are
positive flowers base. So now what are you
going to do is I will turn off lovers
wide for awhile. And I'm going to create
one more layer underneath. And I will just add color. This is where you're going
to add colors to our floral. And I will show you
what magic trick, how to do it in a fast way. And one more thing, if you want to add some
playful element to our art, I'm going to create one
layer above everything, and I will go to
flower background. And here we have
different kinds of cats. And you might grab the kids
that you like and edit. E.g. if you want to add, maybe this lovely kid. Place it in the center. Like this cat will
be surrounded by flowers and erase the florals. And I think it looks very cute. So I cover the cat
will be surrounded by flour or another option. So let's just write ket one. Later. We'll decide
which one you like more. And I also like this kid. Now this one. Let me find it. This one. And I'm gonna lovers
the size of the cat because I still want a flower to be in the center
of our attention. So just get in the center. And we're going to add
some color to cat later. And also we're going to see
which color do you like more. So now guys, we've done
with the sketch for the iPad and now
let's go to iPhone. The flowers that
we're going to draw. You don't need to sketch them because it's some kind
of childish style. So you don't need preparation
for painting flowers. But we also have cats. And we might think, what is a composition
we will have in end. So in this case, we might go and grab tickets that we like, probably this one. Let's increase the
size. This cat. And let's plays a kid. You might place as
a tool kit that I showed you or any other
kids that you like. I think this gets used to the
playful style of the art. And the other thing that you
might want to do is grab six B pencil and paint. Some cats poll. It shouldn't be perfect. If you are see some
imperfections go to liquefy tool and just push it to the way that would suit
perfectly to your style. Does this part cats
pole is ready. I want to change this part. Tiny imperfections. Yeah, Perfect. That's going to keep
it. As it seen. What you might need to do
is switch to mercury brush, grab a bluish color, and draw birds traces. Obligate. March, double gates,
flip horizontal, and change the position
of one of the feet. Like so. Let's just
write first one. That will help us to
save time in future. You don't need to redraw them
like one-by-one. So yeah. Okay. We've done with
this part as well. And now let's move to next part, B, going to start to
pay into the process.
4. Painting Illustration for Phone : Finally, we move to the most important part of our
class to paint in process. During this class you're
going to add colors. So I hope you're ready
to graph your iPad, Apple pencil and
start adding colors. And my lovely students, I think we are ready
to start creating lovely background
illustration for iPhone or for any fault. So I think I might add a
little bit more elements to our lovely art to
make it even prettier. So let's just duplicate
it a few layers. And I want to add cat six. Let's go purple color, set one. And I'm going to increase
the size a little bit. Yeah. Neither place and cease
can maybe somewhere here. Smaller, smaller, make
it a bit smaller. And maybe one like cat. Let's grab cat, five. Men playing a small
kid in this area. Yeah. This composition
looks even better. So cute signs this case, I'm going to merge two layers, is two kids together in
case if I don't likes it, I can always turn them off. And let's just write sketch birds traces. So all of it, It's
catchy. Examples there. The traces, let's group
them and also writes catch. In this area pane here, we will add flowers. We're going to add flowers
as this part will be. Let's play it a crown. And in nice and neat. As a new layer. I just duplicated
turnip, turnip. And let's rename this layer. And right. Again, we've done
this preparation. Now, it's time to
start painting. So now let's return to our
flower background brush set. And I'm going to grab
black burn brush. And here you have,
you see the colors. So one of the colors,
this beige color, I grabbed Blackburn brush and I can just increase the
size and I can start. Let's go to our flowers part. I'll wait. I edited to the
details. It's fine. Let's just press Copy. So if you mistakenly paint on the layer where you
shouldn't do it. So what you should do it
just tablet press copy. After the press Clear, go to the background layer. And after that three fingers
down and press paste. And that will grab inker brush. Preset capacity. You might turn off
cats for awhile. Like all those out because you
might not want to add cat. So our art, so in this
case you might just leave. Just for our next step is I'm going to
increase the size. And I just want to add some leaves because it
will take some time. So I'm going to
speed up the video. This process is pretty relaxing. So if you have some
iron a rough day, you might just start drawing. It's a truly helps you
to relax yourself. After that, I'm going
to grab you, say, I go from this color palette. You might grab this
pinkish colors, which is truly very nice, or you might go and
grab this purple one. I decided to go to proper
colors because our kids who have lots of pink
elements and I don't want to add too
much pink because. Who calls this
balance of colors. So light purple might suit
perfectly to this art. I stick on the same layer. And I'm going to paint
something like roses. And as you see, I have some additional elements to see if we can add to our floral. So I'll go into
the details layer and then grab a little
bit darker color. Lovers the size to dark, light to dark,
little bit darker. And go move to multiply, blend and layer mode. For later, I'm gonna
lovers the opacity, so it will be not that dark. If you don't want to
have it set dark, you might just go and
grab some lighter color. E.g. go here, create one more layer and add
this blight elements. I think it will be
too much light color. So I'm going to speak to darker shade. Okay. We've done, when you're done
with it and all the colors, you want to go to
the details part and lovers are positive. You Zach, color that you like, Joseph percent that you like. For me that looks good. Maybe a little bit darker, like 75 per cent. After zed, a venue
like everything. Let's go to the sketch
layer and we have kept spore Here too much. That one. And I will create one
more layer of paint here. I make it feasible. I grabbed Blackburn brush and either grabs his bride,
bride page color. And I just want to add
some colors to catch Paul. It's almost white. If you see some
imperfection, also erase it. As an eraser, I'm
using inker brush. Let's create one layer above. Grab this pink color. Same brush. Yeah, don't forget you need
to do it on a new layer. I will create one layer
above all of these pads. Paul, turn off the sketch layer. We don't need that anymore. Create one layer above
and press clipping mask, and then press multiply.
What does it mean? When you press
clipping mask option? You can just paint on the
areas that is underneath. So that means on a cat's pore. But you will not interfere
with our background. You will not go beyond,
beyond the slides. And you can't draw on this
pin part of cats pole, which is very convenient. I grew up a little
bit darker color like our beach color that we
have for our background. But because we use
multiply option, It's pretty dark comparing
to the background. So it's perfect because we can emphasize cat's paws shape. The same time we're going to add some shade to eat as well. In the areas where we have two objects next to each other, like this pink part of
cats ball and white part. You have shadow that we can
show this darker color. So now saying we're gonna
do with this pink part. So if you like everything, you can just merge together
and those two layers, Let's go create one molar
above of pink part. Move to multiply,
blend layer mode, grab a pink color, same brush, and add some shades. Blackburn brush is very cool because it has
lots of texture. If you think this is too dark, just lower the opacity
of the layer till 70% merge together
and merge together. After that, you can
duplicate these kids poor, and turn off one of
the layers and keep the original one
because we cannot change the size
for this ket ball. And when we make it smaller, we can't make it bigger anymore
because since this case, the quality of the
kits for if you increase the size of the
art viewed be worse. You might change the direction, you might rotate it. So this is one of the ways
how you can add kits, pore and u. I not add actually kits as well. If you don't want to, if you want, you can add them. So it's once again,
it's up to you. Okay, If you're satisfied
with everything, just merge together all layers. You can rename it dried kits. If you're satisfied
with a detail yet. You might also merge it
together with flower layer. So kids for lovers. And you might add our
original sketch, this cat. And you might add also
Czars took cats as well. So I'm going to
layer paint here. Later. I will rename it. And Blackburn brush. Let's think about it. I think same color
with the cats, Paul, this pretty
bright beach color. And I'm going to add
colors to all cats. I'm going to change the shade of their firm, but
not significantly. I don't want to make
it too different. I don't want to make
them too dark or too colorful because
I don't want to draw people's attention
from the background. Let's create one
more layer above. And create one more layer. Why we need to do everything
on different layers. Like I told you, we're
going to change the hue or the form of cats so as they
will not be same entirely. Now let's go and
change the color. So we go to this girl Cat, after it go to Adjustments, Hue, Saturation and Brightness. Let's just move our
reference here. And in a huge area
here you see you can change the
color a little bit. Secure. It can be buoy, short, pinkish, or you can desaturate it a little bit or make it brighter? I think I'm gonna make it. And his baby Kat. I Q. So we have three
different colors. They're very similar,
but not entirely. Let's merge together. Goal and baby care has merged together
everything and ride. Cats base and create
one layer above. Rename it and write details. Now if we go to the
sketch and if you lower the opacity of
the sketch a little bit like sat in a
details to be gone up, keep adding some details. Grab him colored
grep inker brush. And let's fill
this area is pink. So the color for gnosis
is a little bit darker. Now let's go to green color. So our aim is not to take
too much of the colors. So try to stick to the three main colors and we
have themselves are beach, green and pink color. Now, Bailey, bailey, I'm going
to stick to white color. Don't grab too
bright yellow color, just a little bit lighter. Now, light purple color. I'll create one more
layer in case in case if I need to adjust that passage, I can't color. So Scott and I want to change the color of the
hat to same color me. Boy, kit. Selected, go to hue,
saturation and brightness. Here. I might desaturate
it a little bit. Lovers of brightness makes it, and I nearly forgot. They also have eyes. Let's merge details. We had create one
more layer above. And here I'm going to adjust the opacity for sure because you choose a
color is very dark. That's not what we need. Now. I'm going to love
herself and see which color my loop
could nurture. We said details. Likes. So good. I like how that looks. Now let's start adding some
shades, create shades. Calibird. Move to multiply. And now if we go to
the Blackburn, brash, grabs the same original
color and make sure that you clip it with the layers where
we have cat space. Clip it. Tried to desaturate the
shade a little bit. Area around the eyes
and around the nose. Shadow. Leave a bit
of shades all around. Same as a baby kit. So you see it because we chose
pretty desaturated color. This color is suitable
for all kids, even though it's a huge upset for is different. Likes. Dan, this shaded part. Now let's go to the details. Also clippers move to multiply clipping layer and we
have the same color. I'm not going to change it. But thanks to this
desaturated color, we can add shapes, which look very good. So once again, as you see, it's not white color, it's something more
to grayish shade. One option what you can do it and needs this
reference picture anymore. So let's turn off the reference. What else you can
do? You might go to the sketchy layer, sketch two. And here you can change
the blend layer mode. You can go to Color Burn. And as this case,
the lines might not be reasonable like entirely. But still some of the parts
will get highlighted. Go to mercury brush, grab pinkish color, and go
to the details part and add. Now let's go to the
sketching layer and move it to color burn. If you want, you just keep adding some colors if
you would like to. I like this color burn layer
because it's truly helps us to keep the sketch layer and in the same time
not to keep it. So this is an option with cats if you would
like to keep it. And the other options that you can do if you don't
like to have kids, but you want to add some birds traces you obviously can do it. Sends this case we merge
together clipping mask with details and cats base with details of these
shades as well. You see this one. We still keeps a sketch. If you want to keep
caps for you can do it. If you want, you can
turn off the flowers. And here you might add more cats polls and just
keeps a cat itself. If you don't want
to have cat's paws, you might just add
flowers instead of that. And this also looks very cute. Don't forget, we also need
to add some whiskers. So I'm on the details layer. And it looks fun to fall. After that. We can select this tool kits, layers and group ID, and write kits like this. And after sad, we
can turn off cats if we don't want to
keep the flowers. And if you want, we can
add some birds traces. Just add it here on the top. And after. Second one. Maybe this part bon, you might change the direction, you might draw just any
burst traces you want. Afterwards, just
select all of them. Group, right, traces and place them on
the niece of the flowers. What I suggest, I want to keep kids or
we might just keep cats, cats and keep traces,
whatever I want. Because for me I think it's too much to keep traces as well. And it's too much to
keep polls as well. So I'm going to
stick to this part. If you want, you can make
even more shades when you draw cats, whatever you like. So guys, we've done
this paint and lovely background
illustration for their phone. Now let's move to iPad.
5. Painting Illustration for IPad : It's time to move to
our next illustration, which is iPad background. So what you should do
if I need to move to the background color and
select this lovely color, that will be our
background color. After that, we need
to go to scalar, replicated a few times like sad. And I'm going to go and grab this retail largely also beige color,
something like that. You might grabs this yellowish
color, whatever you like. When you have to go to
flower base, breast, select, press, invert, and
go to the color. So now everything which
is within our flower base is selected and I can go and
feel the area one-by-one. And I can just go ahead and add color to all elements
that I have here. So you don't need
to add colors to all the florals that we have. We just need to color
just one floral. And then I'll show you how
to recolor the other powers. So what should we do in
order to use color drops? So let's de-select the fluoro. What I just did, I'll
repeat one more time. If you want to draw the flowers, if you want to, color drops out. But we need to do
that on a new layer, not on our sketch layer. What should you
do? You need to go to the sketch layer, this one. After that, press Select. Now our sketching
layer is selected. After that you need
to press invert. It means that you selected everything except
the sketching layer. And after that, you need
to move to the new layer. That means we still
have selection on, but we don't need to draw
on our sketch layer. The code has a new layer. And after that, we
need to drag and drop color to the areas that we actually need to
color it makes it. So when we dose it
with drag and drop, here we have the option color
dropped, continue feeling. I miss it and we
need to press it. So now you just need to tap. No need to drag and drop
the color every time. So just press the areas
that you want to add color and it will be filled with
our colors that we need. So guys, if you
want me to tell you more about basic
coloring technique, I'm ready to do that. Just leave it in
discussion section. What you want to hear from me to we need to devote
more time to calorie, or we need to
devote more time on shading or maybe on
some other themes. I've looked very glad
to listen what you think about the topics of
our classes, future classes. I added colors. Now I want, what I should do. I want to add colors to
leave and some other things. So in this case, I will go grab this, this lovely green, greenish, yellowish color and
move the threshold. If you move it to right-side, you select bigger
amount of percentage. So biggest, bigger areas. If you move to left side, that means that you select less. So I just add color and
move it to the right. That will help me to add
to select more areas. What we need. So we don't need our
selection anymore. We can turn it off. I
still stay on a layer with our floral grab inker
brush because it's thin. And I'm trying to fill that
area with incur brush. In this case, I just
want to add some color. We have some tiny gaps. So in this case, I
prefer mercury brush. Very lovely art. And after said, if you want to add some shades, you can do it. In this case, you need to
create one layer above press clipping mask
mode to multiply. And here you have options. You might grab both splashes, you might pull dense texture. Let's grab both flashes. And I'm going to go
and grab a little bit. Like pinkish color. Just want to add some texture. I don't want to have just like paint white
color, beige color. So dots look very lovely and I'm going
to keep them this way. After I merge it together. And you don't need to add
colors to all those florals. That would be a lot of time. You duplicate our color. Turn off one layer. We need to keep the original one in order if you
make some mistakes. Same with a sketch with fabric base tablet kids
turn off one of the basis. And after that, Let's merge
together this floral, this flower base, like
you said, perfect. In this case, I just need to select our flower
that we just painted, likes it and press
copy and paste. This case when we selected, when you just to rotate
and adjust the size and shape approximately
two other florals. But in this case,
even if you make some mistakes, It's, it's fine. So we created the perfect shape. We increase the
size a little bit, move our fluoro, so it's great. Now, turn off the selection. Now go to our colors, the first layer where we
still have some sketch, grab selection tool, freehand, and select our sketch. After that, move three
fingers down and cut it. So you seem to be replaced
to sketch with our floral. Now let's merge together
our color and our sketch. This one, we still
have two more flowers. In this case, what should we do? Just select the flower that we already created and
press Copy and Paste. Now what I did before you
need to move it a little bit. Two sides, increase the size
and find the right ankle. And Denise, we
still have sketch. So in this case we go to
our color, this cart. Go grab selection tool, select the cis part, move three fingers down and cut. So you see we removed
the sketching layer, this one, merge together. Now we still have
the last florals. In this case, we
select flower again, press copy and paste, rotate. It, increases size because those fluorines,
florals or bigger. Let's find the right. And as you might see, because this is a flower that we need, so this is a right angle. Let's go this way. Like sad. So in this case we need to go to the lower layer where we
have sketched this one. Grab and select the sketch
that we don't need anymore, but I don't want to remove
this part of the sketch. You see? I will keep this leaf and I've moved three
fingers down and press guy. So I removed the sketch and what's underneath
this one, you see, but I kept this
part of the petal. So after that, what will I do? I will go and grab
this page colors, the ones that you are using,
grep, Blackburn brush. And I will just add. And then I'm going
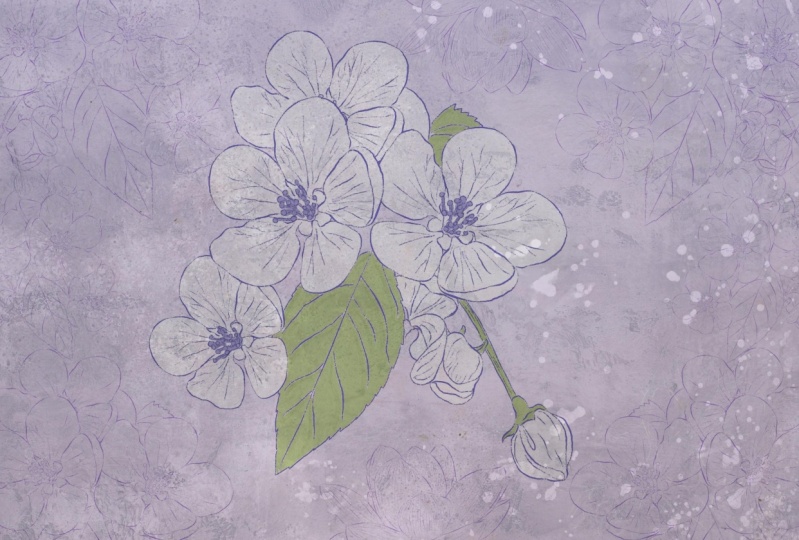
to merge together fluoro and the rest of flowers. Now it looks very loudly. So what should we do next? Our next step is we need to add, as you might see here,
our white florals. In this case, I will
press flowers white. If you see that we have
some leaf overlapping, just carefully erase
the overlapping. So after that, the need
to duplicate this layer. You see normal overlapping.
You double-check it. It looks very beautiful. Yeah. Now you can duplicate
this layer. So what you can do, you can duplicate this layer in case if you want to
keep the dark version. And now if we go to the
Adjustments, Hue, Saturation, Brightness and more
brightness to 100 per cent. Now we have lovely white
florals and some background. They look very beautiful. If you duplicate it, it
will be even brighter. Neither needs this
reference picture anymore. So this is our version. One way, how to add, how to create lovely iPad
background if you want. You might keep it like that. The other versions,
either option, what you can do, you
can add lovely cat, like I told her, some
playful elements and add some colors
to this lovely cat. But first of all, you see is
a color, it's not purple. It's more reddish
orange this way, if you want to change the color, you need to press Select. Does it grabs this purple
color and press Fill Layer. Now, our cat is
pretty much purple. Create one molar above. And let's think which color
we want to add to our cat. Let it be white color,
Blackburn brush. And also keep in mind, try to stick to
three main colors. Here we have page color, we have purple color
like pretty bright, light propyl and
this green shade. Now when the crypt, now we're
going to grab this color, create new layer above. In order if I mistaken
the paint on the top, our kid, I can always erase it. And my situation, I want to
add some color variation. So in this case, I want
to show some sheets. How to do it. Just grab a slightly
different color, even darker or lighter if you
want to highlight some of the parts and show it was
messy lines for years. Now let's shade. So let's create one
layer above the cat. Move to multiply and clip it. Prep little bit darker, shade, grab Blackburn brush. This part. And that's it. I like it. Wow, very loudly art. Once again, if you want
to change the color of our sketch when
coat color burn, and as you might see, now, it looks a
little bit different. Yes. So this is a way that you can use in order to create
lovely cat illustration. But don't forget if you're
going to use this option. My suggestion, grip, inker, brush and add to make this
too dark, add some color. And last, last all oxygen. What I can suggest you to
do is to add some texture. So in this case,
you go to texture. This is a letter that
I've already created. This is like layer on the top. I make it feasible and
now I'm under freebies. I also have some texture option. So you take this image and
imported into their procreate. After the rotated Fit to Canvas. Now, uniform. Move it to the edges. Can hear you might play with, yeah, you might play with these modes and see
which one you like more. And as you see,
thanks to the modes, it has very lovely texture. So guys, you can decide by yourself which option
you like more. I like Color Burn
looks very lovely. If you don't want to
extra, just turn it up. So it's up to you. And Guy set for us and
for our next class, guys, and I hope it was useful
and you'll learn the way, new ways how to create
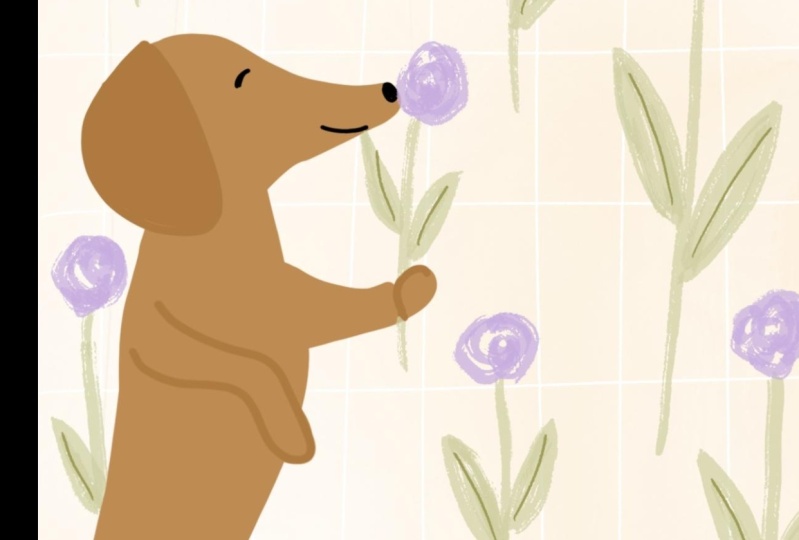
background illustrations. And next time we cannot draw a lovely chicken,
nice food illustrations. And if you want to share with
me your lovely artworks, I would be very happy to give
my feedback and sees that. And let's see each
other next time. Bye bye. That was the end for
our today's class. And now you know how to create wallpapers for your own
devices like I bet, and your phone just by yourself. So you can decide
which topics you like. You can think about the
style that you like. Just devote some time and create a lovely
wallpapers, guys, I would be happy to steal all your artworks that
you're going to create and you can share them in
projects and resources section. And let's teachers
in next class.
 Inga Yoon, Digital illustrator and teacher