Transcripts
1. Introduction to Class: Hello everyone. In this tutorial, we
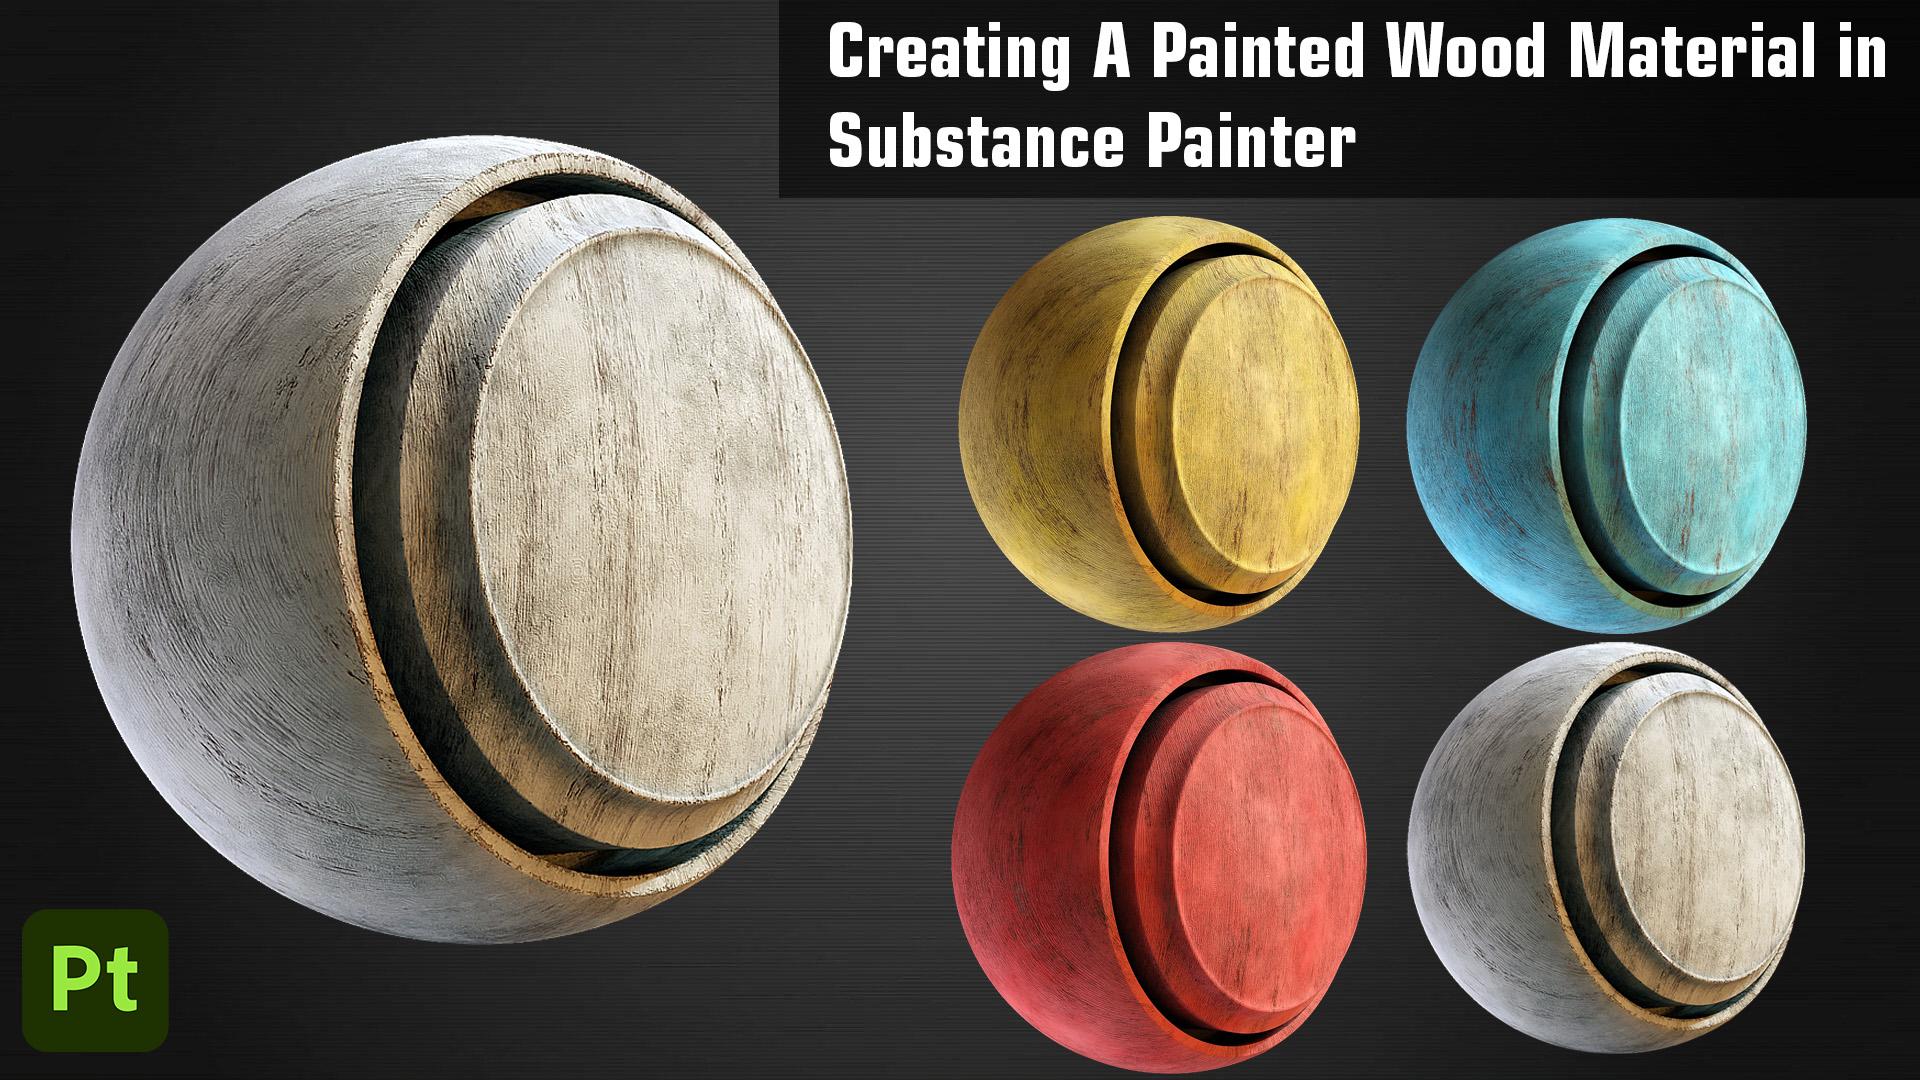
will go over creating a painted wood material from start to finish in
Substance Painter, we will make use of
different features of printer to create
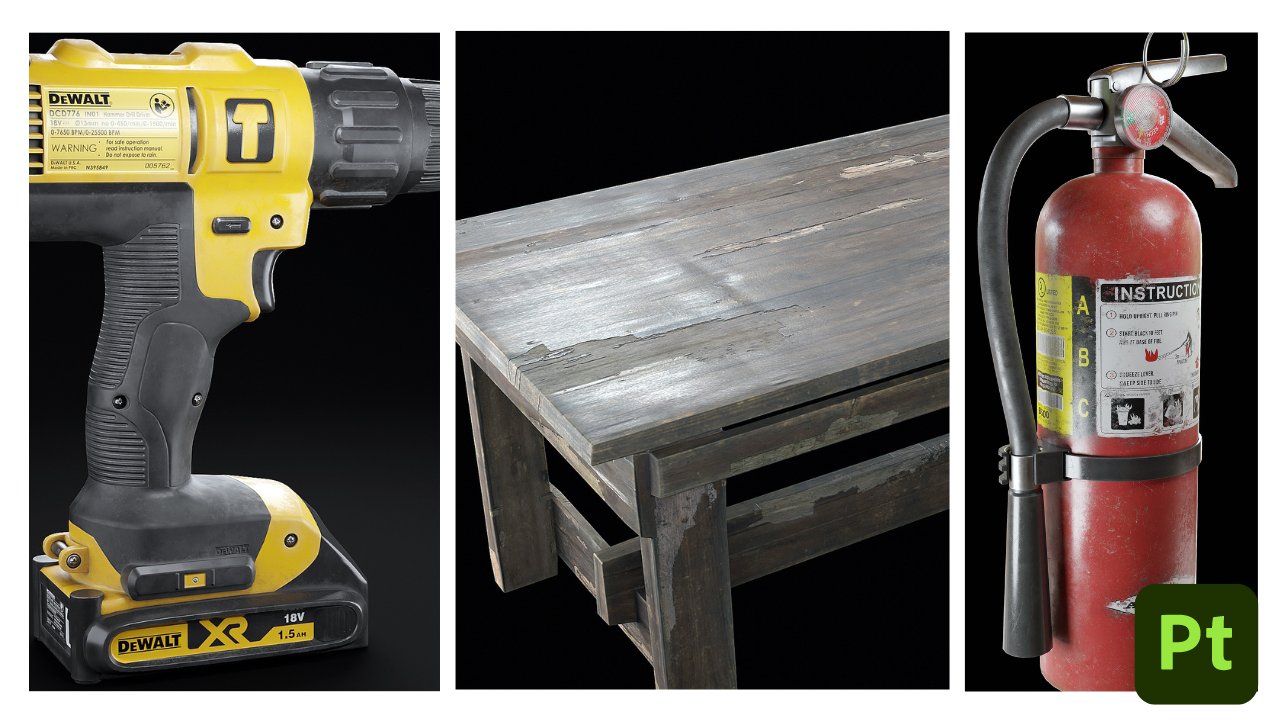
this part material. You can use this material on any of your projectile model. We will start by
adding a base layer of wood and then we
will build further upon that layer by adding different layers to the material to make it more realistic, we will add a paint layer
and add some scratches and damages to it to give the
material a better field, we will finish the
material by adding some dust layers and
reference mediation. At last, we will learn to create a smart material
out of all this. And then we will try
adding this material onto a different model and try to
customize the look of it. I hope to see you
there in the course. Also makes sure to
check out some of my other courses where
I go over creating entire 3D environments
and 3D prompts from start to finish using
Blender Substance Painter, and Unreal Engine five. All my courses are available on all different black
farms like SkillShare, Udemy are stationed, etc. So make sure to check them out. Thank you.
2. Creating the Painted Wood Material: Hello everyone and welcome to this short tutorial
in which we will be creating a painted wood material from start to finish
in substance painter. So to start off, I've opened up Substance Painter and
you all can do the same. One thing that we
should know is do create a material or
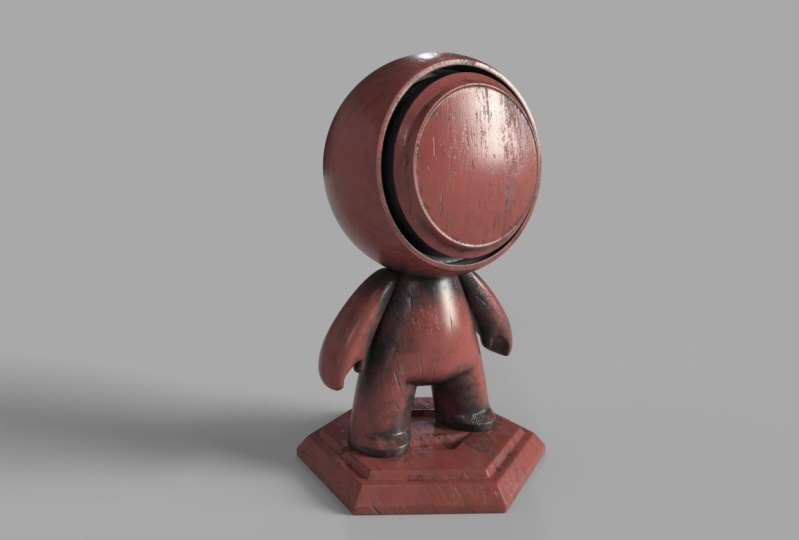
to start texturing, we first need to have a model. So instead of downloading one or creating one from scratch, what we can do is
just go over to File, select Open sample, and you will find this Mi'kmaq
file over here. Double-click on it. Here is a handy little
model which we can use to create our
painted wood material. And later on we will
convert it into a smart material so that we can use it on our
other projects. Also, in the texture set list, I will just disable the body and the base that we're just
working with this team only. Alright. You can see the
layers over here. You can just select this layer
and let's delete this one. Now we can start from scratch creating our
painted wood material. So the first thing that
we need to do is we need to add a base
layer for wood. So if you just go over
here in the shelf, if you don't find
the shelf over here, you can go over to Window. And in the views, we'll find or maybe toolbars, I think assets or
here you click on it. You will find the shelf. So let's search for wood. We can find this
would American in this base wood material would be evaluating every one
substance painter. So you can just drag and drop
it now over here like this. Alright. So as you can see, we have
the wood material all over our sphere to select it and we can adjust some
settings from over here. You can see it is a
little bit shiny so you can increase or
decrease the roughness. If I set it to 0, you can
see it is very reflective. Also, if you wanted to know, I'm moving the scene
alone by holding Alt and using my
left mouse button to rotate it like this. We can use the scroll wheel to pan and right-click to zoom. We can also hold Shift, then use a right-click
to move the lighting. These are a couple of
things you should know. And I'm pretty sure
that you already know. Also if you wanted to
change the lighting, you can also change
from over here. Maybe you can select this one. This one, we can
just go for anyone. But let's just select
the earlier one only. You can hold Shift and
right-click to see how the lighting reacts
to your material. Obviously, we don't want
it to be this reflective, so we will increase
the roughness. I wanted to be fairly rough. So let's set this to 0.8. All right. Next, if you see over here, there are different channels. The color metallic roughness. If you've been just
disabled the pilot channel, you will see the color
information is bond. Or if you've disabled
the roughness channel, you will see all the deafness
information is gone. So I actually want to
disable the height channel because I don't want all of this height information
in our base layer, we will be adding
height information, but we will add our own
customized hide info. So let's just disable
this and you can see, immediately see the effect. Next. You can also
increase or decrease the scale from over here
of the overall texture. You can also change
the prediction type. You can see we
have triplanar and we have multiple
different projections. But let's say this to UVU. And I will increase the scale to somewhere around five maybe. Also for the color. I have already
decided on a color. I don't want to be
like this saturated. I want the color
to be like dark. So I will just put in
the values for the hue. I want this to be 0.054. For the saturation, I
will set this to 0.4524, the value of 0.39. Kind of dark. I think this is fine. All right, So now our base layer is done and the next
layer we will be adding is for the height
info that we just disabling. But we will add some of our own. You can add another fill
in the color to black. And I will increase it a
finished 2.8 only for this also. Let's set the height value 0.14. Now, it could be like much, but I'm just setting it to
0.1 to make a point here. Let's add a black mask. I had a failure. Click over here and search for
the texture voltage. And you will find
this voltage 01. Let's just select this. You can see we have
some light. Over here. It is too much right now. So what we can do is
first go over here. This is the opacity section. You can see we can increase
or decrease the opacity. I will set this to 50 for now. And also set this
mode to multiply. And now you will see,
if I click over here again and increase or decrease
the height information, you can see how it is
reacting on a material. Earlier we set this to 0.1, but in my opinion, I think 0.1 is too much. So let's set this to 01 for now. Now, next what I want to do is I want to increase
the scale of this. As we increase the
scale of the texture. For this thing like this. I also want to increase the
scale for these wood knots. If you just click over here and increase or decreases scale, you will see that
nothing happens. The reason for this is, right now we are increasing or decreasing the scale of
this particular layer, but we want to change the
scale of this particular mask. So I'll click over
here, then select this. Now if you increase the scale, you will see, let's
set this to 4.5. And also I will rotate this by 90 degrees so that they
are over here like this. Yeah. Next Beta. The hardness. You can
see how it reacts. It is totally up to
your preference, but let's keep it at 0.5 only. I think that looks pretty good. All right, I will rename
this layer to food. And now what we can do
is first let's create a folder and name
this folder screen to select them both and drag and drop it
into this folder. Now, I will add another folder. Let's name this one as this. Select them both and drag and
drop them into over here. That are material
stays organized. Next, we need to create
the paint layer. I will create another folder and let's name this as paint. Alright. Now we need to create under
Fill Layer and you can see how it already
acting as print. You can see all the
details that we add. It appeared over
our paint layer. I will rename this to base. Again. This is the base
for our paint layer. Now, let's set the color for
this. Something like that. Yeah, I think that's fine. Next, let's increase the
roughness a little bit. As it is paint, we still want it to be a
little bit shiny. I think one to five. Let's try 0.25 for now. We can always change it
later on, but I think, yeah, yeah, I think it is fine. Next I will set the
height value is 0.05. Now if we change the height
value and nothing happens, but I will show you later
on why we're doing this. For now, let's just say
the height value to 0.025 and move on further. Next, I will press Control C and Control V over this layer to create
a duplicate of this. As you can see now, there
are two base layers, but rename this one
to paint variation. Because inborn, there to be a little bit of
color variation. Now select this layer and
select the Base Color. And let's change the
color or the hue value. I will set this to
0.131 saturation, I will say B1502 for the value, let say these, 2047743. So you can see a little
bit of yellowish color. But right now the complete model or the object is of
this yellow color only. What do you want to
have a variation? That means a mix of
both these layers. So what we will do again is we will again add a
black pass to this. This time, let's
add the failure. Search for clouds. Let's select the clouds to. And you can see if you just enable and
disable this layer. They are a little bit
of white areas over here that creates
like a print edition, but also we can just select
this clouds to mask. You can increase or
decrease the scale. You can see how we are
editing everything. Also, you can
increase or decrease the balance to reduce the
amount of yellow color. So you can see we are
increasing and decreasing it. For now. Let's increase the balance and
circulate around 0.31. Maybe. You can also increase
or decrease the contrast. Increasing the contrast. Food make it like very sharp, like this, but
obviously we don't want that. So set this to 0. Next, what I will do is I
will decrease the opacity of this layer with
somewhere around 40. That the variation is
like not very obvious. Now, as you can see, it is
very faint, but still there. So I think that
looks pretty good. Before proceeding
further, let's just hit Control plus S to save our
substance painter file. You can save it anywhere. So I will save it in an already created folder that
I was working on earlier. I will name this
as wood material. Now let's hit Save. The next thing to do is we
added like paint variation. So the next thing would
be if you're in a movie, added a base material
under this paint layer, this vase would layer. So now what we want
to do is we want to create like scratches
and edge damage on our paint layer so
that we can see the base layer under
it and it will give it a lot more
realistic field. You are. Let us do that. So to do that, we will just select that
complete paint folder and add a black mask. We will proceed in a similar way like we added paint radiation. So now we have
added a black mask. And next I will
again add a failure. You can click over
here and search for the lead clouds and search
for directional noise. And you will see all
these five textures. All of these are pretty good for adding scratches for
stuff like wood. So I will just select
directional law is one. And you will see something
like this right off the bat. It does not look very good. But the first thing that
I want to do is again, I want to rotate it like
this by 90 degrees. Okay, So next part
I wanted to do is let's increase it scale. Do some wet on to maybe. Also I will set invert to true. You can see it is
much better now. Next what we can
do is we can see increase or decrease the
balanced from over here. So obviously we don't
want it this much. It was 0.5 earlier, so let's have it
and set it to 0.25. Again, this is a very
preference based thing. You can check it
however you may like. Now I will just show you what I was talking about earlier. If you remember, we added a height information
in a paint layer. If I just quickly
set this back to 0, you will see how all of the height information we've got removed from our material. If I just hit Control present, you can see all these scratches
are a little bit inwards. That gives it a little
bit more realistic field. You can see if I just
increase or decrease it, how the scratches are reacting
to our wood material. Again, maybe increase it
a little bit to 0.08. Something like that. I think this looks pretty good, but I will add another failure. So select this mask, Let's add another fill layer. This time I will add
directional law is two. And again first rotate this by 90 degrees for the
scale. Let's see. First, I will also
never invert for this. Now what we want to
do is we weren't the directional law
is the effects of the earlier detection lowest to be visible with this one also. So I will set the blending
mode to multiply. And you will see as
soon as I do that, I would control plus j to
set it back to normal. We will see this was earlier, but if I set this to multiply all those earlier effects of the directional noise
one appear back again. And if I take this back to
normal, they all disappear. So make sure to set
it to multiply. And now what I will do is again, I will decrease the balance. Maybe what we can do is
we can just invert this. Now I will increase the
balance is basically opposite. It does not matter that much. Let's set this to 0.9. Scale to something like three. I think something like
this looks pretty good. Alright? Again, I will add another. This time I will add a filter. For the filter I will
select sharpened. And you will see as
soon as I add sharpen, all these details
are very sharp. But obviously I think
this is too much. Let's set this to
0.5 maybe for now. Also, I will select this base layer and set
the height vector 0.05. I think that was much better. Alright, so I think I've material is coming
along pretty nicely. The next step to the
next thing to add is we will go over and
add a little bit of dirt to hardwood because
right now it is too clean. Outside of this pink layer. Let's add another fill layer. I will rename this to dust. Give this a doctor, and also
increase the roughness. We don't need to give it
any height information. I will add black mask to this. Let's click this crossover here and come into smart
Mask section. So instead of now
using a fill layer, I will directly use
the smart mask. So I will use this
desktop version one. You can see there are a lot
of different smart mask. You can just drag and
drop them and you will see how it affects
your material. You can try multiple
different smart masks and you can see we will have
various different results. So you're going to do this
according to your own needs. But I will be adding
this just to occlusion. Will say this is a
pretty basic one. It adds like this to our
corners and crevices. So in this particular material, we don't see any
much big change. But in your custom models
you will see it makes the material looks a
bit more realistic with adding all
those desks in mud, adding all those dust and
dirt in corners and services. We can also select
this from over here. And you can see you can
increase the dirt level. Play with the contrast
will make it more sharper, but obviously I don't
want all of that. Then also add a
little bit of grunge. But yeah, it is
totally up to you. What do you want to add? But I think something like
this would be fine. I will also select this
paint layer again, select the externalized one, and maybe try increasing the
balance and let you know, I think this is too much. Let's move it back to eight. Yeah, I think that is fine. We can move ahead with this. Also, one more thing that
I wanted to show you. If you go over here in the
texture section settings, you can increase the size
from over here, 2204824096. This will increase the detail. You can see everything
is much sharper and more realistic because the texture size
increase from 20484096. I will create another layer. I will just duplicate this. So press control C control V. Select this mask and hit
this cross will remove this. This time looks at the failure. Again, click over here, and this time I would like
directional noise to again, set the rotation to 90 degrees. Let's increase the scale. Somewhere around four, I think. Next one more time, I
will add another failure. This time. Removal of
this and select clouds. Clouds to you will see as soon as against
set this to multiply. What will happen is if
I just turn this off, you can see if I just
select this mask, I can control both of them
just by using this Cloud Mass. Actually, the effects
of both of these will appear over the area where
the cloud mask is working. So if I said from
material to mask, you can see this is the cloud mask and this is
the directional noise one, so both of them are overlapping. So if I just change
this from over here, you can see if I increase or decrease the balance of
the directional noise too. I'm just editing these
white parts only. And if I select the cloud to and I tried to increase
or decrease the balance, you can see how we're editing
it all over the material. So this way we can add
multiple failures and multiple different pictures are these grayscale
textures to create, to create more complex masks. I will set this
back to material. And you will see we can
just the clouds one. A little bit more
dust like this. I will set the balance
to somewhere around 0.3. Also change the scale. Maybe one was fine. Obviously we can
aggregate later on and you can also change it
according to your preference. But for now I think
that looks pretty good. Also, I will select this main fill layer and I
will give it a little bit of height information as you can see how this
reacting on a model. But obviously we don't want
to give you this much. I will set the
height tool again, 0.05 is very faint. Also, if you want, you
can just select this again and let's add
another sharpened filter. Can see how if I
increase or decreases sharply with a material. Lakes makes the edges of the details a lot more
sharper. Obviously. Again, we don't want this much, but let's set this
to around this time. I think our material
looks pretty good and we are done with it. Let's hit Control
plus S to save. Other files. If you want, you can select all these failures
that we added for the masks and you can
edit them however you may like to give it a little
bit of her own touch. And also let's set
this to 0.3 only. Know, yeah, I think
that is fine. Next, what we can do is we can create this into
a smart material. So for now if you
want to use this, this particular
material, this folder that we created in
any other project. You won't be able to
do it because it is currently in this project
only in these layers section. But you can just
right-click over here and create this
into a smart material. Let's rename this to maybe
get underscore material. Right-click and create
smart material. And as soon as you do that, you will see over here in
your smart materials section. So you can just select this
smart materials section. And if you select for
indeed underscore route, you will find your
material over here. So what this will
do is if you create a new project and you add
your own custom model, you can use this wood material over there just by
dragging and dropping. I will just quickly show
you how we can do that. But first let's hit Control plus S. Now we will create a
new substance project. But before doing that, I wanted to add one more
thing for material. You select this layer and
let's add another fill layer. And this time we will be
adding roughness variation. What I will do is
as you can see, there are a lot of different
channels over here, but I want to add a
variation to our roughness. So I will just quickly
disable all of them except the
roughness channel. One more shortcut is
there if you weren't to just quickly select
one single-channel and disabled all
the rest of them. Just hold Alt and click on
that particular channel. And all of the remaining
channels would be disabled automatically fill. Let's move further. Now, I will rename this layer
to roughness radiation. Let's start a black mass to
this and add a fill layer. This time I will
search for grunge 01. I will be using this one. Again. You can use any one of them. There are lots of grunge maps. They are similar like black
and white texture maps, but with different
kinds of results. So I will go with this one. As soon as I do that, you won't see the
effects immediately. But let's just first increase
the scale a little bit. If you are just a balanced, then you will see what
I'm talking about. But first I will select
the fill layer and reduce the roughness
to maybe 0.2. Now if you again
click over here, select the trench map and try to increase or
decrease the balance. You will see the
roughness radiation coming up or WE sleep. You don't want a lot of
areas to look very wet. So I will keep that unnecessary radiation at a low amount. Let's take the balance
somewhere around 0.25. You can enable or
disable the layer. You see what it adds
to our material. I think it is a nice,
beautiful addition. Also, if you want, you
can move it here and change this drop-down
menu to roughness. And now you can adjust the opacity of the
roughness channel. You just see over here. If I set this to 0, you see all the roughness
variation is gone. Now, if you want, you can maybe place it at 80 so that it blends in a little bit better without
other reference layers. I will just decrease
the scale a little bit. Set this to 0.3 and rest. Everything is fine.
I will right-click over this and just
quickly delete this one so that we can create a new paint
in good smart materials. So just select this right-click and create smart material. And automatically,
it is over here. Now I will create a new project. And as soon as you do that, you will see this window pop up. Over here in the file section, we need to select the model
that we want to texture. So currently if you don't
have any model that you want to texture with this
particular smart material. You can, you can
add any model of your own or maybe you
can download one. But if you don't want to
do any of those things, I have provided you with a very simple model
of a cabinet. If you go into the
resources files of this course,
you will find it. Just click on Select, and you will find these
Cabinet model in files. So just select this hit Open, rest, everything remains same. Now hit Okay. Make sure
to save your project. And yeah, this is the very
basic Cabinet model that I came up with to make use
of this smart material. Also, whenever we create a new
substance painter project, the first thing that we need
to do is bake the mesh maps. So the reason we need to
bake the HashMap sys because all those features
that we use or substance painter
like smart materials, smart masks or generators, all make use of the maps. That are the mesh maps. So every time we create a new
substance painter project, we first have to
big the HashMap. Just click on this button. There are a couple of settings
that we need to change. First, I will change the
size of the mesh maps to two k. I will disable ID. I will also enable
these two things. And said the
anti-aliasing to eight by eight and just hit makes
electric textures. It might take a little while, I will just resume the video
when everything is done. Alright guys, so the
bake is done now just hit OK. To add the
smart material. You can just drag and
drop it like this. That's how easy it was. Before moving further, I will change the size from 102424, okay, that we can view the
texture a little bit better. Let's move back to
layers and you can see our material looks pretty
good. Looks pretty good. And obviously after
adding the smart material now you have to think like what kind of rock you
want to go for it. You can customize the material like however, you may like. If you wanted to go for
a pretty damaged assets are like old cabinet. You can just select
this paint layer, this additional noise one. You can increase the balance and maybe increase the damage. On this particular model. You can select any of the lake, these directional noises and
increase the damage on it. You can also go ahead
in the desk layer and increase the dust that it
looks like more dirty. This is what I was
talking about. You can customize it
however you may like. But if you want to go for
a cleaner look, you can, you can disable this
traditional noise to select this one and maybe
set the balance to 0. And as soon as you do that, you can see a cabinet
is looking like it is a little bit more cleaner and it looks like that
is pretty new in age. Also, I will open
up this base layer, select the mask from over here, and increase the scale for it. Seven. Lagging because of the focus. We can just go back to two kids that are Substance Painter is little
bit more responsive. Also, if you're feeling
like the sharpen is too much because the details
are looking like very noisy. You can disabled the sharpen
and you can see immediately. It looks like very less noisy, but yeah, you can go for
any kind of lucky weren't. Maybe I will turn
it down to one. You can also reduce the
amount of dust like this. Now it looks like
completely new, like a new cabinet. But we can increase
the amount of dust enabled back
the detection noise. This one also I feel like
instead of the sharpen, I will reduce the
height 0.02, maybe. Paint radiation and
the paint layer. And let's set this back to somewhere
around 0.2, I think. So this is what I
was talking about. You can customize the smart material however you may like. You can also change the color of the paint layer to give
it a completely new loop. These were all the
customizations that you can do to create a
material of your own. You can use this
material on any of your different models that
you want to use it on? This, is it from my side, guys. Thank you for watching. Also makes sure
to check out some of my other in-depth courses like of creating complete 3D
environments and 3D props. Using substances being doubling the Unreal Engine
yet available on all kinds of different platforms like Udemy skillshare,
our session. Thank you for watching.
 Aniket Rawat, 3D Artist