Transcripts
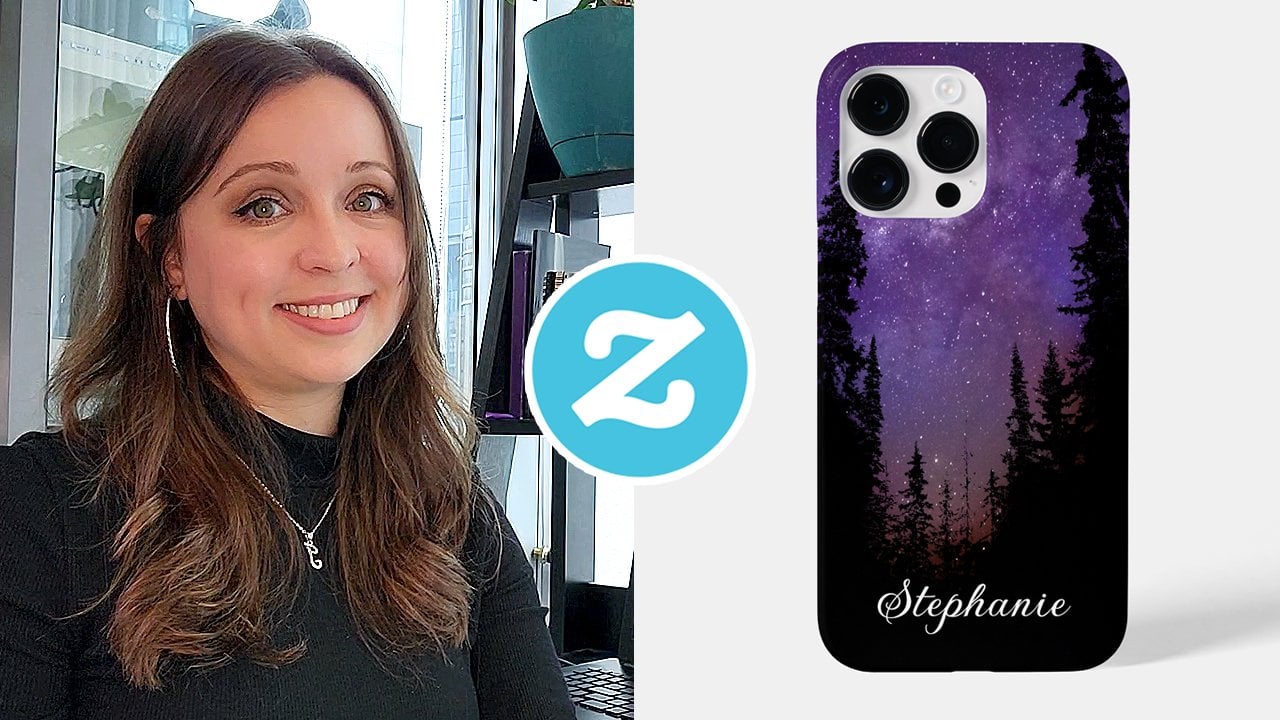
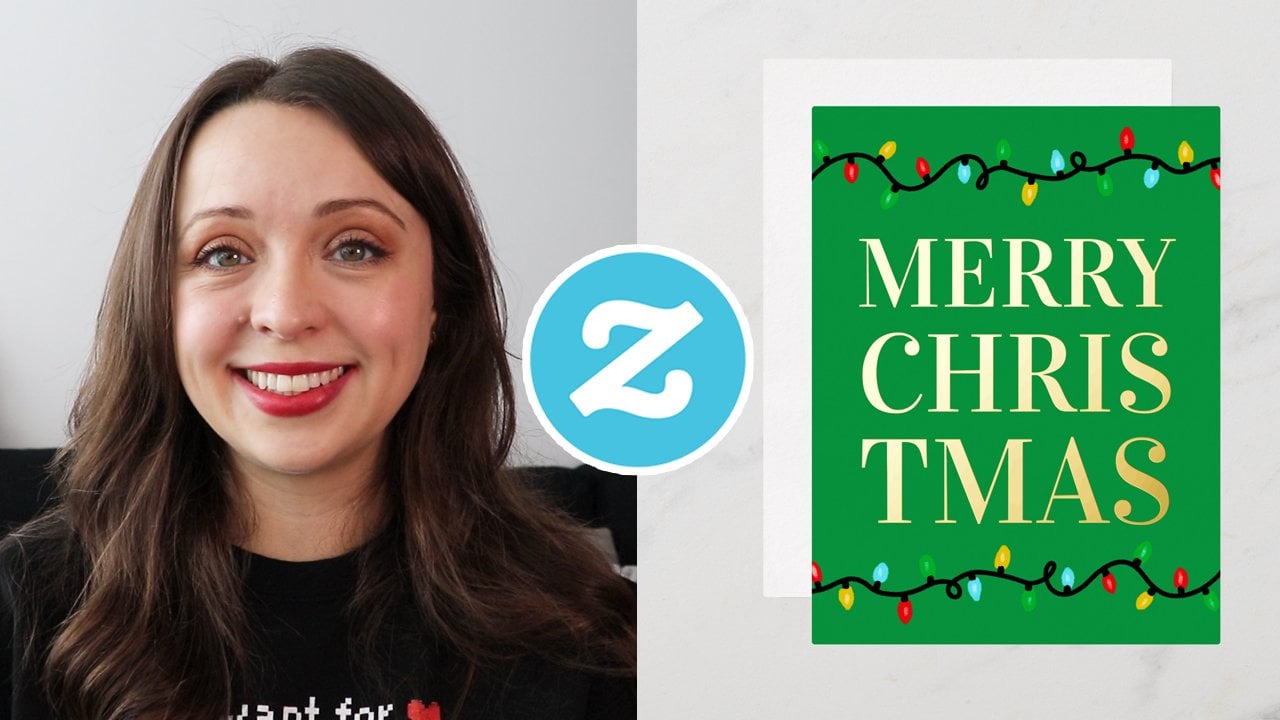
1. Intro to the Class: Do you want to learn how to make stunning product mockups
like these to help your artwork stand
out on print on demand platforms like
Zazzle and social media? Using Canvas built in
AI Image generator, I was able to create these unique mockups
for my Zazzle store. And now I'm teaching
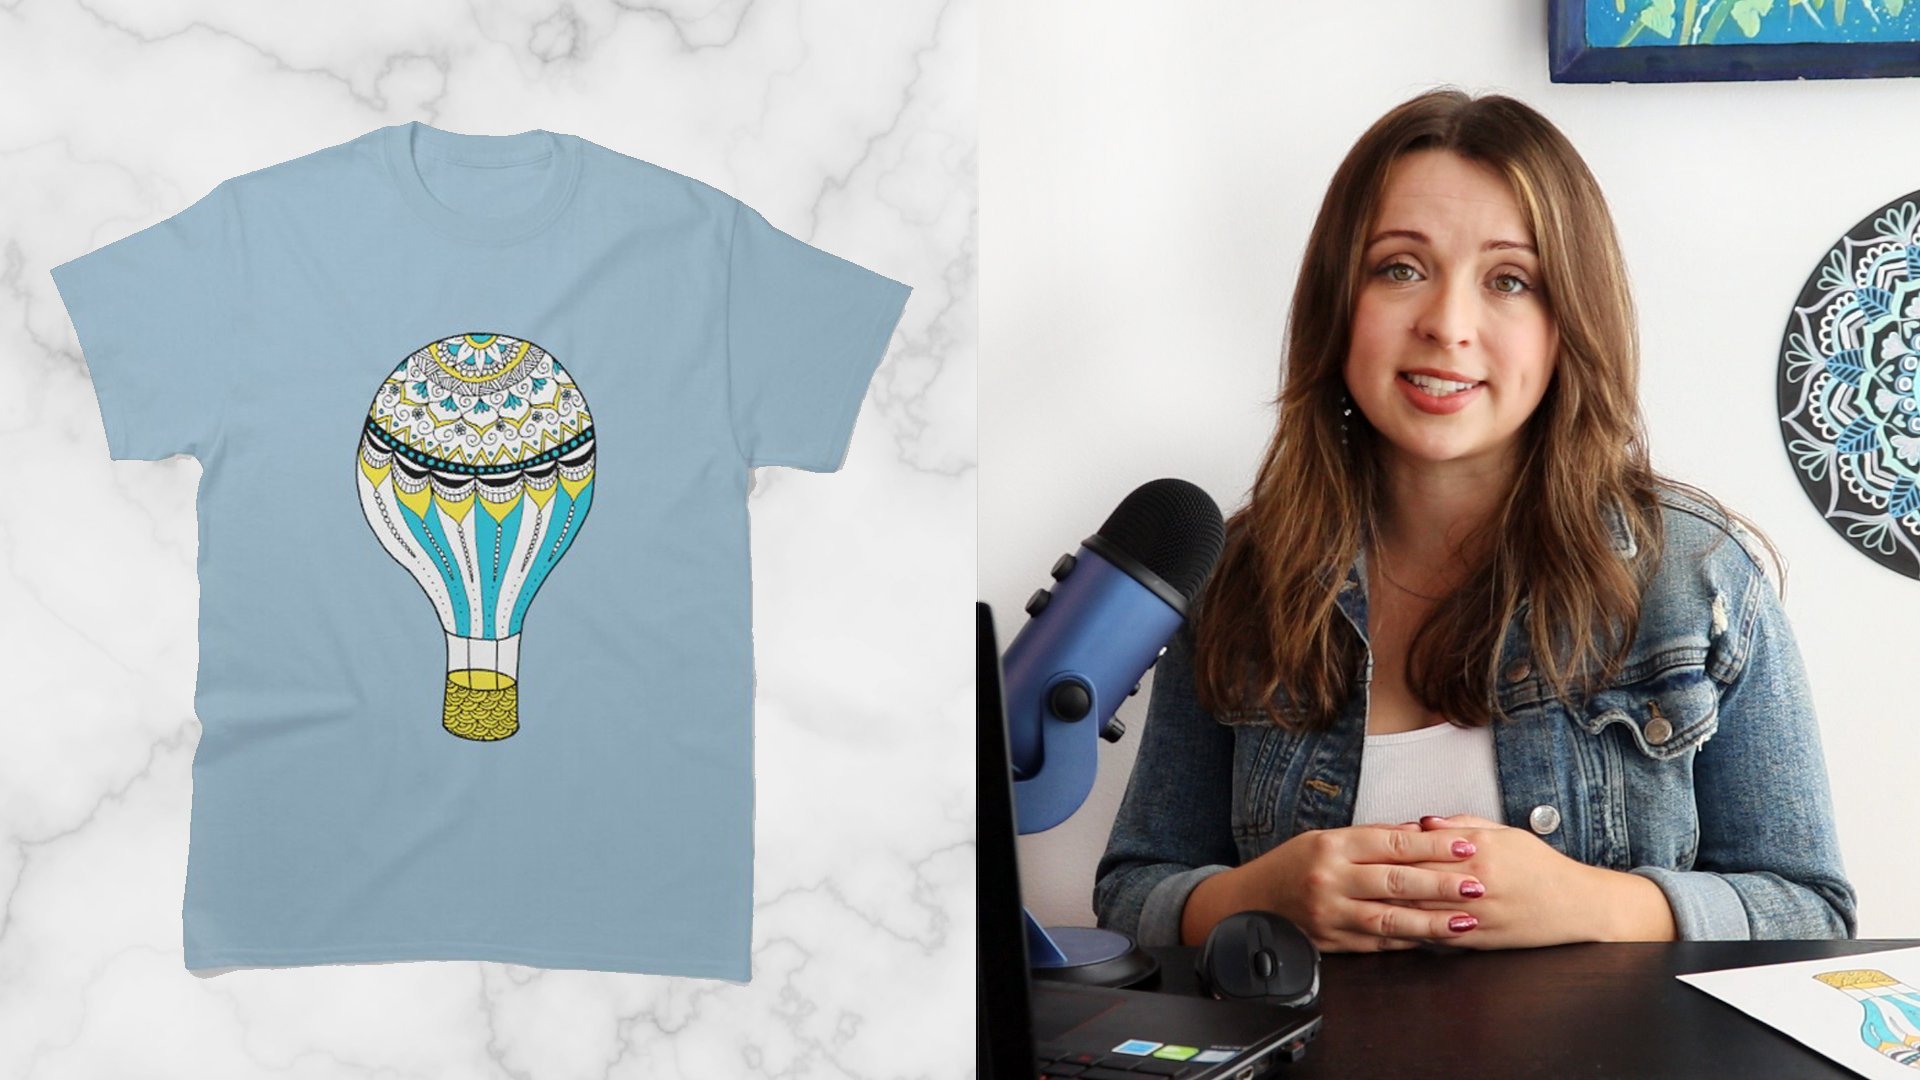
you how to do the same. Hi, I'm Julie from
Julian and Designs. I've been selling my art online through print on
demand platforms like Zazzle for over a decade and have sold thousands
of products worldwide. Through the years, I've learned that it's really important to have your work stand
out on these platforms, and having an eye
catching mockup can really help with that. In this class, I'll be
showing you how to download mockups from your Zazzle
store, remove the background, import them into Canva, and then create a realistic
and unique background for it using Canvas built
in AI image generator. I'll also show you how to add some cool effects in Canva to make it look
even more realistic. I'll also show you
how to download and apply the image to
your azo listing. This is a short and fun class that you can do in
under 15 minutes, but it might take more time once you realize
how much fun it is. This class is geared toward people who have a Zazzle store, but it could also be useful to other print on demand
sellers as well. And if you're not
already selling your art online through Zazzle, you can take my other
class on how to set up your Zazzle store
from start to finish, and then you can come
back and take this one. You're going to need
for this class is a laptop or a desktop computer. Although you might also be able to follow along on a tablet, I just haven't tested it out. You'll also need to
have a free Canva account to take this class. So if you haven't already, make sure you sign up for
Canva before we start. So once you're ready,
let's get started.
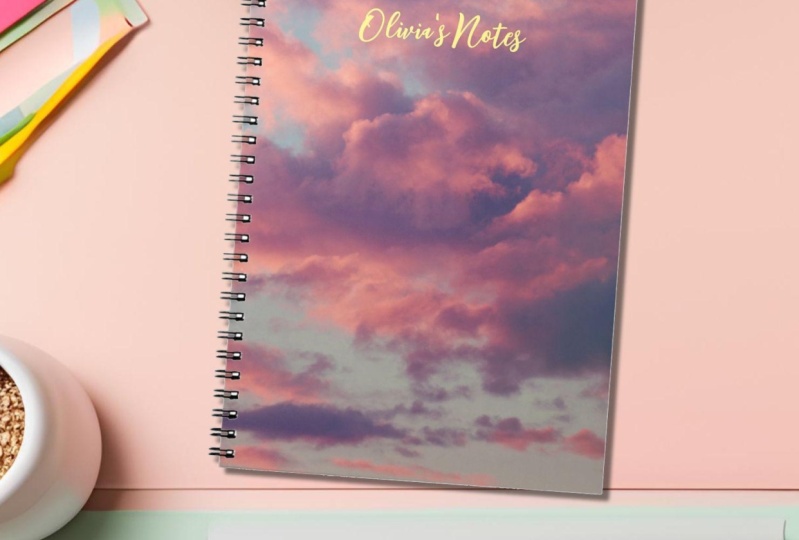
2. Downloading Product Image from Zazzle: So the first thing that
we're going to do is download the product mockup
from your Zazzle store. So you're going to want to
navigate to your Zazzle store, and then you're
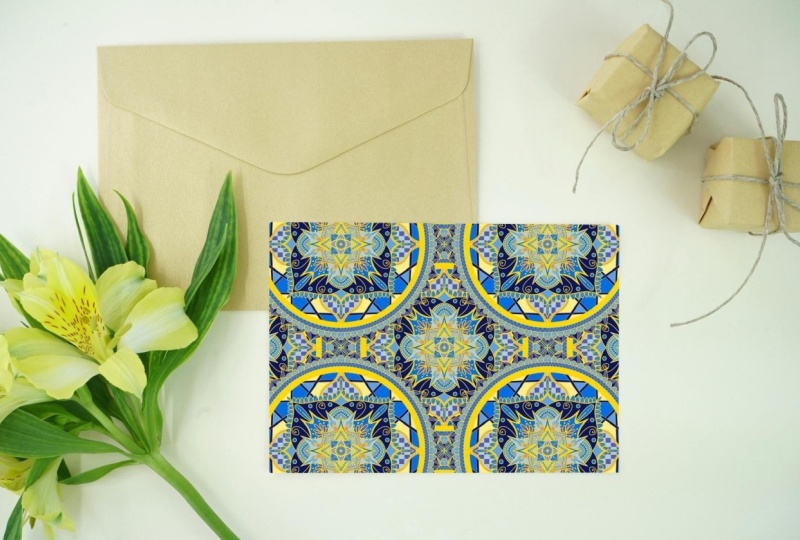
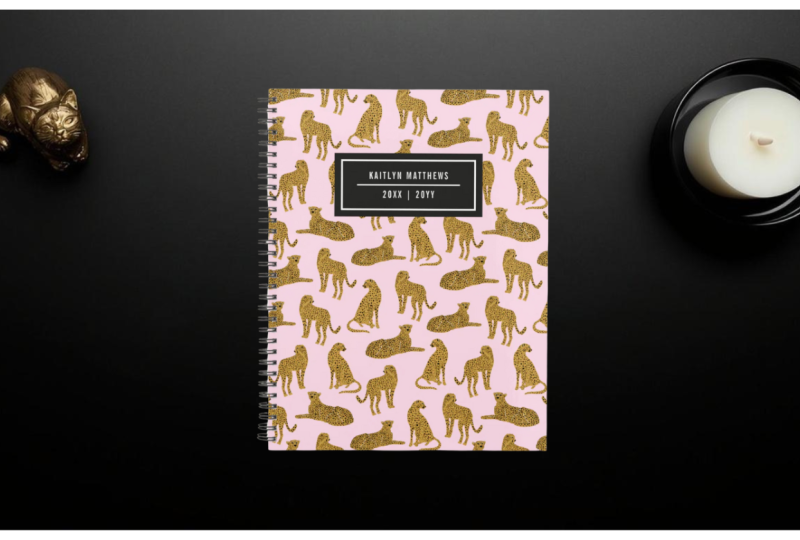
going to want to go through your store and select a product or more
than one product that nicely presents
your design. And you also want to
look for one that isn't too light against
the background. So something that
looks like it'll be easy to remove the background. So something like this notebook
or the cell phone cases. Yeah, a lot of these
look like they would be pretty good for our needs. Once you found one
or two of these that you want to use
for your mockup, you're going to click
into the product page and then scroll up to the top
where it says Downloads, and then click on that. And then you're going to want
to download product mockup. So you're going to want to
grab one of these that has the empty background so you can just click
Download. And then head over to photop.com, or you can use Photoshop or some other image
editing software that you prefer to remove the
background from this image. But if you don't have Photoshop, you can use this
instead for free. So now you can click on
Open fromro Computer and select the image
you just download. Going to use the magic wand
to select the background. You may need to adjust the
tolerance a little bit to allow it to select
the background properly, and then just click on Delete. But once you have a
nice clean product, you can go ahead
and save that as APNG to your computer somewhere. Before we move on
to the next step, which is going to be
creating a background for this image using the
AI tools in Canva. So we'll see you in
the next lesson.
3. Ai Generated Backgrounds in Canva: So the next step
is to head over to canva.com and log into your account or sign up
if you don't have one. And then we're going to
click on Create a design, and we're going to
create a custom size, and the custom size is 14 80 by 14 80 pixels so make sure
you have the unit as pixels. That's the minimum size
that we can use for our Zazzle cover photos. So then click on
Create New Design. And then once that's loaded, you're going to head
over to where it says Uploads on the left hand side, and then you're going to
click on Upload Files, and then you're going to select that file that we just created. So once that's
finished uploading, you can go ahead
and click on it. Which will add it to our Canvas, and you can rotate it
and move it around. There's also a background
remover right here in Canvas, so you could skip the step in Photop if you have Canva Pro. So the next step
is to head over to elements here on
the left hand side, and then scroll down
to where it says AI Image generator and
click on Generate your own. And under styles, you
want to have it on photo. And then for the aspect ratio, we want to select square. So now in this section, you're going to describe your background in as
much detail as possible. So you want to use
words like background, mock up, realistic, top down. Yeah, just try to be as descriptive as
possible when you're thinking about the
type of background that would work with
this product mockup. You might have to give
it a couple of tries. I'm also going to provide in
the resources section below a list of some examples and the types of backgrounds
that I generated, so you can get a better idea of the kind of descriptions
we're looking for. So you might want
to go in and revise your description until you get the effect that
you're looking for. You should also note
there is a limit of 50 AI creations with
the free Canva account. So if you wanted to get more, you'd have to pay
for the Canva P or you could use a
different AI generator. So just something
to keep in mind. So now I just keep refining my description and
then allowing it to generate until it produces something like what I'm
imagining in my head. So this is starting to get there like this
one and this one. You can also click on the three dots and then click
on Generate more like this. Then it'll produce some more like the one
that we selected. So that's kind of getting there. Um, I think I'm just
going to refine the description a
little bit more. So as you can see,
I'm just sort of refining the description
a little bit at a time and then seeing what
it produces and then refining it a little bit more until I get
something that I like. So that's kind of what you
have to do is just, like, experiment a little
bit and keep refining your description until it's starting to look
like how you want. And if you like one of these, but you want to
continue generating, you can just click on it, and
then it will both add it to your canvas and automatically save it into your
uploads as well. So you won't lose it when
you regenerate again. Okay, now we're starting
to get somewhere. I like this pink
background, actually. So again, I'm going to
select this one, I think. So I'm going to click on
it to add it to my canvas. And then I'm also
going to have it generate more like this and
see what else it gives me. But honestly, I
really like this one, so I might go with that. I'm just going to expand it to cover the
whole background. Then click on position to back. So now we have our notebook and just making sure
there's enough room. So it kind of looks like
it's on the tabletop. So I'm just adjusting and moving this
around a little bit. Yeah, this one's
pretty good, too, so I'm just going
to click on that just to give myself a couple
of different options. I'm just gonna
position it until it looks kind of like
a natural position, and, you know, keep
in mind the scale. So there's that pencil on
the side that I can kind of use to scale my notebook to
make it look more realistic. Once I have something
that I like, I'm going to click on Edit
Image and then I'm going to go down to effects
and click on Shadows. So I'm going to click
on the drop shadow, and you can see that's
already given it a little bit more of
a realistic effect. So I'm just going
to play around with the blur and the angle and the distance and kind
of try to make it match the other items
that are on the desk. So you're kind of thinking about where the light is coming from and where the
shadow would be. So just keep playing around with that until it kind of
looks more realistic. And then you can also go into adjust and just play around
with brightness, contrast. You don't want to do too
much because you want it to still represent the product. You can also bump
up the sharpness and the clarity a little bit. So you might actually try this on the other background as well just to see how that looks
and compare the two. So I'm just going to
create another page and move that background
down onto that second page. So then I have a
couple of different options to play around with. So once you have something
that you're happy with, we can go ahead and
download this image. So next time I'm
going to go up to the top and just
rename this file. And then we're going to click on Share and then
click on Download. And then under File type, we're going to select JPA and then again,
click on Download. So now it should have
downloaded to your computer, and then we can go back to
our original Zazzl listing, and we're going to click
on Product Media Manager. And then you're going
to select Add Media. You can also create an album. I like to do that just to
keep everything organized. So you can create a new
album and then upload media, and then you're going to select that image that
you just downloaded. So it might be in your
Downloads folder. So you can see it uploaded, and I'm going to click on it, and now it has been applied
to your Zaza listing. If you hit close, now you can see that it has
updated the cover photo. And keep in mind it might take a little bit of
time for it to actually start showing up in
your Zazzle store and in their marketplace. Usually, it takes maybe around
24 hours before I actually start seeing the cover photo
showing up on my storefront. But you might, see, it doesn't show up right away. But if you do click on it, you can see that it's there. So just be patient. Give it a little bit
of time to show up. So I encourage you to
upload your mock up to the project section below to share it with myself
and fellow students. I would love to see
what you've created. So in the next lesson, we're just going to wrap up this class and go through everything we learned today, so
we'll see you there.
4. Conclusion: Thank you so much for taking
this class with me today. I hope you've been inspired to create some cool mock ups to show off your arts and make your products stand
out on Zazzle. These mock ups are also great
to share on social media, so make sure you
tag me at Julia and Designs if you share them
on Instagram or elsewhere. Make sure you're
following me here on Skill Share so you don't
miss my next class. Also, don't forget to upload your project in the
project section below so that myself and
other students can see the beautiful mockups
that you've created. You can also check
on my website, juliarsigs.com for tips on
selling your art online. Creative tutorials and more. I'd also be super
grateful if you left me a review so that I can use it to improve
my future classes. So we'll see you in my
next class, cheers.
 Julie Erin Designs, Artist and Entrepreneur