Transcripts
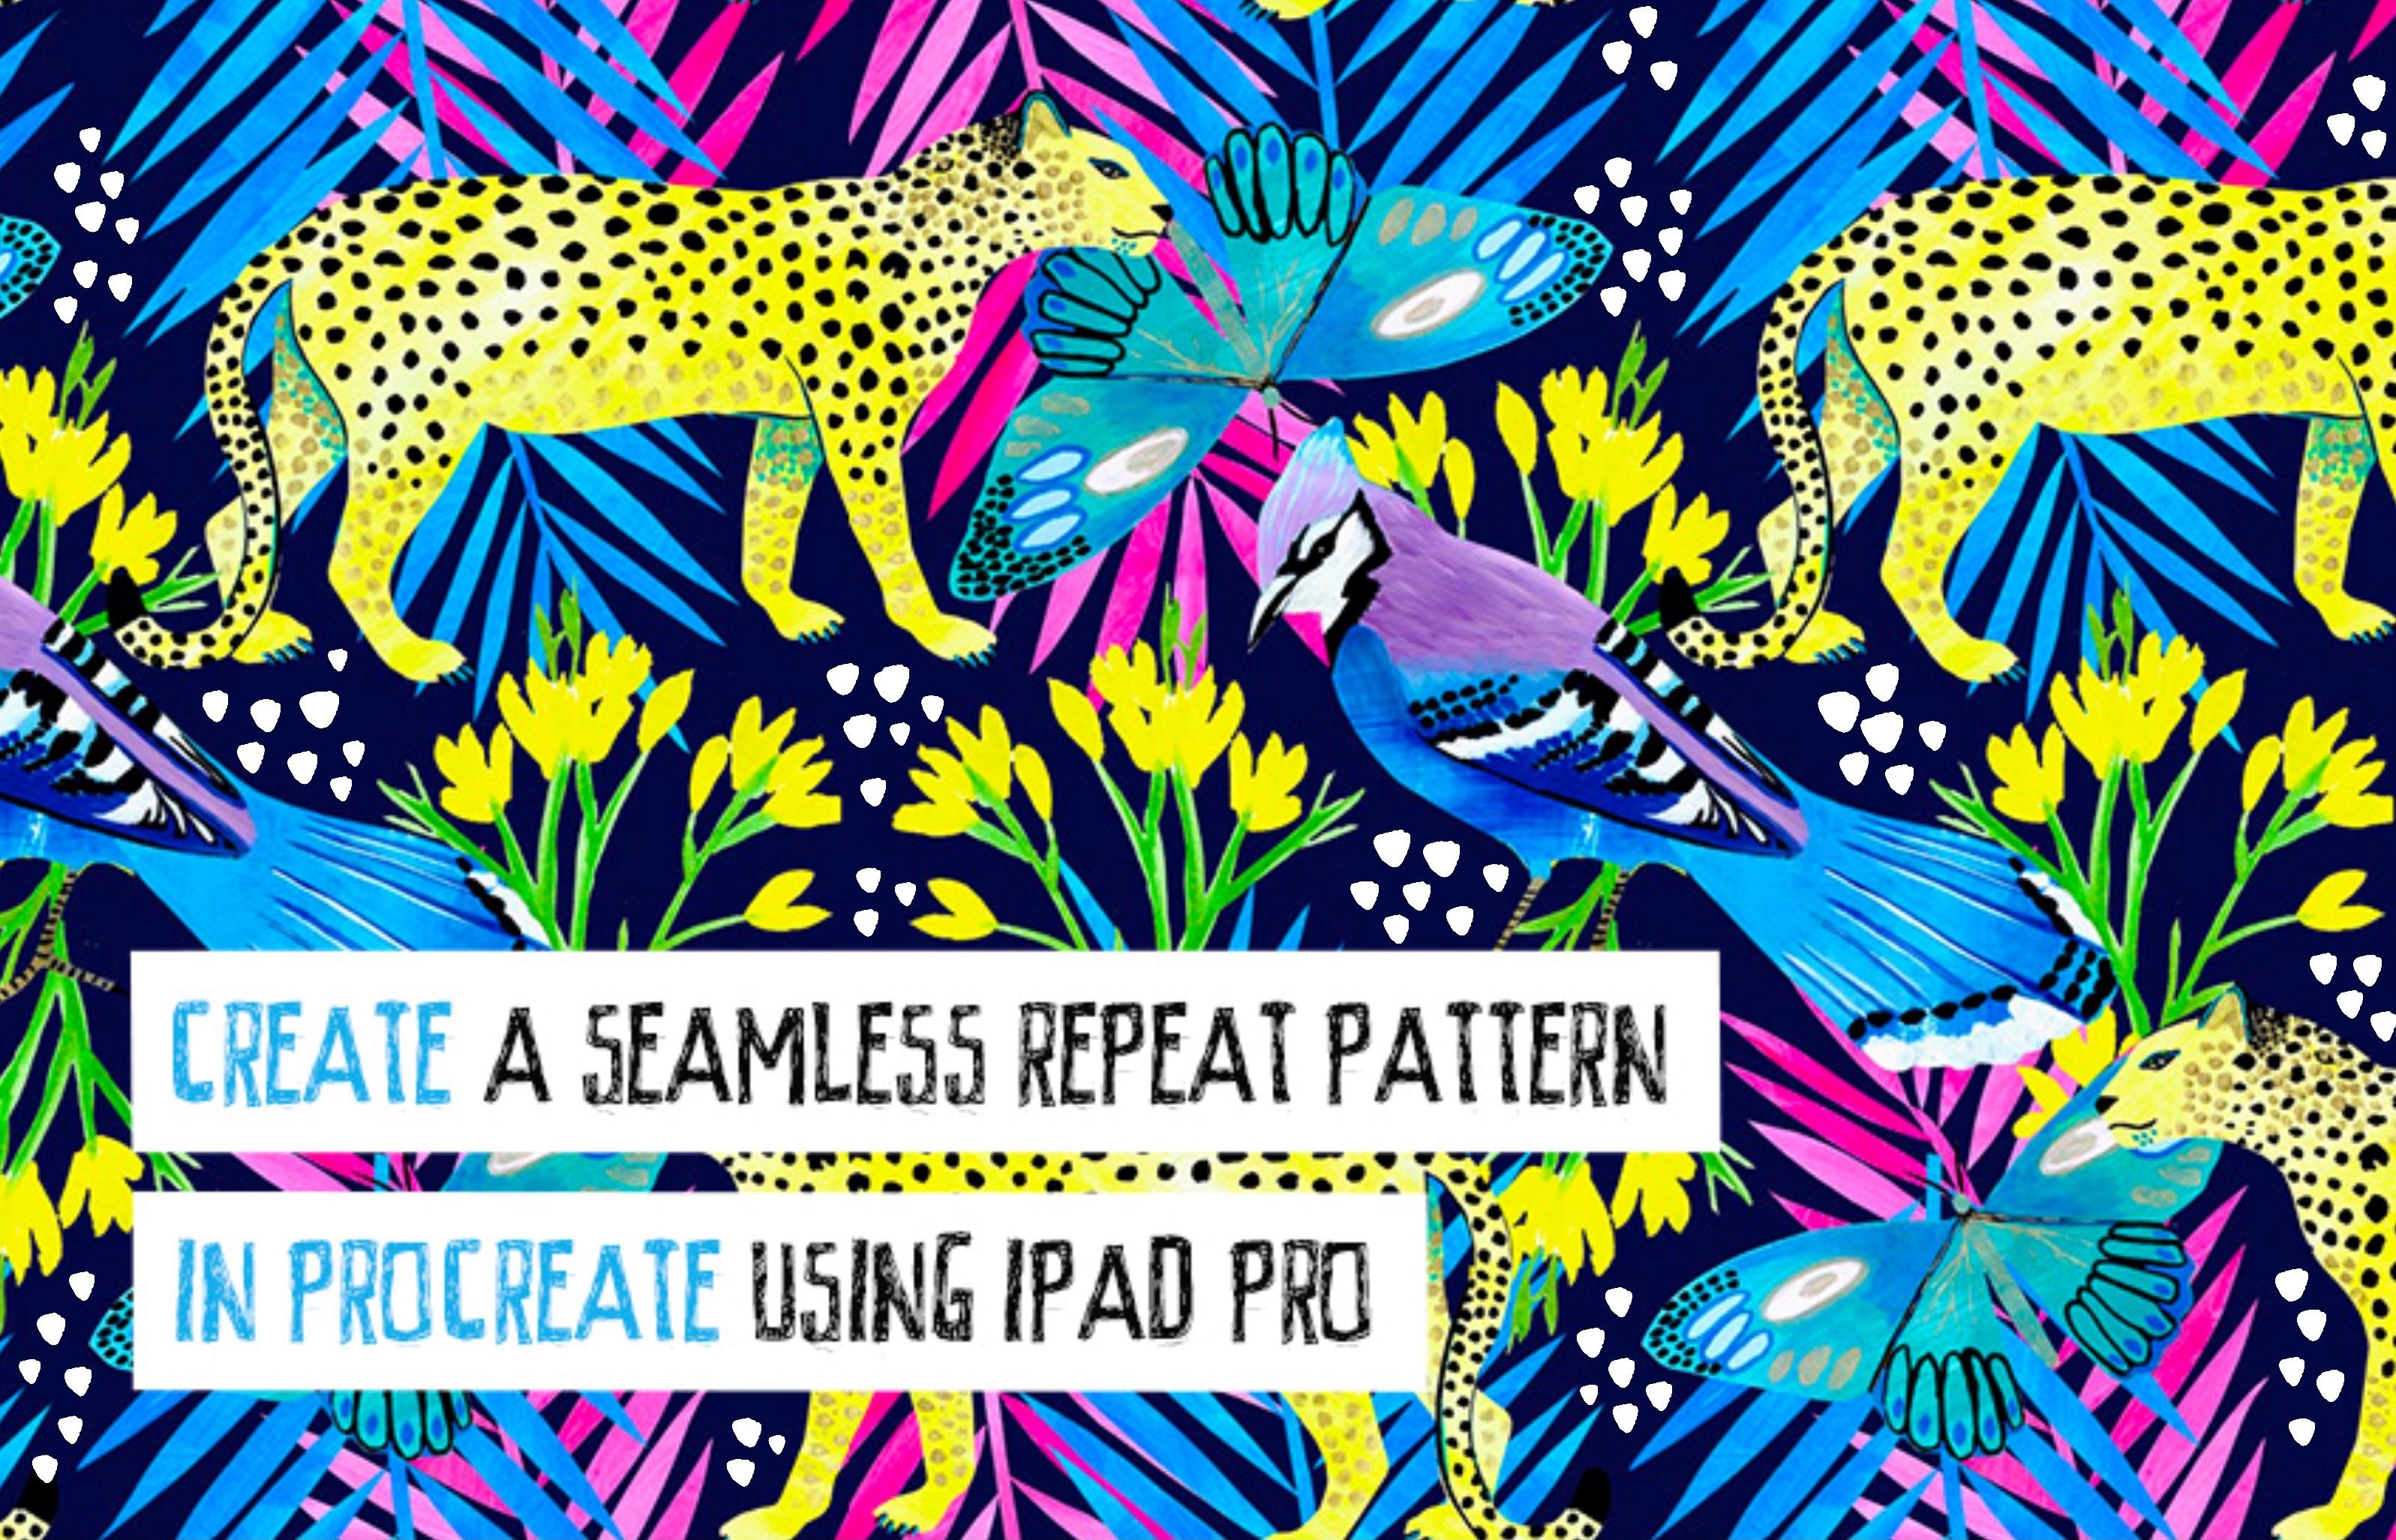
1. Class Introduction: Hello, and welcome to this procreate creative workshop on Skillshare. My name is Sonya Morris and I'm created teacher and illustrated. In this Skillshare course, you'll be learning to create a seamless repeat pattern using Procreate for iPad Pro. Throughout the video lessons, I'll be showing you how to create a series of beautiful jungle scene motifs from scanned sketches using layers and brushes in Procreate tools for iPad Pro, I'll be showing you how to create a custom canvas. We'll work how to integrate a TFs in a pleasing pattern to create a tile design which forms the foundation for your work. How to test, proof and retest your pattern, how to fill in any gaps, and how to produce a beautiful finished piece of artwork that you can upload to your portfolio or to a website where you might be licensed in your work. Some prior knowledge of the Procreate app is advantageous to take this course because it will maximize your workflow. However, if you've never used Procreate before, I'll be walking you through all of the steps that you need to take to achieve a beautiful finished design. You may find yourself taking down quite a lot of notes and taking quite a lot of screenshots as you work through the class videos. In the end, you'll be creating a beautiful class project to upload and to share in the class gallery. For this creative workshop, you'll need an iPad Pro with the procreate app installed and I pencil and a whole lot of imagination. You will also need to download the class notes which are available to you in the form of a PDF file, which you will find below the class description below this video. I hope you enjoy this class as much as I've enjoyed putting everything together for you. Let's get started.
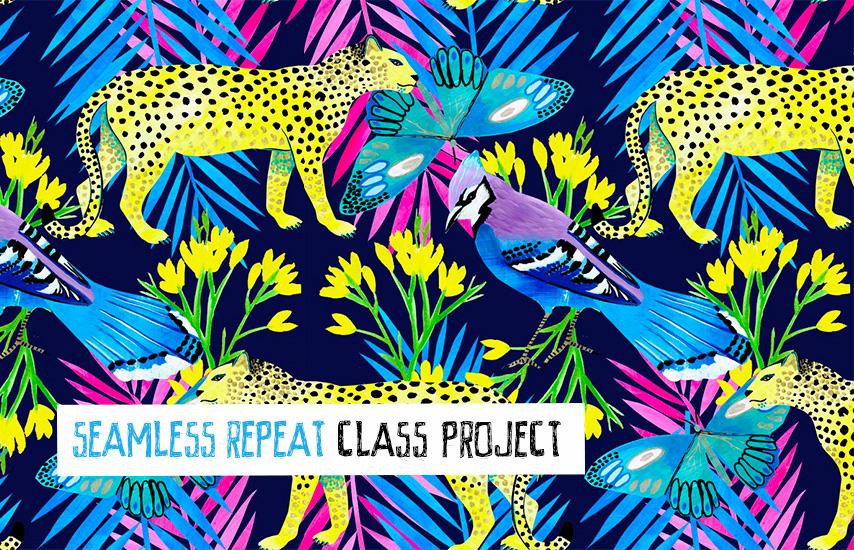
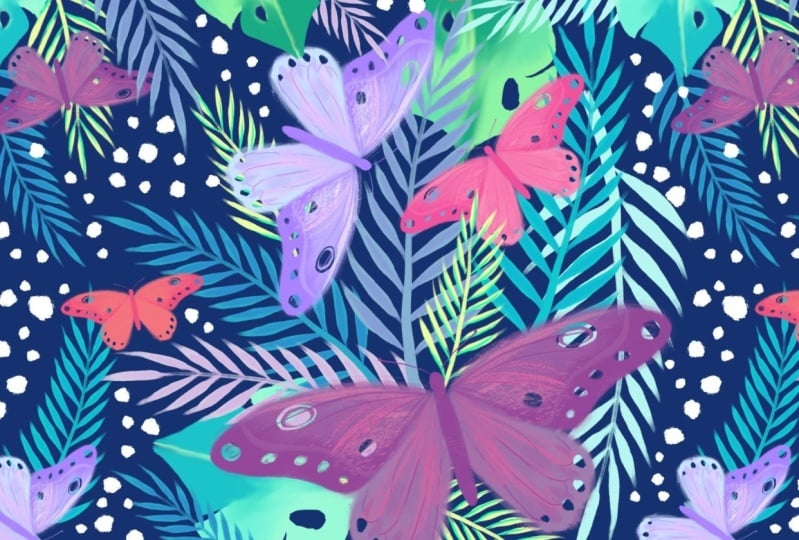
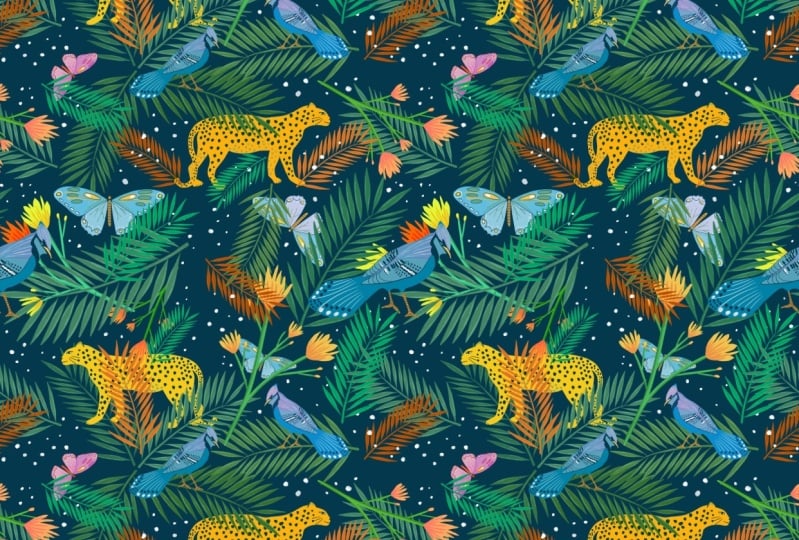
2. Class Project: Now that we've talked a little bit about what you can expect in this creative workshop. Let's have a quick chat about the class project. At the end of this class, I got a wonderful class project for you where you will put everything that you learned throughout the video lessons into practice. For the class project, you'll be creating a beautiful jungle theme, seamless repeat pattern using icons that you create yourself with a color palette of your choice in the Procreate app for iPad Pro, be sure to save your work as a JPEG file for uploading. There is a useful link for you in the class description below this video to help you to upload your files to the class gallery. I hope that you'll upper and lower is a process photos as well as your beautiful finished artwork for everyone in the class to enjoy and admire. It is so inspiring for teachers and other students to see all of the processes in your creative work. Okay, Let's get started.
3. Seamless Repeat Overview: Before we dive into procreate and get started, Let's have a quick overview of what exactly a seamless repeat pattern is. Once you start trying to look for the repeating a pattern, trust me, you're going to become obsessed. You're never going to look at your wardrobe or anything in the shops in the same way. Again, a seamless repeat is the foundational tile design that can be repeated multiple times across many meters of fabric for use in garments or upholstery, et cetera. What makes a good seamless repeats stand up from a bad seamless repeat is that you can pull not be able to see where the repeat tile begins and ends in a really good seamless repeat pattern. In other words, in a stellar seamless repeat, you should not be able to find where the repeat is. So I spent ages looking at this dress that I'm wearing today to try to see whether I could figure out what exactly the seamless repeat base design tile is and I wasn't able to find it. So that's a sign of a good, seamless repeat. Your repeat units should never be obvious. That is why you need to take time testing and retesting your pattern and making sure that you've really thought about the layout and the very fine detail that makes it into something really, really stunning and high-quality. Okay, so here we can see the tile design that makes up the foundation for our repeat pattern. Here we can see what happens when the same tile is repeated to create a section of fabric. Now, while there were instances where this may be the kind of placement print that you want. For a sophisticated and punish design. You will want to get rid of the spaces in between the repeating elements to create a seamless in full design that is pleasing on the eye and has a beautiful pattern composition for a garment or upholstery, et cetera. The unintentional spaces that are created like this in a repeat design or what you need to pay attention to in order to refine your design. And I'm going to show you how in this workshop.
4. Create Foundational Motifs in Procreate: We're ready to start work on creating the foundational design that's going to form the basis for our tile pattern for our seniors, repeat that, begin to refine and work on and test and retest, so that we have a beautiful, seamless repeat jumbled pattern at the end of this class. First thing I want you to do is to turn on Gatorade. If you're opening Procreate for the first time, it will automatically open up. Okay, so we're going to create a new Canvas. You're going to tap the plus icon in the top right corner. And you'll see this little black folder icon with a plus sign. Now we find ourselves within the custom canvas menu. And the first thing we're going to do is tap with your finger where it says untitled canvas. And that is going to bring up the keyboard. And you're going to want to type in the new name we're going to call this jungle repeat and hit Return to exit the keyboard. Next, we're going to look at where it says width and height. You get to look in the ball where it seems width. And you're going to tap with your finger on the numeric value, which will bring up the keypad. And I want you to type in 3000 and make sure that pixels are selected. Once you've entered a value for your width, we're going to go down to hide. And you'll gain to tap with your finger where it says numeric value. Once again, select pixels, make sure you type in 3000 and hit done. Then you're going to look at where it says DPI. And you're going to make sure that you type in 308 pixels is selected. Now this step is absolutely vital. If you type in a low resolution over here, you are going to create a file in Procreate, which then exports as a low resolution file, which you cannot change or fix. So it's really disappointing if one does hours and hours of work in procreate and then excludes a low res file that cannot be reproduced to high-quality. So make absolutely sure that you DPI is set over here. And 3000 by 3000 pixels gives a really nice high resolution square shape, which is perfect for producing a high-quality seamless repeat tile. Okay, when you're done with that, we're going to hit create with our finger. And that will bring us straight into the procreate menu. And you can pinch a little bit to bring it into view. Okay, there are two ways that I like to work to create the starting point for the pattern. The first way of working involves drawing by hand in pen or pencil and a piece of paper, scanning the sketch and saving it to my files on iCloud for easy access for opening and procreate. So let's have a look at that first. I'm going to tap on actions. On Insert a File, and I'm going to browse to the image. I wanted to import it into Procreate deselect by tapping on the blue arrow. And it's now been pushed into procreate the canvas as a layer. Now, let's open the Layers menu. It's really important to realize that you are not going to have icons that had been separated from the background. If you begin working directly on this layer, rather you will be left with the white background that is fiddly to remove in Procreate. The best workflow is to tap with two fingers. On this selected layer. Swipe to the left, slide down the opacity and two-year bolted down significantly. Now that we've imported the sketch and reduce the transparency, we ready to start thinking about how to Columbus. So I want you to tap on the color circle icon in the right-hand corner to bring up the color palette menu. Tap weights his color palettes. And you're going to tap the plus epitope. And I'm going to show you a great way to create a new color palette from a photo. So I'm going to tap new from photo. I'm going to tap the picture that I want and the color palette will appear as if by magic over here. If I tap over here, I can rename my color palette and engage called a jungle repeat. And tap on the screen outside of the kind of pellet menu to exit and return to my drawing. Okay, we're going to start working on our first icon, which is this palm leaf over here. So I'm going to tap on the Layers, and I'm going to tap the plus sign to create a new layer. Tap on this layer. And I'm going to hit rename, and I'm going to call it home. Now I'm going to tap outside of the layers menu to de-select it. And I'm going to go into brushes. And the brush that I'm going to use for this is one of my favorite brushes called serum. So I'm going to go back into my color palette and pick this shade of blue over here. If you pinch your fingers like this, you're going to enlarge the Canvas, which is perfect for fine detail work. I have tapped the screen to hide the color palette to maximize my work area. I'm going to bring my brush size down using the slide on the left. And I'm going to start work to fill this in. Okay, Now that we've created the foundation over here for the palm, I'm due to tap the plus sign in the Layers menu and create a new layer called webpage. Once I've renamed by layer, I'm going to tap outside of the layers menu on the screen to de-select. And I'm going to start coloring this. I'm going to pick this yellow and increase my brush size in the slider and fill this in with my lovely color. You're going to follow exactly the same steps to create the bird layer. Okay? We're going to do the butterfly now. I'm going to tap, create a new layer called it Butterfly. Tap to exit. And I'm going to start work on my butterfly layer. I should use this blue. Okay, we have created the foundation for icons. Looking good. Okay? If you decided to join your icons in Procreate, you're actually going to have each of them on a different layer. You can see in the Layers menu we have four separate layers. I'm actually chosen to hide the sketch layer. I'm ticking the box and I'm actually going to swipe left and hit Delete to get rid of that layer because we don't need it anymore. I'm going to uncheck the background layer to show you that you've actually successfully created full icons, which are completely transparent background. And each of the icons is a sacred entity. Okay, so tap on the screen and we're going to tap on the Selection tool. And by using your finger, you can move the selection around on the screen. If you move outside of the selection box with the pencil, you can also move your selection around. This is a really useful shortcut from moving really tiny objects which tend to resize. Okay, now the green dot is your rotation tool. So we're going to move all of these elements to create the foundation for our design. If you need to duplicate an element, tap on the arrow and the Actions menu. And you're going to tap on Copy, tap on paste, and move with your finger or a pencil and you will see that you just duplicated there. Okay, so you go into the Layers menu to rename that, to keep your workflow nasa. And we're going to call this palm tree and tap outside of the layers menu. Now, if I tap on that selection again, and I will see at the bottom of my screen a whole number of options, snip, horizontal, flip, vertical, rotate, et cetera. And that is where you can manipulate your elements. So you're going to have a play around and neutral icons into position to create your beautiful basic TopHat and that we're going to build on full.
5. Create Foundational Motifs from Imported Files: Okay, so now that we've created our motif elements from a scanned sketch directly in Procreate. Let's have a look at some other alternatives. I'm very whimsical, so sometimes I'll work like this. Well, sketch something I'll important to sketch into procreate. And then I'll create my motifs like this. And other times I'll actually have things that I've saved on file. I really love working in an analogue way using painted paper, collage, painting with gouache painting, my sketchbook, and some of the things that I create I really like. And then I want to bring them in tube to procreate and work with them. So Let's go back to the gallery. Here is a 3000 by 3000 pixel tile that I made. I'm going to open that up. And to import things from your iPad, you're going to tap on the range. You're going to tap on, Insert a file. And you'll see that everything is going to import like that. De-select. And we'll just carry on importing until you have everything that you want to bring in. So I'm just going to make that smaller so that I can see what's going on for now. Now, if you tap on the Layers menu, you will see that everything comes up over here as an inserted image on a separate layer. So it's a good idea at this point to just tap, rename and to name your layer. We're not working with that many layers at the moment. But I find that when I trained myself with a simple tasks, it makes me much need to add more organized when I get onto something really complicated with loads and loads of layers. And we're going to tap to de-select. Okay, So now if I tap the selection tool, you will see it's going to select the layer that we're currently on. So there's my selection tool and I'm going to start moving my elements around until I create the layout that I want and something that's pleasing on the eyes. So you drag out from the corner, that's you rotate hips. Take like that. You can also hold on the outside and drag things around and then resize like that. Now there's something very important. I want to show you this. If I move this layer of my canvas and our temp, de-select, and I come in again and select that and move it. Do you see what's happened? It's been cut off and truncated. So if that happens to you, it happens to me all the time. If that happens to you, then just go back to where you were and make sure that you don't drag it off the age. Okay? So you're going to have a play around with your motifs and organize them in a way that's really pleasing on the eye with a fit in nicely in the center of your tongue.
6. Seamless Repeat First Test Pattern: Now that you've created your beautiful motifs and you've laid them all in the center of your tile. We're ready to move on to start testing, retesting, and working on our seamless repeat design. So the first thing I want you to do is to tap on gallery and select. And you're going to select what we've just made, and you're going to tap on Duplicate. Now, you will see that this comes up as a duplicated copy over here. And you're going to close out of that, tap back into our original. And the reason we did that is if you have a look over here and you've got all these layers, we need to keep those layers in case you want to carry on moving things around as our design progresses. And if you make any kind of mistake, very, very useful to have a backup. Okay, So there's something vitally important to remember about Procreate. Procreate auto saves your work as you are designing. So every time you lift your finger or Apple Pencil, your work has been auto saved. So usually, while we're in our workflow, will have the option over here to undo previous steps or to redo previous steps. Now it's vitally important to remember that once you tap gallery and exit your Canvas, you cannot undo anything in your design. So you're going to come back to your design and there's absolutely no way to undo it. So if you're working on a project that has multiple steps, you need to plan in advance and think about the likelihood of wanting to return to earlier versions of that work. So that is why it is vital to make copies in the gallery. So the next thing we're going to do is we're going to go up here into the Actions menu. I'm going to tap on Canvas. And I want you to tap over here where it's his drawing guide and make sure that the drawing guide is switched on. Now you'll see low the nose with both squares appearing here as a grid. We're going to go into Edit Drawing Guide. And we're going to increase the grid size by tapping over here. And we're going to make the grid size one hundred, five hundred. And what that does, you can see, Let's just tap done to exit that. And you'll see that we've now got four squares over here. Okay? The first thing we're going to do is we're going to tap over here on the Layers menu. And you're going to pinch with your fingers and bring all of the layers together. And what that does is it merges everything down into one layer. So if you tap over here, you'll see that this layer is just tap bear, you'll see that that is actually still transparent. So first thing I want you to do now is I want you to swipe to the left and you're going to tap Duplicate and swapped the lift, tap Duplicate. And again, so we've got 1, 2, 3, 4 of those. Then I wanted to create a new layer by tapping. I'm going to call this layer rename. Let's just tap on there. And you're going to call that layer wire. And I'm going to take this layer down and I'm going to move it underneath over here. I'm going to hold arms, my finger over here, which is going to bring up the color wheel. And it turns it to white over there to tap on my layer. And I'm going to go fill layer, and the layer has just been filled in with white. Then I'm going to duplicate that layer. I have four of those. And watch carefully as I move this up so that each of these motif layers has this white layer underneath it. Okay, so now we have 1234 of the motif layers and 1234 layers with a white background. So you're going to make sure that you've tapped on the first layer over here. You're going to swipe right on the layer immediately beneath it. And you're going to tap Group. And that has created a group for those edge. Do the same with this tap, swipe, right? Tap on the third layer, swipe to the right. Tap. Tap on the fourth layer, swipe to the right with a wide and tap Group. Now, if I close these like this, I will see that I have my four groups over here, like this. Okay, so I have my four groups over here. And I'm just going to tap on here and I'm going to rename. And I'm going to call this group one. And tap. I'm going to tap sharply. Again. I'm going to rename. This encoded group to tuck shop over there, which I call up the Rename option. And I'm going to call that cap off over there. Kept sharply over there, rename. And I'm going to call that group four. So we know exactly what we're working with. So I'm going to make sure that group 1 is selected. We're going to tap on the Selection tool. You're going to move this all the way over like this to fit into this square. We're just going to launch that little bit. That's looking okay and we're going to de-select now because Procreate doesn't do a very accurate job of this, you really need to zoom right in. You need to select this again. And then you're going to hold down that arrow while moving this very carefully, like this finger. And then we'll place it in a little bit more. Zoom in as much as we can. Hold down that arrow again. And you'll see that that allows us zoom in very, very accurately like that. And I'm going to de-select. That is our first square. We're going to make sure that group is selected and we're going to repeat the same process. So we're going to work in a clockwise direction. And you're going to drag this square brackets. And it looks like it's in position. You're going to de-select and Zoom and Zoom like this again, each selection tool who came in really nice and accurate anymore to pinch, to go back down again and began to make sure that group 3 is selected. The selection tool. Remember we're working clockwise. So use this in place. Schedule, zoom out a little bit. I'm going to try and roughly, okay, and here is where we zoom again over here for accuracy. To de-select, zooming and de-select so that one is in place. Okay? Then you got to make sure that you've got group for selected and to tap on my selection tool. And I'm going to move. I'm going to hit zoom. Zoom in, look how much overlapping. So hold on. And I'm going to move this into position. And we can even enlarge this a little bit more. It's allowing me to play perfectly. I'm pinching back down. And I have my four squares arranged like that. Okay. It's really, really important that we returned to the gallery view over here. And we select this and we duplicate it and rename this. We're going to call this tiger. Repeat. Copy. And this one is time here repeat. Okay, So let's have a look at are tied to repeat tests. We've got our groups firmly in place, which is very, very important because when we start filling in the spaces over here, we want to be able to maneuver. We want to be able to maybe arrange elements behind other elements or in front of other elements. And we want to maintain this and having a copy, It's just a really, really good idea because we need that as a backup. Okay, so now we're going to start looking critically at what we've done over here. In our next step.
7. Filling in Detail: Okay, Now that we've created our first seamless repeat test pattern, we're going to look very carefully at this. And you'll notice that the whitespace is that we have in-between our design elements is really, really obvious now. And this is not a very pleasing area. You can see that this needs to have more work done. So what you're going to do now is you're going to have a play around and you're going to add more elements and you're going to fill in all of these whitespaces over here. So I'm going to tap over here on Add, and I'm going to insert a file, and I'm going to bring in this blue bird over here. And it's going to make that smaller. And I need to move this layer to the top right there. Okay, So back to my selection tool. And I'm going to make that a little bit smaller. And I'm going to be moving into place. I'm going to tap over here on the range of my Actions menu. And I'm going to insert a file. And I'm going to put this image of the flowering. Okay, so now I'm going to start playing around with this. Once again, I'm going to make sure that this is at the top. I'm going to move this around. So what you're going to do is you're going to play around with two elements. There are a few motifs until you're happy with the way that you have arranged everything. So I'm going to filling in all of these blank spaces overhead by importing my elements and by moving things around. Okay, Now once you've arranged the rest of your elements over here on the inside, where we had these whitespaces. To make a beautiful interesting design. We're going to tidy up our layers a little bit. So I'm going to tap on the Layers menu. I'm going to pinch and merge those layers together. And I'm going to go over here to my background color. I'm going to tap, I'm going to select that from my palette. And you'll remember that R groups have these white layers over here so that we could see what we were doing and whether everything aligned nicely so we don't need these anymore. I'm going to swipe to the left. I'm going to hit Delete and you'll see the background color coming up. Now. Be very careful not to delete the whole group. Okay, tap the arrow to open up your group. Swipe left and just delete the white layer. Swipe left and hit Delete. And we have got the beginnings of a very, very nice. Okay, so now I want you to take a critical look at what you can see over here on the screen. Now, I'm still seeing some areas over here that I'd like to fill in. So I'd like to create a really, really rich and vibrant pattern. And I'm going to work over my design in Procreate. And I'm going to add some more elements of interests.
8. Finalizing Seamless Repeat: Okay, so here you can see that I've added to my design a little bit more, and I've added in these kind of pokey dotty elements over here. And the way I did that is I went into my brush library, I pick the syrup brush. I used white for my color palette. And if we take a quick look in the Layers menu, you can see how the layers look for this. So I've got a whole lot of layers over here of these dots. And I can tidy this up for myself very nicely by just merging those together as well. Okay, so looking good, we have got our final pattern over here. And we're going to retest this so that you get something that you can send out that looks a little bit more like a swatch. And that will look really, really good as a display on a website where you might be licensed in your work or on your social media. Okay, So this is a very important step over here. I've got my tile over here. I'm going to hit Select. I'm going to tap and I'm going to duplicate that. So I've got Tiger repeat detail over here that's being repeated and a bit hit that little crossover there. And I'm going to open up my pattern over here. So very important step, we've saved a copy. If anything goes wrong with the stage, we can always revert back to that. So going into my Layers menu, what have you to do here is I'm actually going to merge all of this down like that. Okay, just swipe to the left and we're going to duplicate this four times, exactly like we did with our patent in the test phase. As you close out with that menu over there. My grid is on, over here. Over here. I'm going to rename these just as we did before by tapping over their own name. So I'm going to call this group one, tap, rename. And we're going to call this group, I'm going to tap rename. And we're going to call this group three and tap rename. And I'm going to call this group. Okay, Now let's have named all of my layers. I'm actually going to tap on my background color and I'm going to change my background color to white. She's going to make it much easier to see what we're going to do now, making sure that group 1 is selected. I'm actually going to turn off these other layers. Tap on my selection tool over there and I'm going to move this along exactly like we did before. The select. And I'm going to radically zoom in like this. Hit my selection. Hold down the arrow over there, and move that into place like that and I can even go a little bit bigger to see. Do you see that? So be sure to check and de-select exactly like before. We're going to be working clockwise. So I'm going to tap on my layers. I'm going to make sure that group is selected and visible. Group one at this stage. And I'm going to move this over here like this and update your Zoom and Zoom and Zoom. And you can see that this is not aligned with the whole darn, cool that into position over there. And we can still go quite a bit more of that into position over there. And we could even go a little bit more, hold it down and just make absolutely sure that that snaps into place like that and deselect. Okay, so we're going to turn on those two groups server there. And so we've done that. Okay. I'm going to tap on to group three, make sure that group 3 is visible. I'm going to turn these two layers off so I can see what I'm doing. Group three is visible. I'm going to select. And remember we're going clockwise. Move this into place over here. Zoom in, de-select. And we can really zoom in with this. You can see that this is really not aligned. I'm going to move that along like that can really, really seen in a whole lot for this whole down that error. And I'll be able to line their conquer any further than that. Okay, and de-select. Going back to my Layers menu, I'm going to make group 1 and 2 visible. And I'm going to make group for visible. To turn off 1, 2, and 3, make sure I'm clicked for selected. Hit my selection tool and I'm going to move this exactly like we did with the other place. Where you're going to assume that Zoom like that, hole down arrow key. Sorry, p, select that. Really zooming in over here, you can see that's completely unaligned. I could hold down arrow key and I'm going to move that. De-select, and I'm going to select that again. And that is nicely in place. Okay, de-select, going back into my Layers menu, I'm going to make all of my layers visible. You will see SharePoint background. We're going to go back into our color palette and I've changed my background. Okay, so you can see that our seamless repeat pattern works.
9. Thanks: Thank you so much for joining this class on Skillshare. I hope you had fun and I hope you enjoyed the creative process that goes into making a seamless repeat pattern on Procreate for iPad Pro. I hope that I've managed to inspire you to take a pill. I Pencil regularly and to create nodes. And nodes are beautiful artwork. Don't forget to upload your gorgeous work to the class gallery so that we can all share and marvel at their amazing creativity in the class. I hope that I'll see you again soon in another creative workshop on Skillshare. Be sure to sign up to my mailing list by clicking the link in the class description below this video or the link in my bio, send our amazing freebies and colorful creative prompts every week to subscribers. Early bird intel on course launches and procreate week capital. To assume.
 Sonja Morris, Illustrator and Creative Teacher