Transcripts
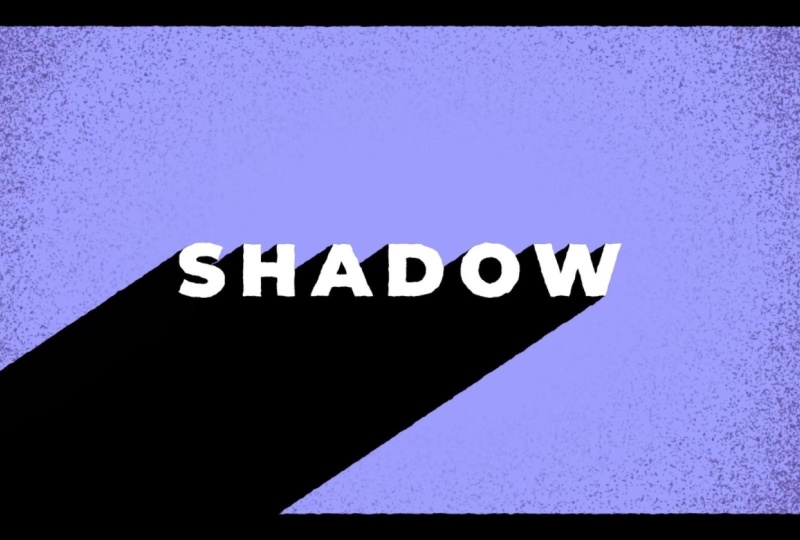
1. Introduction: Hello, and welcome to the
fourth edition of the series. Right teaches how to create
more complex text animations. In this edition, together, we'll be animating a
long shadow animation. And then as a bonus, near
the end of the class, I'll teach students
how to create more complex shadow animation. Can't wait to see the
animation you've created.
2. Getting Started/Class Project: To get started with this class, you're going to need Adobe After effects to create
your animations. You can find a
completed version of the class project file on the
project and resources page. Your class project is to create your own
shadow animation. Feel free to post
your projects to the project gallery so everyone can see
what you've created.
3. Create the Shadow: To start things off, I've got a text
layer written out. First thing we'll
do, right click. Go to create Create
Shapes from text. Now we've got a text outline. First thing we're
going to do with this text outline is we're going to duplicate
it five times, one for each letter. Now I'm going to go
through each of them to the contents and I'll delete every other letter
other than the S. I'll rename this layer S. And I'm going to keep doing this
for each outline layer. For this one, I'll
do the same thing, but for the H. And I'll continue doing this
for the rest of the layers. Okay, now that we
have that finished, we can go on to our next step. Gonna click on this icon and
go to select Label Group. I'll change the color. Now what I'm going to do
is duplicate each layer. Now I'm going to
rename the layers. I'll rename this one S, shadow. Change the color of the layer. I'm going to move it under my S. And I'm going to do
this for every letter. Change this one to shadow, move it under the Keep
going down the list. I'll change the color
for the rest of the shadow layers. There we go. This is to make
it less confusing for us when we go to animate. Okay, now to create our shadow. I'll toggle down the S shadow, go to add, repeater. Under the repeater menu, I'm going to change
the copies to 100. Toggle down the
transform repeater one. Here I'm going to
adjust the position. Change the Y position to one, change the X position to
negative 1.5. There we go. Now I'm going to change
the color of the layer. We'll go to the fill color. I'm going to change it
to black. There we go. Now the easiest
thing to do to get this repeater on all of our layers is to just copy the repeater one
from the S shadow, and we'll paste it
onto our other layers. I'll hold control to
select all of them. Control V to paste. There we go. Now we just have to change the
color of our shadow. I think the easiest
way to do this for all of them is to
add a fill effect. So I'll go over to the
effects and presets, look for the fill effect, add it to one of my layers, change the color to black, and I'll copy and paste this and put it onto the
other shadow layers. And there we go. We have
our shadow created.
4. Animate the Shadow: For this particular animation, I'm going to have the letters animating from off the screen. So this will be a much
easier animation. If you want to learn how to do a more complex shadow animation like this one I created here, I'm going to create
a bonus lesson at the end of this class to
show you how to do this. All right, I'm going to
go to select Label Group, and I'm going to click this icon here so that we only
show the text layer. Press P to bring up the
position for each layer. We'll press the
keyframe button for each layer so that we
have our end position. I think I'm going to move over maybe 15 frames on the timeline, and we'll move all
our letters off the screen maybe
two around here, we'll see how that looks. I think it looks okay. Now we'll select all our layers keyframes, press F nine to Ess, head into the graph editor. I'm on the speed graph, and I'll drag these
handles to the left. And remember, I'm
dragging the handles for every layer so that they all
have the same animation. Now on my S layer, I'm going to press Alt and press the stopwatch and I'm going to add the
loop out expression. Loop out ping pong. This will make the layer loop continuously back and forth. I'll right click
on this position, go to copy expression only. And now I'll go to
every letter layer, and paste that expression
onto the position with Control V. There we go. Now every layer should have the loop out ping
pong expression. There we go. That's what our
animation looks like so far. All right. Now what
we're going to do go to select label group. We'll untoggle the layers.
Select label group. We're going to turn this off so that we can see
our shadow again. And all we're going to do for this to have our shadow follow our letters is just parent the shadow layers to
our letter layers. Now our shadows are
just going to follow our letters as they animate. Now we can preview
what that looks like. I think it's animating
a little too quickly, so I'm going to
select my layers, press you to bring
up the keyframes. I'm just going to drag
them over on the timeline, maybe to around frame 20. See how that looks. There we go. I think that's a
little bit better. I'm going to select
this layer group again, our letter layer group. We'll untoggle the layers so we don't see the
keyframes anymore. And now what we can do to add a little bit of character
to it is offset our key frames so that we have each letter animating
at a different time. Okay, so we'll select all
the letters under the S. We'll move them over to
frames on the timeline. I'm pressing Alt and arrow
key to move the layers over. That's a good shortcut to know. Do that for all the letters, keeping my shadow layer and
my letter layers together. What we can do to fix our layers not shown
up at the beginning, select all the layers, and we're just going to
drag this on the timeline. Make sure these
little arrow icons show up so that you're not
actually dragging the layer, but you're dragging the
beginning of the layer. So the keyframe should
still be offset like this. I still think that's animating
a little bit too quickly, so I'll just select
all my end keyframes, drag them over on the timeline. Maybe to frame 30, making sure I drag
them all together so that we keep them all offset. I actually think I'm going to change the easing
for this animation. I'm going to head into
the graph editor, drag the handles to
the opposite end. That way, it animates
fast in and slows down. I think I like that a lot more. And there we go. That's just about it for our main animation.
5. A More Complex Shadow Animation(Bonus Lesson): Okay. Just creating
a quick bonus lesson where I'll demonstrate how
you can go about creating a more complex shadow animation like the one I created here. I'll head into my pre comp, solo one of my shadow
layers and one of my letter layers because that's all we're really interested in. So in this animation, instead of parenting the
layers together, like in the original animation, I copy and pasted the position animation from my letter layer onto
my shadow layer. As you can see, the
exact same animation. I'll turn the repeater one
off to make it more clear. That it's the exact
same animation. So to create the
shadow animation, again, I added a repeater. On this repeater,
I turn the copies up to 50 and to create
the actual animation, if you toggle down to
transform repeater one, which is the transform
properties for the repeater, you can see that there's
also a position here. And what I'm doing is I'm
animating the position. As you can see, we animate from zero to these coordinates
on the X and Y. And that's what's creating
the shadow animation. So how did I come up
with these coordinates? Well, on frame zero, I took a snapshot using
the Snapshot button. And then I moved over to our
second position animation, our second regular
position animation. And what I did was I used
the show Snapshot button to show me precisely where the shadow
animation should be. And I just moved
the coordinates, again, comparing to the picture I took of our original position. It could be a
little bit tedious, but it might take
a little time to get the position
exactly correct, but that's essentially how I created this shadow animation. This is the teacher
from the future. I just realized that in
my initial recording, I forgot to mention
that you'll need to easy ease your
repeater keyframes, very similar to the way that you ease your position keyframes. You're also going to want to add a loop out ping pong expression just like in the position. And I did that for
all the letters. And then I offset the letters just like in our
original animation.
6. Outro: Congratulations and thank
you for taking this class. Now you can post
your projects to the project gallery so everyone
can see what you created.
 Tyler Bennett, Motion Graphics Designer & Photographer