Transcripts
1. Introduction: Did you know that hand
embroidery can turn simple materials into
stunning wearable art? Let's create an adorable pumpkin pendant that you can
proudly show off this fall. I'm Lauren Weber,
the fiber artist behind Garden Girls Studio. I've been sewing
for over 25 years, and I've had art
quilts featured in national shows and an art
quilting studio magazine. I'm here to share some of
my favorite stitching, tips and techniques with you. In this video, you'll
learn how to make your own hand
embroidered jewelry, which will be perfect for adding a personalized touch
to your fall wardrobe. In this class, I'm breaking down the hand embroidered jewelry
process step by step from choosing the right
materials and tools to showing you techniques that'll help make your pumpkin pendant. This class is for experienced
embroiderers looking to add a personal touch to their
autumn accessories. If you're new to
hand embroidery, I recommend checking out my beginner hand
embroidery classes, which I'll link in the
description below. These classes will help you
form a good foundation and build confidence before diving into these fun
jewelry techniques. The techniques I show you in
this class will help elevate your embroidery
skills so you can add your own creative spin
to your wardrobe. So grab your navel and thread,
and let's start stitching.
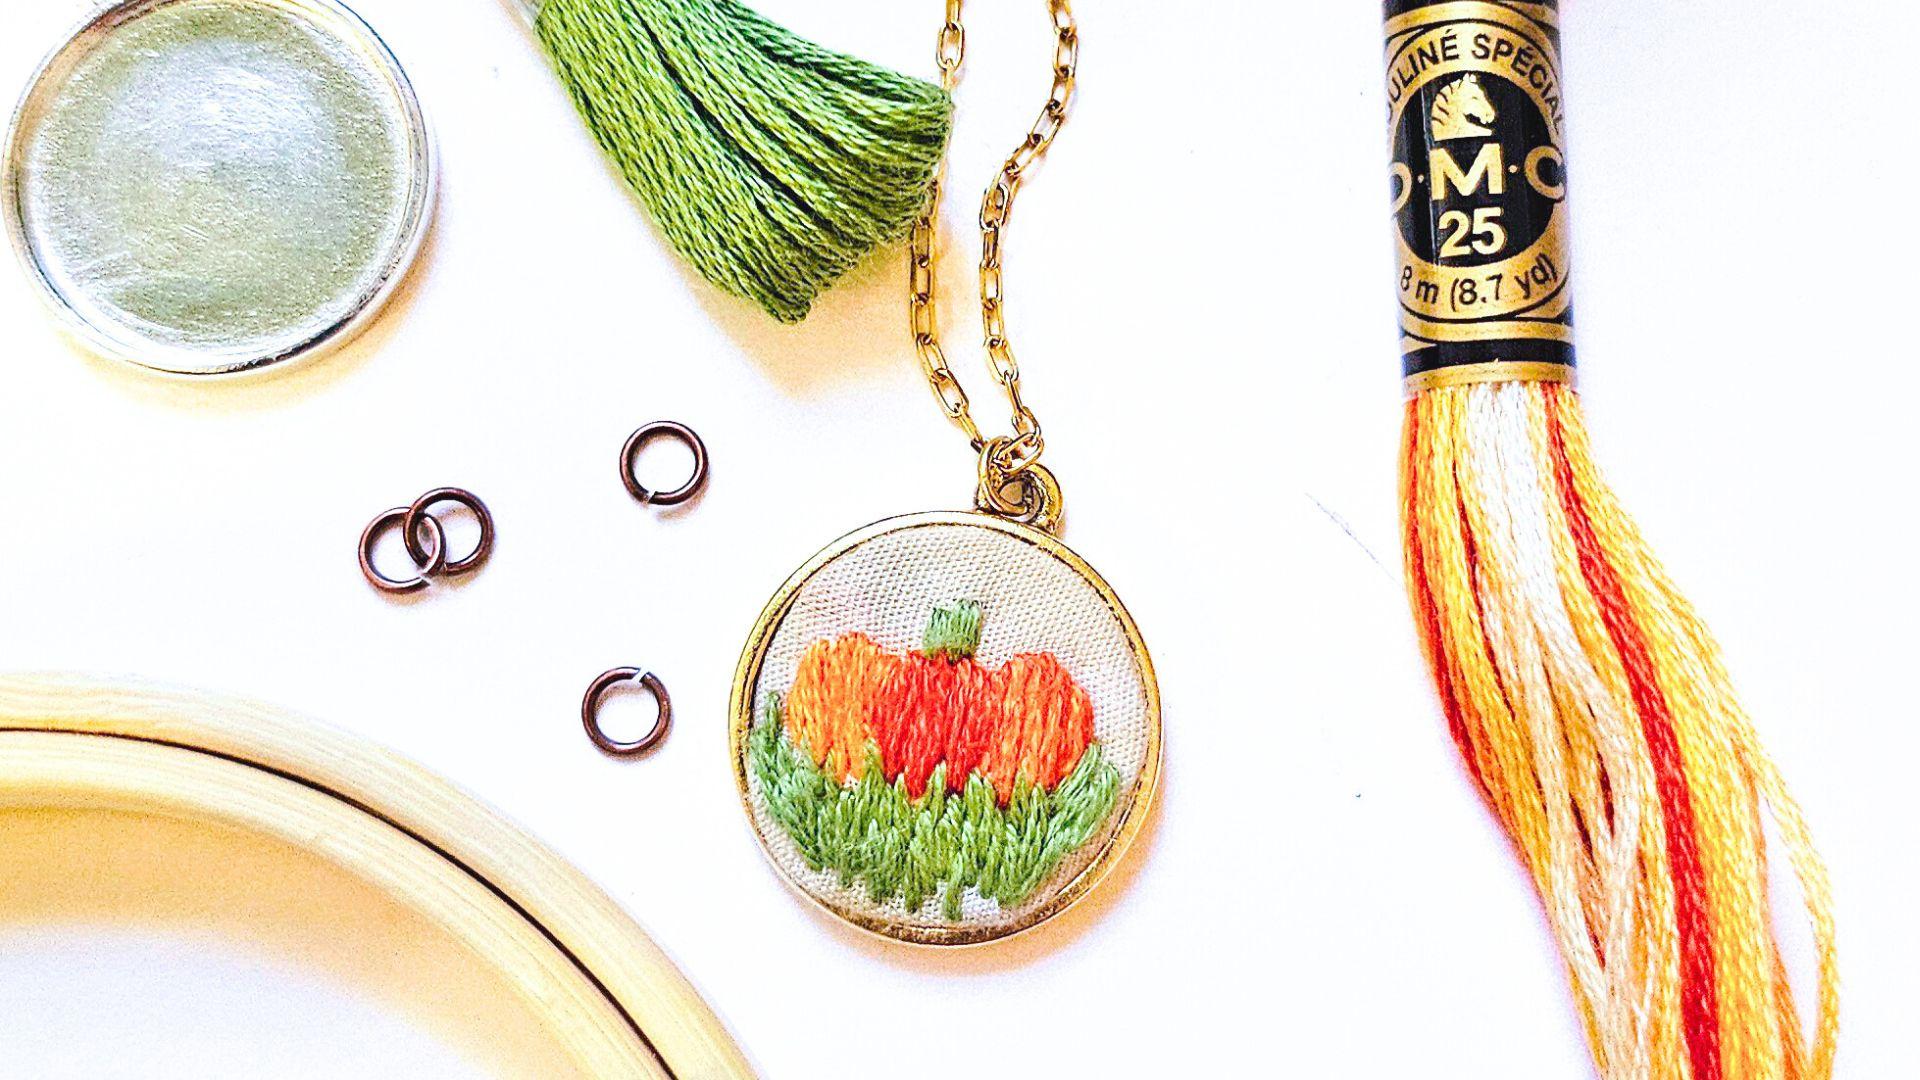
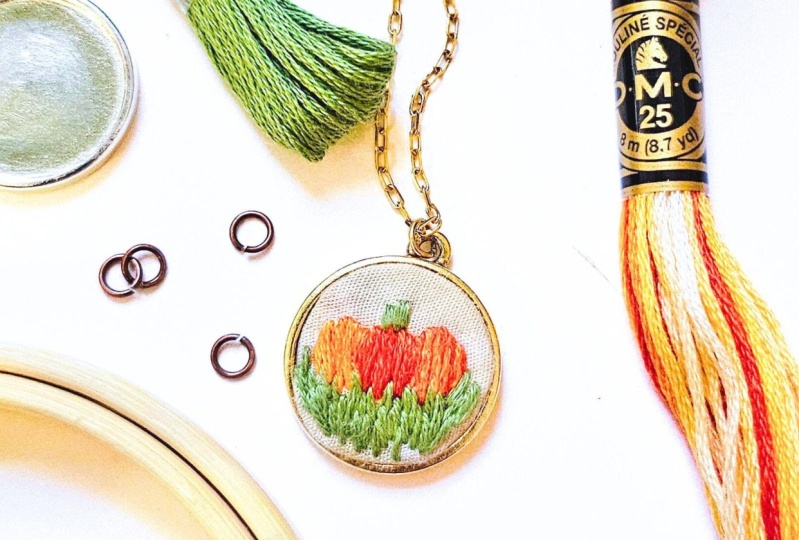
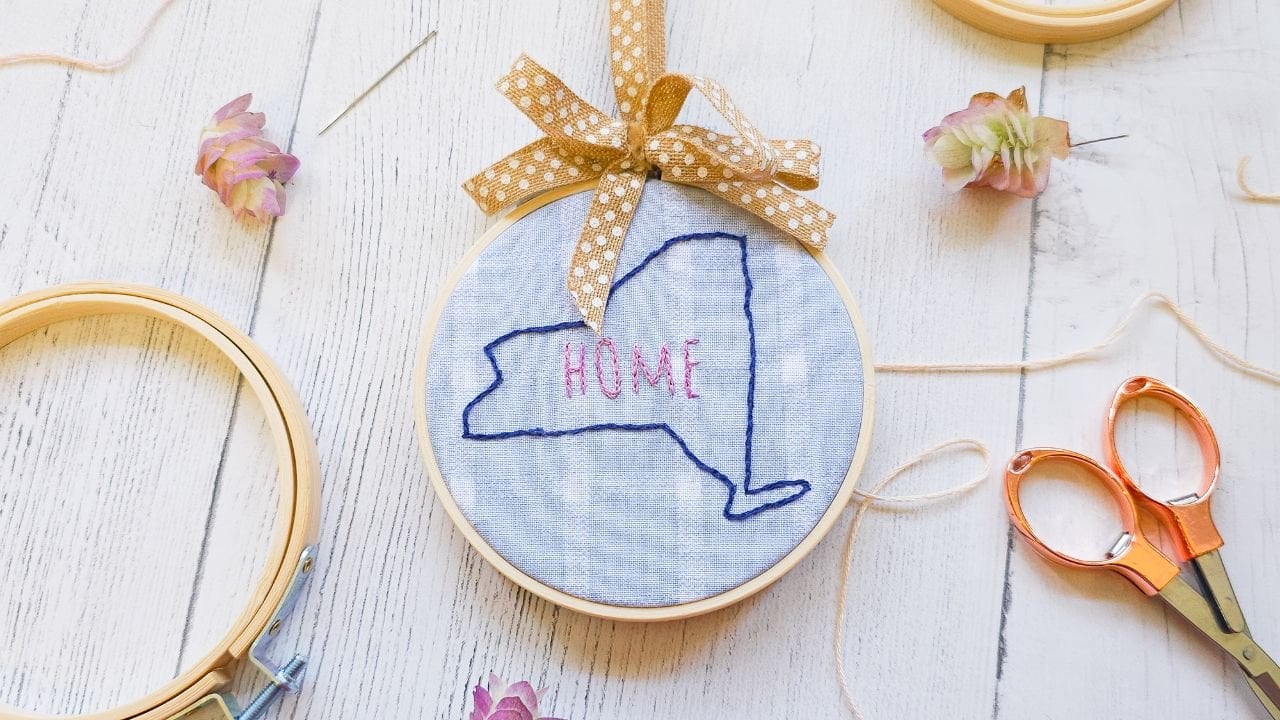
2. Class Project: Project for this class
will be to create a hand embroidered pendant using the techniques we
cover in this class. It's up to you to choose
your pendant shape, the colors you want to use for your floss, the
design, and more. I'll be showing
you how to stitch a cute little pumpkin
for the fall, but feel free to choose
whatever design speaks to you. Looking for some inspiration
for which design to choose? You can use the pumpkin template that I provided in
the class resources, or you can venture into my
digital downloads and find even more pendant
design ideas that you can use to create
your own unique jewelry. Designs are easy to trace and can even be used with
water soluble paper. Keep in mind that my
digital downloads don't come with a
stitching guide, so you'll have to get
creative and choose your own stitches to
use with these designs, and you'll have to
choose your own floss colors with your project. And when you're
all done stitching up and mounting your pendant, be sure to take a picture and share it in the class
project gallery. Once you're ready to dive in,
we're going to head over to the next lesson and
talk about which supplies you're going
to need to get started.
3. Tools & Supplies: Get started on this
project, you are going to need a few
basic supplies. To start, you're going to
need an embroidery needle. My go to needle is usually a
size five embroidery needle, but when I'm working
with jewelry, sometimes I like
a thinner needle. So a size seven might be
the way to go for you. You'll also need six strand embroidery floss
or pearl cotton. Basic sewing or quilting
thread, scissors and pliers. You'll need a small
embroidery hoop. If you're using a three into, you're going to need a five
inch square pizza fabric. I like to use the E 6,000 glue, but you're going to need
some pretty strong glue that's going to be strong enough to hold fabric to middle. You're going to need
either a fricion pen or another marking tool, preferably a marking tool that is easy to remove
when we're all done. So I like to use my
mini press iron and, of course, a heat pad
to protect my surface. You're gonna need little clips a closed back bezel pendant. You'll also need an
insert for your pendant. You want it size so that fits just inside the opening
of your pendant. Some bezels come with inserts. If yours doesn't
come with an insert, here's a quick way to make. I like to use thin plastic like this place mat from
my local dollar store. I usually use my
cricket maker to cut out perfect circles that
are the right size. But if you don't have
a cutting machine, here's how you would
do it by hand. Start by tracing an outline of your pendant
onto the plastic. Then draw a line just
inside that outline. We need our insert to be
slightly smaller than the pendant so that it
can fit inside snugly. Next, cut out your shape on the inner line as
smoothly as possible. Test to see if it fits
inside your pendant. If not, trim it as needed. And finally, you're
going to want to have any jewelry accessories that you want to use
with your pendant. So for me, I'm going to be
making mine into a necklace, so I'm going to need
some jump rings and a necklace chain. Once we have all of our
tools and supplies, we're going to move
into the next lesson where we're going to
talk about tracing our design and how we can get
ready to start stitching.
4. Prepare for Embroidery: Lesson, we need to
prepare our hoop so that we can start
our stitching project. To start, I recommend drawing an outline of your
stitching space. We can do this by
using our insert to give us a guideline for
where to keep our stitches. By drawing our pend and outline, we'll be able to see how
much stitchable space we have as we start
working on our project. Next, you're gonna draw or trace your embroidery design inside
of that boundary line. Choose a design that is
smaller than your pendant, so it'll fit in the stitchable
space on your fabric. In this case, I'm
using a frigion pen because it's heat erasable. So when I'm all done stitching, I can use a little bit of heat from my iron to
remove the lines. And reminder, I have a pumpkin template available for you in the class resources
if you want to stitch a pumpkin pendant
right alongside me. If you haven't
already, it's time to load our fabric into
the embroidery hoop. We're going to center
our design and tighten the screw until the
fabric is nice and taut. So let's head on
to the next lesson to start stitching
up our pumpkin.
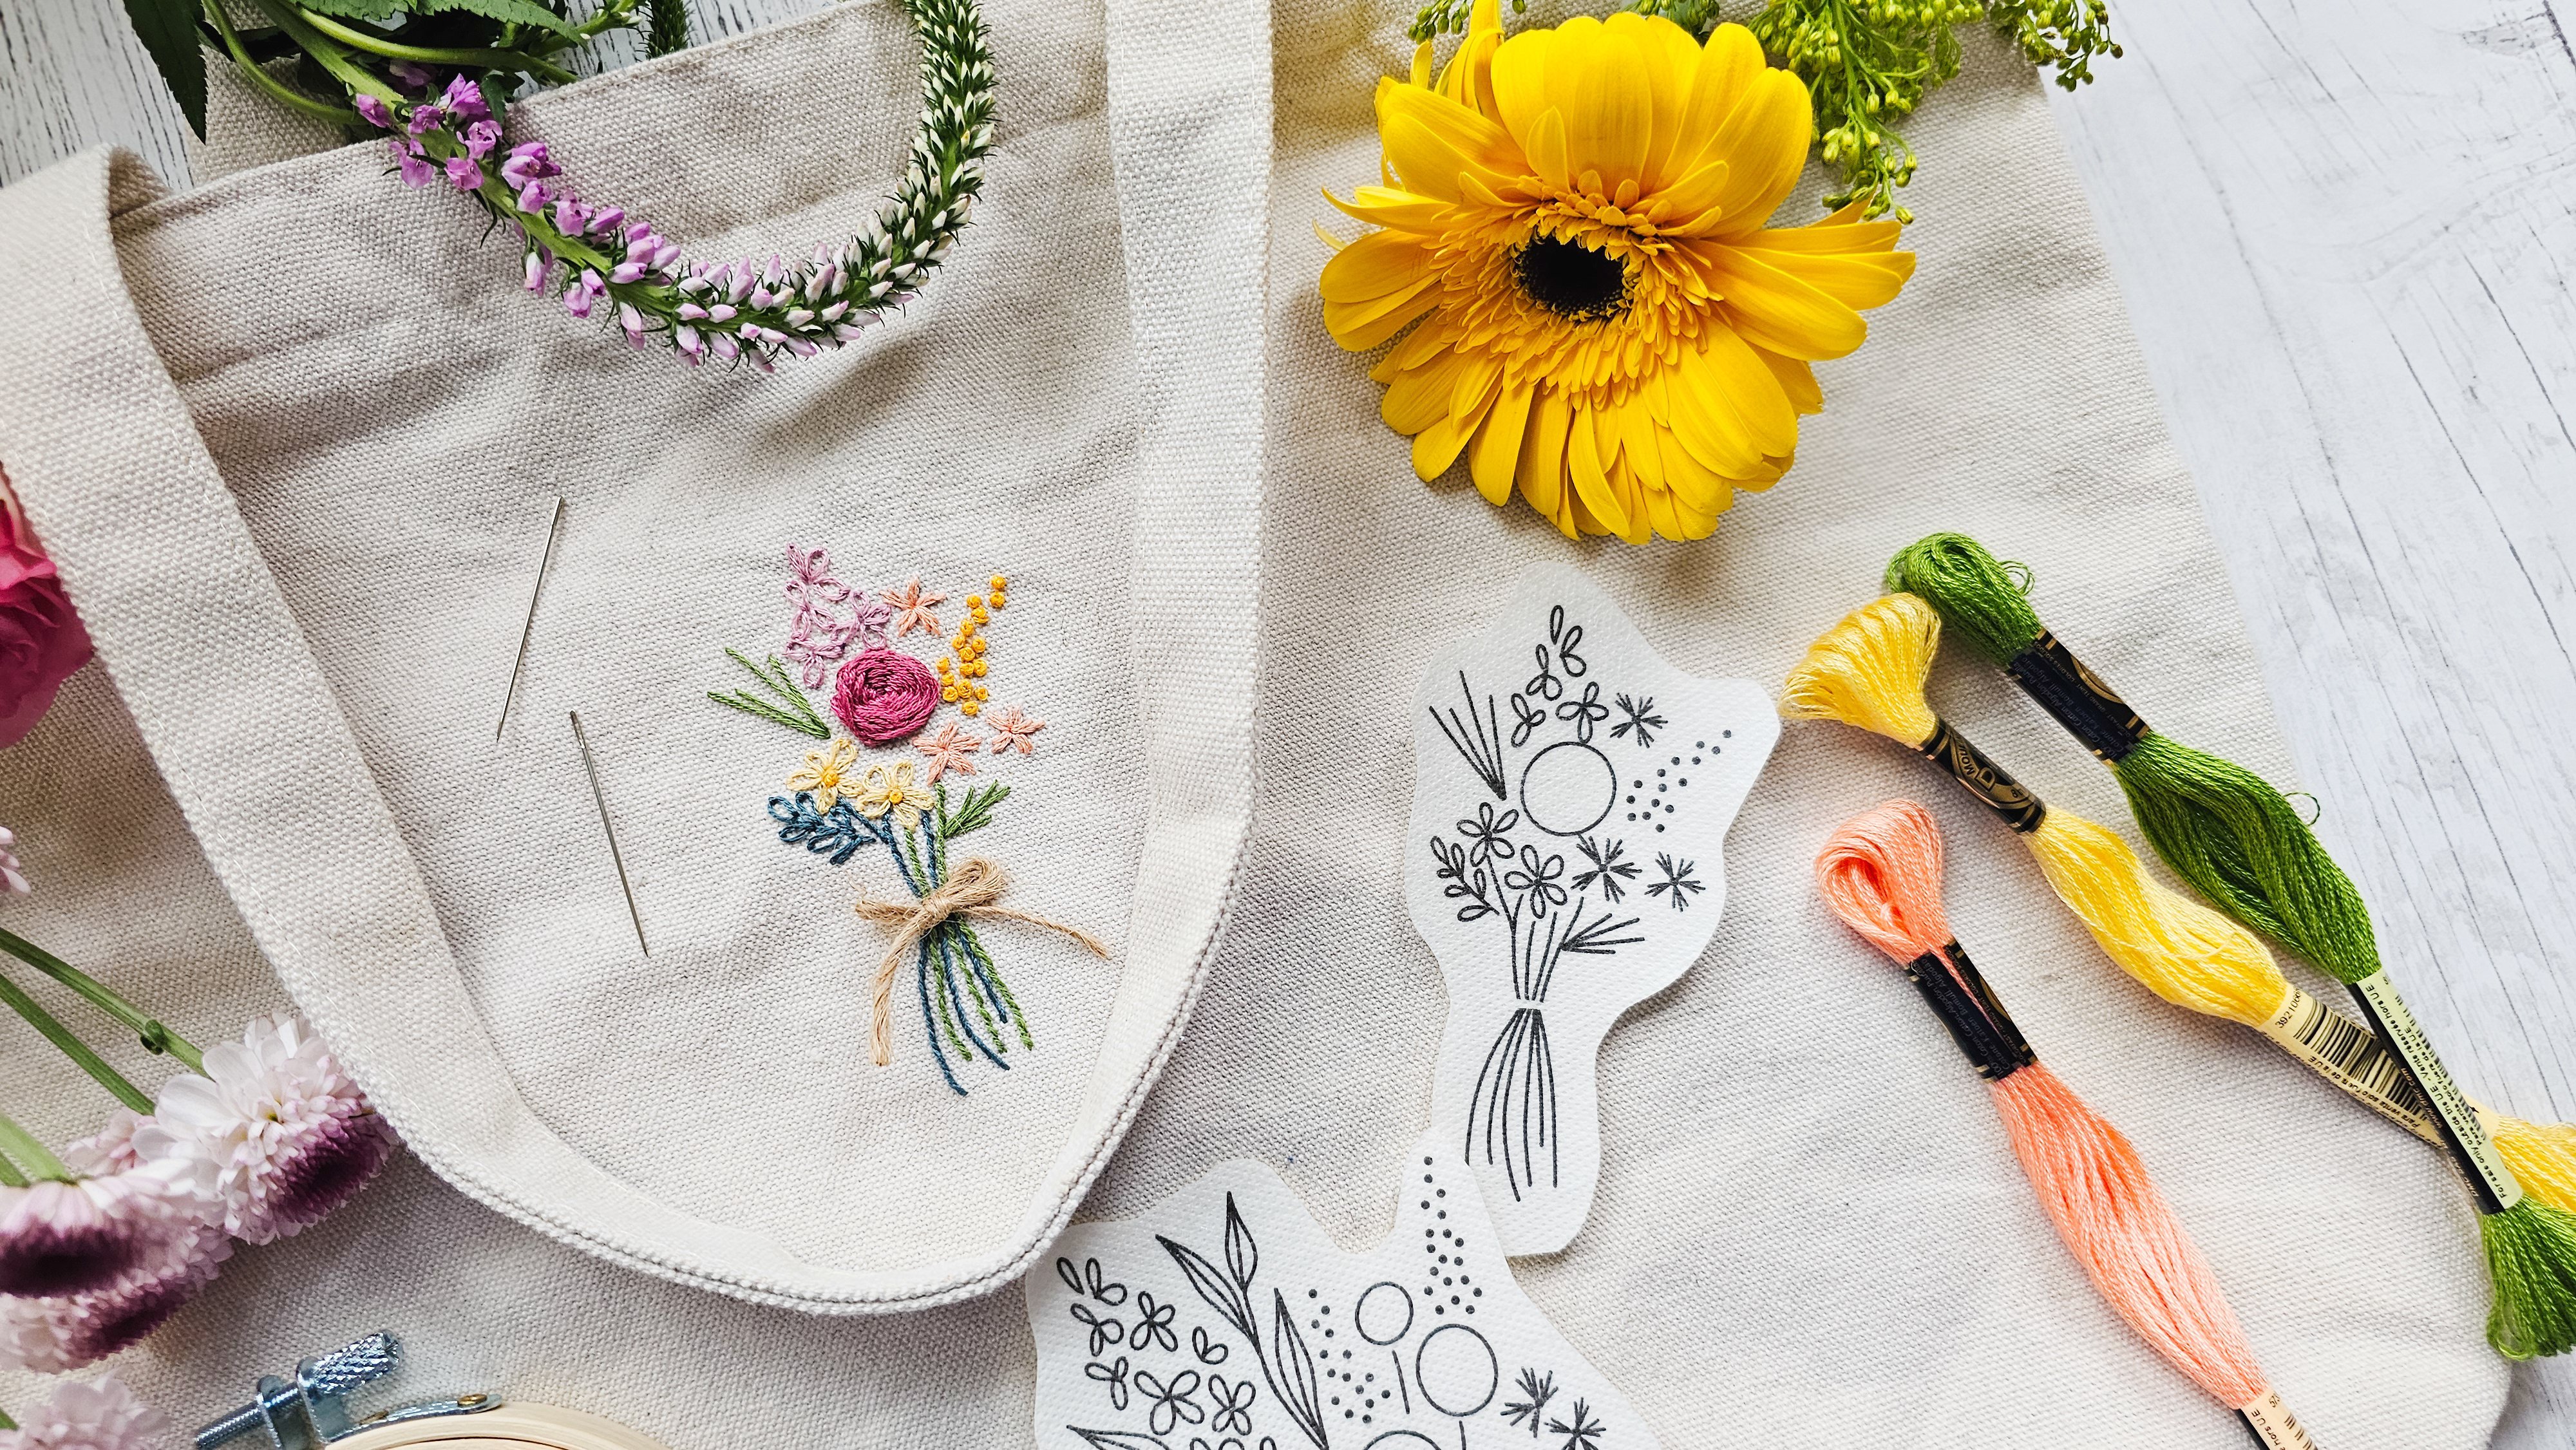
5. Stitch Pumpkin Motif: Start stitching our pumpkin. When you're working with smaller embroidery
projects like jewelry, you're going to want to use
fewer strands of floss. You're probably
going to want to use two maybe three strands at
most as you're working. You're going to start by
threading your needle with two to three strands
of your pumpkin color. I also personally like to use variegated thread when I'm
stitching up my pumpkins. Variegated floss
gives your design just a little bit more
character without having to change your needle and your thread color so often. We're going to use
a satin stitch to fill in each lobe
of our pumpkin. The satin stitch is
a good stitch to use when you're trying to fill
in space in your design. I like to start in
the center lobe, and I like to start
in the center of any type of circle or
oval that I'm stitching. And you're going to go
ahead and stitch back and forth to fill in the oval. Keep in mind that as you get toward the
outside of your oval, it's going to start
tapering down, so you're going to want to
take some smaller stitches to keep those nice lines
looking curved. Once you're all done filling in all three lobes of your
pumpkin with a satin stitch, you're going to take two to
three stitches at the top of your pumpkin to
create a little stem. You can also opt to add a few straight stitches
at the base of your pumpkin to create a little grassy patch that
your pumpkin can sit on. You can use a technique similar to a long and short stitch. I recommend keeping
your stitch lengths of regular to keep that natural grassy organic look and don't be afraid to
overlap the stitches. It'll help keep
your grass looking nice and organic and not
too structured and rigid. You're happy with your
stitching design, it's time to start
getting ready to turn our work of
art into jewelry. So if you're ready to start
preparing our pendant, head on over to the next lesson.
6. Prepare for Pendant: Though we've
stitched our design, it's time to turn our
work of art into jewelry. So let's get ready to
prepare for our pendant. Next, remove the finished embroidery design
from your hoop. Cut out the design
a half inch to five eighths of an inch away
from the pendant outline. You don't want to cut
exactly on the outline. You need some extra
fabric around the edges. Once your fabric is all cut out, it's time to remove any
of our marking lines. In this case, I'm using
my cricket mini press to remove my frigion pen lines. Perfect. Now I'm going to
show you how we can anchor our fabric embroidery design to our insert so we can get ready to place it
into our pendant. So if you're ready, meet
me in the next lesson.
7. Pendant Insert: To wait to fit our embroidery design into the pendant without the raw edges showing because we don't want our
fabric to unravel. So we're going to sew our
embroidery design around the insert before we mount
it into our pendant. Here's how we do that.
Now we need to wrap our embroidery design
around the plastic insert. To do this, prepare
a needle with traditional sewing or
quilting thread that matches the fabric of
your embroidery design. Center the insert behind your embroidery
design and stitch the fabric around the edges
using a running stitch. Keep your stitches
close to the edge of the fabric so they don't show on the front
of your design, but not so close to
the edge that they unravel the edges of the fabric. As you work, the running
stitch should start to cinch, which will anchor the
insert behind your design. Readjust as needed to keep your embroidery centered on
the front of your project. Once you're happy with the
placement of your design, take a couple extra stitches across the backside
of your project. Tell pull the edges down to
secure the insert in place. Once you're all done, tie a
knot with a thread to secure. Awesome. Now that
it's all secured, we need to take
our little insert and our embroidered design, and now we're actually
going to mount it into our pen and
bezel. Let's tackle it.
8. Mount Pendant: Awesome. Now our project is
starting to come together. Let's mount our
embroidery design into the pendant bezel.
We need a strong glue. I prefer the E 6,000 adhesive. However, please keep in mind
that this glue should be used with caution and in
a well ventilated area. You can see the package
for more details. Sometimes this glue even
comes with fine tips, which is perfect
for working with a small project that
requires a delicate hand. Place a small amount of glue in the center of your
pendant bezel. I like to spread it around a
bit to make sure my jewelry will stay in place
all around the edges. Center your embroidery
design fabric in the pendant buzzle. But be sure to be mindful
of directionality. If your design has a
certain way up and down. You want to make sure
the design is positioned so that it's the right way
up and not upside down. Once you're happy
with the placement, use clips to hold the pendant in place while the glue dries. Wait at least 24 hours
for the glue to cure. Perfect. Well, your glue is dry. Meet me in the next
lesson, and I can go over a few final details and how to turn your pendant into
a cute autumn accessory.
9. Jewelry Accessories & Final Thoughts: You have your embroidered
pendant mounted, you can decide how
you want to use it. My favorite way to accessorize my pendants is to turn
them into necklaces. So let me show you how I
like to add a necklace chain to my hand embroidered pendants.
Start with a jump ring. Open the jump ring
with a pair of needle nose pliers by gently offsetting
the metal opening. Do not pull the ring apart by forcing the ring
to spread out. This could cause
distortion in the metal. Rather simply offset the opening wide enough to fit your
pendant and chain. Add the necklace chain and
re close the jump ring. Be sure your jump ring sides are aligned and no gap remains, or else your pendant
could fall off the chain. And we wouldn't want
that to happen. And there you have it, a hand embroidered
necklace for you to enjoy. As a reminder, take a picture of your finished
project and share it to the class project gallery. I'd love to see what
you're working on, and I'd love to see
what accessories you're creating for
your fall wardrobe. You're looking for
more embroidery design templates to
trace for your projects, I've linked my downloadable embroidered designs in
the class description. So you can check
those out and make even more cute accessories. If you enjoyed this
class, I would love for you to
leave me a review. Your feedback helps me create even better classes
moving forward, and it helps me know what
types of content you enjoy. Thanks so much for
following along, friends. Until next time. Happy stitching.
 Lauren Weber, Artist + Quilter + Gardener