Transcripts
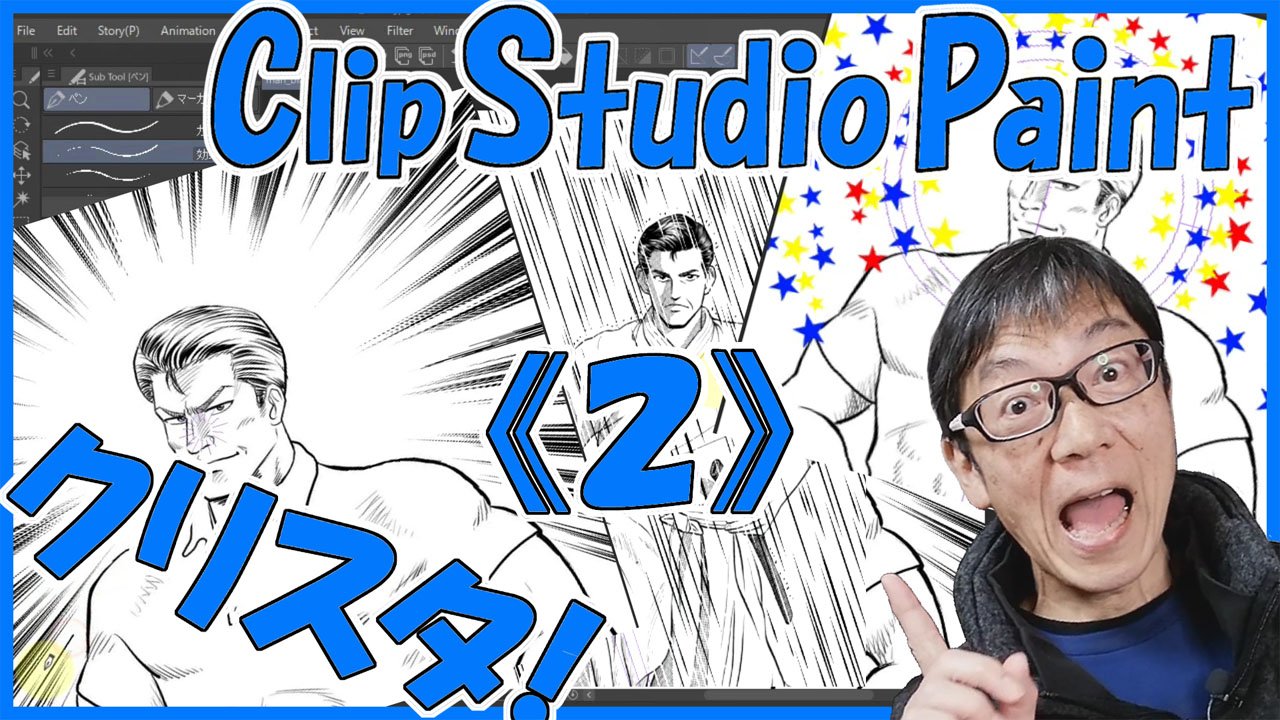
1. Introduction: Hey there everybody. I'm much. Are you enjoying
the drawing manga? In this video, I'm
going to explain one of the many features of
pips do their pain. The poem functions. Why does the tongue anyway? This is one of the most distinctive N
essential expressive techniques in Japanese Manga. Traditional method
of Japanese manga. Gray has been
depicted by pasting these sheets onto line drawings. Unfortunately, these
sheets are not easy to get hold
of outside Japan. However, if you're on a draw, manga in the Japanese style studios tone
function can help. With this function. You can easily digitally color your drawing in the same
gray as the Japanese manga. Okay, now let's try the
tone function in practice.
2. Why Tones are Used in Japanese Manga: As you know, Japanese manga is often drawn in black and gray, not in full color. But if you look carefully, you will see that Greece not really gray
but small black dots. So only one color is
using Japanese manga. Black. Why do they do
that in Japanese manga? The reason is to keep
the selling price row. If they were to
print in full color, the printing costs
will be higher. And so the selling
price will be higher than the price would no
longer be affordable for two. Since most manga
readers are children, the strategy is to
print only in black to keep cost down and get
more children to buy it. Full color printing
is still more expensive than single
color black printing. So if you are a print, cheaply, use this
function instead.
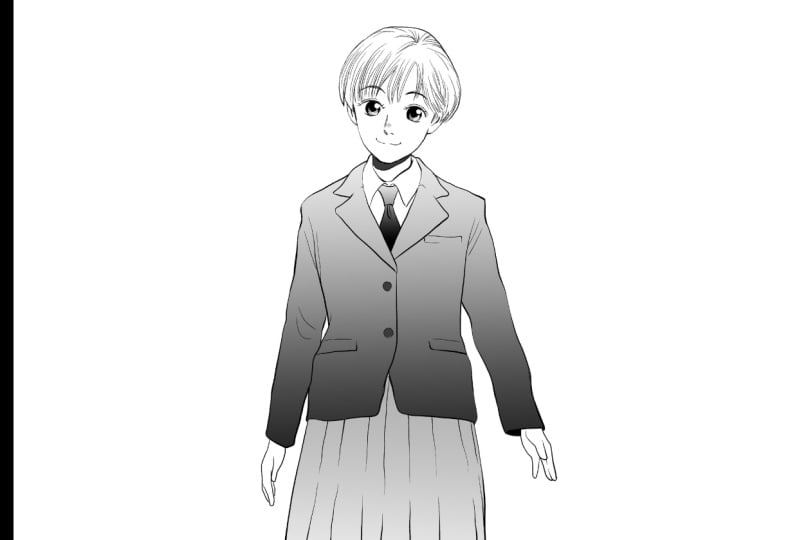
3. Basics of Pasting Tones: Often this file first
drag and drop it. The image is a bit small, so enlarge it. The zooming. Here. These are replaced by the
control key plus spacebar. If you hold down them
and click on the screen, you can zoom in a little
each time. On the iPad. Check the color first, then peach out or pinching. Now, paste the tone
on this jacket. For you. If we draw digitally, it might be easier to
say paint or failing. But in Japan, you say paste. The reason for this is that
in the traditional method, as sheet called tone
was cut with a knife and literary paste it
on the drawing tab, select in the menu above. Then tap Quick Mask. New Quick Mask layer
is then created. Next, select the
bucket tool from the toolbar on the left
in the sub to Window. Select, refer other layers. In the two property. Make sure refund
multiple is checked and all layers is selected for
the icon to the right of it. Then tap the area where you
want to paste the tone. Some parts have
been painted red, but there are still parts of his jacket that have
not been painted. So tap all the parts, you want to paste the tone. The whole jacket is
now painted red. These red areas are where
the tone will be pasted. That select again. And then tap Quick Mask. The color will then disappear and the
outline will appear as a dotted line indicating that the area you have just painted
red is now a selection. You can see Alonzo with
several icons below. The second one from
the right, Newton. You will then see
dialog box like this. Make sure it is ticked here. Then tap on the right
side of this density. And a slider will appear. This arrow or drag the slider
itself to change the value. This number indicates
density of the tone. And by changing this number, you can change the
density of the tone. Can you see that the dots on the right has become smaller. The density is now 30. Frequency is now 60, right? And make sure that the type
is Sacco and the angle is 45. Is it done? I will explain
these items later. Tap. Okay. Now, you have placed in a
tone on the whole jacket. Jacket looks like it
has been painted gray. Well then let's zoom in. You can see that
what looked gray was actually a lot of dots. This is what is called a tone, which is an integral
expression of Japanese manga. Next, paste the
tone on the skirt. Tap, Select again Quick Mask. Then select the bucket tool and tap the area you want
to paste the tone. In this case the skirt. Now it's painted red, but something wrong is the part you don't want
to paste that tone on. The side is also painted red. Why is this? If you zoom in, you can see why. As you can see, the
line is broken. When there is a broken
line like this, the color will flow
out of the gap. Areas that you don't want
to paint will be colored. So how can you avoid this? I will show you release the
Quick Mask you have just painted the undo button to return to the state
before it was painted red. Or you can also use the keyboard
shortcut Control plus D. You remember which
key was for Mac? Os? Command plus z. Now, if you look at the two properties on the
left-hand side of the screen, there's an item here
called growth gap. Check the box here,
right over that. There are five boxes. These shows five levels
of gap adjustment. Too little or too
much is not good. Now on the screen, the left to a light gray. Let's draw a level two first with two squares
painted like this. Select the Quick
Mask layer again. And up there with a bucket to. Now this time, the
size are not colored. Look closely. The line is still broken, but red color does not
extend outwards from it. This is a close Gap effect. Now tap, Select us
before, then quick mask. The area painted red
is now the selection. The second icon from
the right, as before, the density slider
remains at 30 per cent. Try lowering this slider, this time to ten per cent. In the screen on the right. You can see that
that's how become smaller and lighter color the tone has been
pasted on before. Now, a bit more about
that close gap. This is level two. Now, you can increase this
to close even bigger gaps. However, what happens if you
raise the level too high? Let me show you. I will delete the layer of the jacket
that I just painted. The third bucket to n hit Adelaide years. Quick Mask, set close Gap to level five and
hit the jacket. You see, this is goals. You set it to level five
and close the gap too much. So try using it. To first, next piece to
the tone, to the socks. Select Quick Mask, then
select the bucket two, and then tap select Quick Mask. And Newtonian second
from the right. Let's change the density
from 10% to 50 per cent. You can also select a number and enter your preferred
the number n. Okay? I've tone with the density over 50 per cent has been pasted. Next, based on the shoes. Tap select, tap, Quick Mask. And the part of the
shoe you want to color. There are still some areas
that are not painted red. Zooming and paint this area red to the other shoe looks fine. Now, tap select Quick Mask
to create a selection. Change the number to 80. End. Okay. You now have a very dark color. This is a color with
80 per cent density. Now look at the layer properties on the right hand
side of the screen. If you scroll down a little, you will see the number 80 here. This indicates that this is 80 per cent
density. You paint it. If you tap the triangle here, You can lower or
raise a number to make the color
darker or lighter. You can also change the
number by moving this slider. If you reduce the number or
move the slider to the left, the color becomes lighter. And if you increase
the number or move the slider to the right, the color becomes darker. Now, let's color the
tie for the last time. You already know how to do it. Select Quick Mask and tap
the area you want to paint. You can color in the
smallest details. So zooming and tap the area
you want to paint over. And select Quick Mask. Now let's set the
density to 60%. And Okay, now you have
colored the entire thigh. Now you know how to paste
the tone in a basic way. In the following video, I explain a quick and easy way
to add tones in new areas.
4. Paste More Tones: Here is another way
to paste that tone. This is a method though, pasting a tone of
the same density as the tongue already pasted on
another part of the body. Paste that tone on this area, the shaded area below the face. You can of course use Quick Mask in the
same way as before. But this time I will show
you another easier method. First, find the layer with the tone in the density
you want to paste. In this case, I
will paste a tone with the same density
as the shoes. There are several ways to
find the target layer. The first way is to
look at this section. In this black square, there's a white area. This is the area where
the tone has been pasted. Therefore, look for the
layer where the shoes are. That is, where there are two small white
areas at the bottom of the image appears that
these two layers correspond. You can tell which one
is the layer you want. By tapping this icon, the tone has disappeared. This means that this
is the layer where the tone was pasted
on the shoes. Now, paste the tone
to the area here. Check that the layer with the tone you want to
paste this active. Then select the
bucket to ask before. Makes sure that refer
other layers is selected. Refer multiple in the
two properties checked. And all layers is selected. The place we're going
to paste that tone. The tone has been pasted, but there are still areas
that are not pasted. There are three
solutions to this. Firstly, this failure is due to the close gap being at liberty to turn off the clothes gap. This time, the whole
area could be pasted. However, I do not recommend
this as it is not efficient to turn it on
and off again and again. So here is a second solution, leaves a close gap at level two. And if some areas are not
pasted there and paste more, this is easier and recommended. Now you have pasted whole areas. However, if there are small areas here and there
where you could not paste, the bucket tool
is not efficient. In this case, select the pen to paint the areas
that are not painted. Now, the whole area is pasted. The same can be done with other pen tools,
such as markers. Try static thing that
marker, then draw anywhere. You can see that it is not
drawn with black lines, but with dots of the same
density as the tone. This time, I'm just showing you what kind of lines you can draw. Erase these lines with the
Raisa do have you done it? So if you have drawn too much, that is, you have
pasted down too much. The tongue can also be
erased with the eraser tool. This is true for
all pasted tones, not just those drawing
with the Pen tool. Let's try a few things. First. Select this layer and
draw on the canvas. Select this layer and
try drawing on it. Let's try another layer
selected and draw on it. Now, you have drawn
it as a line. But if you paint this area, you can make it look like you
have based in a tone on it. Okay, these lines
are not needed. Use the eraser tool
to erase them. Oops, I couldn't erase them. This is because the
layer that should be erased was not selected. If you select an
incorrectly yeah, like this won't be able to erase it and you won't
be able to paint on it. So please make sure that
the intended layer is currently selected before
you paint or racy. And the third solution, this method is very
efficient if you want to paint on our
complex shaped area. First, thetic, the bucket two
and hit includes and fail. You see the cursor change shape, then includes an area slightly wider than the area
you want to paint. That's all easy, isn't it? And one more thing. Now hit paint on field area. The cursor changes shape. Again. You can change the
brush size to your liking, but this time 3,022.0 mm. Then paint so that the green
area is wider than the area you want to paste the tone
know you have painted. This is also easy. If you want to
paint a small area, this pain on-field
area is better. And if you want to
paint a large area enclosed and fail
is more suitable. Next, I want to make the
buttons on this jacket white. So I need to find the layer
where the tone is pasted on. I can guess from the shape of the white part that it
is properly this layer. But I can't be sure. So I click on the icon. Yes, this is it. Now, keep this layer active
and switch to the eraser to then adjust the size and
erase the intended area. As you may have noticed, you can use this
effect to draw text or pictures on the area where
the tone has been pasted. Like this. Well, if you overdo it, hit the Undo button
and start over. Or you can switch
to the pen tool and paint over the
tone to correct it.
5. Change the Density Easily: Next, this section explains how to change the
density of the tongue. Once it has been pasted. Let's change the tone
density of the Thai n. Choose. Again, we first need
to find the layer on which the tone we want
to change is pasted. I showed you how to find it from the white shapes in the
black area earlier, but there is an easier way. The operation to hit
the select layer. The next thing to look
out, four is here, exclude, which is probably active
and blue on your screen. This indicates that tone
layer is set to exclude. So you won't be able to find
a layer you need as it is. First, I will show you
that you can not find it. Okay? The shoe, you have selected a layer
that is not the one you want. This is not helpful,
unfortunately. Next, turn this button off, then tap the shoe again. This time, the wanted layer
is selected to be sure that the icon to confirm the tone of the shoes and
tie have disappeared. This means that the wanted lay here has been
selected correctly. Again, select the operation tool and hit the Select Layer. Then make sure all these
buttons are switched off. Then hit the tongue part of
the layer you want to find, such as shoes or a jacket. Now, you can see that
this is a lady here with the term pasted on
the shoes and tie. Look at the layer properties. This number is now 60, which means that current
tone density is 60%. You can increase or
decrease this number by tapping on the triangle
to the right tab, the lower triangular mark
to reduce the number. Did you notice as this
number goes down, the density of the
tone pasted on the shoes, untied gums, knitr. Now, the upper triangular
mark to increase the number. Watch carefully to
see what happens to the tone density
over the shoes and tie. I have increased it to 80. You can see that
the much darker. Next, you can change the density of the
tone of this layer. Tap the icon to see where the tone is
pasted on this layer, the tone on the skirt
has disappeared. This means that this layer is that Tom pasted on the skirt. Okay, Now let's
change the density. The density number is now ten. This means that the
density is 10%. If you increase the
density to 20 or 30, you will see that the
tone becomes denser. This way. You can freely change
the density of the tongue once it
has been pasted. Later.
6. Tone by Decoration Brush: I'm going to explain
here how to paste a tone using the declaration
to as before. Select the layer of the
tone you want to paste. That is the layer on which the tone of the density
one is paste it. I selected this layer. This is a tone with
80 per cent density. Next, select the decoration tool from the left toolbar and select the star from the sub to choose the brush size
should be about 30 mm. The circle you see
on the screen now is the size of the brush. Drag it over the canvas. You have drawn stars with a
tone of 80 per cent density. Let's try it on a
different layer. Select this layer. This one has a density
of 50 per cent. The stars are now lighter
gray down before. Let's try one more
disarray year. This has a density over 30%. You can see that this
is the same way as when you added the tone
in the previous video. Press the button several times to return to
the initial state. Next, try the rural to the sub2 into thetic,
the spatial rural. Then select radial line. Remember how to use a
radial line, rural. Tap on the part of the canvas. We want to center
the radial line. Purple symbol appears. This is the center
of the radial line. Next, select the
decoration tool again, and select the style. Now, make the brush size a
little smaller, about 15 mm. You can choose any layer. I would choose the
same layer as before. With a density on
the 30 per cent. I was able to draw a radial
line with a star shaped with a density of the 30 per cent instead
of our blood line. Let's draw another layer, this layer, and drag
it in the same way. Now, we have a
star-shaped radio line with the density of 50 per cent. Let's try another layer with
the density of 80 per cent at the top. Okay? This is how to
paste a tone using the ruler tool and the
declaration brush. Interesting, isn't it?
7. Greying the Tone: Here I explain the graying
of the tone layer. Hey, while it's rain. As I said in the previous
video, towards the gray. But when you zoom in, they are actually made up
of black dots, not gray. You might think that it
doesn't matter whether it's gray are dotted because
they look the same. But they are not. Please watch carefully. Okay. I've shrink the canvas a bit. Hey, what do you see? You see a strange pattern that
is neither dots, no gray. This is called More array
or more re patterns. An optical illusion
that occurs when you view a toned
image on a monitor. If you only intend to print
and not publish on the web, then you have nothing
to worry about. However, if you aren't going
to publish on the web, it is better to eliminate
more rare for better viewing. The way of doing
it is called gray. Understood. But it's a bit
confusing, isn't it? So let me explain with a figure. The good thing about the
tone layer is that it is a traditional
Japanese manga style and can be published cheaply. It's about thing is
that you can see more re patterns when you
look at it on a monitor. So it's not really
suitable for Web Publish. And in the case of gray layer, it cannot be
published cheaply and do not look like
traditional Japanese manga. Good thing on the
other hand, did that. There are no more re patterns, but it is suitable
for web publishing. So choose according to how
you want your manga to look. If you don't mind my array, you can leave the
tones are there. And the handy thing about
Clip Studio ie that it is compatible
with both cases. This means that you can easily change the tone layer
to the gray layer, or the gray layer
to the tone layer. In this video, I will
explain how to change the tone layer to
the green layer. And in the next video, how to change the gray
layer to the tone layer. Here's how to change
the tone layer to really look at the top
of the layer properties. There's a button here that
says tone and it looks blue. This indicates that
this is a tone layer. First, check which
layer you want a gray. Select the layer and
tap on the icon, then the tone disappeared. This means that this
ratio guards the layer with the term pasted
on the thigh. Once you know that
the term button, the blue color, has disappeared. This means that
this layer has now changed from the
tone layer two is a gray tie is so small and
maybe a little confusing. Let's try on another. Try this layer.
Next, tap the icon. The tone on the jacket
has disappeared. So you can see that
this was a layer with the term pasted
on the jacket. Okay? The I icon again to undo. Then select this layer. You can see that this is
a tone layer because yes, the term button is blue. The tone bottom. The blue color has disappeared
and change to a Greeley. Can you see that the more re
patterns has disappeared? Okay, Let's try further. Tap the icon on this layer. You now know that this
layer is a skirt part, that the icon a second
time to undo it. Then keep this layer
selected and tap the button. Now, you have changed
the layer to gray. You can easily change this back to the original tone again. The way to do it is to tap this. Tom bought the same as before. That's it. When it tap the button, the color changes to the
same blue as before. In the following video, I will explain how to change
the gray layer upon layer.
8. Paint it Grey and Conbert it: In this video, I will show
you how to paint a layer gray and change that
layer into a tone layer. Why do I need to show you
how to paint with gray? Because it's easier
to paint with gray if you are unfamiliar
with tones. I can easily tell which
density tone is how much gray, because I have been pasting rare tones on paper
for a long time. But if you are new to tones, you may not know
exactly what level of grade ten per
cent density is. That's where the method of
painting Grey can help. Let me show you how easy it is. First, hide all the layers
you have just made. Next tab, the new raster layer. A new layer has been created. Switch to the bucket
to end up the jacket. Makes sure that refer
other layers is selected. Type the entire jacket, and it will be painted black. This next, move, this
slider to the left. As you move the slider, the color of the jacket painted black, gradually becomes gray. Set this value to 30. Next, the stocks. The same density of gray as
the jacket will be painted. Tap new raster layer again
to create a new layer. Now tap the skirt. Then move the slider to the
left in the same way to 20. Create another new layer. Now, tap the shoes or tie and set the value to 60. As you move this slider, you can see that the
shoes untied come lighter and darker in conjunction
with the slider. Let's try this with
a skirt layer. In the same way, the color of the skirt changes in conjunction with the slider. Let's try this with a
jacket and socks layer. Again. The color changes as
you move the slider. In other words, you can change
the density at anytime. Easy, isn't it? Is a jacket really painted gray? Let's zoom in and find out. You can see that it is
painted gray dotted. Okay. Even when the image
is reduced in size, it does not appear
to be more rare. This is what it means
to paint in grey. Your manga painted in gray, we're not be more rare. So there's nothing wrong with
publishing it on the web. But what if you want to
print it on the paper? It should have used a tone
instead of gray right? Now program. You can
easily change the tone. Bring the cursor here, the word poem appears on it. Can you see that? It has
turned into, that lets me, the jacket shouldn't
have been Gray, has turned into but what should I do if I want
to publish it on the web? Again? Anyone make it gray? No program. Here again. Just tap here and you can easily change the layer
two tone of gray. Let's try this with the
layer of the skirt. Select this layer and tap the icon to check if this
is really the skirt layer. Just to be sure. Sure enough, this is
it. The term button. And the gray instantly
change the tone. Even as the change in the tone, you can easily
change the density. Try moving this slider
the same as before. You can change the density
very easily and freely. You understand whether you
paste a tone or painted gray. You can change the density later or change it to gray or tone. Color it the way you
are comfortable.
9. Show Me Your Assignment!: Okay, and now you understand the basics of how to paste that. One of the most
important functions, all Clip Studio Paint. Draw a Japanese manga, plan, then paste on. If not, raise the pine. Cones and grace can
easily be changed that daunting if you've got it all figured it out
just by watching the video. Make sure you actually paste
the cones and paint them. To see for yourself. If you really end this, then try converting it
to gray. And great. Once you've done that, submits your drawings
and show them to me. Okay. Have a happy man alive and
see you in the next week. Hi.
 Nao Matsuda, Manga Artist, Lecturer