Transcripts
1. What To Expect: Hi there, and welcome
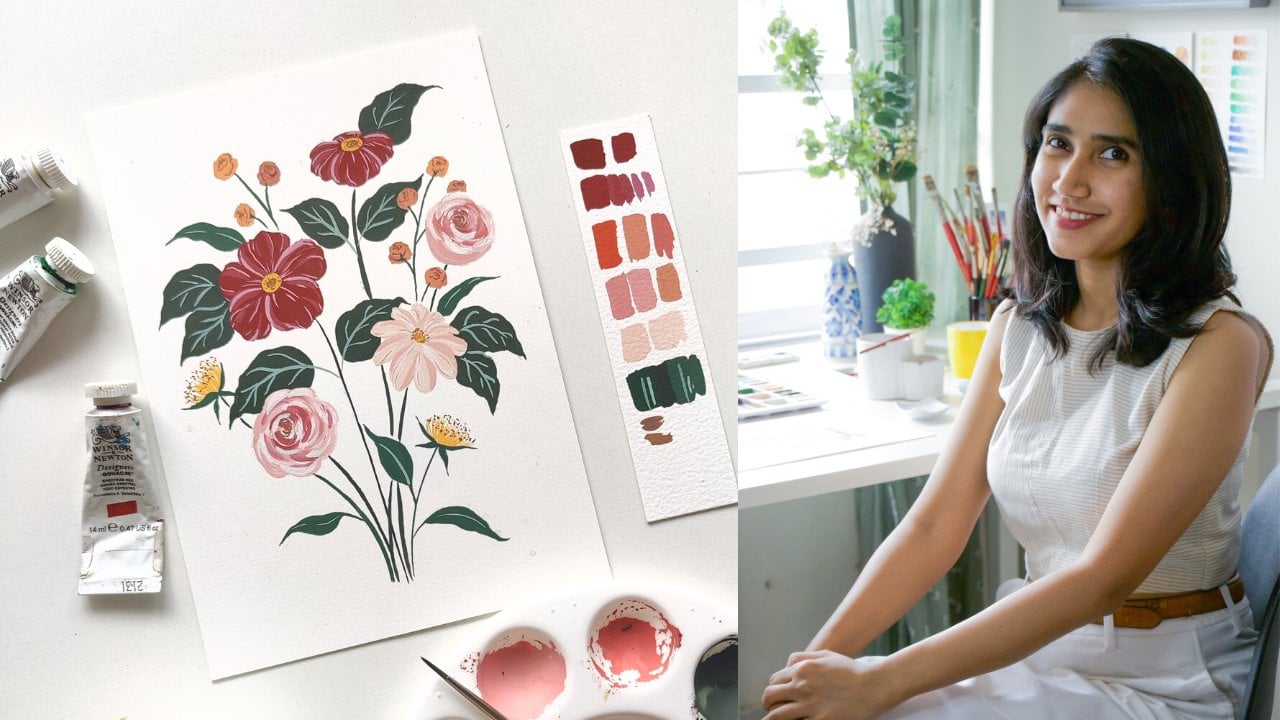
into this class. My name is Shivani, and I'm a gouache artist, surface
pattern designer, and color mixing geek based in the Sunny city of Chennai
in the south of India. I've been painting with gouache for more than four
or five years now, and right from the beginning, color mixing became
my superpower. I love playing with limited color palettes and mixing up every color
that I want to. If you watched my previous class on color mixing
and color theory, you would know exactly how
much I love the subject. This class is part of a three part series
called color Camp, where we're diving into
specific color groups. I've chosen color groups
that artists tend to struggle with the most
when it comes to mixing. And in this class,
we're diving into the topic of skin
tones and earth tones. We're going to be
talking about how to mix skin tones using the most basic pigments so
that you don't have to go and buy a new tube of paint every time you want
a specific color. We're going to try
to mix earth tones that are natural and realistic. If you missed the
previous class in this series where we spoke
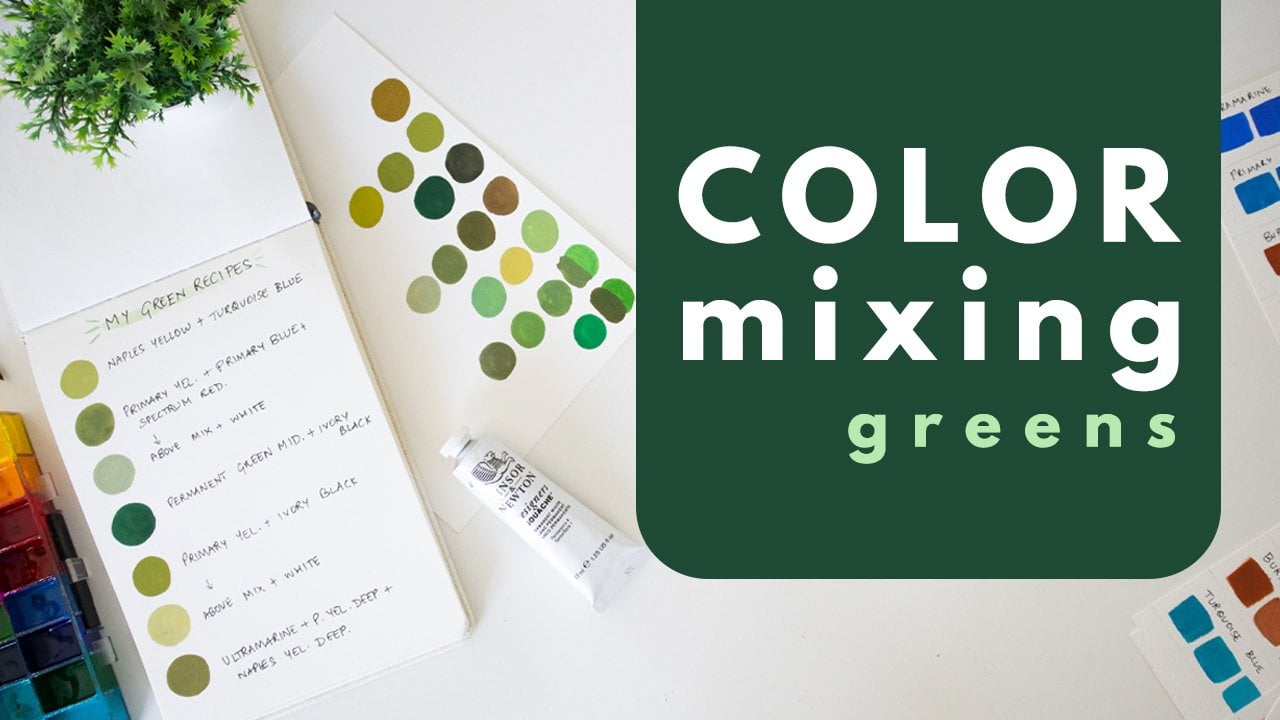
about mixing greens, the link is in the description, and you can catch up on that
after finishing this class. So I'll see you in
the next lesson where we're going to
talk a little bit more about what exactly
we'll cover in this class.
2. The Class Project : The class project for this class is to create your
own color recipes. You can follow along
with all the lessons and start mixing up your own
combinations of colors. You can do this either in your sketchbook or in a
loose piece of paper. Either way, don't
forget to upload it to the projects gallery so that I can check it out and
provide my feedback. Try to play with the pigments
that you already own. In the lessons, you can also
see what colors I'm using. And if you want to get one of those specifically,
you can get those. But try your best to work
with what you already have. I'll be using gouache
as my medium, but you can work with
your medium of choice. The fundamental principles of colour mixing and color theory still apply
regardless of medium. So prepare your paints, your brushes and your
paper or your sketchbook, and let's dive in.
3. What Are Skin And Earth Tones?: Skin and earth tones
are a family of neutrals that all of us tend
to use a lot in our work. Even if we are not necessarily
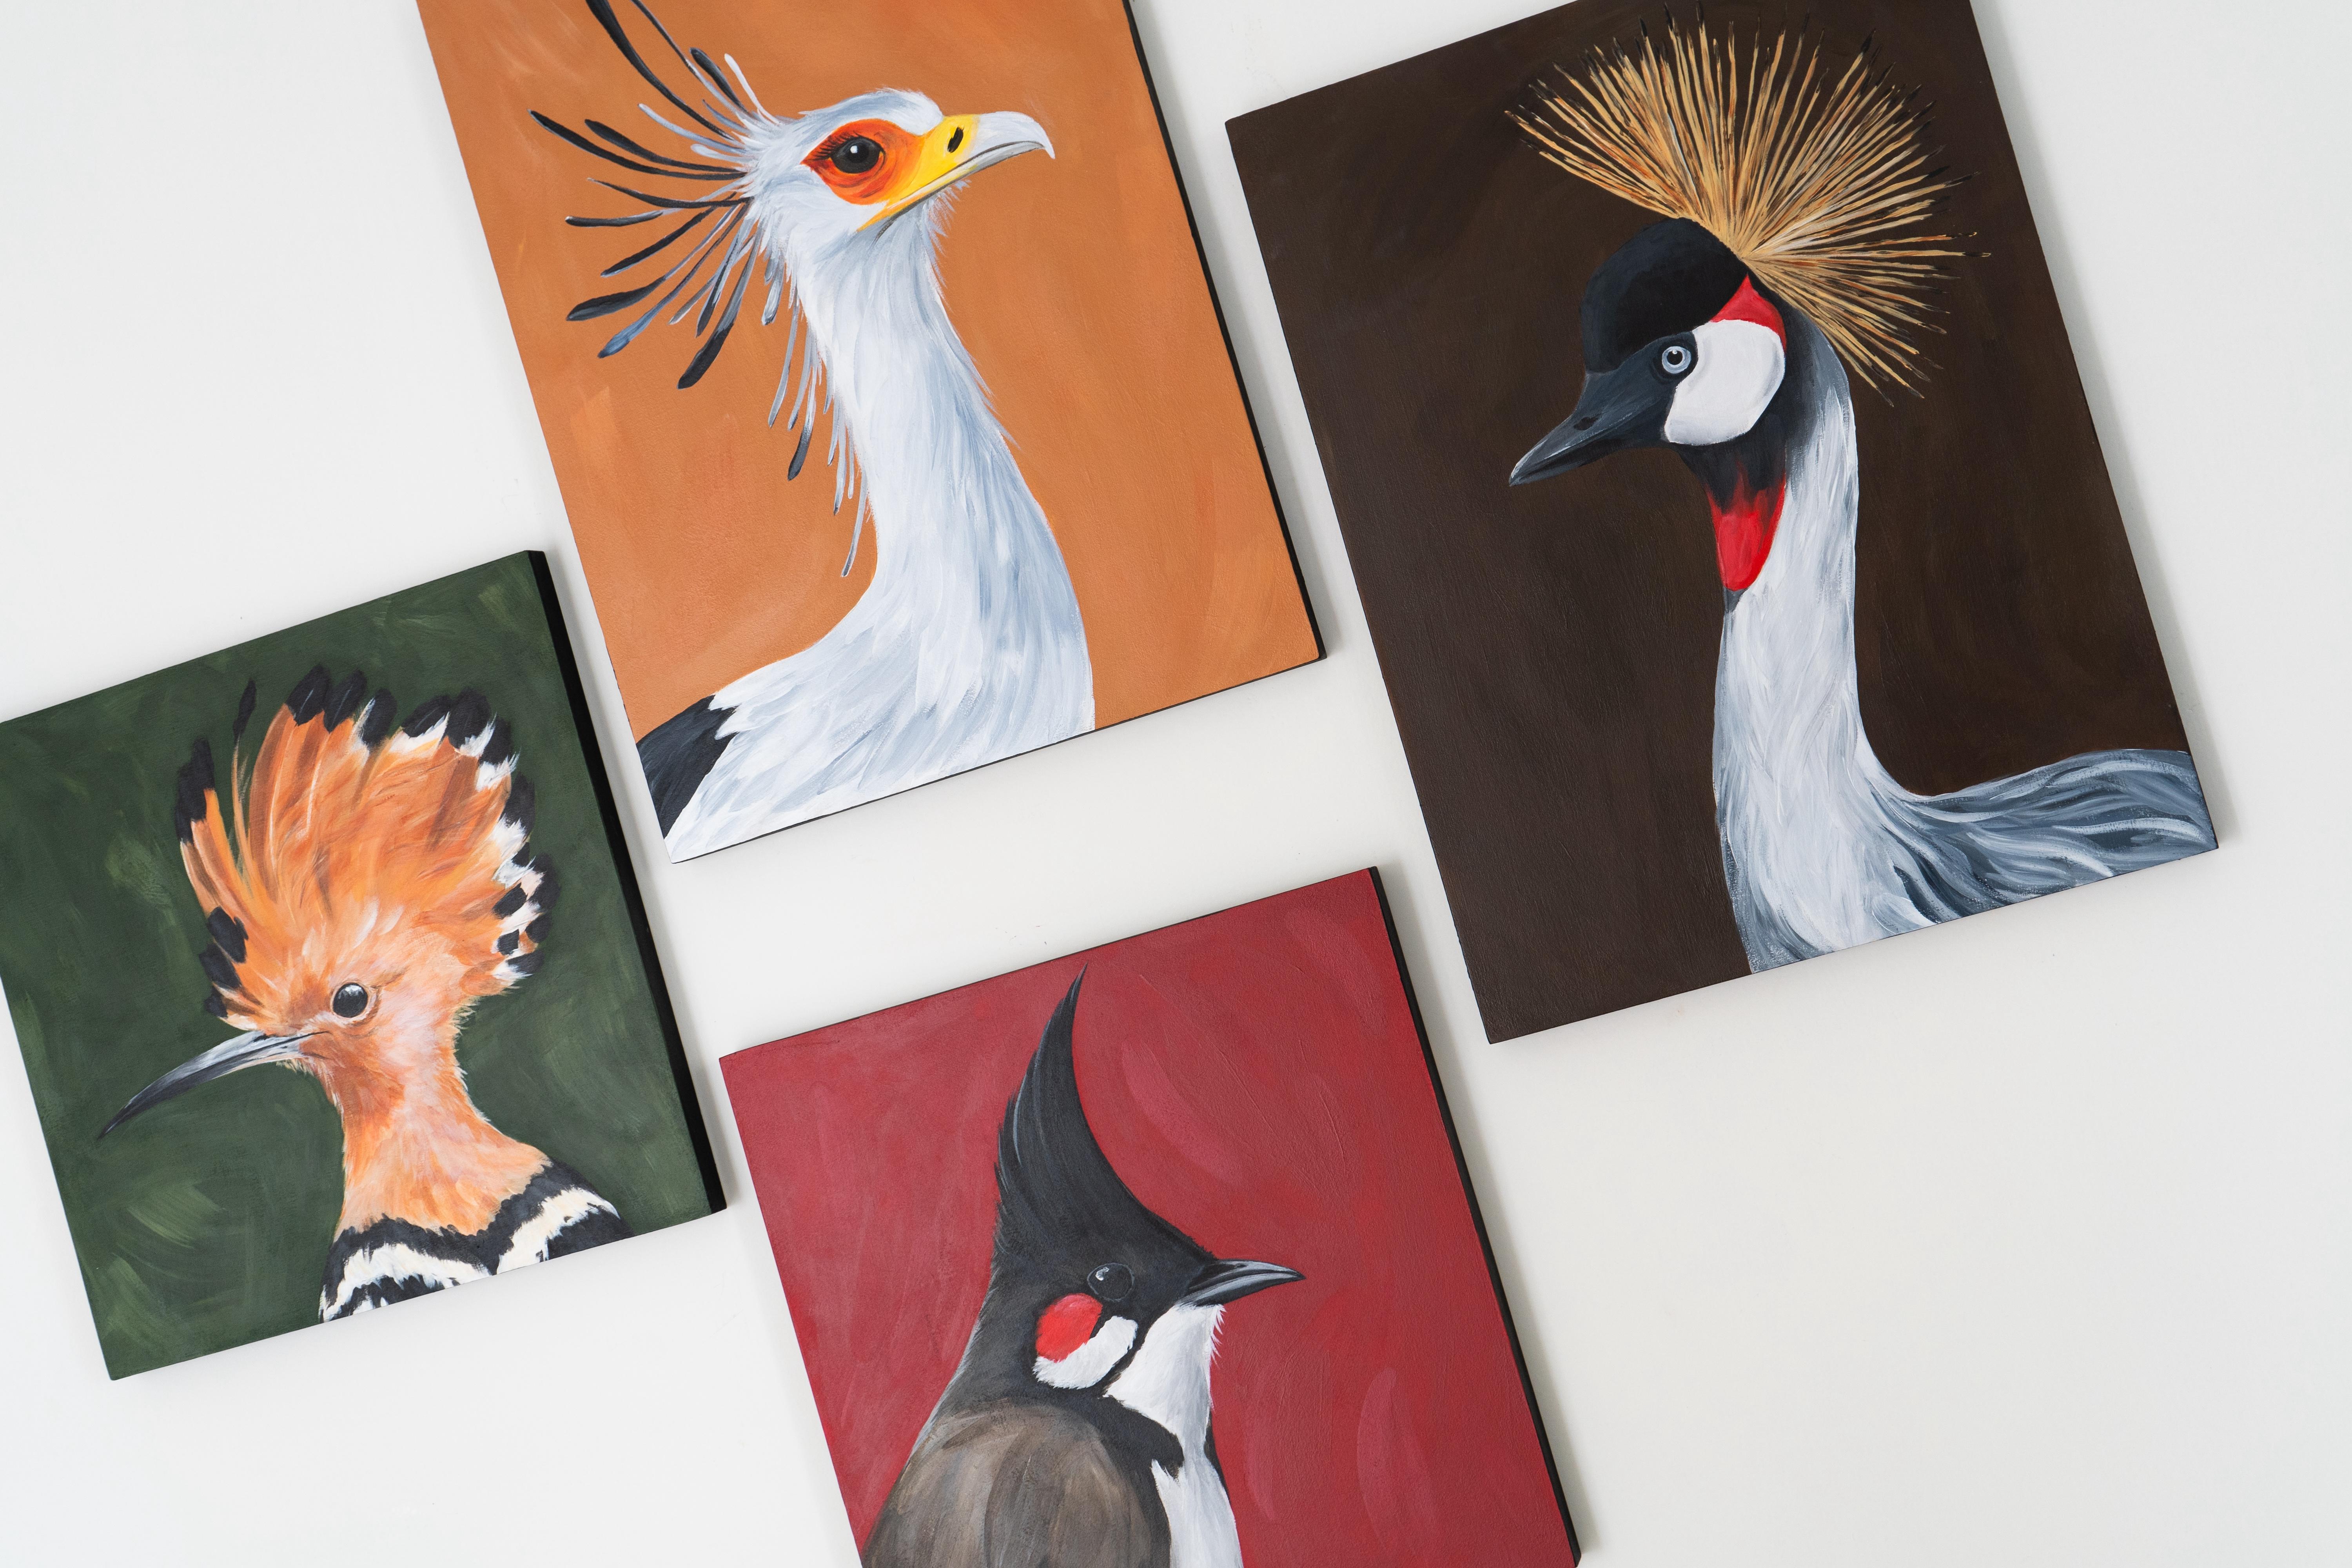
painting human figures, we do tend to use
these colors a lot. I myself don't paint
human figures at all. My work mostly
comprises of elements from the natural world,
particularly birds, sea life, plants and flowers, but I still find myself reaching for neutral
tones quite a lot. Skin tones are also the entire spectrum of colors that represent
the human skin. And of course, if you
do paint human figures, then you'll find yourself needing these colors a lot more. All of the colors that
represent the human skin, the entire spectrum of colors fall under skin and earth tones. Human skin tones also
tend to have undertones, which is something we'll
discuss in the next lesson. And understanding earth
tones doesn't just help you mix the obvious earth
colors like tan, beiges, and browns, but it can also help you
understand how to mix earthy brights like rust
or mustard or moss green. So let's dive into
the next lessons where we're going to
start mixing some colors.
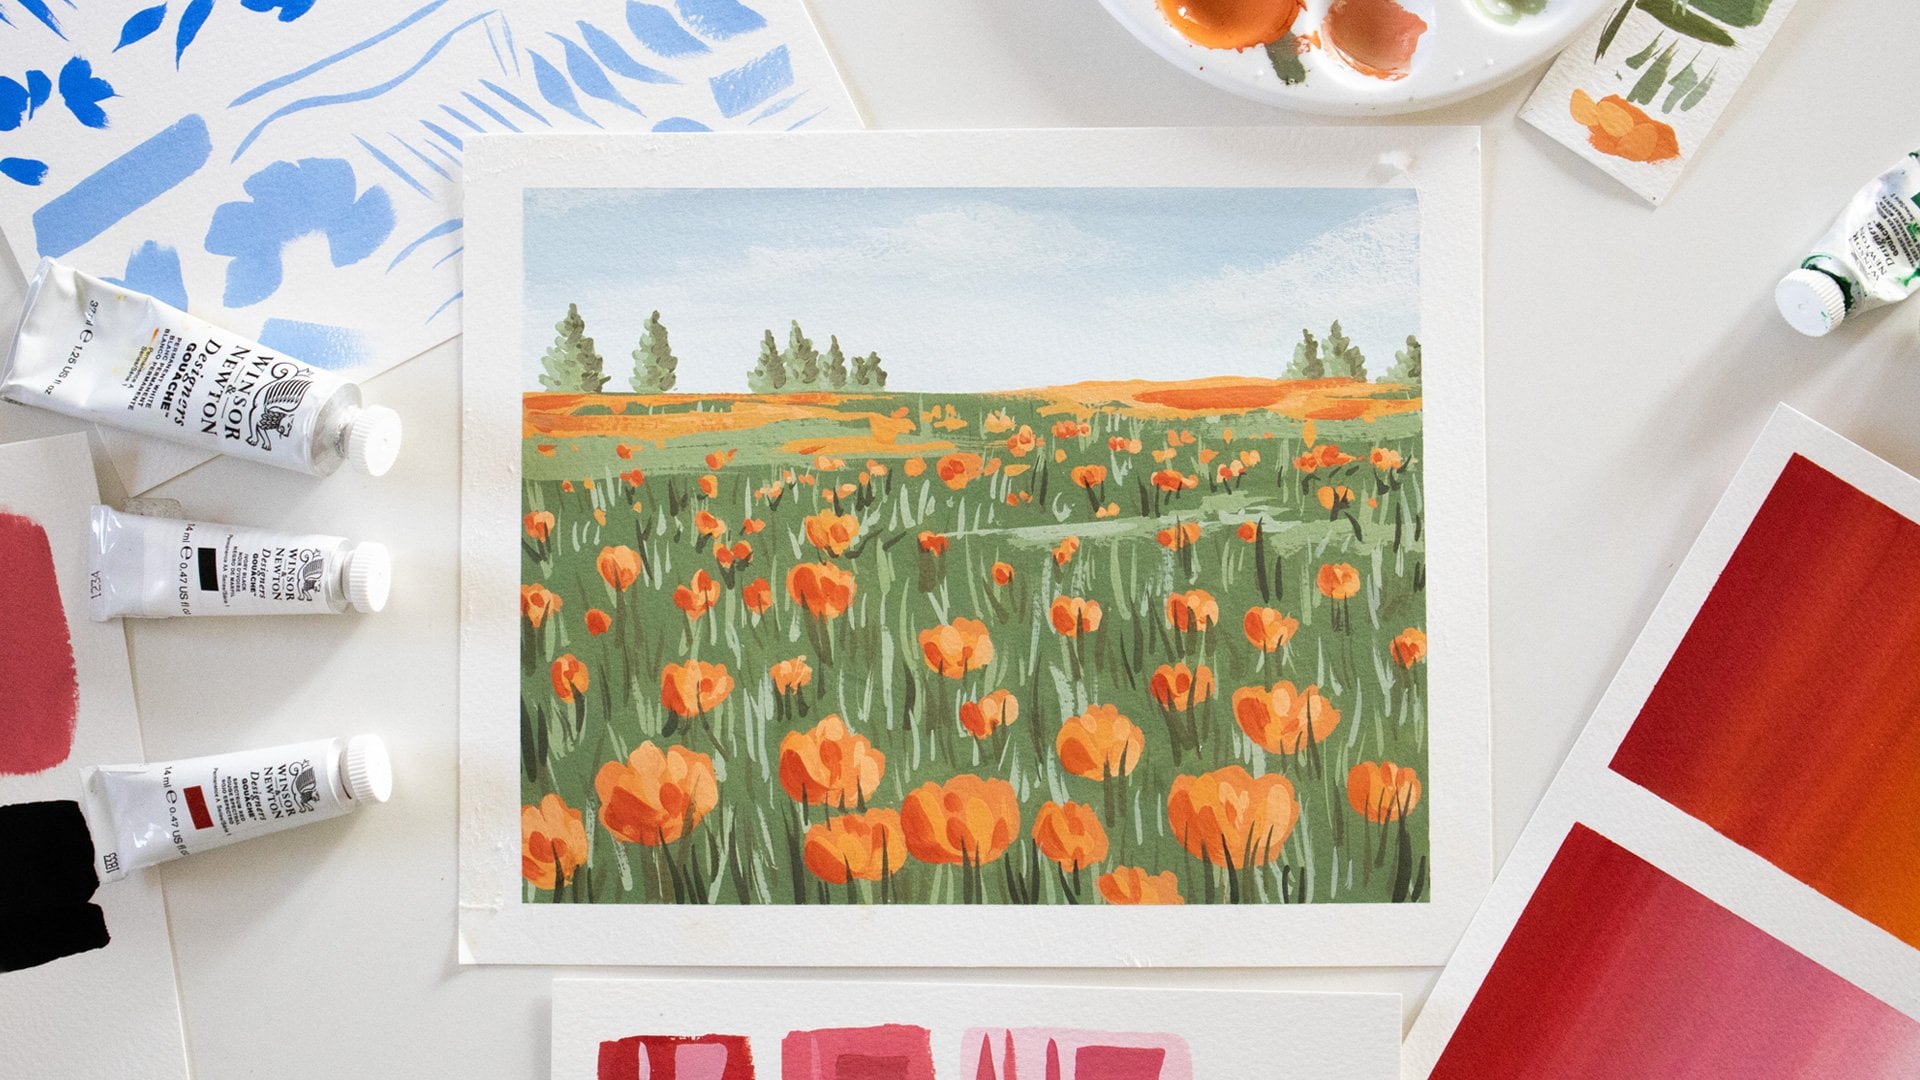
4. Mixing With Just Primary Colors: In terms of materials, this is everything I'm
going to be using. I have a sheet of paper here to actually
make my color mixes, and I've got a paintbrush, my palette for mixing. This is my palette with all the different
colors laid out. I'll tell you what colors
I'm using when I use them. All of these are Winsor
and Newton gouache, and I've got my
water jars here and my white paint is here because
it's not in my palette. Separately, I've just
got a sketchbook here, which I'll use to collect the color recipes which I
actually end up liking. We're going to experiment here and then collect
our recipes here. I also have a pen in
case I want to note down what colors I mixed to
reach a particular formula. Let's move that out
of the way first. When it comes to skin tones, one thing you really need to
understand is undertones. If you look up images
on Pinterest or Google, you'll see a lot of
examples of undertones, and this is something I've
covered in a lot more depth in my other class on color
mixing and color theory. Today, we're just going to jump straight into the
practicalities. I'm not going to give you too many theoretical
explanations. Let's just start mixing
colors and see what happens. Color theory is a subject often discussed by
makeup artists as well, and makeup artists who have a good understanding of
color theory are able to do makeup in a way
that really makes their face look vibrant
rather than washed out. When it comes to
mixing neutrals, especially by just using
your primary colors, which is how I prefer
to teach my students, the first thing you
need to understand is that mixing the
three primary colors together is going to make
them neutralize each other. So let's take the
three primary colors, which is yellow, red and blue. So this is, like I said, Windsor and Newton
gouache, primary red, primary blue and yellow, those are the three
colors I'm using. And I'm going to just mix them together so you can
see what happens. And you want to mix them
together in a way where you have equal quantities
of the three colors. You don't want more of one
and less of the other. So like I said, what you'll
end up seeing if you mix the three primary
colors together is that they'll kind of
wash each other out or drain each other
out and cancel out the color in each other
and you'll end up with a very brownish sort of shade. And now that's what we're
going to be able to manipulate to create early
tones and skin tones. In this example here, I used cool tones of each
primary color. So that was primary blue, primary red, and
primary yellow. But now I'm going to
do the same thing with the warm tones. So for that, I'm
using spectrum red, ultramarine and
permanent yellow deep. Again, if you want a
detailed explanation of what warm and cool
primary colors are, I would recommend checking out my detailed class
on the subject. So again, here you can see how they've kind of canceled
each other out. And they've given you
this very desaturated, almost black sort of color. It's very brownish,
but almost black. Now, taking that
as our base color. Let's see what happens when
we add some white into it. This is, of course, a
very greyed out color, but you're starting
to see how we are creating neutral colors using
just our primary colors. I have not used any black. I've not used any browns, but I've been able to
create a neutral color. Now imagine if I add a little
bit more yellow to that, and I'm just adding a
bit of color back into it and maybe a little
bit more of the blue. So you have to try them out in different proportions to
see what exactly happens. Now I'm getting a much more
red undertone kind of color. I was doing this with
the warm primaries, but I'm going to now do it
with the cool primaries, which was what we used here. So I'm going to take the
primary yellow and primary red, a little bit of
the primary blue. If you're finding it's a little too reddish
compared to what you want, then adjust that by adding
the other shades back in. And here I've got a
nice deep skin tone. Now I'll add some
white into that. And I'm starting to arrive somewhere which looks
a lot more like, you know, natural skin tones. And all I'm doing
is just playing with these three
colors and some white. You can get skin tones with
more peachy undertones. You can get skin tones with yellowish undertones,
purple undertones. All of it is possible. Just keep playing with your
primary colors in this way. Every time your mix is going
to need all three colors, but in different ratios, you just keep changing the
ratio to see what happens. Let's try a few more
of the deep tones. So for the deep tones, we don't mix in too much white. And once you've mixed in white, it's best to save that for your lighter tones and create a separate mix for
your deeper tones. Try to understand what happens
when you add more blue, when you add more red, when you add more yellow, try all of it out just to understand exactly
what's happening. And anytime you find a
recipe that you like, try to put it down in your
swatch book and try to create as much variety here as possible so that you know all the different possibilities
with your colours. I'm using the paint quite thin, so this isn't even as
deep as it could go. If you use your paint a lot thicker or if you
create multiple layers, you'll get a much deeper
and darker looking shade. Once you're happy
with your dark tones, you can then incrementally
start adding in white so that you don't
go too light too soon. Just add a little white at a time. And you can continue
exploring in that way.
5. Expanding Your Palette: Now that you've understood what's possible with
your primary colors, which is a great
foundation to have, you can now start making things a little bit easier
for yourself. You can start using some of the neutral shades
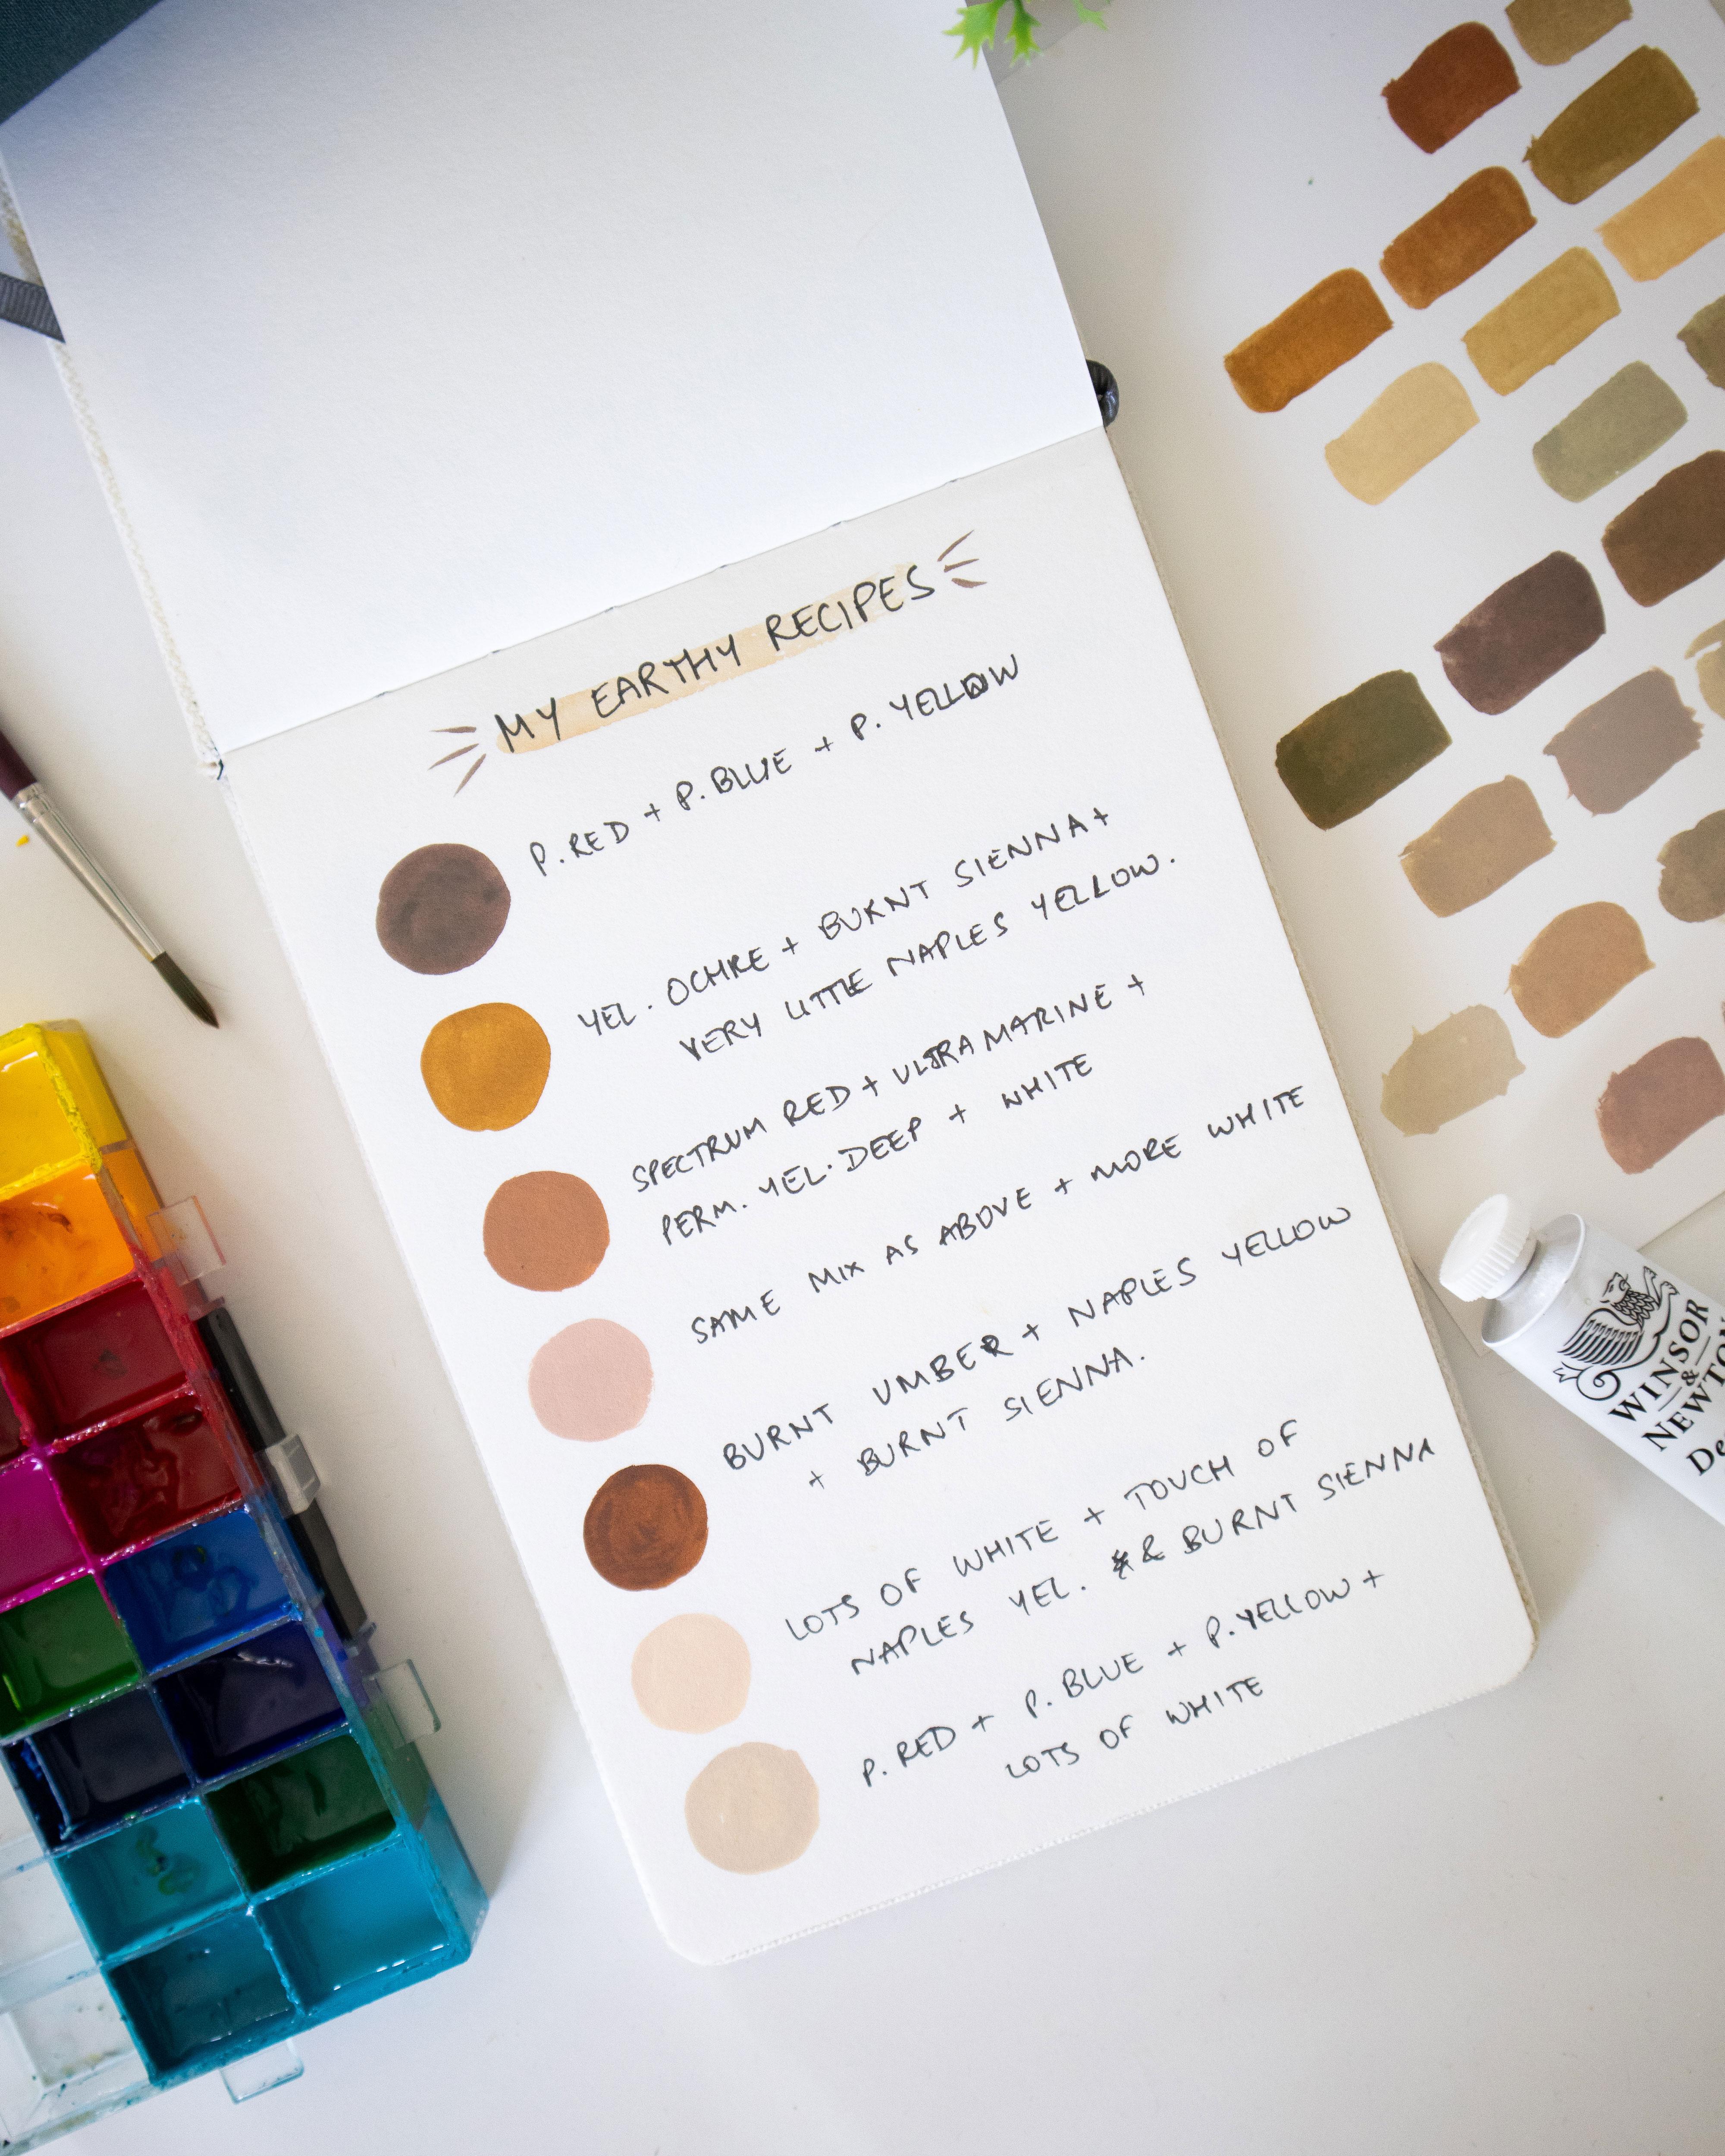
in your palette. So I have yellow ochre, burnt sienna, and burnt umber. These are great shades
for mixing up skin tones. So I'm just going to start
with the yellow ochre. Take some white into that, and you'll be able to make a lot more vibrant
colors in this way. Anytime you want to
desaturate the color a bit, if you're finding it to be a little too bright and
not natural looking. Think of what the base color is. So in the case of yellow ochre, the base color is yellow, and you can add some of the
other two primary colors that is blue and red
into it for you to be able to kind of
desaturate it. In this case, because it's
kind of orange ish, I think I could
try just adding a little bit of blue into it
if I want to desaturate it, you can immediately see what
that does to the color. It makes it look a
lot more natural. Similarly, you could try
mixes with the burnt sienna, or you could even mix the burnt sienna and the
yellow ochre together. Now this base tone looks
a lot more reddish, so you could add some yellow and some blue if you
want to desaturate that. Again, I'm going to
try with some blue. This does give me a
nice olive skin tone. Add a little bit of burnt
sienna back into that. This is a nice tan tone. And then we could add
some yellow ochre. And like I said, anytime you come up with a color
that you really like, try to collect it, and you could write down the colors that you
used to mix it, and you could even write down roughly the proportions that you used so that you're able to mix it up again
whenever you want to. Another color that
could be great for mixing skin tones
is naples yellow, maybe with a bit of burnt
sienna mixed in and, again, a bit of
blue to desaturate. Just keep trying
different directions and see where you go. And then we could do darker
tones with burnt umber. So continue exploring with all your colors in
this way and also fill out all of your recipes in one single page and upload
it to the project gallery. I would love to
have a look at it. I'm also going to fill this
out and upload mine, as well.
6. Summing Up: So I hope you now have
all of your mixes ready, and I'd love to see them. Go ahead and upload them
to the projects gallery, which you can access through
the projects tab below. If you have any questions, drop them in the
Discussions tab, and I'll be happy
to get back to you. Through this class,
we learned to understand undertones
of skin tones. We learned how to mix skin
tones and earth tones using just our primary colors by understanding the
basics of color theory. And we also learned how
to expand our palette and use existing earth tones to
create more realistic hues. If you haven't already checked out the first class
in this series, the link is in the description. In that class, we covered
how to mix realistic greens, and there's going to be a third part in this series as well. So I'd recommend following me here on Skillshare so
that you don't miss it. You can also find a lot of
my free content over on YouTube and you can follow
my journey via Instagram. You'd like to learn a lot more about color theory
and color mixing, I'd recommend checking out my more detailed
class on the subject. Thank you so much
for watching and congratulations on
completing this class. I look forward to
seeing you inside another one of my classes. Bye.
 Shivani Patel, Gouache Artist | Creative Entrepreneur