Transcripts
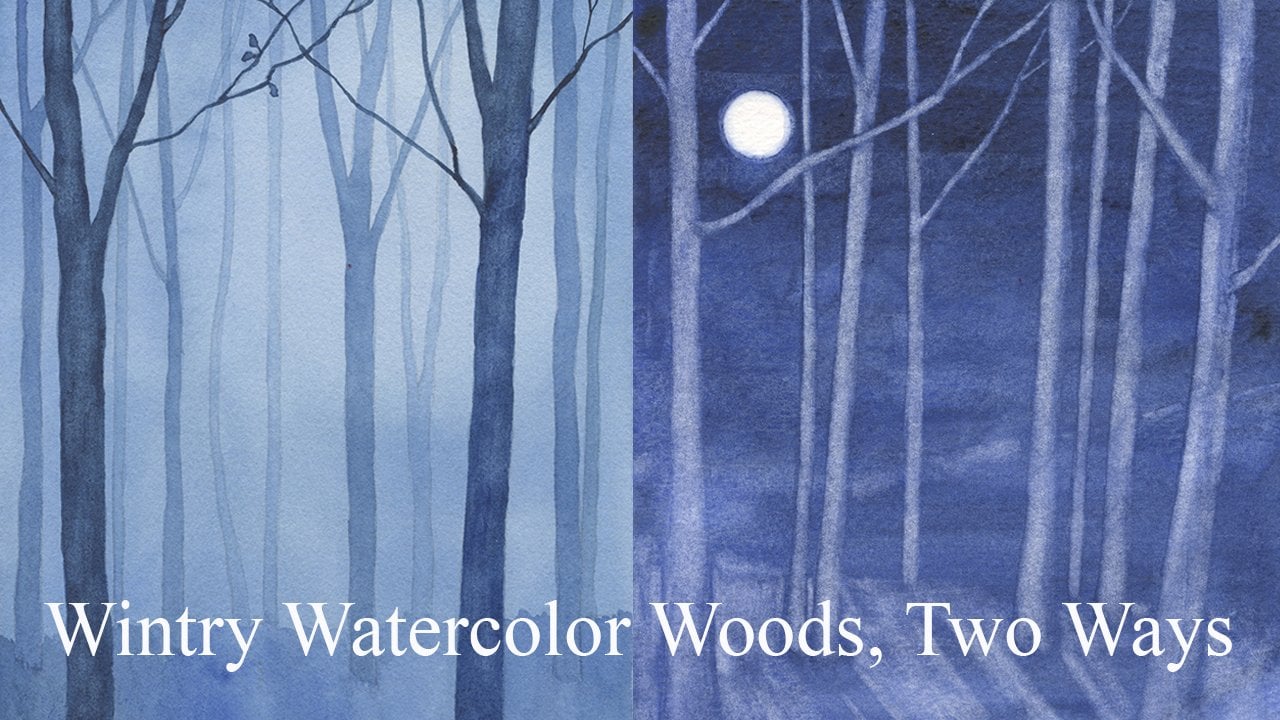
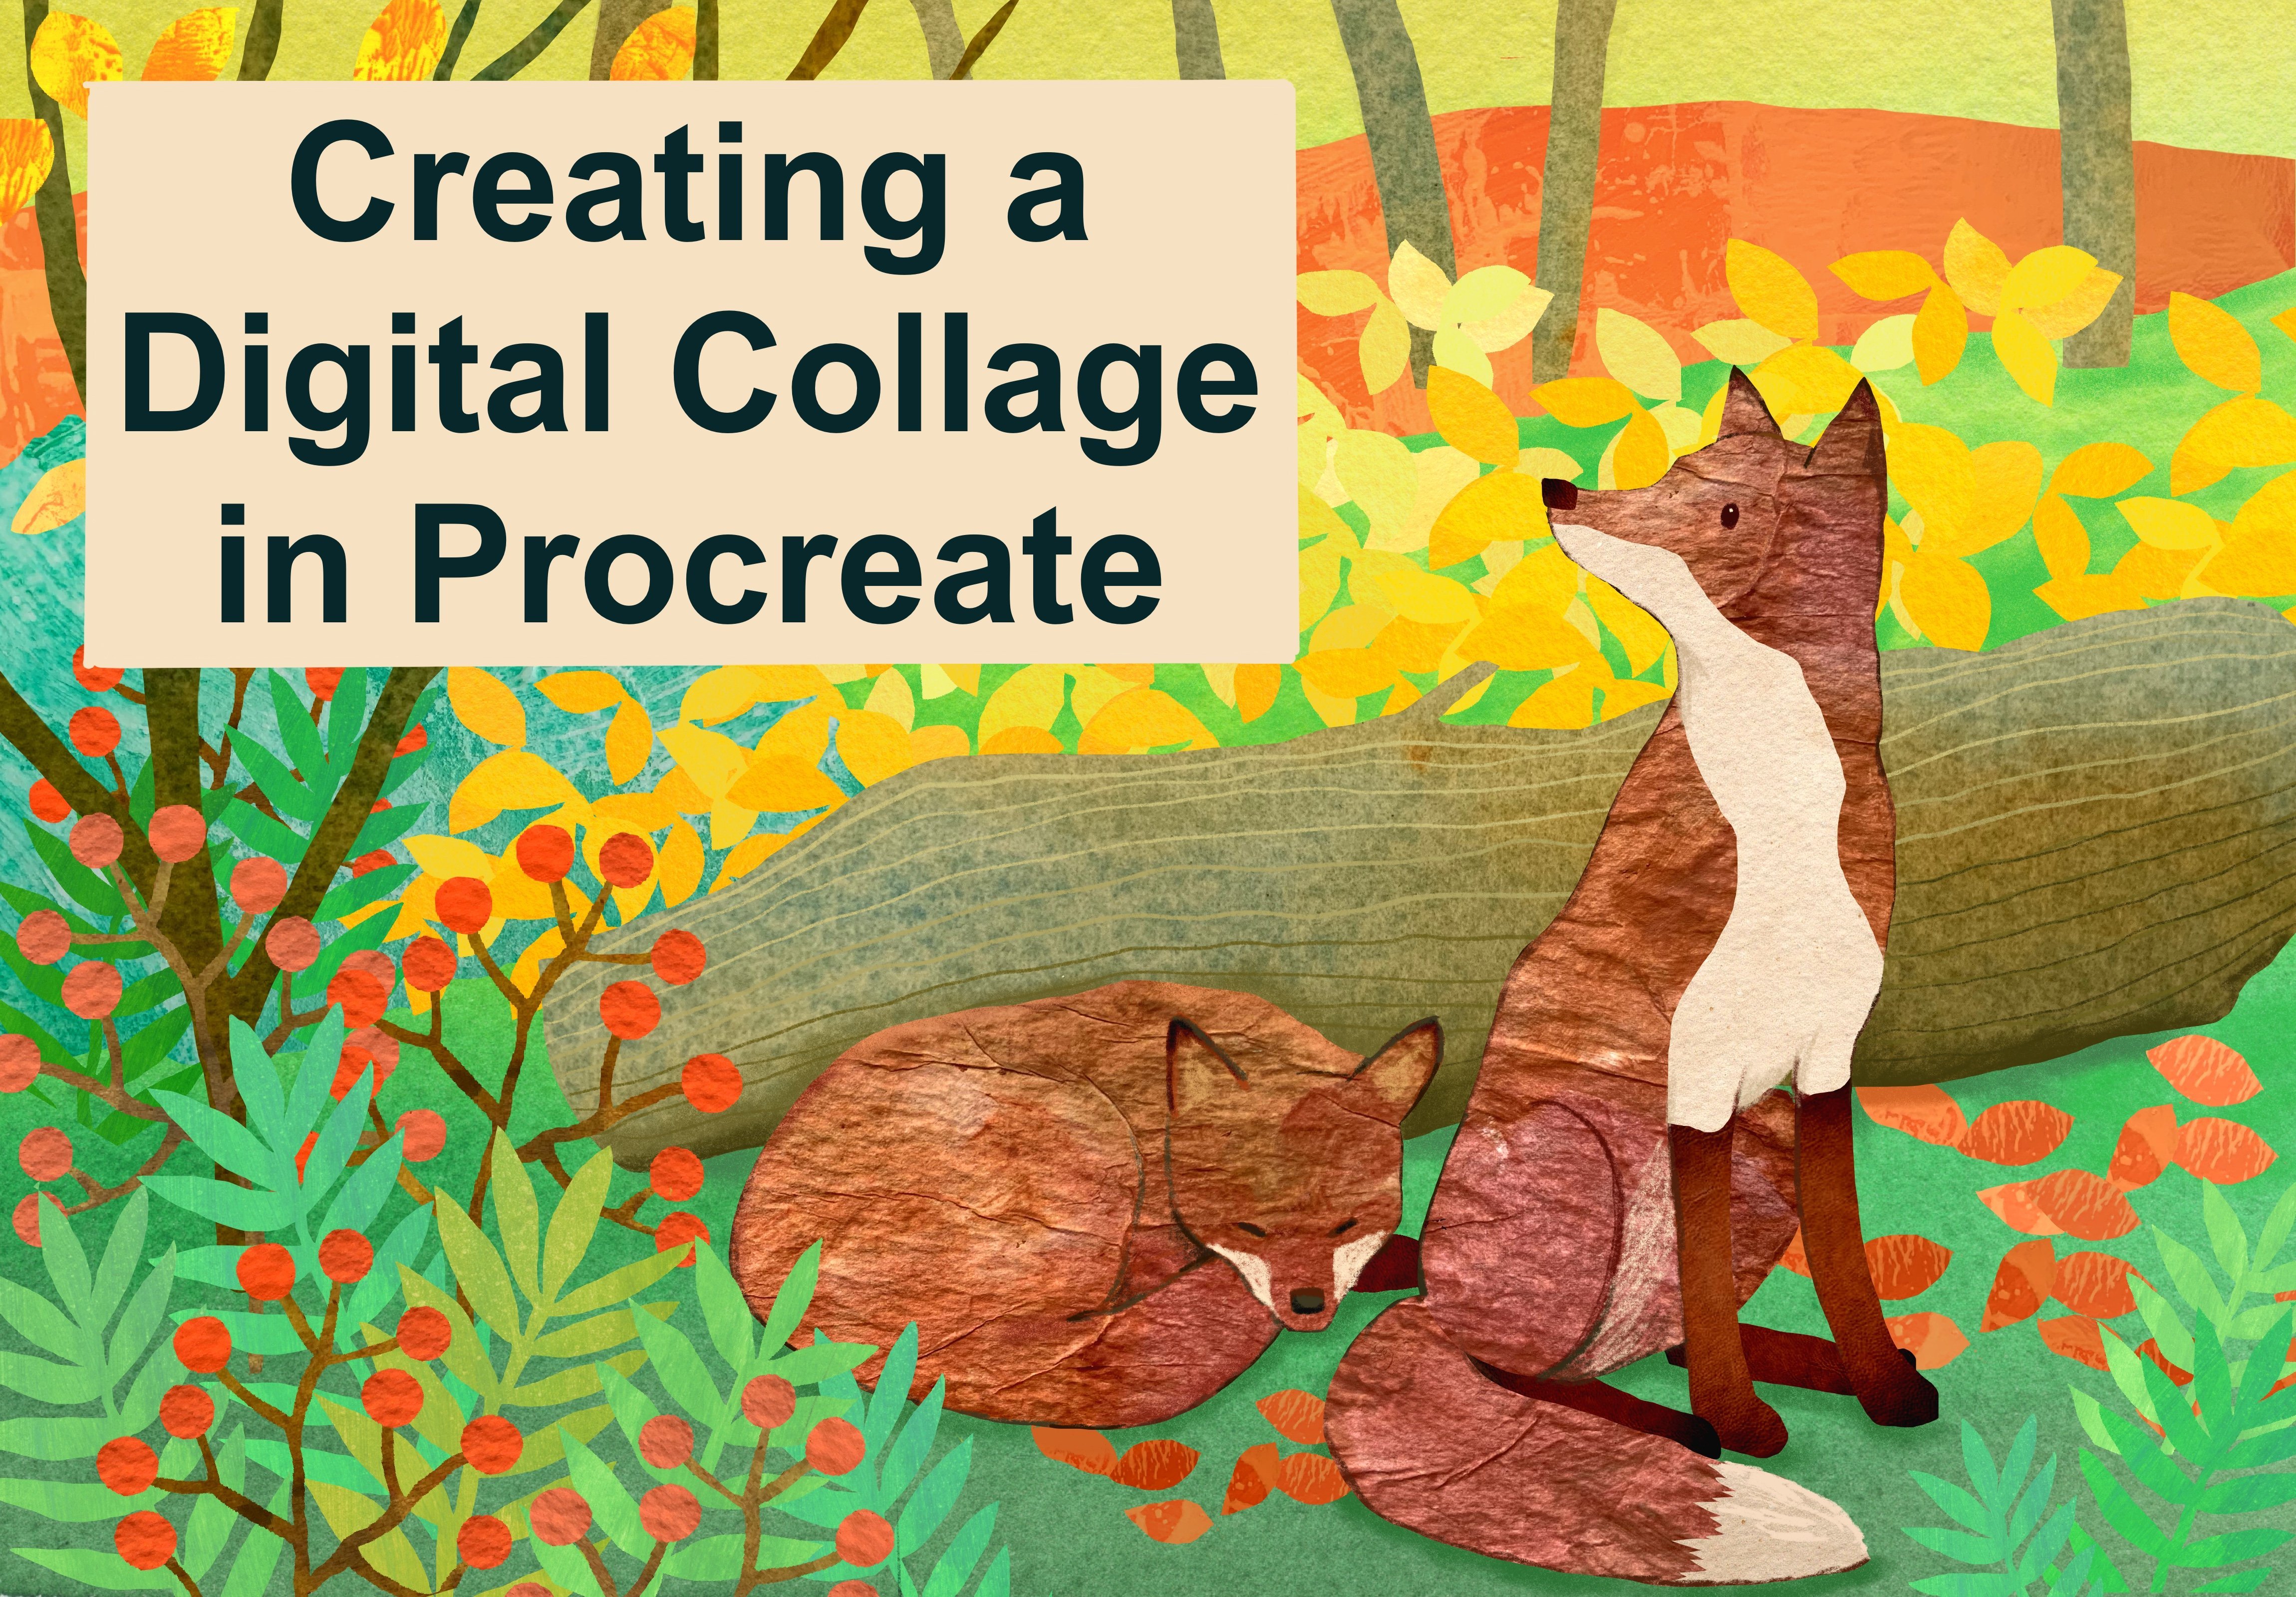
1. Introduction: Hi, I'm Alison Cola's Are, and I'm an artist and illustrator. One of my favorite mediums is collage. I find that working with collage, trying out different papers before gluing them down helps me to be bolder than when I'm simply painting. Collage creates a space for happy surprises as textures take on new impact when cut out or colors sing together. When juxtaposed, people often start doing colors using old magazine pages, and I also sometimes use pages from old books, orbits of maps or sheet music. But in general, I prefer the look of hand painted papers, and they certainly make your work truly original. So this class will be about starting from scratch and creating your own collage papers. I will be showing a bunch of techniques using a few different materials, probably more than you'd end up using in any given college. And I'm sure there are many more techniques than I'll be covering here, but this will give you a good start. Now, when you want to create a stash of collage papers, you can either just play with the different techniques and then see what you're inspired to create with, um, or you can start with an idea for a subject and trying making papers to fit. That's what I'm going to do here, and it will help dictate which colors I use as I show you the different techniques. I'll probably also end up going into my messy stash of old scraps, which includes papers painted for previous projects and old paintings that didn't quite work to find extra bits and pieces for my finished collage. Here's my quite rough first idea of the image I want to create. It's likely to change quite a bit as we move forward. I paint and collage a lot of birds because I love the way they lend themselves to both realistic and decorative approaches. I want this bird to be fairly decorative, and I'm imagining a color scheme that has both bluey greens and pinky oranges with the cooler colors in the background so that the warm colors on the bird will stand out. Let's get started
2. Materials: I've included a list of the materials I use in The resource is section below. As a working artist, I have a lot of these in my studio already. But part of the fun of collage isn't that it's improvisational. You don't need to go out and buy everything on the list to get started. The quality of my materials varies, too. I use quite expensive watercolors and border color paper because they give me the effects I want, But I tend to use inexpensive acrylics if you're going shopping and want to know the one thing on the list that I would say makes the most difference. When you spend a bit more money, it's the water color paint, because the more expensive brands contain more pigment and therefore create richer color. You can use almost any kind of paper to create your collage papers. I tend to use a lot of water colors, so I have a lot of water kind of paper in my studio. Other kinds of paper will crinkle when you put watercolor on them, but you might not mind that when you're going to glue them down anyway, different papers will take paint differently so experiment and see what you like. For acrylic paint, I'll often use a light card so or even ordinary printer paper. Sometimes I'll paint acrylic faint onto tissue paper. Like Children's book illustrator Eric Carle did Think about the fact that different papers with different thicknesses will make for an uneven surface on your final college. That doesn't bother me, but you should decide if you'd prefer to stick to one kind of paper. The only paper I recommend you don't use is construction paper because its color will fade over time. I'll talk about what to stick your papers onto and what kind of glue to use when we get to that point.
3. Watercolor Techniques: Wet-in-wet and Glazing: There are lots of fun ways to create interesting textures with watercolor, and the next few videos will demonstrate some of my favorites. First is so called wet and wet painting. I'm going to dampen my paper first, and then I'm gonna drop in two different colors and allow them to mix on the wet paper. Okay, - when this dries will really be able to see how it turned out. Watercolor always drives lighter than it goes on, so keep that in mind when you're adding your paint. And here's the finished piece. You can see that where the paint went on more thickly, the color has remained strongest, and when the page was really wet and the color went on less strongly that it's paled up considerably as it dries. This second technique is called glazing. I'm gonna take a bit of painting I already did, and making use of watercolors Translucent properties. I'll add another layer of wet watercolor on top of the dry one. The old color will still show through, but at the same time it will be altered by the top color, and the final tone will be richer. Be aware, though, that if you paint complementary colors on top of each other, red on green, blue on orange or yellow. On purple, you'll end up with mostly brown shades. So in this case, I want to deepen the colors I already have, and I'm going to go with more green on the top. It's and here's the finished dried piece. It's not particularly interesting as a painting in its own right, but these kind of variations in color and texture once you start cutting them out and turning them into pieces for collage will really bring a lot of life to your final collage piece.
4. Watercolor Techniques: Salt and Plastic Wrap: in this video, I'll show you two methods that really need to dry out before you can see how they've turned at. Did you know that you can put salt into wet watercolor and it'll create Starlight textures ? Some pigments entry more responsive than others? So you may need to experiment with different colors. I'm using ordinary table salt. Already. You can see a little bit how the salt grains air, pulling the pigment in towards them. But the full effect happens after it's dry and you've rubbed the salt off years. The dried salt experiment. You can see that the pink seems to have taken it much better than the yellow. This particular pink is called opera, and this particular yellow is called Indian yellow. But I'm sure will be able to make good use of some of these textures in our college. If you paint with water color and then press plastic wrap or saran wrap into the wet paint and leave it there until it dries. You'll get some lovely textures. Taking the plus to grab off before the paint is completely dry will create softer edges, but if you do it too soon, it'll the effect will disappear altogether. So you crumple up, Surround that. So that's got some edges to it. Put it down on top of the wet paint and I'm gonna put a couple of jars of pens to hold the saran wrap in place until it dries. I believe the paint under the saran wrap is dry, so here's the big reveal. There's some pretty nice textures there.
5. Watercolor Techniques: Acrylic Medium and Wax Crayon: there are a couple of things you can do with your paper before you add the paint that will create interesting textures. They can both be described as resist techniques. So the 1st 1 if you coach your paper with acrylic Matt medium letting your brush strokes really show and then paint watercolor on top, you get a nice effect. So thistles one I've done already. I'm not sure if you can see the brushstrokes. I used a fairly coarse brush to try and increase that effect. So now we'll add the water color and see what happens so you can see where you could. There are lines of brushstrokes. There are places where the paper was left bare, and the paint is going into the paper getting absorbed by it, Um, and other places where the paint is being repelled by the mat medium underneath it. This technique will probably be familiar from elementary school, so you use either white or colored wax crowns and then paint watercolor over them and the crown resists the paint. Here are the two pieces after drawing not such a big change in this one with the acrylic matt medium here, you can see. Obviously the white stands out most. But if you want a more subtle effect, you can use a color that's similar in tone in both the wax crayon and the paint on the top .
6. Watercolor Techniques: Glued Tissue Paper: This is the last technique that I'm going to share you that uses watercolor, and in this case we're also going to be using some glue and some tissue paper. So first I'm using Elmer's glue off, and I'm gonna water that down a bit. I can't tell you exactly what proportions to use, but you'll see it's getting pretty liquid. And then I paint this onto my paper. And while it's still wet, take my piece of tissue paper, which is larger than the piece of paper, Crumple it up, make lots of interesting textures and then haste it down. And I will actually do a bit of gluing on the top as well. To really encourage this to stick down to the surface underneath, probably do a little bit more gluing here and then let it completely dry. And then I'll show you the next step. So here's the glute and dried piece. I did do quite a bit more gluing to get bits to stick down, and now we add the watercolor and see what happens. We want to apply it fairly gently because it's the tissue paper tears easily, but already you can see how it's following all these little channels created by the folds and making really nice texture. So when it comes to the final collage piece, you might feel that something like this, where there's quite a lump of tissue paper sticks out too much. But some of these other areas where there, the folds, air sticking down and there aren't too many off, um will make really interestingly textured pieces for our collage.
7. Acrylic Techniques: The Basics: If you have any familiarity with acrylic paint, then you'll know that there are certain things that it does particularly well when you want a strong, flat color without the inevitable variations you get with watercolor, acrylic may be your best bet. I couldn't get this depth of color or relative flatness of application with watercolor. Similarly to when you're working with watercolor, you can use two or more colors together while wet and they'll do some blending on the page . Here is some acrylic painted onto tissue paper where I was working with more than one color at once for a striped effect. Unlike with watercolor, once the acrylic is dry, another layer of paint will sit on top without changing the color that's underneath. Here are two pieces where I painted one paler shade underneath and once it was dry, dragged a similar but slightly darker color on top, allowing parts of the base color to show through these air. Pretty subtle because the colors are close, but you can also get sharp contrasts. If you use paint that's either a very different color or a different darkness or lightness . Unlike watercolor, acrylic will let you paint lighter colors on top of darker ones. So let's give that a try with this piece that already has a layer of dark teal. I'm still going to use colors in the green and blue range, but they're all quite a bit lighter than the teal again. Although none of these little paintings is particularly inspiring on its own. Once you use them to cut out shapes for collage, the variations in color and texture will create a whole extra level of interest in your final piece.
8. Acrylic Techniques: the Gelli Plate: There are whole classes on using a gelatin plate, for example, on skill share their Suzette houses gelatin, printmaking making decorative papers. Those classes go into a lot more detail about paints and paper and possible effects that I will here. But basically you need a jelly plate like this available either online or from an art supply store. You need some acrylic paint like we've used before paper. In this case, I'm using printer paper and some found objects to create textures. You could ease their use a Breyer to spread the pain told to the deli plate. Or you can actually painted on with a brush that won't be a smooth. Here's what the jelly plate looks like out of its package, and I will add some paint. - I'm gonna put some bubble wrap on to create a texture and then print. There's the print. Now this enough left on here to do what's called a ghost print second print, and I'm gonna actually use a piece of paper that I had already painted so as to increase the depth of layers on their There's the second print. You can take one print with objects still on the plate like that, and then when you remove the objects, you can take a second print using pink paper rather subtler effect.
9. Acrylic Techniques: Crackle Medium: one way to get an interesting crackle texture in your paintings is to use this crackle medium, which you can buy at craft stores. You have to paint a layer of color, let it dry, paint this crackle medium. Let that dry, which takes longer, and then finally paint another color on top, preferably with a fairly strong contrast so that you'll really see the effect. So I painted my base layer here, and I'm gonna add the crackle medium. Now I have to let that dry thoroughly. The medium has dried, so now I'm going to add my second color so you can see the little cracks starting to form already.
10. Extra Decoration: Now that we've assembled a bunch of papers, we might decide to enhance some of them with some extra details on top. There are several ways you can do that. Firstly, you can simply draw details on top, as on these. Here are some of my favorite pens for doing that. I have micron pens, sharpies. This one's a jail pen, and these are Posca paint pens. Do consider the permanence of any markers you use, though I found that flare pens can fade over time. So just to look at these two examples, this was a piece of watercolor with salt in it, and then I used a metallic jail pen to add the decorations that I just drew on the top. This was one of the pieces that I made from my jelly plate, and that's a Posca paint pen drawn and green on the top. Alternatively, you can print with both found objects and stamps that you thought or even stamps that you've made. So here's a stamp that I bought. But whereas it used to be, that linoleum was about the only thing that you could use to make your own stamps there Now carving blocks like this made of similar material to erasers that are much easier to carve . So here's a little block that I cut, and this is the tool that I used. You can also, of course, paint from print from found objects and use acrylic paint. But with these here again, this is one of the jelly plate, and I used this stamp that I carved and this metallic, uh, print pad. It's subtle, but you can probably see it on there. This was the one where I was using layers of acrylic paint, and I I used another stamp that I had carved and this time, white to print on the top. Lastly, you can use what stencils like this this here Waas, one of the jelly plate printings, and I used a Posca pan and this stencil to create the design on top.
11. Assembling Your Collage: Now we're ready to begin actually assembling our collage. This is where things could get messy. I use Elmer's glue all not the washable school glue, which is essentially the same as the PV, a glue available in Europe. You can use a brush to spread glue, but to be honest, I often just use my fingers. I generally glue everything down onto a piece of Megyn weight watercolor paper. And then, if things go well, and I like the final piece, I may glue that onto a wooden handle like this. You could also use matte board or something else. It's more rigid. If you want to be sure of preserving your piece for the future and you're using wood or cardboard, you should probably paint a layer of gesso or acrylic paint onto that first so as to prevent any acidity leaching through to your collage. I'll need a pair of scissors, and in general I find the size matters less than whether they're sharp. I start with laying out my background pieces first without gluing them so that I could make sure that everything's working together at some point as you start building up your cut pieces you're gonna have to start gluing things down. And then, in that case, you also start with the background. If you want a guideline for cutting out shapes, you can pencil an outline. Uh, but if you do it on the front, you're going to need to erase that later and maybe a little hard to read. If you do it on the back, just be aware that if you want the final leaves in this case to slant left, you can have to draw them slanting right on the back in spots where I want to follow my original sketch closely. If you remember it, I use a piece of tracing paper like this, and I will use that tracing papers, a template to cut out the bird shape. I'm not fund of the white edges that you can see after you cut something out, so I will actually hate those edges so that they aren't so visible in the final piece. - So here's the finished piece. I decided against using this other little strip, Um, but that's the great thing about college is that you can play around for a long time, and you don't really commit until you glue down
12. Bonus Technique: Alcohol Inks: I have one more technique to share, which I sometimes use in my collages. Although I didn't in the one you just saw, it requires materials. You may be less likely to have a hand already namely alcohol inks, rubbing alcohol and a spray bottle to put the rubbing alcohol into. And this you po paper, which is a non porous synthetic paper. This technique also requires were the more care with setting up your workspace, as the inks will easily stay in your table or clothes. I wear a shirt, but I only ever wear for painting and cover my hands as well. And that covered my work surface with what is in fact, a garbage bag. Even though it is a bit more work, the results of this can be really cool, and again there are whole videos on skill share of different ways to use the alcohol inks. But here's what I like to do. To some extent, this will go on interacting until it actually drives, but you can see that there's quite a range of different, interesting textures here
13. Your Project: thanks so much for watching this class. I hope you've enjoyed it on our feeling inspired to go and create your own special unique collage papers with some of these techniques. Please do share what you make. Whether it's individual collage papers that you really pleased with or ah whole collage that you make We'd love to see them by
 Alison Kolesar, Artist and Illustrator