Transcripts
1. Introduction and Overview: Hello there you
beautiful people. My name is Nathan Jones and I'm an illustrator
and up-and-coming the creative who
has been studying the art illustration
for over ten years. A little over five years ago, I got started into
digital illustration with Clip Studio Paint. And I just wanted to
share with you the things I've learned over the
years through studied, through trial and
error, so that you don't have to go through the
same struggles that I did. The first lesson is just going to be a
beginner's guide on the program to make it seem
a little less overwhelming, new and a little less
intimidating the newcomers. Here I'm gonna be teaching
you how to set up a Canvas, how to use some of its basic
tools that every artist needs and how to save
and export your work. So without further ado,
let's get started.
2. Materials for Digital Art: Now of course, if you're
gonna do digital artwork, you're probably going to
want to try and tablet, unless you're trying
to draw with a mouse or heaven forbid, Trackpad. You might think that giving
the towers expensive. And I'm here to tell you, but
it doesn't have to be sure. There are plenty of tablets
after that break the bank, they don't need
someone that to make quality artwork because it's not the supply of
the Nikki artist. Sure, they can raise the
quality of life or artist, but you can make great art
without the best applies. Case in point, I used
a pretty cheap tablet. Him I heard it's
pretty good, right? To specify. I use
an intuits comic, which is very cheap and
probably pretty low in quality. In fact, 9999 on Amazon. But it's all I've ever used. So it's all I did was known
and Clip Studio Paint itself only cost 4999 and
it's a onetime purchase. Unlike some other art
programs that I know. In fact, Clip Studio Paint actually came with my
tablet and I got it. That's a possibility too. But now that you've
got your materials, let's set up a digital canvas.
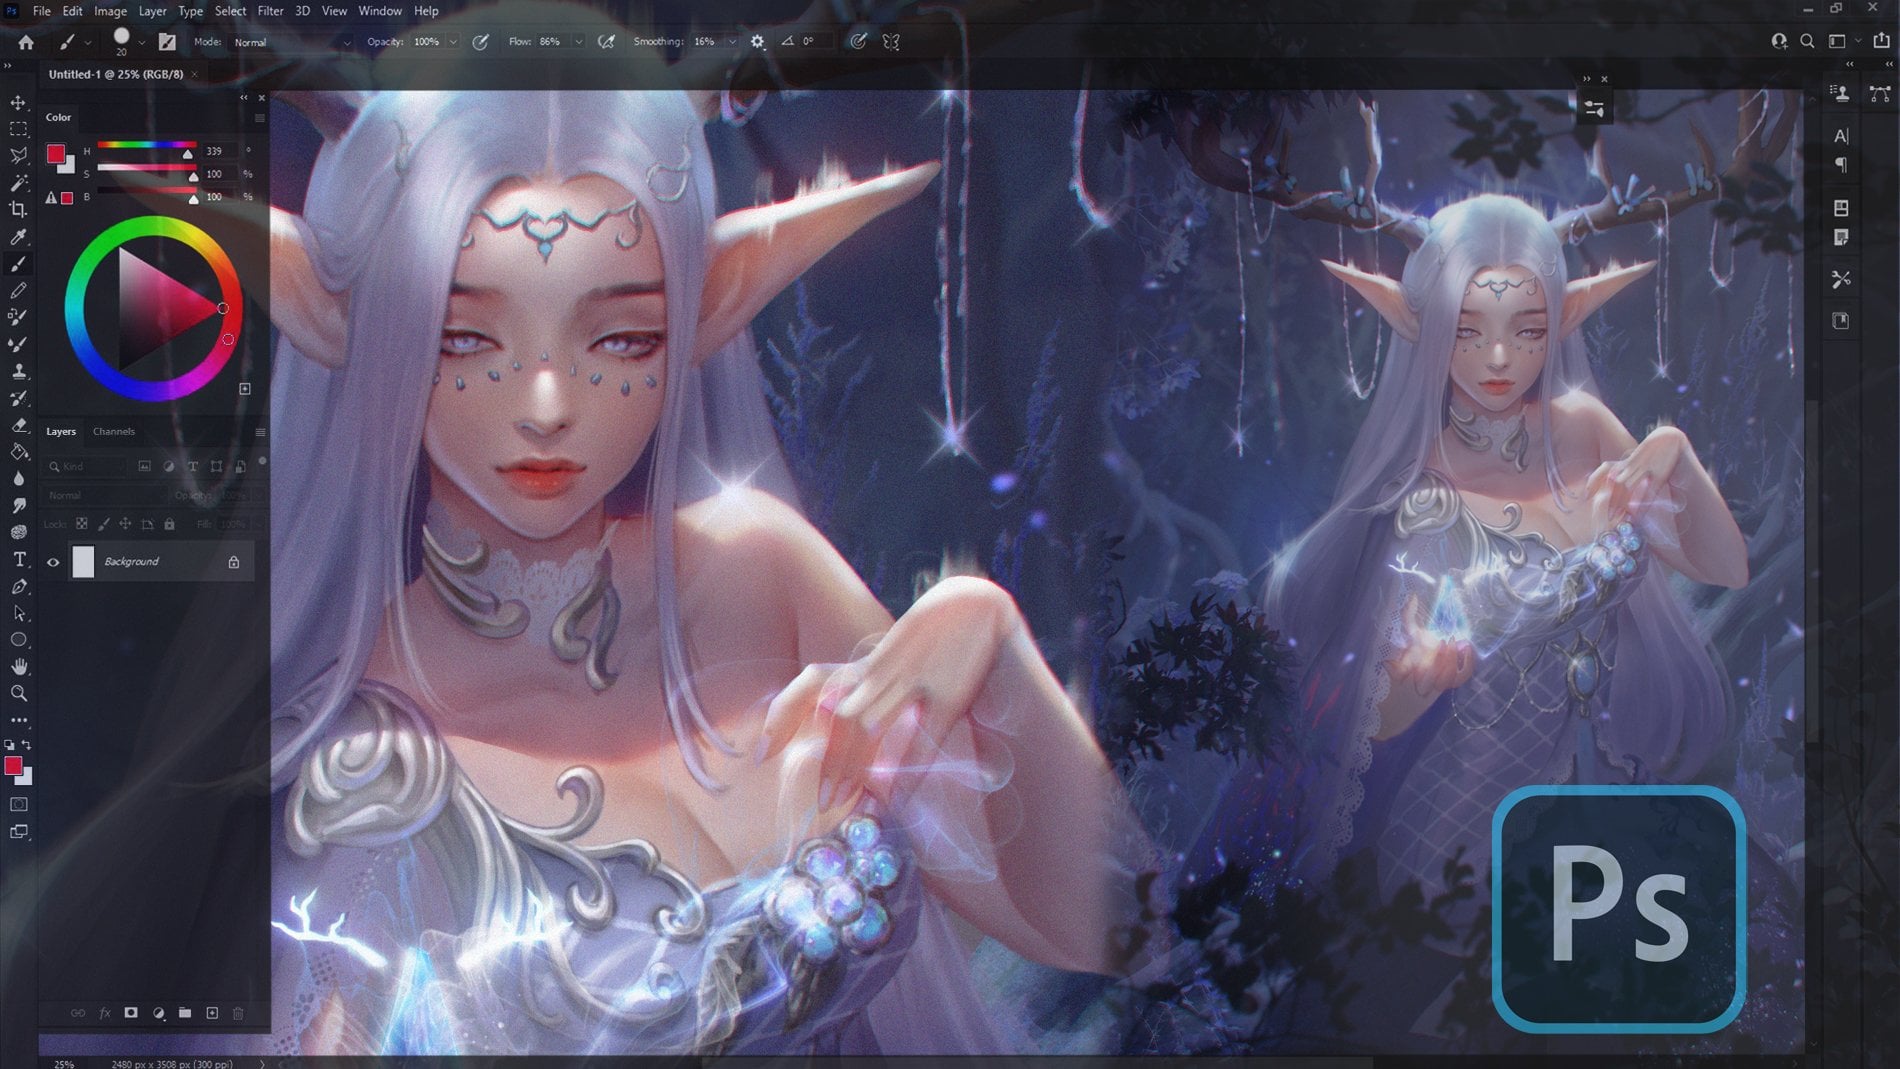
3. Creating a Canvas: When you first open up 50, okay, you're going to notice
a bunch of stuff on the sides and a big empty
space in the middle. That's normal. You can actually
move all this stuff around and customize
it however you like. But I don't think I've
moved the single thing. This is probably how it
will look for you as well. In order to create a new canvas, you have a few different options and go to the top
left where you see the tablet file and click on
the option that says new. It should be the very first one. Now as you can see, there's also a shortcut for
opening new files. You can do it this way
by pressing Control int. The third option is by clicking this little symbol
here near the top. Once you do one of
these three things, this window will pop up. And honestly, you really
could just simply press OK and worry
about all this later. Pretty much all of this is
stuff that you can change later on even while
you're illustrating. But we're gonna go
through all this stuff now, starting from the top, you have a setting
called use of work, which is basically a preset on what you're using
the program for it. You'd have illustrations,
wet tuned. We just basically a comment that's made him vertical format, which is found commonly in online comments like,
well, incident. There's an option for
traditional comics, an option for a traditional
economies with more settings. And then there's
animation. Obviously you can click on whichever you're
trying to do at the time. Filename is just whatever the name of your
project is going to be when she can decide
later on when you save it. Preset basically just confused,
ready-made canvas sizes. Greek recite them
yourself just below it. The button right
next to it really just gives you more presets. You can try experimenting
with those. We can change all this when she went to Canvas, like
I said earlier, resolution here that says the dots per inch of
your canvas or DPI. Essentially, the
higher the resolution, the bigger you can
print things without your image getting
all peacefully. 72 isn't okay DPI, but if you want to
print bigger stuff, it's probably best to
go with at least three. The paper color is
pretty self-explanatory. What color do you want
your canvas to start at? This template gives you several presets
for the panelists. If you want a quick and
easy way of doing it. If not, you can always
set up your panels later. There's tool for that. Create moving illustration, I believe is more for animation. And as someone who isn't
weld first and animation, I can't tell you
too much about it. Record time-lapse is
pretty self-explanatory. You can have Clip, Studio Paint, record the process
of your illustration and credit into a
timeless for you. You've probably seen this
a lot on social media like TikTok or
Instagram or Facebook. It's a cool way to get
your artwork out there. That being said,
it's going to make your file much larger if
you decide to do that, you can also decide to do this even after making
your Canvas already. Just now that if you
decide to make a time, It's kind of an illustration while you're in the
middle of doing it. The timeline is
going to start from the moment you click
Record time-lapse, not from the moment you
started feeling iteration. You're satisfied with thursday. Go ahead and click Okay, and we can talk about layers.
4. Using Layers: Alright, so now we're going
to be talking about layers, most notably raster layers
from vector layers. There are other types of layers, but these will be the bread and butter for anyone who's
studied in illustration. First things first, after
creating your Canvas, there's gonna be a lot
of stuff on your screen. I try not to be
overwhelmed by all this and be sure to explore
these one at a time. But for the time being, I want you to direct
all your attention to lower right-hand
corner of the screen, which is where I
assume your layers will be when you
first start off, you'll probably notice that you already have a layer there. More specifically, raster layer, original areas are
most basic type of layer and probably the one you're gonna be using the most. It's very versatile and
can accommodate just about anything you would want to do in this program where
the fat is liner, painting, doing
crazy visual effects or whatever else you might
want to do with the art. The rest of layer
is good for all. That's why it's there. By default, you can make as
many raster layers as you want without messing
with anything as in the previous layers. And you can make more
of these either by pressing the shortcut
Control Shift N, or by clicking this
little button drip from your book or your
individual layers. Now, if you're a curious about what these other
buttons next to it, you'll find that the next
bond over it's going to be the one for creating
vector layers. Now as the name implies, vector layers have more of a
focus on vectors are aligns. With this layer. You
have a lot more control over the lines that
you've already put down. With the press,
the shortcut key, you can click on our line
that you've already drawn. And with bet, you'll see a bunch of these things called
control points. Click and drag those reshape online that
you've already drawn. Furthermore, you can
press the shortcut key. You don't take you
towards me specifically made for offering lines
in your vector layer. Here you'll find a bunch of options for adjusting
your lines, such as adding control points, deleting control
points, adjusting line with connecting lines that
have a gap between them, smoothing lines by just stops. And I'm gonna be
getting a little ahead of myself here
because we will be talking about basic tools in the next part of this lesson. But if you press
the shortcut key will be taken to
the eraser tool. And she looked at
eraser options. You'll find one that says
vector only in a vector layer. And you can use
this tool to simply delete unwanted sections
of intersecting lines. And trust me, this is so useful for cleaning up your artwork without
so much hassled. But again, I'm getting a
little ahead of myself. This section of the
tutorial is on layers. And even then, there are a
bunch more layer options that provide more north utility
to your art process. But this is just
to get you started with the most basic options that you might use for pretty much any project that
you're working on. We'll go into the necessary authentic art tools
in the next section.
5. Basic Tools and QOL Functions: Let's see here. What are the basic
tools that pretty much every artist is going to need at the beginning of their
digital art journey. If you're like me, you're
aren't beginning is probably include her
pencil and paper. And you already have a canvas. So let's find the pencil. If you click this icon over
here on the left side, you'll find your
pencil, and in fact, several different
pencil options. Go ahead and try those out to figure out what
works best for you. Looking at the top of the list, you'll probably notice
another sub tool alongside pen tool
called pastel. Clicking on that, you'll get a new list with
even more options. If you've used
traditional media before, you can probably surmise how these tools differ from
the pencils. Try them out. After finishing your
pencil sketches. The likely want to
clean them up with a pen tool to get that
nice professional look. Looking back over
to the Tool lineup, notice how my pencil
icon has now changed. The pastel symbol now,
pencil and pastel, while different lists, they're listed under
the same tool, which happens quite often. If you thought this is
the most complex already. It turns out actually even
more complex than that. You'll get used to it
pretty quickly though. It'll just be on the lookout for other options that might
be available to you. Back to what I was saying before I rudely interrupted myself. Just above the pencil tool, you'll find the pen tool. It's a derail once more. Notice how there's a P in parentheses for both
pencil and pin. That means that both tools
use the same shortcut, which is the P key
on your keyboard. Pressing it once gives
you the pin list. And if you press it again
while you're there, you get the pencil is same
as with the pencil tool. You'll see a bunch
of different options as well as another
tab for markers. You know what to do here, tesla. And if any of the lines you
make feel weird to you, make sure to set your
pin pressure settings to wherever C2 best. You can do this by
going to File and scrolling down to pen
pressure settings. You can draw lines in a way that feels comfortable to you. This little graph here
in the middle will adjust itself to
your preferences. And that displays the
pin pressure settings changing to fit your
personal drunk works. Moving on. If you can find different paint brush settings by
clicking this icon under the pencil icon or by
pressing the shortcut beat. Here you'll find lots of
different options from different kinds of watercolor to different kinds of paint. Clicking the airbrush icon
underneath the brush icon, or simply president B again. And while on the brush menu, you can find a bunch of
different airbrushing tools, clicking the icon under that, where it simply
pressing B again, when you have the
air brush menu, gets you to the
declaration tool. Here, you'll get a wide
variety of patterns and textures that you can implement into your artwork at anytime. Now, with all this drawing
and painting, obviously, you're probably going
to be messing up a lot unless you're perfect, in which case, I hate you. Why are you even here? But for the rest of us flips, you're going to need to
know about the Eraser tool. You can get to this by pressing this icon or by
having the E key. Once again, you'll have a
bunch of different options, including the victory
reasons that I showcased in the last video. Just remember that it only
works on victor layers. Those are pretty
much the things that pretty much every
beginning rule need. But let me tell you
about some quality of life tools that are really going to make your life a lot easier. First off, pressing the F key, let you flip your canvas. This is a lifesaver. If you wanted to check your proportions and
make sure you've got everything correct
before getting to the end of your
illustrations. Only to realize that
everything is distorted. Up here. You can find the selection tool or you can press the M key. With this, you can
select areas of your image and offer
them individually. You can transform it and
move it and resize it. Or you can use the mesh
transformation in work it. Or you can cut and paste
or copy and paste. There's a lot of important
correct with D you can make and this tool
is very useful. And lastly, if
you're doing a scene or just need help
with prospective, you can click on the
ruler icon for press in the UK and select the
prospective ruler. With this, you can set up
a certain perspective. And while this layer is
showing every line that you make will follow set
perspective, You're welcome. Next step, we're going
to be teaching you how to save and
export your work. I don't know how I forgot this, but Control Z to undo. It's like literally
the most used keep adding for any artist. How did I forget this?
6. Saving and Exporting: Here we go and have it
saving it as put your work. Because surely you
want to show off to your friends and family with your expertly crafted artwork. Do you want them
to praise him for the med skills that you have? Why else would you
become an artist? Saving is simple. Similar goods a file
and click Save As. But if you want
an easier method, simply click this icon
above your canvas. But if you want an
even easier method, you can simply press Control S. After that, you can
name your file wherever you want and save it
anywhere you want. Easy. When it comes to
exploiting, simply go back to file and click Export, single layer, export your image in whatever format you wish. And hit Save, simply hit
OK and then OK again. And now you have your JPEG or
PNG wherever you saved it. Now you can finally
reflects on all of your friends and show that
you're better than them. Just like how you've
always wanted.
7. The Easiest Assignment Ever: Now for your assignment, your assignment is simple. Test out the tools
and functions and Clip Studio Paint and get
acquainted with them. Get the basics in your blood
and get comfortable swapping between tools for
silky smooth workflow. And then I want you to draw
something, anything really. It doesn't have to
be anything special. They could literally just be an image of new testing
out different tools. I have a few of those safe. They can be a good reminder
of stuff you're capable of but have forgotten
because let's be real. You're not going to memorize all the things that you can do. I just wanted you to
find a nice bread and butter list of tools
that you can get really comfortable with it and save it and upload it somewhere
if you want to, anywhere. But most importantly,
don't stress yourself out and just have fun.
 Nathan Jones, Digital Artist | Clip Studio Paint