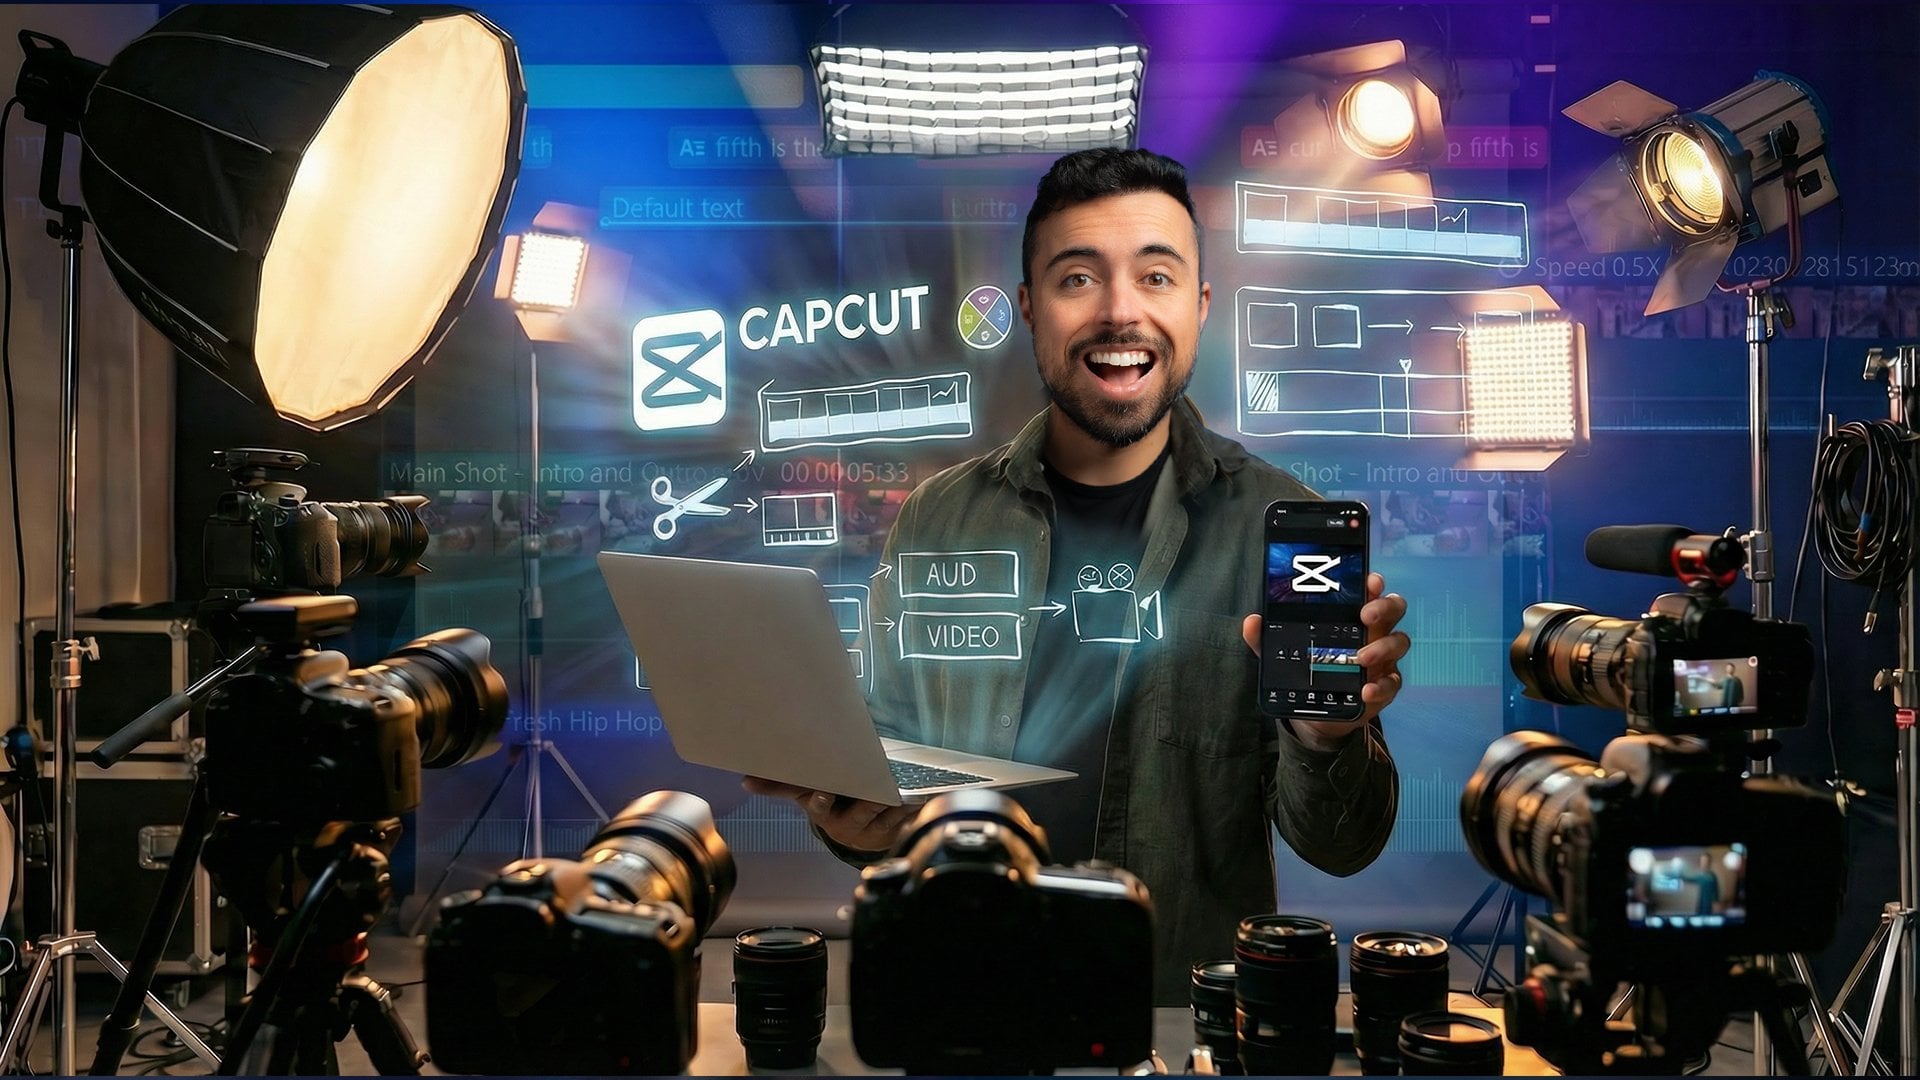
Transcripts
1. Intro: These movements, transitions, objects moving
across the screen, text appearing that
you're seeing right now seems quite complicated, but they all sum up to just one basic tool in editing
software called keyframes. And once you understand
how this works, you're going to be able to
control anything inside your videos and make it look
super fluid and natural. I'm Andrea Skillshare,
top teacher, content creator, and freelance photographer and video maker. And I've been editing videos
for more than ten years now. And if there's one thing that I use in every single video, it's key framing. In this class, we're keeping things
simple and practical, and you're not just
going to watch. You're going to practice
recreating all of these movements with a practice board that I created
just for you. We're going to start
from the basics, creating your first animation, and slowly unlock a little bit more control, moving, scaling, rotating, and then combining all of these to make a
very dynamic edit. And the best part is that this doesn't apply only to cap cut. The exact same logic applies in premiere DaVinci final cut. So once you learn it, you
can apply it anywhere. So if you ever saw
an animation or edit and it looked really
complex, it's not. It's just a bunch of simple
things put together. And usually, a lot of key
framing. Let's get into it.
2. Class Project: Before we jump into
the twos let's talk a little bit about
the class project. The idea is to make
this just like a game so you can have
fun while learning. I've created a practice board in which you're going to know where's the start and
end for every animation. And your goal is
going to be to bring these elements to
life using keyframes. You're going to
be moving objects from one side to the other, scaling them up and
down, rotating. And don't worry if it sounds a little bit too much right now. We're going to build
this step by step. In the next lesson, I'm
going to show you exactly how each type of
keyframing works. And then you come
back to this board and apply what we've learned. If you want to keep
it simple, just recreate the
movements exactly as. If you want to take
it one step further and recreate it with
your own style, I'll be happy to see it. Now, very important
once you're done, please export your video
and put it on Google Drive, Dropbox, YouTube,
as enlisted video, and just post it in
the projects gallery. Trust me, it's a completely
different learning experience if you actually put it to the
test and upload something. You're really going to feel like you learned something
after this. Alright, now that you
know our path here, let's start building
your first animation.
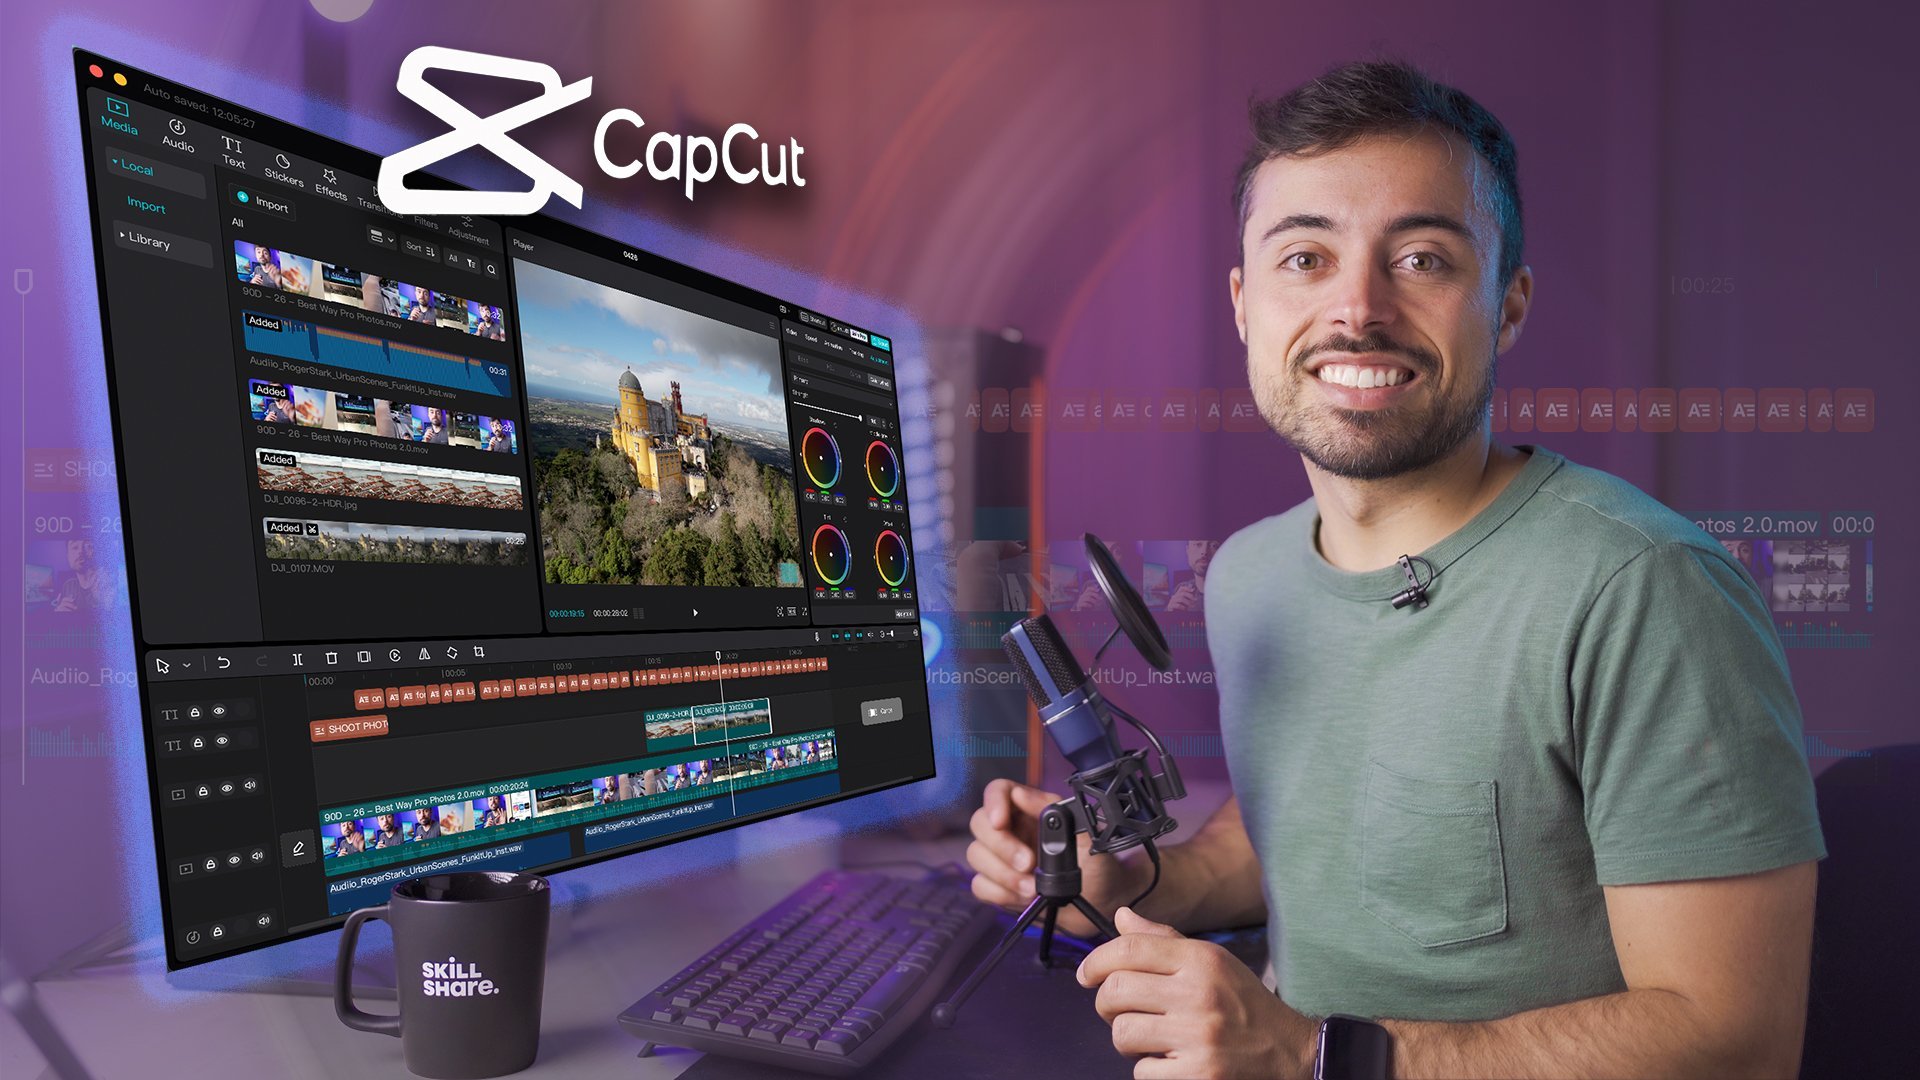
3. Keyframing Basics: Let's actually learn
how this works. Right now, this clip
is completely static. There's no movement. But the
moment I add two keyframes, things start to change. Think of keyframes as
two points in time. If nothing changes,
nothing happens. But if something
changes, then cap cut or your editing software
is going to figure out what happens between
point A and B. So let's start with a
very basic example. Let's say I put a sticker over here and I want it
to end over here. And all of this movement
that you just saw happen, it was created by the
editing software. I just said starting
and ending points. By the way, if you
want to download the files in the
project section and follow along with
this class while practicing, it's a
great idea also. In the resources
section of this class, you're going to find
three different files. The first one is this background here, but you don't
really need it. You can just use
whatever you prefer. And the elements I'm
using to animate here, they're all stickers
within Capcod. And you're going to
find them by clicking up here on the left on stickers, and there are many
different categories. You can just pick and
choose whatever you prefer. The important is
that you try it out. The other two
backgrounds you can find there are going
to be used in one of the less lessons
which are going to be actually your project
for this class. Side transform, you're
already going to see one of these
diamond shaped icons. If you click here,
this means you're setting all of the parameters below for that clip in that specific moment in
time to be like that. Now let's move a little
bit forward in time. Get the playhead, just go a couple of seconds later and click again in the
transform keyframe. Now, we still haven't changed anything between these
two points in time, so the software is not going to move or do anything
with the sticker. Let's just go to the scale
and slide it up a little bit, making the sticker a little
bit bigger. And that's it. Now you can roll back into the timeline and just play it to see how it makes the sticker bigger without you
having to do anything. And there are three ways
that you're going to be able to change
these parameters. The first one like the
scale, for example, you have this kind of slider that you can go back and forth. For other parameters
are going to be arrows or something similar. The second way is if you
want to be really precise, you can dial in the
exact number you want. You want the sticker
to be 10% bigger, you can just write
110%, and that's it. If you want to move the position to a very specific place, you can do that
also. You get the. The third way and that
is more free flowing is to use the preview panel
and just do it visually. Whenever you click on an
object in the timeline, it's going to highlight it
into the preview panel. You're going to see
the box around it, and now you can just
drag to make it bigger, smaller, rotate it,
or just move it. Just by touching it
here on the preview, is going to create a keyframe automatically for
that point in time. But only if you enabled
the keyframes before, since you had clicked already into the transform key framing, this is going to but
if you hadn't touched it and just moved this
around into the preview, there's no keyframe
being made here. So if you have an
animation in mind, be sure to click
the key frame of the parameter you want to change or the general transform here. See, you just created
your first animation. So if you want to play around
a little bit with this so that you can get the
hang of how it works. And in the next
lesson, we're going to take it a little step further by checking all of the parameters that you can actually
change with keyframes.
4. Controlling Movement: Now that you understand
how keyframes work, let's actually unlock all the properties you
can control with it. The concept is always
going to be the same. Position is going
to bring something from point A to point B. Scale is going to make
it bigger or smaller and rotating sounds obvious,
but there's a catch. Since the software
is going to recreate the movement in between the
two points automatically, it needs to understand
how you want. Rotation, for example, could be clockwise, counterclockwise. So you need to give it a
hint of what you want. So if you want
something, for example, to rotate and finish
in the same direction, you're going to
have to either set a key frame in between
and showing how it should be in that point or
give it a hint by the end and just see
what the software does. Now, here's a little
trick about rotation. If you create two keyframes and you just leave it the same, it's not going to do
anything, so it won't rotate. But if in the end, you choose this keyframe
and instead of zero, you add 360, which actually should be just
the same positioning. It is going to rotate
in a clockwise manner. And now there is a second trick. If you want, you can also
use negative angles here. So instead of 360,
if I put minus 360, then what's going to
happen is that the ball is going to rotate
counterclockwise. So you can play around
with this to kind of coordinate how you
want the software to create the rotation for you. The next parameter we
can keyframe and you see very often in
videos is the opacity. This is how we make
things fade in and out. So, let's say you want some
text to appear on screen, you can go to the blend mode. Set a keyframe in
the beginning with the opacity and in
the end at 100. And now your text is just going to pop like
this on your screen. And here's where things
starts to get interesting because you don't need to do
just one of them at a time. You can actually combine all of these
parameters together. So, for example, I can move
this object, scale it up, and rotate it all
at the same time, and all between the same
two moments in time. And the fun part is
that even if you clicked in the
transform keyframe, the software creates a keyframe
for each one of these. So later, you can tweak
them individually, positioning, rotation, scaling. And this is exactly how more complex animations are built. I want to introduce one more concept that
is going to make your animations look much
more fluid than natural, and this is the
concept of easing. Up until now, all the movements
we created are linear. So they change the
same amount in time. Let's say you're
moving a sticker in 10 seconds from point A to B. If you go at the 5 seconds mark, it's going to be
exactly in the middle. But our perception is
that in real life, things don't really
move that way. So if you were, for example, to run from point A to point B, you would usually start slower, pick up speed, and then
slow down by the end. This is exactly what we can
replicate using easing. The faster way to set
this is just going to the same places you were
setting the keyframes, right click and you're going to have in the menu four
different options. Is in is out, easing and linear. Es in means the movement starts
lower and then speeds up. Es out means that
it starts fast, but then slows down by the end. Easing combines both of them. And linear, as the name
says, it just goes steady. Let me visually show
you the difference. Up here is a linear
animation and on the bottom is one
with easing applied. It immediately feels
smoother and more natural. Now, one last remark
in this lesson is that many other parameters in cap cut can be
keyframed as well, even things like
color correction, color grading, masking,
and much more. And now we know that
the simple way to look if something
can be keyframed is checking if there's this diamond icon on the
right. Same concept. Set one keyframe for the
beginning, go forward in time, another keyframe for the end and change the parameter
as you prefer. Okay, in the next
lesson, let's talk a little bit about different ways of setting keyframes and how
to adjust them to precision.
5. Keyframing Methods: You know what are keyframes
and what you can control. Let's see the
different ways you can build animations inside
Capgt Because there isn't just one way
to approach this and understanding that gives
you much more flexibility. Let's use a position
keyframing example here. Just do as we've done before, select the first and the
last key framing points and change the parameter
as you prefer. It can be just moving a
sticker from point A to B. Now we can go into the timeline, right click your clip and show
variable speed animation. Going to open a whole
new panel showing your transform properties and
what you've created so far. It's usually going
to be categorized in transform, adjust and others. Inside transform, you're
going to find things like positioning,
rotating and scale. One thing to pay
attention inside Capct is that
different elements are going to offer you
different options inside the panel over here. So, for example, if you just
add a sticker like this one, you're going to
see that there is no adjust parameters here, so you can't change the color, white balance,
nothing like that. But there's one trick that
you can anything inside here, if you right click, you can
create a compound clip. And now Capct is going
to treat this as a video clip as it
would be any other. The parameters here
completely change to match those of an
original video clip, including all that you can
use about adjusting color, white balance, color correction. So here, if I create a keyframe, let's say, for example,
for temperature, I go forward and I
create another one in which this goalkeeper
is completely yellow, for example, and now you're going to be able to
see the transition. And this is encompassing
the original sticker. So still, if I double click, I can see all of the
keyframes that I created before inside
here and to go back, you just click
this arrow here in the middle and you're going
to see the original timeline. Inside adjust,
you're usually going to find color grading tools, sharpening, vignette, and more. And here's the key
idea. Anything you add a keyframe too is
going to pop here. So this becomes a full overview of what's changing in your clip. Now, you can interact
with these keyframes directly from here. You can move them back and forth in making the animation
faster or slower, you can move them up and
down to change their values. So you're not just changing the start and end
points anymore, you're shaping the
animation visually. Now remember that each
parameter has its own scale. If it's positioning,
it's going to be the position on screen
with the coordinates. Other things are going
to have the values depending on what they control. Scale, for example, it's
going to be a percentage. It could be angle, intensity level. It depends
on the parameter. And remember how we talked
about easing is in and is out. Here you have also all of
those controls and much more. If you go to the right here
and you click on presets, you're going to see a bunch of visual examples of how you
can have this animation. Once you've done it,
you can click on each keyframe and adjust by
using this lever over here. Like this, you can make
the animation longer, shorter, and just tweak
it as you prefer. And clicking in the diamond,
you can either remove a keyframe if you're
positioned on top of it, or you can create a new keyframe if you're in a moment that
doesn't have one yet. And if you want to
navigate through them, you can just click
on the arrows to go directly to one or the other. Now, remember that this
approach might not be the most precise one because you're just moving it
around with the cursor. But you can always roll
back to the panel and just insert a value manually there to set it exactly
where you want. Let's tip before we end this lesson is that now that
you've learned that you can transform a sticker into a video clip and access
some new parameters, one thing that you're
going to be able to access now is motion blur. And this really helps
sell the idea of movement of a sticker
or any object. So here, for example,
if you just see the movement of the cat
going from left to right, you see that at any moment in
time he's completely sharp. And to sell the
idea of movement, we can make it a little bit blurry according
to the movement. But if you just click on
the sticker right now, you don't have this
option right here. So what we're going to do is
we're going to right click. We're going to create
a compound clip and now here on the video panel, we can go all the way
down to the bottom, and you're going to
find motion blur. Now here it's going to
start applying and you're going to be able to see that
now it's even too much. You can actually reduce this by choosing direction backwards. So it's just going to
be a little bit blurry on the back of the cat
against the movement. And we can reduce this a little
bit by making maybe 30%. Let's wait for it to process. And now you can see
that any moment in time is a little bit blurry
because of the movement. You can adjust here
to your liking, depending also on the speed
of the movement you've set, but this is already
much more interesting than having it sharp
throughout the whole movement. Okay, remember the
practice board, go try it out, and
then the next lesson, we're going to talk
a little bit about real editing news
cases of key framing.
6. Common Scenarios: Let's take everything
that you've learned and apply it to real edits. Because this is how it's
going to stop being just a tool and be applied
to your actual storytelling. Let's go through a few
practical examples like the talking head
zoom in and out. This is something that
you see all the time in YouTube and social media. Instead of cutting
to a second camera, you kind of simulate it. Add a keyframe to the beginning, one in the end, and
just slightly zoom in. This creates variation,
keeps the viewer engaged, and also calls a little
bit more attention to something you're going
to say in that moment. It's simple but
extremely effective. Let's look at
photos, for example. If you need to display
one in your videos, it can just look a little
bit dull and flat. But if you add a
little pen to it or a zoom or just a
little bit of motion, it just feels much more alive. Now let's talk a
little bit about text, and instead of just
making it pop on screen, you could actually animate it. You can start it out
of the frame and then pop in or just keep it inside, but just have the
opacity fade in. You can combine a
little bit of movement, a little bit of scale, and the opacity to make
something much more dynamic. Now on top of that, you can add easing and it feels
much more intentional. And remember that in
Capcut you can also add the inbuilt animations
on top of all of these. So let's say, for
example, that you love this letter by letter animation. You can have it applied
to your textbox, but you can still also
apply the position, opacity, and scale
keyframing to it. So you see all of these examples have
one thing in common. You're using the keyframing to guide the viewers attention. So take a moment
to try this out, and in the next lesson, we're going to talk about
your project.
7. Practice Time: Now let's put everything
into practice together. We're going to use
the board that I mentioned in the first class. The first thing you
have to do is download these two images from the
project's resources panel. The first one is this
with all the shapes, and the second one is
this football stadium. I'm going to explain
what are they for. So import both of them inside a new project inside Capcot. You can see that they are
both here already and bring the first one to the timeline, just
like I did here. The idea is for you to create these three shapes inside
cap code using the stickers, you can come up here on
the left to stickers. And one of the last things you're going to find are shapes. You're just going to create one by one of each one of them. And let's start with
one example here. Like, for example,
this triangle. I'm just going to edit to track, and then it's created here. I'm going to make it
a little bit longer. And now we have it here. You're going to see
that in the panels, you're going to be
able to change mostly everything about this shape. You can change the opacity, the field, how it
looks properly. But you can also do it
in the preview panel, and that's how I suggest
you to do it right now. It's just a little bit easier. I'm just going to reshape it to be more or less like this. And in this example, I'm going
to transition it from the bigger to the smallest one.
But it doesn't really matter. As soon as you transition
from one to the other, you're going to use
the same concepts as what I'm using here. So, okay, I'm going to
leave it like this. I'm just going to change the
color here, maybe to yellow. And first thing you've got to do is create some key frames. So what are we going to
change from here to here? Mostly everything
regarding position, rotation, scale, and we
can also change the color. So I'm going to create
keyframes for all of these. I'm just going to click
on the transform. So like this, I've got all of the keyframes already
created for me. And the fill is not
part of the transform, so you're going to have to
create it manually here also. Okay. So now that it's done, and you can see
that the key frame is right here in the beginning, I'm just going to
get the playhead, go ahead a little
bit. Here is enough. And I'm just going
to bring it over here and just try to imitate exactly the shape that we're
seeing here on our board. So I'm going to
reshape it like this. And if you want to
keep it the same size or the same aspect ratio, more or less, you can
click Shift and it's just going to keep it
more or less the same. I'm going to make it
a little bit smaller. Maybe we can rotate
it a little bit. Okay, it doesn't
have to be perfect. It's just for you to
practice, really. So like this, it looks
pretty good to me. I'm going to change
also the fiel. So let's come here and I'm just going to make it
green, let's say. So right now, I have the
triangle transitioning from that first triangle base to the second one and
changing the color. Perfect. Now, I wanted to add other layers also of what you've learned
throughout the class. So the first thing
you can do here is also change the easing, how it moves in space. So I'm just going to
come here to the panel and I'm going to choose
easing, for example. So now the motion is a little bit more fluid between the two shapes, and that's it. Now, all I want is
for you to repeat the same process by using also
the circle and the square. And considering that also here, I'm changing the
opacity for the circle, and you can change any other of the properties that you'd like just to practice
this a little bit. Perfect. And now
the second project, and this one is optional, but I think it's very interesting
if you want to try to do it is using the
football stadium here. So I just went inside stickers, and there is also a
category called football. Which is going to be down here, where you're going
to find all of the stickers that I used. But it's really up to you. If you want to create
something different, if you have a different
image and you want to do something by yourself,
it's fine, also. But this is just something
that I have ready for you to make it easier to
decide which kind of project or how to practice. So what I did was I
created this animation. And all of these is using exactly the same things that we learned
throughout the class. It's using all of
the transitions, using keyframes for
position, scale, rotation. And just one thing
that I have to pay attention because in this case, since we have so many stickers, the order is going to matter
to understand which ones are going to appear on front
or on the back. That's it. Now it's up to you to practice. Remember to export this
video by coming to Export and then choosing a destination and
upload it to Dropbox, Google Drive, YouTube, as
enlisted as you prefer, and paste the link in
the project section. I'm going to check
each one of them, and I'm going to answer all of your comments in the
discussion panel. Okay, now let's just wrap everything up in
the final lesson.
8. Conclusion: Let's quickly recap
what you've learned. You started by understanding exactly what keyframes actually are point in time where some parameter
is going to change. Then you created
your first animation by setting a start and an end. After that, you
explored what you can actually control, scale, position, rotation, and how combining them together makes
everything more dynamic. We also introduced easing, which makes your animation feels mover and more
natural and how to approach keyframe inside aprict
either by setting values, visually doing it, or
setting it on the curves. And finally, you applied it to real editing scenarios
and to your own projects. Now, I hope this lesson
prove to you that behind every complex animation, are just a bunch of
different parameters keyframed altogether. So if something ever feels complicated, just break it down. Now, I'd really love to
see what you create. So post your project
in the project panel. And if you want to go
a little bit deeper, you can watch one
of my other classes like my Capcut master
class, for example, in which I teach you
from beginner to pro how to use everything
inside the software. And that's it for this one.
Thanks a lot for watching, and I'll see you in
the next class. Yo.
 Enrico Luzi, Creative travel content