Transcripts
1. Introduction: Believe it or not, writing your own music can be much
easier than you think. I'm Alicia Fox, pianist,
producer and songwriter. And I've been playing
piano for 18 years. During which time I've had the opportunity
to perform around the world and record
with artists such as BJ, the Chicago kids,
Thomas, and roadways. What excites me about playing
piano and composing is the opportunity to come up with new sounds that other
people might resonate with, but feel they could
have put it into words. In this class, we're gonna be looking at the fundamentals of music notation in sight reading and learning how to read
treble and bass clef, as well as rhythmic notation. We'll also be using a
software called MuseScore to learn how to score
our original works. For this class, you'll need
a piano or a keyboard and ideally a sustained
pedal if you're excited to learn how to sight
read your favorite songs, as well as notate your original
works to this class will give you the fundamentals of music notation in sight reading. Join me as we dive into the essentials of music
notation and cellular eating.
2. Getting Started: Welcome to the music notation
in sight reading class. In English, we can
only express so much, but music is a
universal language. And one of the things
that inspires me so much about writing music is the opportunity to come up with sounds that might
resonate with people, but they felt that they
couldn't quite put into words. This class will provide you with the fundamentals of
reading and writing music. And we're going to start
with learning the treble and bass clef and then move on to
look at rhythmic notation. You may be drawn to scoring your own compositions
for others to read. Or you may be more inclined
to read works that have already been written and
play them on the piano. Whether you want to
score your own music or read music that's
already been written, this class will be a
great resource for you. It's important to
remember that reading music is similar to
reading a language, and that there's a bit of
a steep learning curve. But once you learn
the essentials, you'll be able to read
thousands of works and open up an entire
catalog of music. For this class, you'll
need to access MuseScore, a free software available in the class resources.
Let's jump in.
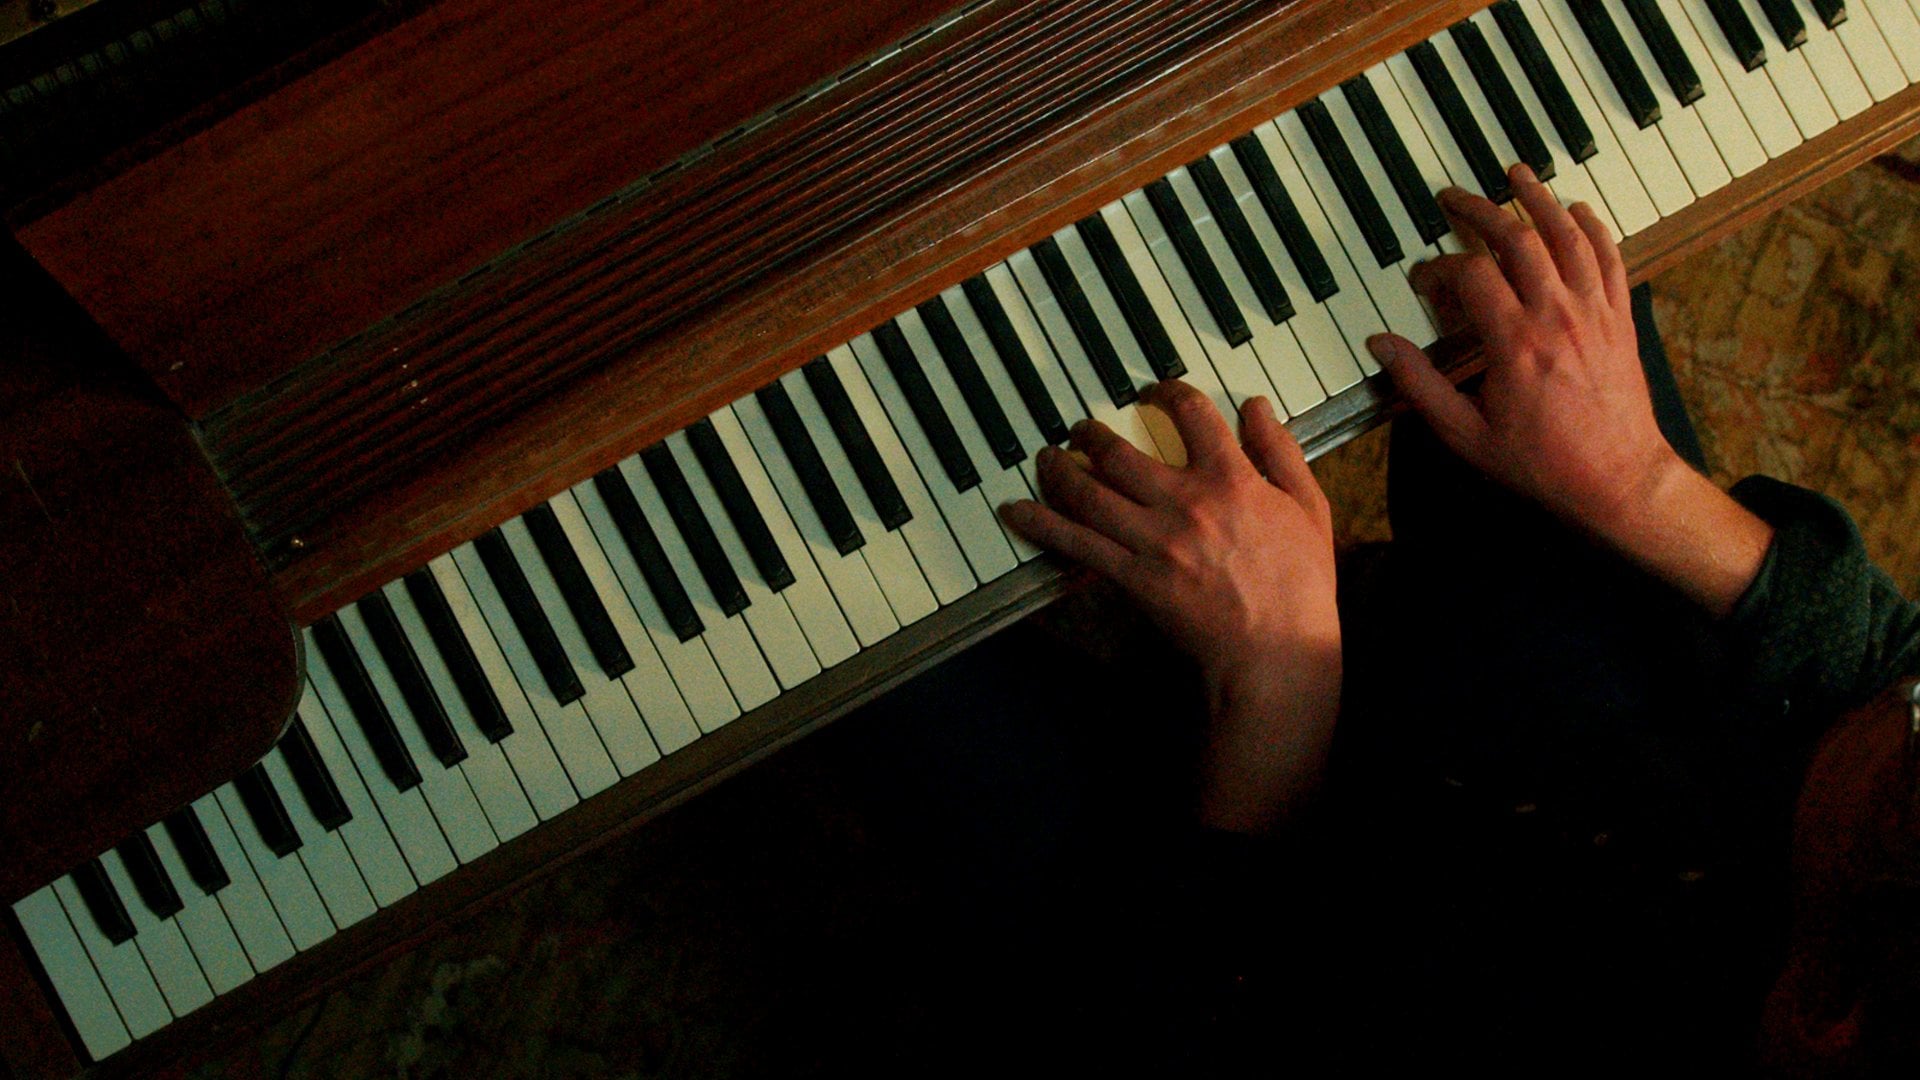
3. Learning Treble Clef: In this lesson, we're gonna
be looking at treble clef. Treble clef refers to all of
the notes above middle C, and it's typically played with our right hand on the piano. The treble clef is a
symbol which is placed on the stave or the five
lines of music notation. All of the notes above
middle C on the piano, or correspond to
different spots, either on the lines or spaces of the treble clef
as a starting spot. Let's look at middle
C. Middle C would be notated right in the middle of the clef with one
line through it. All of the notes
above middle C will appear higher on the
stave than this point. Next, let's jump into
looking at the names of all the notes on the
lines of the treble clef, starting from the lowest
line up to the fifth line, we will start with the notes E, G, B, D, and F. Once again, from
the lowest line, we would have e followed by G, followed by B, followed
by D, followed by F. You'll notice that all of
these are skipping one node. Those are the notes that are notated in the spaces
of the treble clef. Now let's take a
look at the notes in the spaces of
the treble clef. As we look at these, we'll see there's four unique
spaces on the treble clef. These notes, we'll
start with F, a, C, and E, which is easy to remember as it spells
the word face. Once again, all
of the notes from the spaces of the
treble clef would be F, a, C, and E. Using this method of
knowing the names of the notes from the
lines and the spaces. We can then find all of the
notes from middle C upwards. The OneNote I haven't mentioned
yet is d above middle C, which would be notated right under the lowest
line on the stave. Knowing this, we can now look at our first example
and try reading. A good way to
remember the notes on the lines is to use an acronym. So since we've got the notes E, G, B, D, F, we can come up with an acronym. Every good boy does fine to help us remember
what the notes are, let's dive into
our first example. As I see this example, I'm looking at the first note, which is notated with one line through it in the
middle of the staff. So I know this is middle C, followed by the next note, which is on the lowest line. So I'll remember, every
good boy does fine. So this must be E. The next note is on
the second line. So this would be the second note of every good boy does fine. So this would be G, then followed by the lowest
space which would be faced. I remember. So this would be F. Then I have D, which is
two notes down from that, followed by E, Again, the lowest note on the line, followed by G again, the second note of the line, and finally returning
home to middle C. So all in all this passage
would look like this. Now, let's take a look
at our next example. For this one, we would
also start with middle C, denoted with one line through
the middle, followed by d, which is one space
higher than that, then we would go to E because
that's the lowest line, followed by G, which
is on the second line. Then we will have F because
this is on the lowest space, followed by a from
the second space. Then we return back to
E and then finally C. So once again, the second
melody would be like such. As we get more familiar with reading notes on
the treble clef, you'll start to know that
as you notice a note, it'll become second nature. And as soon as you see a note, you can instantly play the key. It's important to remember that daily sight reading practice is important and shorter stents have even five to
10 min will yield great results when reading
chords in treble clef, the notes will all be notated
in one horizontal line. So a C major chord
would appear like this. On the treble clef staff. We would see we have C. Then we have E on
the bottom line, followed by G on
the second line. Now that we've looked at the
fundamentals of treble clef, I've got two examples for you to read in the class resources. With these two examples, it's important to
start slowly and you can write in the notes if
that's helpful for you. And you can reference the guide that we used in the
previous example. It's important to
remember that with sight reading, daily practices best. And as you start to familiarize yourself with this world
of music notation, it's important to be patient. Progress is made
one step at a time. In our next lesson, we'll be
looking at the bass clef, which is all the
notes below middle C, which is typically played
with our left hand. Don't get left behind. I'll see you there.
4. Learning Bass Clef: In the last lesson, we
looked at treble clef, which has all of the
notes above middle C, which are typically played with our right hand in this lesson. Similarly, we'll be
looking at bass clef, which has refers to all
the notes below middle C, which are typically played
with our left hand. To start, we'll identify
the bass clef notation, which can be placed
on the staff. To begin, let's
identify middle C, which appears the same as
it would in treble clef, in the middle of the staff
with one line through it. All of the notes below
this on the staff will also be lower than
middle C on the piano. Let's identify the names of the notes on the lines
of the bass clef. Starting with these, we
would have the note names G, B, D, F and a. A good acronym for this would be great big dogs fight animals. Let's demonstrate where these
notes are on the piano. The lowest line
would refer to g. Then we would have
b, followed by D, followed by F, and
then followed by a. These are the notes on the
lines of the bass clef. Now let's turn to looking at the notes on the spaces
of the bass clef. The notes on the spaces of
bass clef would be a, C, E, and G. A good acronym for
this is all cows eat grass. These notes would be found here. We'd have a on the lowest space, followed by C on the next space, followed by E, and a G
on the highest space. Now that we've identified
all of the notes on the lines and spaces
of the bass clef. Let's jump into a couple of examples of reading
bass clef notation. The first note for this I can see is middle C because it's above the staff and has one
line through it. So a play C. Then the next note
is on the top space. So I would count back
with all cows eat grass, this must be G, followed
by one space below that, which would be all cows eat. So this would be E, followed
by one space below that, which would be all cows.
So this would be C. Then I would have the
note on the third line. So this would be G, B, D. So this would be d, followed by the next
line, which would be F, followed by a, then
followed by the top space. Again, all cows eat grass.
So this would be G. One step down, this would be, one more step down would be E. One more step down would be
d. And then the second space, which would be all cows. So this would end with
c. So once again, this phrase would be, see, she E C, D, F, a, G, F E, D, C. Let's take a look at one
more example to get a little bit more comfortable with reading bass clef notation. In this example, we can see that we're also starting
with middle C, followed by the top line, which would be G, B, D, F. So this will be a. And now we can see the
step-wise motion as we move down one note at a
time following the GI. As we continue down
one step to E, then backups to add
up one to G again. Now this node here is on the
third line from the bottom, so that would be GBD. So this is D. And
then the second space from the bottom, all cows, so this is C, followed
by the third space, which is E, fourth
space which is g. And then finally
back to middle C. So once again, this phrase
would go like this. Now that we've familiarized ourselves with bass
clef notation, I've attached two examples in the class resources
that you can try out. In the next lesson,
we're going to look at the
fundamentals of reading rhythmic notation and
understand some key terms, such as time signature, rests, and how long to
hold certain notes for. In the meantime, keep practicing your treble
and bass clefs skills. And we'll continue
growing together.
5. Rhythmic Notation: Now that we've understood
the fundamentals of reading bass and treble clef, Let's look at rhythmic notation. To start, it's important to
define a measure or bar, which is thought of as
a single unit of time and is noted with
lines on either side. When reading rhythms, we
often have a time signature, which refers to how many
beats will have in each bar. The most common time signature
in Western music is 44, which means there's four
beats or four quarter notes, which I'll explain
later in each bar. Now let's jump into
looking at some of the fundamental note values that will help us
when reading rhythm. First, we'll start by looking
at the notes themselves. The first unit of time
is a quarter note, which has played for one beat. Following the quarter note, we have a half-note
which gets two beats. A dotted half-note, which
looks just like a half-note, but has a dot after it
and receives three beats, a whole note, which would get four beats, and an eighth note, which will get half of
a beat following this, there's also 16th notes of
which four would fit in the same space as
a quarter note or two would fit in the same
space as an eighth note. When reading music,
all of the notes on the staff will
correspond with a rhythmic unit denoting for how long you should
hold that note for. We're going to look at
some examples later. But first I'd like to introduce
the concept of arrests. Rests are systems of
musical notation that correspond with the same
values as the notes. We have a quarter rest, which means you would
not play for one beat, a half rest, which means you would not play
for two beats. A whole rest, which means you would not play for four beats. Or an eighth rest, which means you would not play for half of one quarter note. When reading rhythmic notation, we can start by clapping or
playing a simple phrase. I've got a couple of
examples. So let's jump. In. The first example, we
can see has 4 bar or four measures denoted with the lines in between
the spacings. In the first measure, we've got a quarter note, followed by two eighth notes, and then followed by
two quarter notes. If this was my pulse, this first measure would
be clapped as such. One. So each bead
is right here and we've got 112-11-1212,
121-12-3112. Rest one. Once again, I'll
try that once more. The third measure is
probably the trickiest. As you see, we have
a dotted half-note which gets three beats. I'll start again from the beginning,
clapping and counting. So we've got 112-11-1212,
121-12-3112. Rest one. Let's go to the next example
which will be slightly more challenging and will
involve more arrests. So we'll start with one Rest,
112-12-1112 rest 1111234. There's a lot of other great
resources out there for continuing to develop your rhythmic notation
reading skills. And I encourage you
to check them out. Now that we've understood
the fundamentals of reading bass and
treble clef notation, as well as rhythmic notation. Let's look at one example
that ties it all together. This example is in treble clef and deals
with quarter notes, eighth notes, and half notes. As we can see, we're
starting on middle C, followed by the lowest line, which would be E, from every good boy does fine. Then the second line,
which would be G, followed by F, a g, and then E, F, D first, let's clap this rhythm
before we try playing it. So I'll count us off
with four beats, 1234. Here we go. Now I'm going to try playing
it starting on c123 for. So as you can see,
we're combining both the treble clef and
the rhythmic notation. And let's look at
one more example to help cement in
these concepts. In the second example, we're going to start
with for eighth notes, followed by two quarter notes. And then two half notes will be starting on the lowest
line and treble clef, which we know is
E, followed by G, B, C from the third space. And then going back to F, G, E, followed by dy, I'll kinda four beats and then
we'll start 1234. There we go. So this
example dealt with both treble clef and rhythmic notation in
the class resources, I've supplied another
example that deals with bass clef and
rhythmic notation. And I encourage you
to try this out. Now that we've looked
at treble clef, bass clef, and the fundamentals
of rhythmic notation. It's time to look at
lead sheet notation, which is the common way that
people will score songs with chord charts and melodies
played with treble clef. I'll lead the way in
hope to see you there.
6. Lead-Sheet Notation: In this lesson, we're
gonna be looking at reading lead sheet notation. Lead sheet notation refers to
a type of notation in which the chord symbols
are printed and the melody is written
in treble clef. This type of notation is really fun to read
because it gives you flexibility to adapt
the chord symbols into your own
accompaniment pattern. Or voicing. Voicing is a term which refers to the way in which you choose
to play a chord. And it could be an inversion or another assortment of the
notes from that chord. When I was learning piano, I fell in love with
reading lead sheet notation because with
only a couple of chords, you can already
play tons of songs. And if you get better at reading your right hand in treble clef, it opens up tons of possibilities of sight
reading without having to read all of the individual notes of traditional Western
classical notation. So for lead sheet notation, the first place to start is understanding how the different chords that we've learned, the seventh chords and the additional chords will
be notated in this format. To start out, let
me go over a couple of the types of chords and
how there'll be notated. A major seventh chord, like a C major seventh, will often be notated by
saying C major MJ seventh, or occasionally say, see
triangle seventh, minor seventh, like a C minor seventh, would be written in
say C minus seven, or occasionally written,
say see MIN seventh, a dominant seventh chord, which once again
is a major triad with a minor seventh on top, would just be simply notated
C7 with nothing else. The other types of
chords we mentioned, I'll now discuss for
a diminished seventh, this will be written
and just say C, D, I am seventh. The minor seven flat
five chord would be written in C minor
seven or minus seven, and then flat five. And remember flat
is a lowercase b. The SUS scores we talked
about will be written in say, CSS2 or c sus4. Many great American
song book classics and other popular jazz
and pop songs are written in lead sheet
notation and are available online or in books
such as The Real Book. These songs only
use treble clef to display the melody and then the chord symbols
are printed above, giving you the flexibility to interpret the cord as you like. Now I'd like to look at an
example that's written in lead sheet notation and dive
into exploring how it works. So as you can see
in this example, we've got a melody which
is written in treble clef, and then chord symbols which are displayed above the melody. Let's start by
tackling the melody. Since it's just treble clef, all of the notes will be
above middle C on the piano, we're starting with a half-note, which gets two beats and is
located on the bottom line. So this would be E. We'll start with
E, followed by G, followed by the third
line, which should be B. Then we would go up to C. Because remember face F-A-C-E. So if that's the third
space, It's going to be c. Then we would go down to G on the second line, followed by F, followed by e, followed by D, followed by E for four beats. So now I'll play
that melody with the correct rhythm, 1234. Now that we've got the melody, which is often a good place to start when reading
lead sheet notation. Let's move on to
the chord symbols which are displayed
above the melody. All of these chord symbols
are going to be in C major, since that's the key
we're working in. And all of these are
seventh chords as well. You can find all of these chords in the C major CTL scale. So to start out, we'll be
playing these chords with our left hand so that our right hand can
tackle the melody. The first chord we have
is C major seventh, which will remember is C, E, G, and B on the piano. This is followed by
a minor seventh, which is a, C, E, and G on the piano. This in turn is followed
by D minor seventh, which is D, F, a, and C. And then we've got
G dominant seventh, which is G, B, D, and F, before returning
home to C major seventh. So now I'll try these
chords once more, 1234. Now the next step for
lead sheet notation, and this can take awhile
to work up to you to play the melody while
you're playing the courts. For this, I'll demonstrate slowly with both hands together. 1234. Then I ended with
a short arpeggio. So the amazing part about
lead sheet notation is it allows you to interpret
the chord in your own way. In the previous class, we looked at a lot
of ways to take a chord progression
and bring it to life in lead sheet notation, you can also interpret the chord progression and apply the accompaniment
patterns. Or inversions when
practicing it. Now I'm going to take the
same phrase, but instead, my left hand is going to play
arpeggios of the courts. In my right hand will play
the melody and octaves. So that's one approach I
could take when playing it. Now I'm going to do a left-hand
pattern where I go, 1753. So first I'll just try that pattern over
all of the chords. Now let's try combining that
with the melody in octaves. I ended with an arpeggio. So lead sheet notation gives you the flexibility to interpret the chord progression
in your own way. And in following
classes will look at even more ways to develop these. Now let's take one more
example to help get a little bit more familiar with reading lead
sheet notation. In this example, let's start
again with the melody, in which case we'll
start on the third line. So if we remember E, G, B, D, F, This would be b. So we'll start with
b, followed by c, followed by a, then B. Then we go up to the fourth
line, which would be D. Hold this for four beats. And then we'd have
e for four beats. Then we'd have our repetition
of the first measure, which would be b, c, a, b, and then G for four beats, and then f for four beats. So once again, that
melody is 1234. There we go. So now let's look at the
chord symbols for these. It appears that they're
all minor seventh chords. And they also come
from the key of C major or the relative
key of a minor. To refresh that once more, you can take any
major key and go down three half steps to
find the relative minor, which shares the same notes for this corresponding scales. For this segment, we're going to start out with a minor seventh, which is a, C, E, and G, followed by E minor
seventh, E, G, B, and D. And then followed
by D minor seven, which is D, F, a, and C. Let's try those
chords once more. We've got a minor seventh, then E minor seven, followed by D minor seven. Now I'm going to attempt to play the melody as I play the chords. And it's important to
practice slowly and know that if at first you can't
play both hands together, that's totally
natural and to keep working both hands so that it's eventually one becomes second nature and you can
focus on the other one. It's a similar concept
to walking and talking. We don't have to
think about walking because it's so natural
to us and we've done it over the years that
we can talk freely if we can get our left hand to a place where it
feels so comfortable, we can focus our attention
on our right hand. So you want to get
very comfortable with playing these chords
in recognizing the shapes so that you have greater mobility and can move
your right hand at ease. Now I'll attempt to play
the parts together. So for that example, I was just playing the
chords in root position. Now I'm going to play
that same segment, but my left hand is
going to play arpeggios. In my right hand is going to
play the melody in octaves. And I'll end with an arpeggio. So with lead sheet notation, there's endless
ways to interpret the chord progressions while
still playing the melody. When we get into improvisation
in following classes, you'll take the chord
progression and use that as a foundation
for improvising with a corresponding
scale while still playing the same courts
in the class resources, I've attached another example of lead sheet notation you
can find and try out. I encourage you to
try out some of your favorite songs which may be written using lead
sheet notation and are available online. Lead sheet notation is
a great tool because it provides you with
the flexibility to develop your own accompaniment
pattern while still staying true to the
chord progression and the original melody. In the next lesson, we're gonna be looking
at one of my original songs and how I took some of the techniques we've
talked about in this class and used it to
develop my composition. I'll see you there.
7. Practice with Elijah: Welcome back. In this lesson, I'm gonna
be showing you one of my original songs, Marcy, and you'll be able to sight
read the song and I'll explain how I developed some
of the concepts behind it. I first wrote this song after visiting the South
of France in 2017. And it's a simple song that
only uses three chords, but develops them over time
and uses inversions and arpeggios to create
a full arrangement out of a simple
three chord concept. The song takes three simple
chords and expands them with inversions to create a
chordal melody on the chorus. Let's look at the first part of the cords that are
played on the verse. Once again, our left hand, just playing three notes, F, E, and D. Throughout the entire song. The right hand is going to
start with a three note chord, C, E, and a. So then I'll move down to b, d, and g, followed by
this cluster chord, which is a, B,
C-sharp, and F-sharp. So with the right hand,
it looks like this. And I'm playing
it with my thumb, second finger, third
finger, and fifth finger. So once again, the courts
have diverse our CE and a, b, d and g. And then a, B, C-sharp and F-sharp. So I'll play those ones again. Moving down, moving
down once more. We repeat those
courts four times. After you've got comfortable
with diverse section, we can move on to the chorus in which I took the inversions of the chord and move them across to create
a chordal melody. Let's look at those
first cords in which I take the shape of
the a minor seventh, which can be applied over
the F major seventh. The notes of which are a, C, E, and G. So I start with
the inversion of that, that has G, a, C, and E. And I'll move it down like this. So I'm always, constantly shifting the top
note down an octave. So the first court
I've got is GAAC an E, followed by E, G, a, and C followed by C, E, G. And so this looks like this. Then when we move
to the next chord, the E minor seven, we've got D, E, G and B be followed by b, d, e, g, and then followed
by G, B, D, and E. So this looks like this. And then for the next chord, we move to the D major seventh. We've got C-sharp,
E, F sharp, and a. And we move these
around like this. So altogether it'd be. So you can see for the chorus, I've taken these
three simple chords, but stretch them into a more complex arrangement
by using their inversions. Even though it's the same chord progression throughout the song, there's a feeling of momentum
at the chorus because it's expanded with
these inversions, the left-hand stays
constant the entire time. So it's important to practice
the right-hand slowly by itself before putting
both hands together. Let's look at that phrase one more time with the inversions. We start with the
notes G, a, C, and E, and then move down to Egypt, a and C before playing C, E, G, and a. And then moving back to E, G, a, and C. And then for
the E minor seventh, we've got D, E, G, and B. Then you move down to 3D EEG. Let me move down to G, B, D, and E. When you move back up. And then we go to
the D major seventh, which is a, C-sharp, E and F sharp. And then we go up
here to F-sharp, C-sharp, E, followed by F-sharp, C-sharp, and then
up to a F sharp, a C sharp, D, and
then up to the top. The same thing in
octave higher, C-sharp, E F sharp, a, a C-sharp, E, F sharp, F sharp, a C-sharp E, and then
F sharp, a C sharp. So it's a lot of notes,
but altogether it's with the attached PDF. You can try playing
along to the song. It's important to take both
hands separately at first, in practice them slowly. You can see how with
my composition, I took a simple three
chord progression, but developed it into the
chorus section to have a CTO melody that I came up with by using the inversions
of the three chords used. In the next lesson, we're gonna be using the
music notation software MuseScore to find out how you can score your own compositions. I use this software when
I scored my song, Marcy, and I'm excited to show
you how you can get the fundamentals to writing your own compositions
for others to play.
8. Music Notation: In this lesson, we're gonna be looking at applying some of the concepts we
learned earlier in this class about Treble, bass clef and rhythmic
notation in learning how to score our own compositions using the free
software MuseScore, which is available in
the class resources. Musescore is a
software that you can use online or you can download the app
and you can save your own compositions
and it's totally free. Alright, let's jump in. When you first pull
up the new score, it'll give you the option
to choose instruments. For this. I'm going to
click on the grand staff. So I'll have a treble
clef and the bass clef, which is great for
reading piano music. I'm going to click Done. Here. My new score will appear. We're in 44 time and I've
got my treble and bass clef. So when we want to input notes, we're going to go over
to the left side of the screen and click on this n, which will allow
us to enter notes. Up here, we can see the different rhythmic
notations for notes. We've got a quarter
note, eighth note, 16th note, half-note
in whole notes. And over here we've got sharps, natural signs, and flats. So let's start
inputting some notes. I'm going to start with
a quarter note in input, a C major chord. So I'm going to
click where C would be on the treble clef. And you'll hear, it'll make the sound of C. Then also click ie G to create that
first chord there. After C, let's move up
to a D minor chord. So I'll type in D, F, and a. Now let's get our root notes
in with our left hand. So I'm going to go down to the bass clef and I'm
going to put in a C. A C was on the second space, followed by the d, which
is on the third line. Now that we've got this started, let me explain a
couple other things. If we want to put
an a sharp for say, a D major chord, I would type in a D, and then we want F-sharp. I'll click on this sharp, which is also the hashtag sign. And then type in an
F-sharp followed by an a. If, after using a sharp, you want to go back
to the natural f, we would use a natural sign. So I would do D, followed
by the natural sign for F. And then a. Anytime you want to hear how your song as
sounding so far, you can click play up here at the top and it will
play through the song. Let's listen to what
I've got so far. It's not gonna be very
impressive. There we go. So let's talk about
if we want to add chord symbols and create a
lead sheet notation form. So for this, I'm
gonna do a new score. I'm going to go
up to the top and I'll do new for this one. I'll do lead sheet example,
lead sheet notation, example, type in my
name, and then continue. So for this, I'm just
gonna do treble clef. Now click the N again
to input notes. Let's start out with
a basic melody. You can also use the arrow keys to move the notes up or down. I'll type in a basic melody. And then when I want to
insert my chord symbols, I'm gonna go over to text
and put it in staff texts. Pull this up here,
click on it twice. I accidentally added it twice, so I'll delete one of these. Then I'm going to click here. And I'm going to type in
my first chord symbol, which would be C major seven. Then I can move
this over here and continue the chords along
with the lead sheet notation. If we want to add in any key signatures
or time signatures, we can do those over here
with the pallets on the left. So if I wanted to
change this to 34, meaning there'll be three
beats in a measure. I would drag this here, and instead, it'll
change the format to 34. I could also do 68 or any of
these other time signatures. We can also change
the key signatures. If you remember back
to the previous lesson with the circle of fifths, if we were writing a
song and another key, we can know how many
sharps We're gonna do and dragging these
key signatures. So now I've got E
major in 334 time. You can see that
all the scores you have are saved up
here at the top, and you can segue between them. Anytime you've finished a score, you can go file and you can export as a PDF, PDF file here. Or you could export it as an MP3 audio file if you wanted people to be able
to listen to your score. The PDFs can be very helpful as you could compose a song and send it to your
friend who also plays piano and they could
attempt to play it. Musescore also has a lot of online community
forums where you can share songs and find other compositions that
other people have written. Anytime we want
to insert a rest, we would go here to the rest markers and go to the corresponding
note lengths. And then that'll change the rest so that we can notate
those as such. There's also articulations
you can use, which we haven't
discussed much yet. These determine how long the note is held for
in different ways that the note can be articulated if you're adding
in other instruments, such as violin is also
an option as well. Here we have dynamics, which I'll touch on now. Dynamics and music refers to how loud or soft or the touch in which the line is played. So we've got pianissimo,
which is right here. There's two p's, that's the
softest dynamic marking, followed by piano, which is
a bit louder, mezzo piano. Mezzo-forte, which
is medium loud, forte, fortissimo,
which is the loudest. We can control the
dynamic markings on the song by dragging these
in to allow the person playing the song to have an understanding of how the
song should be demonstrated. So now I'd like you to
get familiar with using the software and
you can download it or use the online version. In the next lesson, I'm
going to be composing a short original song and
scoring it on MuseScore. I hope you'll join me there.
9. Scoring Practice: Welcome back. In this lesson, I'm
going to be writing an original composition using some of the techniques
we've been working on. And then I'm going
to be scoring it in MuseScore to help bring the idea to life so that others could then read the work
and play it themselves. First, I'm going to come up
with an idea like on piano, and then I'm going to
translate it into MuseScore. I'm going to start in the
key of C major in 44 time. So everything unmute
scores already set. I'm going to start out
with some arpeggios for maybe two different chords. I'm going to start with a, a minor ninth chord, and I'm going to move
to a D minor nine. Let's start out with
that simple phrase. So with my right
hand, I'm playing B, VCB, and those are
all eighth notes. So I'm gonna go into the
Note Input in MuseScore, click on the eighth note, and then start with
the B below middle C, which has done that ledger line. Then I'm going to go to C, E, B. Then I'm going to
play that again, typing the same phrase.
And then a shortcut. You can use this, you can
copy and paste on MuseScore. So I'm going to take
this same phrase, Command C and then copy it here. Now for the D minor
seventh, I did. I did E, F, E. So I'm gonna go back to the
Note Input and type that in. I had e a e, and then I went down to E, F a, D. And then I'm
going to do E, F a, C, followed by EF a, b. So now I've got my basic
right-hand part, which is, then I'll repeat that again. So I'm gonna copy and
paste everything I've got so far the first 4 bar. Turn this into an
eight bar phrase. Now let's add in the left-hand. So I'm going to go
down to the bass clef in my left hand was playing. So my left hand
is on half notes, which gets two beats. So I'm gonna go to the n Note Input and go start with this a. Then I went up to E. So E is going to be
on the third space. So a EEG. So I did go back
to E after that. Now I'm going to
move to D added. So we've got D, which
is on the third line, if you remember, GBD FA, that'll be right there. And then I'm going to
move up to a here. Then I'm going go to C. I'm going to go down to B because
that mimics the note. Then my right hand was
playing, I had this movement. Then I'll go back down to a. So now I'm going
to copy and paste the left-hand pattern
for those 4 bar, meaning that my first 4
bar basically repeats. So now that we've
got the first 8 bar, let's listen to how this sounds. Alright, nothing
crazy, but we can tell that it is accurate to
what I was playing. So now let's come up
with another section after those first 8 bar. Instead of using
an arpeggio here, Let's use another technique
that we worked on. Let's use some inversions. I'm going to play a
health court after. I'm going to go to a C major
seven with my right hand. I'm gonna go back to the
Note Input, type that in. So that's C, E, G, and B. And then I'm going
to do in arpeggio. So, sorry, I'm going to use
an inversion, which would be, so I'll move up to
the second chord, which is G, B, C, and E. And then I'll move down to E, G, B, and C. Then I'll go down to the
original first root position of that. I've got. Then I moved down to this be
the inversion starting on B. So I've got, so I'll go up to this chord next, which has the C on top. They don't move down to
that same inversion with B. So we've got then will go down the lower
version of that same chord. And now we're going
to switch back to the D minor seventh
or D minor ninth. So we've got, then I'll do, I'm going to hold
this chord here. So I'm gonna do a
whole note on C, E, F, and a. So I've got, and then I'm
going to do some thirds. So I'll use these
thirds to do e and g. I actually want those
to be eighth notes, so I'm gonna go back and type
those up as eight nodes, E and G. And then
I'll go to F and a. Now I'm going to
write in this E and G to finish the phrase. And then I'm going
to want to keep that original chord continued
through the next line. So let's go down here and
type back in that corner. I'll do a whole note.
For this voicing. I've got C, E, F, and a. And now let's add in the
baseline for this section, I'm just going to
do whole notes, so a and D, and then D. And now what I'm gonna
do is copy and paste these 4 bar again, so that I end up with 16
bar of an original song. This is a two chord composition. And I brought it
to life by using an arpeggio and then
using some inversions. So taking a simple concepts
and expanding upon it, Let's listen to what
we've got so far. Now go back to the beginning. If I wanted, I can move
that F minor back to D. And so on. That part I had notated yet, that was just an improvisation, but this is all an
example of how you can take a simple idea and
then bring it to life. And now I can export this. I could go file export
as PDF and share it with friends or other
pianists who could then play it and adapt their
own version of it. Now, I'd like for you to try scoring your own
composition using MuseScore and using some of the techniques we've learned
so far in the class, you can upload your
composition to the project gallery
In others can share in try
performing your piece. I look forward to
hearing what you create.
10. Final Thoughts: Congratulations, you've
made it to the end of the music notation in
sight reading class. We started by learning the
foundation of treble and bass clef and how to identify all of the notes as they
appear on the staff. Before moving on to learn rhythmic notation and the
durations of quarter notes, eighth notes, half notes, dotted half notes,
and whole notes, as well as 16th notes in all
of the corresponding rests, we add a couple of examples
where we could try and keep improving as sight reading
is an ongoing process, as is reading any language
or learning a new language. The system might seem
overwhelming at first, but it's very important
to put in daily practice. So you become more familiar with this new system of notation
and music scoring. We learned how to
use MuseScore in online music
notation software to score our original
music and share it with the world so others
can play our songs. I look forward to hearing your original compositions
in diving into more compositional elements and the foundations of improvisation
in the next class. See you there.
 Elijah Fox-Peck, Pianist, Songwriter, Producer